
The Moto G is a popular smartphone known for its impressive camera capabilities. Over time, you may find your photo gallery filling up with a large number of pictures, taking up valuable storage space on your device. If you’re wondering how to delete pictures from your Moto G, you’ve come to the right place. In this article, we will guide you through the step-by-step process of deleting pictures from your Moto G, allowing you to free up space and keep your photo collection organized. Whether you want to remove individual photos, delete entire albums, or utilize the Google Photos app for seamless photo management, we’ve got you covered. So let’s dive in and learn how to declutter your Moto G’s photo gallery!
Inside This Article
- Methods to Delete Pictures from Moto G
- Method 1: Delete Pictures from Gallery App
- Method 2: Use File Manager App to Delete Pictures
- Method 3: Delete Pictures from Google Photos App
- Method 4: Delete Pictures via USB Connection to Computer
- Conclusion
- FAQs
Methods to Delete Pictures from Moto G
If you’re looking to free up some space on your Moto G smartphone or simply want to declutter your photo gallery, deleting unwanted pictures is the way to go. Fortunately, there are multiple methods you can use to delete pictures from your Moto G. In this article, we will explore four different methods to help you efficiently remove those unwanted pictures.
Method 1: Delete Pictures from Gallery App
The most straightforward way to delete pictures from your Moto G is through the Gallery app. Simply follow these steps:
- Open the Gallery app on your Moto G.
- Browse through your albums and tap on the specific album that contains the pictures you want to delete.
- Select the picture you want to delete by tapping on it. If you want to delete multiple pictures, tap and hold on the first picture, then select the others by tapping on them.
- Tap the delete icon, usually represented by a trash can or bin, to delete the selected pictures.
- Confirm the deletion when prompted.
Method 2: Use File Manager App to Delete Pictures
Another option to delete pictures from your Moto G is by using a file manager app. Here’s what you need to do:
- Download and install a file manager app from the Google Play Store. There are several options available, such as ES File Explorer or Astro File Manager.
- Open the file manager app and navigate to the location where your pictures are saved. Typically, they can be found in the “Pictures” or “DCIM” folder.
- Scroll through the list of pictures and select the ones you want to delete by tapping on them. Alternatively, you can opt for the “Select all” option to delete all pictures in that folder.
- Tap on the delete or trash icon to remove the selected pictures from your Moto G.
- Confirm the deletion when prompted.
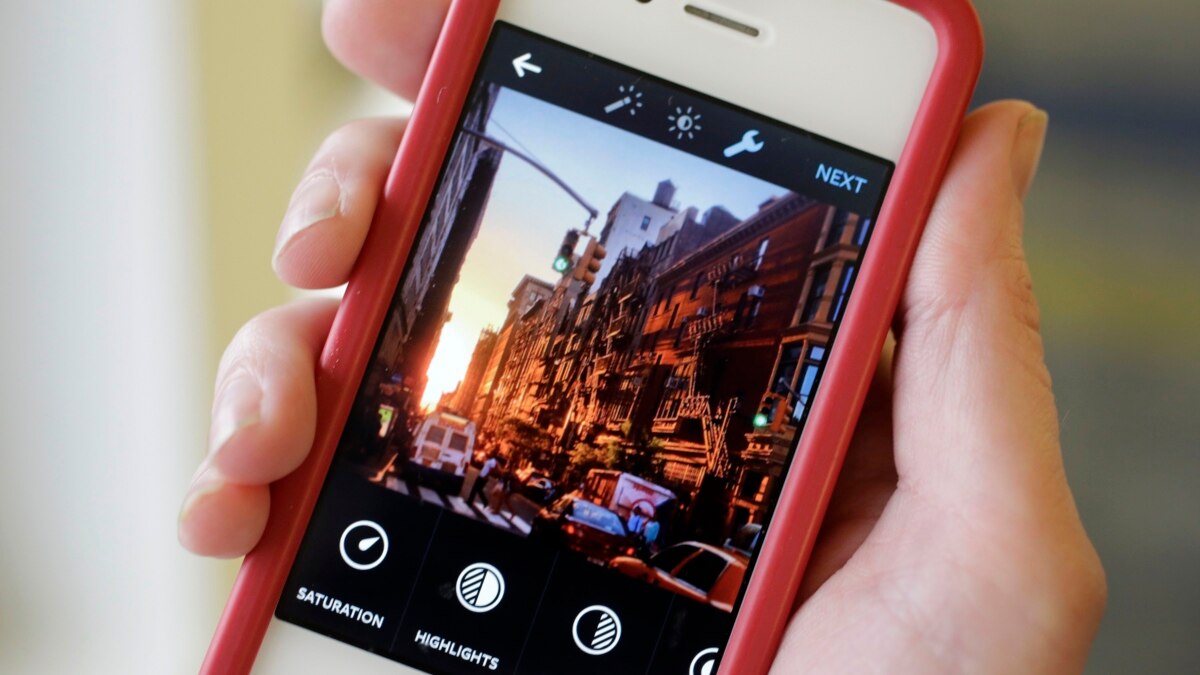
Method 3: Delete Pictures from Google Photos App
If you use Google Photos to backup and manage your pictures, you can delete unwanted pictures directly from the app. Here’s how:
- Open the Google Photos app on your Moto G.
- Navigate to the album or folder where the unwanted pictures are located.
- Tap and hold on the picture you want to delete, then select any additional pictures if desired.
- Tap on the trash can icon to delete the selected pictures.
- Confirm the deletion when prompted.
Method 4: Delete Pictures via USB Connection to Computer
Method 1: Delete Pictures from Gallery App
If you want to delete pictures from your Moto G smartphone, one of the easiest and most convenient ways is to use the Gallery app. The Gallery app is a built-in feature on Moto G devices and allows you to view and manage all the photos and videos stored on your device.
To delete pictures from the Gallery app, follow these simple steps:
- Open the Gallery app on your Moto G.
- Navigate to the specific album or folder where the pictures you want to delete are located.
- Tap and hold on the picture you want to delete until a menu pops up.
- From the menu, select “Delete” or the trash bin icon.
- A confirmation message will appear asking if you want to delete the picture. Confirm by tapping “Yes” or “Delete.”
By following these steps, you can easily delete any unwanted pictures directly from the Gallery app on your Moto G. This method is ideal for users who prefer a simple and straightforward approach to deleting pictures.
Method 2: Use File Manager App to Delete Pictures
Another way to delete pictures from your Moto G is to use a file manager app. This method gives you more control and flexibility in managing your files and photos.
Here’s how you can use a file manager app to delete pictures:
- Open the file manager app on your Moto G. If you don’t have one installed, you can download and install a file manager app from the Google Play Store.
- Navigate to the location where your pictures are stored. Typically, the Pictures folder is located in the internal storage or the SD card.
- Browse through the folders and find the pictures you want to delete. You can long-press on a picture to select multiple pictures for deletion.
- Once you have selected the pictures you want to delete, look for the delete or trash icon in the file manager app.
- Tap on the delete or trash icon to delete the selected pictures. Confirm the deletion when prompted.
Using a file manager app provides a simple and efficient way to delete pictures from your Moto G. You have full control over which pictures to delete and can easily navigate through the folders to find and select the pictures you want to remove.
Keep in mind that deleting pictures using a file manager app is permanent, and you won’t be able to recover the deleted pictures unless you have a backup.
Method 3: Delete Pictures from Google Photos App
The Google Photos app is a powerful tool for managing your photo library. Not only does it offer cloud storage for all your pictures, but it also provides an easy way to delete unwanted photos from your Moto G. Follow the steps below to delete pictures from Google Photos:
- Open the Google Photos app on your Moto G.
- Tap on the three horizontal lines at the top-left corner of the screen to open the sidebar menu.
- From the sidebar menu, select “Gallery” to view all your photos.
- Browse through your photo library and locate the pictures you want to delete.
- Tap and hold on the first photo you want to delete until a blue checkmark appears.
- While still holding the first photo, you can tap on additional photos to select multiple pictures.
- Once you have selected all the photos you want to delete, tap on the trash can icon at the top-right corner of the screen.
- A confirmation dialog box will appear asking if you want to delete the selected photos. Tap “Delete” to confirm.
The selected pictures will be deleted from both your device and your Google Photos account. Keep in mind that deleting photos from Google Photos will also remove them from any other devices synced with your account.
Deleting pictures from Google Photos provides a convenient way to free up storage space on your Moto G while keeping your photo library organized. Take advantage of this handy feature to keep your device clutter-free and ensure you always have enough space to capture new memories.
Method 4: Delete Pictures via USB Connection to Computer
Deleting pictures from your Moto G can also be done by connecting your device to a computer via a USB cable. This method provides a convenient way to manage and delete multiple pictures at once. Here’s how to do it:
- Start by connecting your Moto G to the computer using a USB cable. Ensure that the cable is properly inserted into both the phone and the computer’s USB port.
- Once connected, your computer should recognize your Moto G as a storage device. You may need to allow USB debugging on your phone for it to be detected.
- Access your Moto G’s storage on the computer. This can usually be done by opening ‘My Computer’ or ‘This PC’ on Windows, or ‘Finder’ on Mac.
- Navigate to the ‘DCIM’ (Digital Camera Images) or ‘Pictures’ folder on your Moto G. This is where your device stores the pictures you have taken.
- Select the pictures you want to delete by clicking on them or using the Ctrl/Command key to select multiple images.
- Once the desired pictures are selected, right-click and choose ‘Delete’ from the context menu. Alternatively, you can press the ‘Delete’ key on your keyboard.
- A confirmation dialog may appear asking if you want to permanently delete the selected pictures. Confirm the deletion.
- Wait for the deletion process to complete. The time taken depends on the number and size of the pictures being deleted.
- After the deletion is finished, disconnect your Moto G from the computer by safely ejecting the device.
By following these steps, you can easily delete pictures from your Moto G via a USB connection to your computer. This method is especially useful when you have a large number of pictures to delete or if you prefer the convenience of managing them on a larger screen. Remember to back up any important pictures before deleting them to avoid accidental loss or deletion.
Conclusion
In conclusion, deleting pictures from your Moto G smartphone is a simple and straightforward process. Whether you want to free up storage space, organize your photo gallery, or remove unwanted images, the Moto G provides an intuitive interface to help you accomplish this task. By accessing the Photos or Gallery app, you can easily select and delete individual pictures or entire albums.
Remember to back up any important or cherished photos before deleting them, to avoid losing them permanently. Additionally, consider utilizing cloud storage or external storage options to keep your precious memories safe and accessible.
The Moto G’s user-friendly design, coupled with its advanced features, ensures that managing your photos is a hassle-free experience. So, don’t let cluttered photo galleries slow you down – take control of your device and delete pictures from your Moto G with ease.
FAQs
**1. How do I delete pictures from my Moto G smartphone?**
To delete pictures from your Moto G smartphone, follow these steps:
– Open the Gallery app on your Moto G.
– Browse through your albums or camera roll to locate the pictures you want to delete.
– Once you find a picture you want to delete, tap and hold on it to open the selection options.
– Select the delete icon (usually represented by a trash can) or the delete option from the menu that appears.
– Confirm the deletion by tapping “OK” or “Delete.”
**2. Can I recover deleted pictures from my Moto G?**
In most cases, once you delete a picture from your Moto G, it cannot be recovered. However, if you have previously backed up your device using services such as Google Photos or have a backup on your computer, you may be able to restore the deleted pictures from there. Additionally, there are some third-party apps and data recovery tools available that can help you recover deleted files, but their success rates may vary.
**3. How can I free up storage space on my Moto G by deleting pictures?**
To free up storage space on your Moto G smartphone by deleting pictures, you can follow these steps:
– Open the Gallery or Photos app.
– Go through your albums or camera roll and select the pictures you want to delete.
– Tap on the delete icon or option for each selected picture.
– Confirm the deletion.
Deleting unnecessary or backup images can help you reclaim valuable storage space on your device.
**4. How can I delete multiple pictures at once on my Moto G?**
To delete multiple pictures at once on your Moto G smartphone, you can use the selection feature in the Gallery or Photos app. Here’s how:
– Open the Gallery or Photos app.
– Select the album or camera roll from which you want to delete pictures.
– Tap on the “Select” option typically located at the top right corner of the screen.
– Tap on each picture you want to delete to select them.
– Once all the desired pictures are selected, tap on the delete icon or option.
– Confirm the deletion.
This method allows you to delete multiple pictures simultaneously, saving you time and effort.
**5. How can I prevent accidental deletion of pictures on my Moto G?**
To prevent accidental deletion of pictures on your Moto G smartphone, you can take the following precautions:
– Be mindful of the pictures you are selecting for deletion and double-check before confirming the process.
– Consider enabling or using a PIN, password, or fingerprint lock on your device to prevent unauthorized access to your Gallery or Photos app.
– Regularly back up your pictures to cloud storage or transfer them to a computer to have an additional copy in case of accidental deletion.
By being cautious and implementing these measures, you can significantly reduce the risk of accidentally deleting your valuable pictures.