
Sure, here's the introduction to the article:
html
Are you looking to unleash the full potential of your Moto G? Putting your Moto G in debugging mode can open up a world of possibilities, allowing you to access developer tools, troubleshoot issues, and even customize your device. In this comprehensive guide, we’ll walk you through the step-by-step process of putting your Moto G in debugging mode, empowering you to take control of your smartphone experience like never before. Whether you’re a tech enthusiast, a developer, or simply someone who wants to explore the advanced capabilities of your device, enabling debugging mode on your Moto G is the first step towards a more personalized and optimized smartphone experience. Let’s dive in and unlock the power of your Moto G!
Inside This Article
- Enabling Developer Options
- Activating USB Debugging
- Connecting Moto G to Computer
- Verifying Debugging Mode Activation
- Conclusion
- FAQs
**
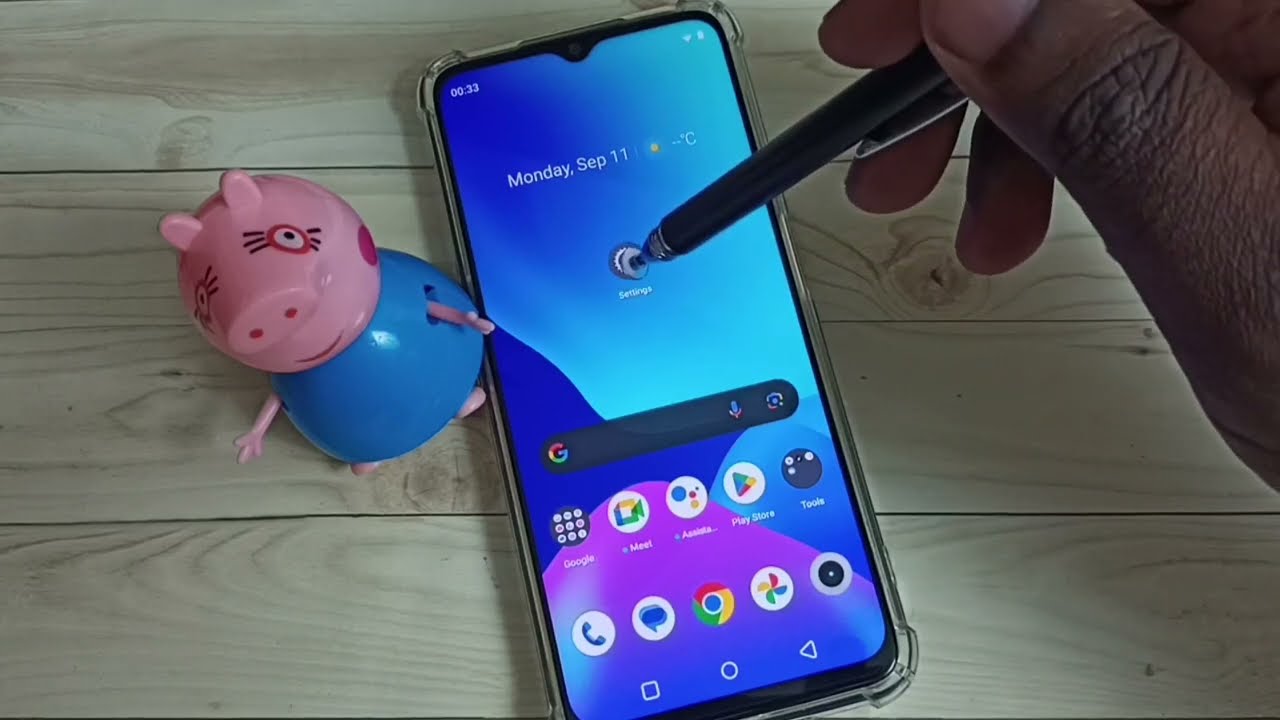
Enabling Developer Options
**
If you want to put your Moto G in debugging mode, the first step is to enable the Developer Options on your device. This hidden menu allows you to access advanced settings and debugging tools that are not normally available to regular users.
To enable Developer Options on your Moto G, start by opening the “Settings” app on your device. Scroll down and tap on “About phone.” Here, you will find information about your device, including the model number, Android version, and more.
Next, scroll down to the “Build number” entry. Tap on “Build number” seven times in quick succession. After the third tap, you will see a message that says “You are now X steps away from being a developer.” Keep tapping until you see the message “You are now a developer!”
Once you have successfully enabled Developer Options, you can proceed to activate USB debugging, which is essential for connecting your Moto G to a computer for debugging purposes.
Activating USB Debugging
USB debugging is a crucial feature for developers and advanced users, as it allows for a direct connection between a Moto G smartphone and a computer for advanced operations. To activate USB debugging on your Moto G, you need to enable Developer Options first. Once Developer Options are accessible, you can easily activate USB debugging in just a few simple steps.
First, navigate to the “Settings” app on your Moto G smartphone. Scroll down and tap on “About phone.” Here, you will find the “Build number” entry. Tap on “Build number” seven times in quick succession. After the seventh tap, you will see a message indicating that Developer Options have been enabled.
Now, return to the main “Settings” menu. Scroll down, and you should see “Developer Options” listed. Tap on “Developer Options” to access the advanced settings. Within Developer Options, locate “USB debugging” and toggle the switch to enable it. A prompt may appear asking for permission to enable USB debugging; simply tap “OK” to confirm.
With USB debugging activated, your Moto G is now ready to establish a secure and direct connection with a computer for advanced tasks such as app debugging, software development, and system modifications. Remember to exercise caution when using USB debugging, as it grants elevated privileges and access to sensitive device functions.
Connecting Moto G to Computer
Once you have successfully activated USB debugging on your Moto G, the next step is to connect it to your computer. This connection allows you to access your device’s internal system and perform various tasks such as transferring files, debugging applications, and more.
First, ensure that you have a compatible USB cable for connecting your Moto G to the computer. The USB cable is essential for establishing a stable connection between your device and the computer.
Next, locate the USB port on your Moto G. It is typically located at the bottom of the device, allowing you to easily connect the USB cable.
Connect one end of the USB cable to the USB port on your Moto G and the other end to an available USB port on your computer. Ensure that both ends are securely plugged in to establish a reliable connection.
Once the Moto G is connected to the computer, you may see a prompt on your device asking for permission to allow USB debugging. If prompted, grant the permission to enable the computer to access your device’s debugging features.
After the connection is established and USB debugging is enabled, you can begin using various development tools, transferring files between the Moto G and the computer, and executing commands to interact with the device’s system.
Verifying Debugging Mode Activation
Once you have successfully enabled USB debugging on your Moto G, you may want to verify that the mode is active before proceeding with any debugging tasks. Verifying the activation of debugging mode ensures that your device is ready to communicate with your computer for development purposes.
To confirm that USB debugging is enabled on your Moto G, you can follow these simple steps:
- Go to the “Settings” on your Moto G.
- Scroll down and select “Developer options.”
- Look for the “USB debugging” option and ensure that the toggle switch is in the “On” position.
- If the toggle switch is on, USB debugging is successfully activated on your Moto G.
Verifying the activation of USB debugging mode is essential to ensure that your device is ready for development activities, such as debugging apps or transferring data between your Moto G and a computer. Once you have confirmed the activation, you can proceed with confidence, knowing that your device is prepared for debugging tasks.
Enabling USB debugging mode on your Moto G is a simple yet powerful way to unlock a host of advanced features and functionalities. By following the step-by-step guide outlined above, you can harness the full potential of your device, troubleshoot issues more effectively, and even delve into the realm of app development and customization. Whether you’re a tech enthusiast, a developer, or simply someone eager to explore the hidden capabilities of your smartphone, putting your Moto G in debugging mode can open up a world of possibilities. With this invaluable tool at your disposal, you’re equipped to take your Android experience to new heights, enjoying enhanced control and flexibility along the way.
FAQs
**Q: What is USB debugging mode on Moto G?**
A: USB debugging mode on Moto G allows you to connect your phone to a computer and use the Android SDK (Software Development Kit) to debug your apps, access developer options, and perform advanced tasks.
Q: Why would I need to enable USB debugging on my Moto G?
A: Enabling USB debugging on your Moto G is essential for tasks such as rooting your device, installing custom ROMs, and debugging apps during development.
Q: Is it safe to enable USB debugging on my Moto G?
A: Enabling USB debugging is generally safe, but it does grant elevated privileges to your phone when connected to a computer. It's important to only enable USB debugging when necessary and to ensure that you trust the computer you connect to.
Q: Can I disable USB debugging mode on my Moto G after enabling it?
A: Yes, you can disable USB debugging mode on your Moto G at any time. Simply navigate to the Developer options in your phone's settings and toggle off the USB debugging option.
Q: Will enabling USB debugging mode void the warranty on my Moto G?
A: Enabling USB debugging mode does not inherently void the warranty on your Moto G. However, if you perform unauthorized modifications to the software or hardware of your device while debugging, it may impact the warranty. Always proceed with caution and refer to the manufacturer's warranty terms.