
Sure, here's the introduction wrapped in a paragraph tag:
html
Are you looking to unleash the full potential of your Moto G 2nd Gen? Rooting your device can open up a world of possibilities, allowing you to customize your phone, access restricted features, and enhance performance. In this comprehensive guide, we’ll walk you through the process of rooting your Moto G 2nd Gen, providing step-by-step instructions, tips, and precautions to ensure a smooth and successful rooting experience. By the end of this article, you’ll have the knowledge and confidence to take control of your device and elevate your smartphone experience.
Inside This Article
- Preparing Your Device
- Unlocking the Bootloader
- Installing A Custom Recovery
- Rooting Your Moto G 2nd Gen
- Conclusion
- FAQs
Preparing Your Device
Before you embark on the journey of rooting your Moto G 2nd Gen, it’s crucial to ensure that your device is adequately prepared for the process. Here are the essential steps to take before diving into the technical aspects of rooting.
First and foremost, create a complete backup of your device’s data. Rooting involves making significant changes to the device’s system, and there’s always a risk of data loss. By backing up your data, you can safeguard your important files, contacts, and settings.
Next, ensure that your Moto G 2nd Gen has sufficient battery life. It’s recommended to have at least 50% battery charge to prevent any unexpected shutdowns during the rooting process. Plugging in your device during the procedure is also a good practice to maintain a stable power supply.
Furthermore, make sure that your device’s bootloader is unlocked. This is a prerequisite for rooting your Moto G 2nd Gen, and it’s essential to verify the bootloader status before proceeding with the rooting process.
Lastly, familiarize yourself with the potential risks and implications of rooting your device. While rooting can unlock a world of customization and optimization, it also voids the warranty and carries certain risks. Understanding these aspects will help you make an informed decision about rooting your Moto G 2nd Gen.
Unlocking the Bootloader
Unlocking the bootloader is a crucial step in the process of rooting your Moto G 2nd Gen. It allows you to gain access to the inner workings of your device, enabling you to make advanced modifications and install custom software.
Before proceeding, it’s important to note that unlocking the bootloader will void your warranty and may cause data loss. Therefore, it’s essential to back up all important data before initiating the unlocking process.
To unlock the bootloader, you’ll need to enable Developer Options on your device. This can be done by navigating to Settings, tapping on About Phone, and then tapping on Build Number seven times. Once Developer Options are enabled, you can access the OEM unlocking option and initiate the unlocking process.
After enabling OEM unlocking, you can connect your device to your computer and use the Android Debug Bridge (ADB) to unlock the bootloader. This involves running a series of commands from your computer to initiate the unlocking process on your Moto G 2nd Gen.
Once the bootloader is unlocked, your device will be ready for the next steps in the rooting process, including installing a custom recovery and gaining root access. It’s important to proceed with caution and follow instructions carefully to ensure a successful bootloader unlocking process.
Installing A Custom Recovery
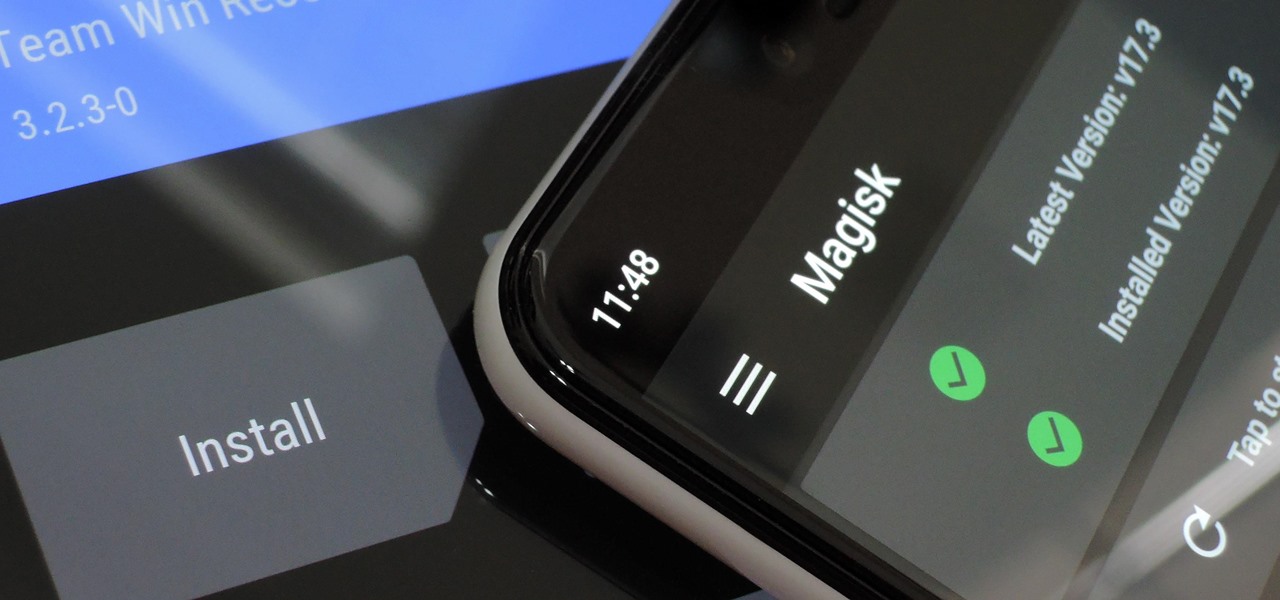
Before proceeding with the installation of a custom recovery on your Moto G 2nd Gen, it’s crucial to understand the significance of this step. A custom recovery, such as TWRP (Team Win Recovery Project) or CWM (ClockworkMod), empowers you to perform advanced tasks on your device, including creating system backups, installing custom ROMs, and clearing cache partitions.
When it comes to installing a custom recovery, the process typically involves using a computer and executing commands via ADB (Android Debug Bridge) and Fastboot. It’s important to ensure that your device’s bootloader is unlocked before proceeding with this step. Additionally, you’ll need to download the specific custom recovery image file compatible with your Moto G 2nd Gen model.
Once you have the necessary files and tools ready, the next step involves booting your Moto G 2nd Gen into fastboot mode. This can be done by powering off the device and then pressing a combination of hardware buttons to enter the fastboot mode. From there, you can connect your device to the computer and execute the necessary commands to flash the custom recovery image onto your device.
After successfully flashing the custom recovery, it’s essential to boot into the recovery mode to ensure that the installation was completed without any errors. This can be done by using the hardware buttons to access the recovery mode, where you should see the custom recovery interface, confirming that the installation was successful.
With the custom recovery successfully installed on your Moto G 2nd Gen, you have unlocked a new realm of possibilities for customizing and optimizing your device. Whether you’re looking to explore custom ROMs, create backups, or fine-tune your device’s performance, the custom recovery serves as a gateway to advanced Android customization and management.
Rooting Your Moto G 2nd Gen
Now that you have unlocked the bootloader and installed a custom recovery, you are ready to root your Moto G 2nd Gen. Rooting your device grants you administrative access, allowing you to customize and optimize your smartphone to suit your preferences.
Before proceeding with the rooting process, ensure that your device is charged to at least 50% to prevent any interruptions. Additionally, back up your important data to safeguard against potential data loss during the rooting procedure.
Next, download the appropriate root package for your Moto G 2nd Gen. There are several reliable sources for rooting packages, so be sure to choose one that is compatible with your device model and software version. Once downloaded, transfer the root package to your device’s internal storage.
With the root package transferred, boot your Moto G 2nd Gen into recovery mode. From the custom recovery interface, navigate to the location where you saved the root package and proceed to flash it onto your device. This process may take a few minutes to complete.
After the flashing process is finished, reboot your Moto G 2nd Gen. Upon reboot, your device should be successfully rooted, granting you elevated privileges and access to advanced customization options. You can now enjoy the benefits of rooting, such as installing custom ROMs, removing pre-installed bloatware, and optimizing system performance.
In conclusion, rooting your Moto G 2nd Gen can unlock a world of possibilities, allowing you to customize your device, optimize performance, and access a wider range of apps and features. By following the steps outlined in this guide, you can gain greater control over your smartphone and tailor it to your specific needs and preferences. However, it's important to proceed with caution and fully understand the risks and implications of rooting before diving in. Always remember to back up your data and proceed at your own discretion. With the right knowledge and careful execution, rooting can elevate your Moto G 2nd Gen experience to new heights. Take the time to weigh the pros and cons, and make an informed decision that aligns with your tech goals and aspirations.
FAQs
**Q: What does it mean to root a Moto G 2nd Gen?**
A: Rooting a Moto G 2nd Gen refers to the process of gaining privileged control over the device's operating system, allowing users to access and modify system files and settings that are typically restricted.
Q: Is rooting a Moto G 2nd Gen legal?
A: Yes, rooting a Moto G 2nd Gen is legal. However, it's essential to understand that the process may void the device's warranty and could potentially lead to security and stability risks if not performed carefully.
Q: What are the benefits of rooting a Moto G 2nd Gen?
A: Rooting a Moto G 2nd Gen can provide users with the ability to customize the device's appearance and functionality, uninstall pre-installed apps, improve battery life, and enhance performance by overclocking the CPU.
Q: Are there any risks associated with rooting a Moto G 2nd Gen?
A: Yes, there are risks involved in rooting a Moto G 2nd Gen, including the potential for bricking the device, voiding the warranty, and exposing the device to security vulnerabilities if not done correctly.
Q: Can I unroot my Moto G 2nd Gen after the process?
A: Yes, it is possible to unroot a Moto G 2nd Gen by using specific methods and tools designed to reverse the rooting process. However, it's crucial to follow the unrooting instructions carefully to avoid damaging the device.