
Sure, here's the introduction in HTML format:
html
If you’re a proud owner of the Moto G 2nd Gen and looking to reload the stock recovery, you’ve come to the right place. The stock recovery on your device plays a crucial role in maintaining its functionality and ensuring smooth operations. By reloading the stock recovery, you can restore the original recovery software that comes pre-installed on your Moto G 2nd Gen, providing you with a reliable fallback option in case of software issues or modifications. In this comprehensive guide, we’ll walk you through the steps to reload the stock recovery on your Moto G 2nd Gen, empowering you to optimize and safeguard your device’s performance.
Inside This Article
- Prerequisites
- Download Necessary Files
- Enable USB Debugging
- Boot Moto G 2nd Gen into Fastboot Mode
- Flash Stock Recovery Using ADB Fastboot Commands
- Conclusion
- FAQs
Prerequisites
To reload the stock recovery on your Moto G 2nd Gen, you’ll need to ensure that you have the necessary tools and resources at your disposal. Here’s a list of prerequisites to get you started:
1. A computer with a reliable internet connection and a USB cable to connect your Moto G 2nd Gen to the computer.
2. Download and install the ADB and Fastboot drivers on your computer. These drivers are essential for executing commands on your device from the computer.
3. Make sure to back up all your important data on the Moto G 2nd Gen to prevent any loss during the recovery reloading process.
4. It’s crucial to ensure that your Moto G 2nd Gen has sufficient battery charge to avoid any interruptions during the recovery reloading process.
By having these prerequisites in place, you can proceed with confidence and ensure a smooth and successful stock recovery reload on your Moto G 2nd Gen.
Download Necessary Files
Before you can reload the stock recovery on your Moto G 2nd Gen, you need to download a few essential files to facilitate the process. These files are crucial for restoring the original recovery image on your device, ensuring its proper functioning and security. Here are the necessary files you’ll need to download:
1. Stock Recovery Image: Look for the official stock recovery image for the Moto G 2nd Gen model. Ensure that you download the correct recovery image version that corresponds to your device’s model number and software version. The stock recovery image is a vital component for returning your device to its original state, allowing you to undo any modifications or customizations.
2. ADB and Fastboot Tools: Download and install the Android Debug Bridge (ADB) and Fastboot tools on your computer. These tools are essential for communicating with your Moto G 2nd Gen while it’s in bootloader or fastboot mode. ADB and Fastboot tools enable you to execute commands and flash the stock recovery image onto your device seamlessly.
3. USB Drivers: Ensure that you have the appropriate USB drivers installed on your computer to establish a stable connection between your Moto G 2nd Gen and the computer. The USB drivers are essential for recognizing and interacting with your device during the recovery reloading process.
Enable USB Debugging
To enable USB debugging on your Moto G 2nd Gen, you’ll need to access the Developer Options menu on your device. Here’s how you can do it:
First, go to the “Settings” app on your Moto G 2nd Gen and scroll down to find “About phone.” Tap on “About phone” and locate the “Build number” entry. Tap on “Build number” seven times in quick succession. You’ll see a message that says, “You are now a developer!” This action enables the Developer Options menu on your device.
Now, go back to the main “Settings” menu and scroll down to find “Developer options.” Tap on “Developer options” and toggle the switch to enable USB debugging. You may be prompted to allow USB debugging on your device; simply tap “OK” to confirm. Once USB debugging is enabled, your Moto G 2nd Gen is ready to communicate with your computer for the next steps of the process.
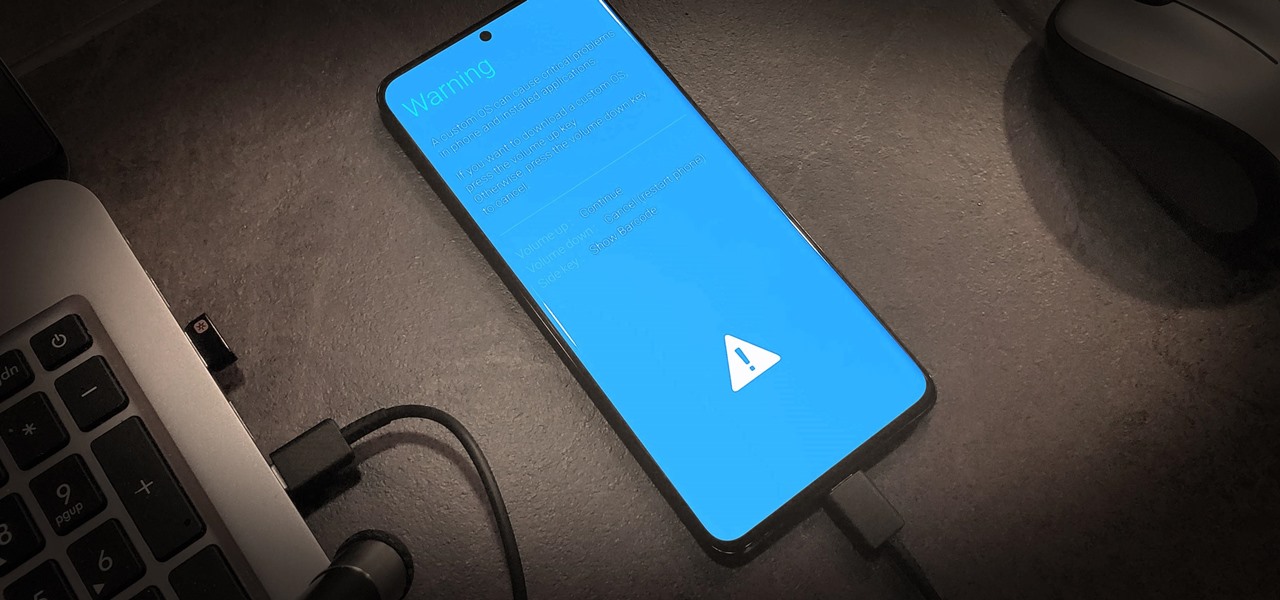
Sure, here's the content for "Boot Moto G 2nd Gen into Fastboot Mode":
Boot Moto G 2nd Gen into Fastboot Mode
To perform various system-level tasks on your Moto G 2nd Gen, you’ll need to access Fastboot mode. This mode allows you to flash custom ROMs, recoveries, and perform other low-level operations on your device. Here’s how you can boot your Moto G 2nd Gen into Fastboot mode.
First, power off your Moto G 2nd Gen by pressing and holding the power button, then selecting “Power off” from the on-screen options. Once the device is powered off, proceed to the next step.
Next, press and hold the Volume Down button and the Power button simultaneously for a few seconds. This will initiate the Fastboot mode on your Moto G 2nd Gen, displaying the Fastboot menu on the screen.
Once the Fastboot mode is activated, you can connect your Moto G 2nd Gen to your computer using a USB cable to perform various operations using ADB and Fastboot commands.
Entering Fastboot mode is essential for tasks such as unlocking the bootloader, flashing custom recoveries, and more. Familiarizing yourself with this process will enable you to carry out advanced operations on your Moto G 2nd Gen with ease.
Flash Stock Recovery Using ADB Fastboot Commands
Once you have successfully entered the Fastboot mode on your Moto G 2nd Gen, you can proceed with flashing the stock recovery using ADB Fastboot commands. Follow these steps to accomplish this task:
1. Open the command prompt on your computer and navigate to the directory where the stock recovery image file is located. Ensure that the file is named appropriately for easy reference.
2. Connect your Moto G 2nd Gen to the computer using a USB cable. Once connected, verify that your device is recognized by the computer by typing “fastboot devices” in the command prompt. This command should display your device’s serial number, indicating a successful connection.
3. To flash the stock recovery, enter the following command in the command prompt: “fastboot flash recovery [recovery_filename.img]”. Replace “[recovery_filename.img]” with the actual name of the stock recovery image file.
4. After executing the command, wait for the process to complete. Once the flashing process is finished, you can reboot your Moto G 2nd Gen by entering the command “fastboot reboot. This will restart your device with the newly flashed stock recovery.
5. To ensure that the stock recovery has been successfully flashed, you can boot into recovery mode by powering off your device and then pressing the appropriate key combination to enter recovery mode. If the stock recovery menu appears, it indicates that the flashing process was successful.
By following these steps, you can effectively flash the stock recovery on your Moto G 2nd Gen using ADB Fastboot commands, restoring the device to its original recovery state.
**
Conclusion
**
Reloading stock recovery on your Moto G 2nd Gen can be a valuable skill, ensuring that your device remains in optimal condition. By following the steps outlined in this guide, you can restore the original recovery software, enabling you to troubleshoot issues and perform essential maintenance. With the right tools and a clear understanding of the process, you can confidently navigate the world of smartphone customization while safeguarding the integrity of your device. Whether you’re an experienced enthusiast or a newcomer to the realm of mobile technology, having the ability to reload stock recovery empowers you to maintain the performance and functionality of your Moto G 2nd Gen.
FAQs
Q: Why would I need to reload stock recovery on my Moto G 2nd Gen?
A: Reloading stock recovery on your Moto G 2nd Gen is essential if you've modified or replaced the recovery system and need to restore the original recovery software. It's also necessary if you encounter issues with the current recovery system and wish to revert to the default setup.
Q: Can I reload stock recovery without a computer?
A: No, reloading stock recovery on the Moto G 2nd Gen typically requires a computer to complete the process. This allows for a more stable and reliable restoration of the stock recovery software.
Q: Will reloading stock recovery erase all my data on the device?
A: Reloading stock recovery should not erase any data on your Moto G 2nd Gen. However, it's always advisable to back up your important files and data before initiating the recovery process to prevent any potential data loss.
Q: Is it possible to reload stock recovery without unlocking the bootloader?
A: Yes, you can reload stock recovery on the Moto G 2nd Gen without unlocking the bootloader. The process focuses solely on restoring the original recovery software and does not necessarily involve unlocking the device's bootloader.
Q: Does reloading stock recovery void the warranty on my Moto G 2nd Gen?
A: Reloading stock recovery does not inherently void the warranty on your Moto G 2nd Gen. However, if the device is rooted or modified in other ways, it may impact the warranty status. It's advisable to review the warranty terms and conditions provided by the manufacturer for specific details.