
Are you struggling to connect your Moto G smartphone to your computer? One of the most convenient ways to establish a connection between the two devices is by using the MTP (Media Transfer Protocol) mode. MTP mode allows you to transfer files, such as photos, videos, and music, between your Moto G smartphone and your computer with ease.
In this article, we will guide you through the process of setting up MTP mode on your Moto G smartphone. Whether you are a tech-savvy user or a beginner, our step-by-step instructions and helpful tips will ensure that you can quickly and smoothly enable MTP mode and enjoy seamless file transfers between your Moto G and computer.
Inside This Article
- How to Set Up MTP Mode on Moto G
- Frequently Asked Questions
- Enabling Developer Options
- Enabling USB Debugging
- Connecting Moto G to a Computer
- Selecting MTP Mode on Moto G
- Conclusion
- FAQs
How to Set Up MTP Mode on Moto G
If you own a Moto G smartphone and want to connect it to your computer for file transfer or data synchronization, you may need to set up the MTP (Media Transfer Protocol) mode. MTP allows you to transfer media files between your Moto G and your computer seamlessly.
Here’s a step-by-step guide on how to set up MTP mode on your Moto G:
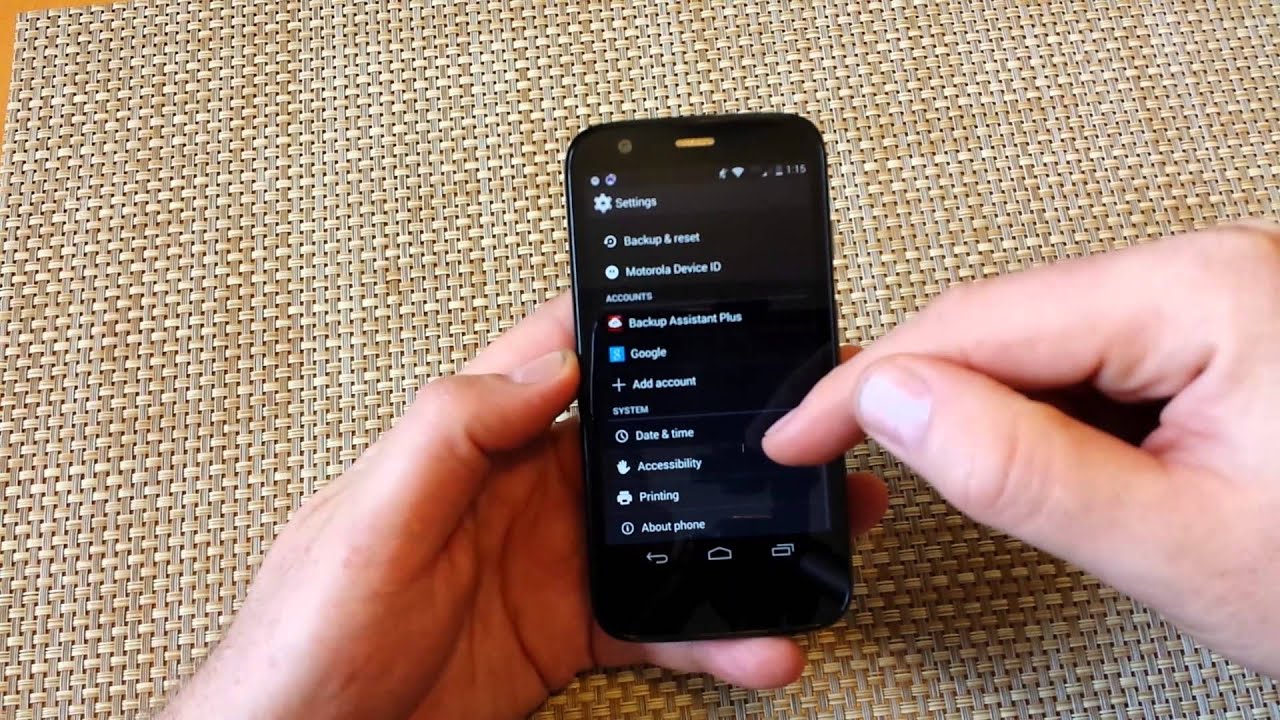
1. Enabling Developer Options
In order to enable MTP mode on your Moto G, you first need to enable Developer Options. To do this, go to the Settings menu on your Moto G, scroll down to find “About phone,” and tap on it. Next, scroll down to “Build number” and tap on it seven times. This will unlock the Developer Options on your device.
2. Enabling USB Debugging
After enabling Developer Options, go back to the main Settings menu and scroll down to find “Developer options.” Tap on it to access the developer settings. Scroll down to find “USB debugging” and toggle the switch to enable it. USB debugging allows your Moto G to establish a secure connection with your computer.
3. Connecting Moto G to a Computer
Now that you have enabled Developer Options and USB debugging, you can connect your Moto G to a computer using a USB cable. Make sure the cable is securely connected to both the Moto G and the computer.
4. Selecting MTP Mode on Moto G
Once your Moto G is connected to the computer, a notification will appear on your device’s screen. Swipe down the notification shade and tap on the “USB for charging” option. In the USB options menu, select “File Transfer” or “MTP” mode. This will enable the MTP mode on your Moto G, allowing you to transfer files between your device and computer.
That’s it! You have successfully set up MTP mode on your Moto G. You can now transfer media files, such as photos, videos, and music, between your device and computer with ease.
Remember to disable USB debugging and disconnect your Moto G from the computer when you’re done transferring files to ensure the security of your device.
Setting up MTP mode on your Moto G is a straightforward process that allows you to access and manage your device’s media files effortlessly. Whether you need to transfer photos, videos, or music or perform data synchronization, MTP mode is the perfect solution for seamless file transfer between your Moto G and computer.
Frequently Asked Questions
1. Can I transfer files between my Moto G and computer without enabling MTP mode?
No, MTP mode is necessary for transferring files between your Moto G and computer. It allows your device to communicate with the computer and establish a secure connection for file transfer.
2. How do I disable USB debugging on my Moto G?
To disable USB debugging on your Moto G, go to the Settings menu, scroll down to find “Developer options,” and tap on it. Then, scroll down to find “USB debugging” and toggle the switch to disable it.
3. Can I use MTP mode on my Moto G to transfer files to a Mac computer?
Yes, MTP mode is compatible with both Windows and Mac computers. You can easily transfer files between your Moto G and a Mac computer by following the same steps outlined in this guide.
4. Are there any alternatives to MTP mode for transferring files between my Moto G and computer?
Yes, apart from MTP mode, you can also use other file transfer modes like PTP (Picture Transfer Protocol) or USB mass storage mode to transfer files between your Moto G and computer. However, MTP mode is recommended for its versatility and compatibility with various operating systems.
Enabling Developer Options
If you’re an advanced user or a developer, enabling Developer Options on your Moto G can give you access to a wide range of advanced settings and features. Here’s how to do it:
- Go to the Settings app on your Moto G.
- Scroll down and tap on “About phone.”
- Now, look for the “Build number” option.
- You need to tap on “Build number” repeatedly, around seven times. You’ll see a notification saying “You are now a developer!”
- Congratulations! You have successfully enabled Developer Options on your Moto G.
Enabling Developer Options gives you access to advanced settings that are typically hidden from regular users. However, be cautious while making changes in the Developer Options, as it can affect the performance or stability of your device if not used properly.
Now that Developer Options is enabled, you can explore a wide range of options and settings on your Moto G. For example, you can enable USB debugging, change animation speeds, and even enable the MTP mode, which we’ll discuss in the next section.
Remember, Developer Options are intended for advanced users, so make sure you only make changes if you understand the implications and are comfortable with them.
Enabling USB Debugging
If you’re a tech enthusiast or a developer, enabling USB debugging on your Moto G can be a game-changer. USB debugging allows you to gain advanced access to your device, enabling you to interact with it in a more direct and powerful way. It’s a crucial step if you want to unlock the full potential of your Moto G.
Here’s a step-by-step guide on how to enable USB debugging on your Moto G:
- First, go to the Settings menu on your Moto G.
- Scroll down and tap on “About phone.”
- Look for the “Build number” option and tap on it seven times. This will enable Developer options on your device.
- Go back to the Settings menu, and you’ll now see “Developer options” listed above “About phone.”
- Tap on “Developer options.”
- Scroll down and find the “USB debugging” option.
- Toggle the switch next to “USB debugging” to enable it.
- A prompt will appear asking for your confirmation. Tap “OK” to proceed.
Now that USB debugging is enabled on your Moto G, you can connect it to your computer and utilize various development tools, such as Android Debug Bridge (ADB) and Android Studio, to debug apps, install custom ROMs, or even modify system files.
It’s important to note that USB debugging offers significant control over your device, so it’s recommended to only enable it when necessary and to keep your device secure by disabling it when not in use.
Connecting Moto G to a Computer
Connecting your Moto G smartphone to a computer is a simple process that allows you to transfer files, manage your device, and perform various tasks seamlessly. Here’s a step-by-step guide to help you connect your Moto G to a computer.
1. Start by locating the USB cable that came with your Moto G. This cable is essential for establishing a physical connection between your phone and the computer.
2. Once you have the USB cable, locate the USB port on your computer. It is typically located on the front or back of the CPU unit.
3. Now, take one end of the USB cable and insert it into the USB port on your computer. Make sure it is inserted securely to ensure a stable connection.
4. The other end of the USB cable has a micro USB connector. Insert this connector into the charging port of your Moto G. Again, ensure a secure connection.
5. Once the cable is properly connected, your Moto G will display a notification indicating that it is connected to a computer. Swipe down from the top of your screen to access the notification panel.
6. In the notification panel, look for the “USB for charging” option and tap on it. This will open a menu with several USB connection options.
7. Among the USB connection options, you should see “Transfer files (MTP)”. Tap on this option to enable MTP mode.
8. After selecting MTP mode, your Moto G will be recognized by your computer as an external storage device. You can now access your phone’s files, photos, and other data from your computer.
9. To access the files on your Moto G, open the file explorer or file manager on your computer and look for your device under the list of “Removable Devices” or “Portable Devices.
10. Click on your Moto G’s name to open it and view its contents. From here, you can copy, move, or delete files between your phone and the computer.
By following these simple steps, you can easily connect your Moto G to a computer and enjoy the convenience of transferring files and managing your device effortlessly. Whether you need to transfer photos, videos, or documents, connecting your Moto G to a computer opens up a world of possibilities.
Selecting MTP Mode on Moto G
When it comes to connecting your Moto G to a computer, selecting the correct mode is essential for a successful file transfer. One of the most common and efficient modes is the Media Transfer Protocol (MTP) mode, which allows you to transfer files between your phone and the computer seamlessly. To select MTP mode on Moto G, follow the steps outlined below:
1. Connect your Moto G to the computer using a USB cable. Make sure both devices are powered on.
2. Once the connection is established, your Moto G will show a notification in the notification panel. Swipe down from the top of the screen to access the notification panel and tap on the notification that says “USB for file transfer”. If you don’t see this notification, proceed to the next step.
3. Go to the “Settings” menu on your Moto G. You can access it by swiping down from the top of the screen and tapping the gear icon in the top-right corner or by finding the “Settings” app in the app drawer.
4. In the “Settings” menu, scroll down and tap on “Connected devices” or “Storage & USB”. The option may vary depending on the Android version on your Moto G.
5. Look for an option related to USB connections or USB preferences, such as “USB connection type” or “USB configuration. Tap on it to proceed.
6. In the USB connection settings, you will find different options like “Charging only”, “File transfer/MTP”, “PTP”, etc. Tap on “File transfer” or “MTP” to select this mode.
7. Once you have selected MTP mode, your Moto G will be recognized by the computer as a storage device, and you will be able to transfer files between the devices.
It’s worth noting that the steps to select MTP mode may vary slightly depending on the specific model of your Moto G and the version of Android it is running. However, the general process remains the same.
Now that you know how to select MTP mode on your Moto G, you can easily transfer photos, videos, music, and other files between your phone and computer. Enjoy seamless file transfer and take full advantage of the connectivity options offered by your Moto G.
Conclusion
Setting up MTP Mode on your Moto G can greatly enhance the convenience of transferring files between your smartphone and your computer. Whether you need to transfer photos, videos, or music, MTP Mode provides a seamless and efficient way to manage and access your files.
By following the simple steps outlined in this guide, you can easily enable MTP Mode on your Moto G and enjoy the benefits it offers. Remember to connect your phone to your computer using a USB cable and ensure that the necessary USB drivers are installed.
With MTP Mode enabled, you can effortlessly transfer files, backup your data, and organize your multimedia content. Say goodbye to the hassle of file transfers and embrace the convenience of MTP Mode on your Moto G.
FAQs
Q: What is MTP mode and why would I need to set it up on my Moto G?
MTP (Media Transfer Protocol) mode is a feature on your Moto G smartphone that allows you to connect it to a computer or other devices for easy file transfer. By enabling MTP mode, you can conveniently transfer files, such as photos, videos, and music, between your Moto G and the connected device.
Q: How do I set up MTP mode on my Moto G?
Setting up MTP mode on your Moto G is a simple process. First, connect your phone to the computer using a USB cable. Once connected, swipe down from the top of the screen to access the notification panel. Look for the USB connection options and tap on it. From the available options, select “Transfer files” or “MTP mode.” Your Moto G will then be in MTP mode, and you can now start transferring files to and from your device.
Q: Can I use MTP mode with devices other than computers?
Yes, you can use MTP mode with various devices other than computers. MTP mode is compatible with laptops, tablets, and even some car systems that support file transfer functionality. This allows you to connect your Moto G to a broader range of devices and transfer files conveniently.
Q: Are there any specific requirements for using MTP mode on my Moto G?
To use MTP mode on your Moto G, you need a USB cable that is compatible with your phone and the device you are connecting to. Ensure that the USB cable is functioning properly and is not damaged. Additionally, make sure that your computer or other devices have the necessary drivers installed to communicate with your Moto G. Most modern operating systems, such as Windows, macOS, and certain Linux distributions, have built-in MTP support.
Q: Is MTP mode the only way to transfer files on my Moto G?
No, MTP mode is not the only option for file transfer on your Moto G. You can also use other methods, such as Bluetooth and cloud storage services, to transfer files between your phone and other devices. However, MTP mode provides a direct and faster transfer option, especially when dealing with larger files or a large number of files at once.