
Have you ever wondered what happens when you save a new ringtone to your Moto G smartphone? Where does it go? In this article, we will uncover the mystery and shed light on the location of your newly saved dredge ringtone. The Moto G, known for its sleek design and powerful performance, offers users the flexibility to customize their device by adding personalized ringtones. Whether you have downloaded a ringtone from an app or created your own, understanding where it is stored can be useful when you want to set it as your default ringtone or assign it to a specific contact. Join us on this fascinating journey as we dive into the inner workings of the Moto G smartphone and demystify the path that your beloved ringtones take on their way to your device.
Inside This Article
- Default Ringtone Location on Moto G
- Saving a Dredge Ringtone
- Finding the Saved Dredge Ringtone on Moto G
- Conclusion
- FAQs
Default Ringtone Location on Moto G
When it comes to personalizing your Moto G smartphone, setting a custom ringtone is a popular choice. Whether you want to stand out from the crowd or simply express your own style, having a unique ringtone can make a difference. But when you save a dredge ringtone to your Moto G, you may wonder where it actually goes and how to find it. In this article, we’ll explore the default ringtone location on Moto G and guide you through the process of saving and locating a dredge ringtone.
By default, Moto G comes with a selection of built-in ringtones that you can choose from. These ringtones are stored in a specific folder on your device, making it easy to access and set as your default ringtone. The default ringtone location on Moto G can vary depending on the model and operating system version, but on most Moto G smartphones, the ringtone folder is located in the internal storage.
On your Moto G, navigate to the “Settings” app and select the “Sound” or “Sound & notification” option. From there, you can access the “Phone ringtone” or “Default ringtone” settings, which will allow you to choose a ringtone from the available options. If you want to set a custom ringtone, you can also select “Add ringtone” or “Choose ringtone from storage” to browse your device’s internal storage for audio files.
When you save a dredge ringtone, simply copy or move the audio file to the ringtone folder on your Moto G’s internal storage. Once the file is in the appropriate folder, you can easily find and select it as your default ringtone. The specific steps to save a dredge ringtone may vary depending on how you obtain the audio file, but you can typically use a file manager app or connect your Moto G to a computer and transfer the file.
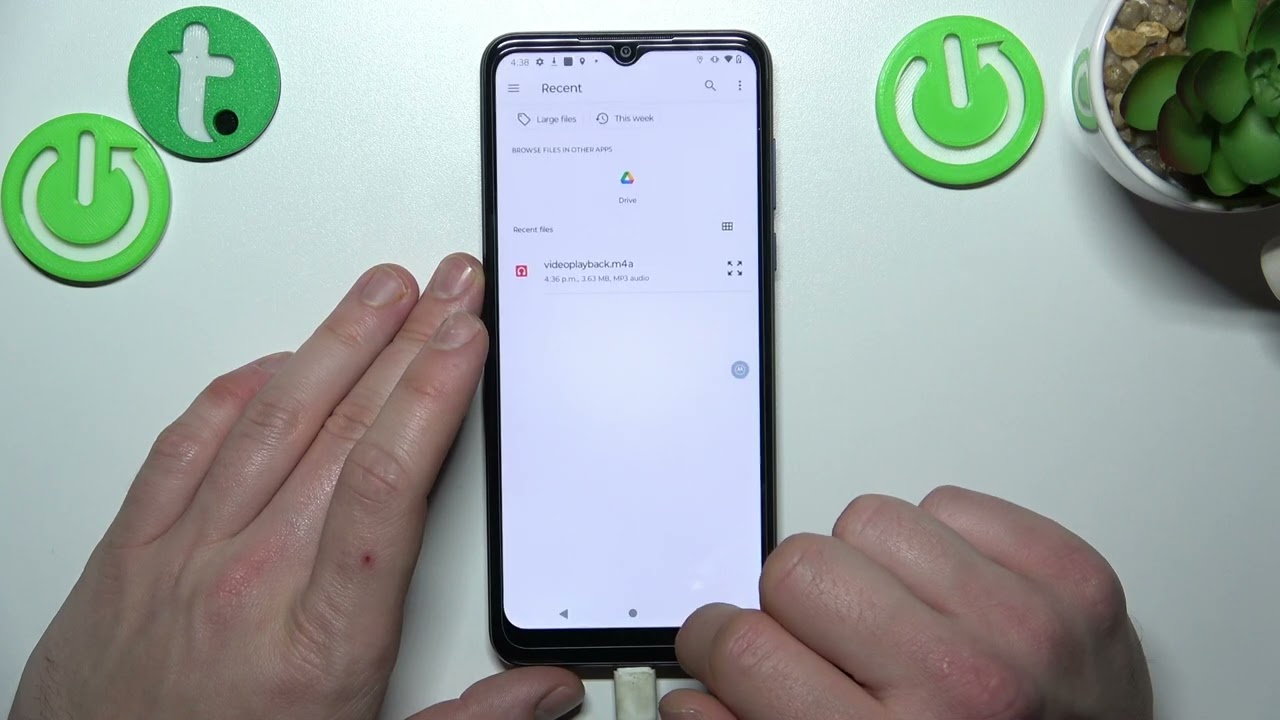
To locate the saved dredge ringtone on your Moto G, go to the “Settings” app and select the “Sound” or “Sound & notification” option. From there, navigate to the “Phone ringtone” or “Default ringtone” settings and choose the “Add ringtone” or “Choose ringtone from storage” option. This will open the file picker, allowing you to browse your internal storage for audio files. Look for the folder where you saved the dredge ringtone, and select it to set it as your default ringtone.
Having a unique ringtone on your Moto G can add a personal touch to your smartphone experience. By understanding the default ringtone location and the process of saving and locating a dredge ringtone, you can easily customize your Moto G and enjoy a ringtone that truly reflects your style.
Saving a Dredge Ringtone
When it comes to personalizing our smartphones, setting custom ringtones is a popular choice. Instead of using the standard ringtones that come pre-installed on our devices, we often prefer to use our favorite songs or unique sound effects as our ringtone. If you’re a fan of the Dredge ringtone and want to save it on your Moto G, you’ll be glad to know that the process is quite straightforward.
To save a Dredge ringtone to your Moto G, follow these simple steps:
- First, locate the Dredge ringtone that you want to save. You can find it on various websites or through a ringtone app on your device.
- Once you’ve found the Dredge ringtone you want to use, make sure it is in a compatible audio file format such as MP3 or WAV.
- Next, connect your Moto G to your computer using a USB cable.
- Open the file explorer on your computer and navigate to the internal storage of your Moto G.
- Create a new folder or open an existing one where you want to save the Dredge ringtone.
- Copy the Dredge ringtone file from your computer and paste it into the folder you created in the previous step.
- Once the file has been transferred, safely disconnect your Moto G from your computer.
- Now, on your Moto G, go to the Settings menu and select Sound or Sounds & Vibration.
- Tap on Phone ringtone or Ringtones, depending on your device’s settings.
- In the list of available ringtones, you should see the Dredge ringtone that you saved. Select it as your default ringtone or assign it to specific contacts.
That’s it! You have successfully saved and set the Dredge ringtone on your Moto G. Now, whenever someone calls you, you’ll be greeted by the unique and catchy sound of the Dredge ringtone.
Remember, you can always repeat the above steps to save and set different ringtones on your Moto G. Feel free to explore and experiment with different sounds to make your smartphone truly personalized.
Finding the Saved Dredge Ringtone on Moto G
So, you’ve successfully saved a dredge ringtone on your Moto G, but now you might be wondering where exactly it is stored. Don’t worry; locating your saved dredge ringtone is a straightforward process on your Moto G smartphone.
By default, Moto G organizes all saved ringtones in a dedicated folder. To find your saved dredge ringtone, follow these simple steps:
- Open the File Manager app on your Moto G.
- Navigate to the “Internal Storage” or “SD Card” section, depending on where you saved the ringtone.
- Look for the “Ringtones” folder.
- Tap on the “Ringtones” folder to open it.
- Scroll through the list of files until you find your dredge ringtone.
Once you locate your ringtone within the “Ringtones” folder, you can further customize it or set it as your default ringtone from the sound settings on your Moto G.
Remember, if you saved the dredge ringtone to your SD card, the steps might differ slightly. Instead of navigating to the “Internal Storage” section, you’ll need to locate your SD card storage and follow the same process mentioned above.
By organizing all saved ringtones in the “Ringtones” folder, Moto G ensures easy access and management of your custom ringtones. It’s a convenient feature that allows you to keep track of your personal audio preferences and switch between different tones with just a few taps.
So, next time you want to find your saved dredge ringtone on your Moto G, simply open the File Manager, navigate to the “Ringtones” folder, and enjoy personalizing your device with your unique sound selection.
Conclusion
In conclusion, knowing where your saved ringtone goes on your Moto G can greatly enhance your smartphone experience. By understanding the file path and location of the ringtone, you can easily customize your device’s sound profile and personalize it to your liking.
The Moto G provides a seamless and user-friendly interface for managing and accessing your stored ringtones. Whether you save a ringtone from a third-party app, or use one of the pre-installed options, you can find your saved ringtone in the “Ringtones” folder under the “Internal storage” or “In-built storage” option on your Moto G.
Remember, it is essential to select a supported audio file format for your ringtone to work properly. MP3 and WAV formats are commonly used and generally work without any issues on Moto G smartphones.
By locating your saved ringtone on your Moto G, you can easily set it as your default ringtone, assign it to individual contacts, or use it for other notification purposes. So go ahead and explore the world of personalized ringtones on your Moto G to add a touch of uniqueness and style to your device.
FAQs
1. When I save a new ringtone to my Moto G, where does it go?
When you save a new ringtone to your Moto G, it is usually stored in the “Ringtones” or “Notifications” folder of your device’s internal storage. You can access these folders using a file manager app or through the sound settings of your Moto G.
2. Can I set a custom ringtone for specific contacts on my Moto G?
Yes, you can set a custom ringtone for specific contacts on your Moto G. To do this, open the Contacts app, select the contact you want to set a custom ringtone for, and then tap on the “Edit” option. From there, you should see an option to set a custom ringtone for that specific contact.
3. What file formats are supported for ringtones on the Moto G?
The Moto G supports various audio file formats for ringtones, including MP3, WAV, OGG, and AAC. However, it is recommended to use MP3 or OGG files for better compatibility and smaller file sizes.
4. How do I set a custom ringtone on my Moto G?
To set a custom ringtone on your Moto G, go to the Settings app and select the “Sound” or “Sound & notification” option. From there, look for the “Phone ringtone” or “Default ringtone” setting and tap on it. You will then be able to choose a pre-installed ringtone or select a custom ringtone from the list.
5. What are some popular ringtone apps for the Moto G?
There are several popular ringtone apps available for the Moto G on the Google Play Store. Some popular options include ZEDGE, Audiko, and Ringtone Maker. These apps allow you to browse and download a wide variety of ringtones or even create your own custom ringtones.