
Are you having trouble with your Apple TV remote dying frequently? Is it becoming a hassle to constantly replace the batteries? Don’t worry, we’ve got you covered! In this article, we will walk you through the step-by-step process of changing the battery on your Apple TV remote. So, whether you’re a tech-savvy individual or new to Apple devices, you’ll find this guide easy to follow. By the end of this article, you’ll be able to replace the battery in no time and get back to enjoying your favorite shows and movies on your Apple TV. Let’s dive in and learn how to change the battery on your Apple TV remote!
Inside This Article
- Overview of Apple TV Remote
- Step 1: Remove the Old Battery
- Step 2: Select and Purchase a New Battery
- Step 3: Open the Battery Compartment
- Step 4: Replace the Battery
- Step 5: Test the Remote
- Conclusion
- FAQs
Overview of Apple TV Remote
The Apple TV Remote is a sleek, compact device that seamlessly integrates with Apple TV and provides a user-friendly interface for controlling your TV experience. With its intuitive design and advanced features, the Apple TV Remote enhances your viewing pleasure and makes navigating through your favorite shows and apps effortless.
The Apple TV Remote features a touch-sensitive trackpad, allowing you to quickly and easily navigate menus and swipe through content. The trackpad is responsive and precise, making it a breeze to select your desired options and control playback.
In addition to the trackpad, the Apple TV Remote also includes menu and playback buttons, giving you quick access to essential functions. Whether you want to pause, play, rewind, or fast forward, the buttons are conveniently located for effortless control.
One of the standout features of the Apple TV Remote is its Siri integration. By simply pressing the microphone button and speaking your commands, you can search for movies, TV shows, and apps, as well as control playback using voice commands. This voice control functionality adds a new level of convenience to your TV-watching experience.
The Apple TV Remote connects to your Apple TV using Bluetooth, providing reliable and seamless connectivity. Whether you’re sitting across the room or a few feet away, you can easily control your TV without having to aim the remote directly at the Apple TV.
Furthermore, the Apple TV Remote is rechargeable, eliminating the need for constantly replacing batteries. When the battery is running low, you can simply connect the remote to a power source via the included Lightning cable and let it charge. This ensures that your remote is always ready to use when you need it.
With its sleek design, intuitive features, and Siri integration, the Apple TV Remote takes your TV-watching experience to the next level. Whether you’re binge-watching your favorite shows, exploring new apps, or searching for content using voice commands, the Apple TV Remote delivers a seamless and enjoyable experience every time.
Step 1: Remove the Old Battery
When it comes to changing the battery on your Apple TV remote, the first step is to remove the old battery. Here’s how you can do it:
- Hold the remote in your hand with the buttons facing down.
- Locate the battery compartment at the back of the remote.
- Using your thumb or the tip of a small, flat object, such as a paperclip, push down on the battery compartment cover. Apply slight pressure until it slides open.
- Once the cover is open, carefully remove the old battery from its slot. Take note of its position and orientation, as you’ll need to insert the new battery following the same configuration.
- If the battery is stuck, gently tap the remote on the palm of your hand to dislodge it.
- Dispose of the old battery properly, following local regulations for battery recycling.
Now that you have successfully removed the old battery, you’re ready to move on to the next step of the process: selecting and purchasing a new battery for your Apple TV remote.
Step 2: Select and Purchase a New Battery
Once you have successfully removed the old battery from your Apple TV remote, it is time to select and purchase a new one. Choosing the right battery is crucial to ensure the optimal performance of your remote.
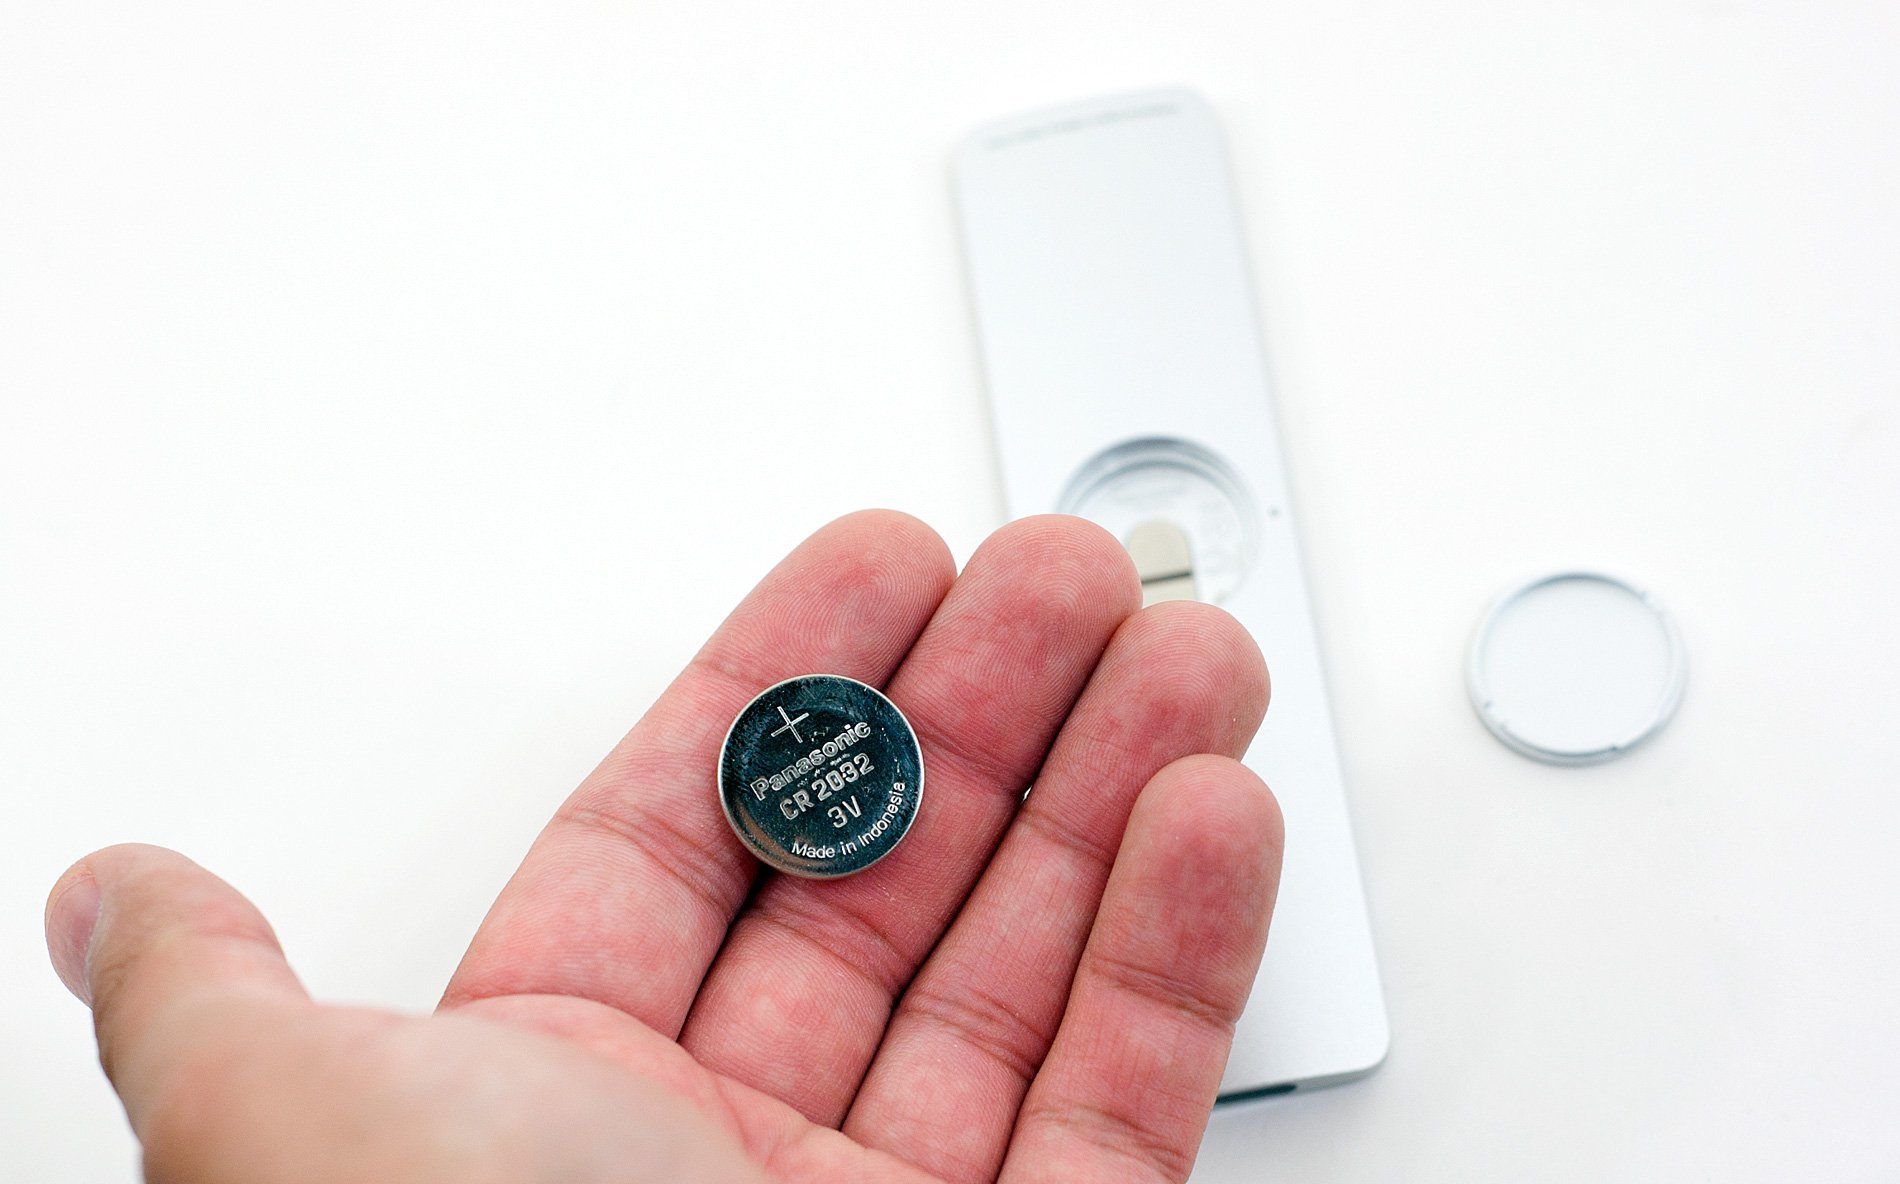
The first step is to take a look at the old battery you removed. Typically, Apple TV remotes use a CR2032 lithium coin battery. This information is usually printed on the battery itself. Confirming the type of battery is important as it will ensure compatibility with your remote.
Now that you know the type of battery needed, it’s time to head out to make your purchase. You can choose to visit a local electronics store or even order the battery online. Whichever option you prefer, make sure to buy a trusted brand and genuine battery to ensure quality and longevity.
If you decide to purchase the battery online, there are a few reputable websites where you can find the specific battery you need. These websites often provide user reviews, which can help you make an informed decision.
When buying the battery in-store, don’t hesitate to ask the salesperson for assistance if you’re unsure about which battery to choose. They can guide you and ensure you make the right purchase.
It is important to note that Apple TV remotes tend to have a long battery life, so you may not need to change the battery frequently. However, it’s always good to have a spare battery on hand, just in case.
Once you have purchased the new battery, you are now ready to proceed to the next step of the process – opening the battery compartment on your Apple TV remote.
Step 3: Open the Battery Compartment
Once you have selected and purchased a new battery for your Apple TV remote, the next step is to open the battery compartment. Follow these simple instructions to ensure a smooth process:
1. Begin by holding the remote with the buttons facing down.
2. Locate the battery cover on the back of the remote. It will be marked with a small arrow or a tab that you can slide or lift.
3. Slide or lift the battery cover in the direction indicated. Apply gentle pressure as you do this to avoid damaging the cover or the remote.
4. Once the cover is open, you will see the existing battery inside the compartment.
5. Carefully remove the old battery and set it aside. Remember to dispose of it properly according to your local regulations.
6. Take a moment to inspect the battery compartment for any dust, debris, or corrosion. If you notice any, use a clean and dry cloth or a cotton swab to carefully clean the area.
7. Before proceeding, make sure the new battery you have purchased is the correct type and size for your Apple TV remote. Refer to the user manual or the battery packaging for guidance.
8. Now, you are ready to insert the new battery into the compartment. Ensure that the positive (+) and negative (-) ends of the battery align with the markings inside the compartment.
9. Gently press the battery into place, taking care not to exert too much force. It should fit snugly without wiggling or falling out.
10. Once the battery is securely in place, close the battery cover. Ensure that it clicks or slides back into position, indicating that it is properly closed.
11. Congratulations! You have successfully opened the battery compartment and are now ready to move on to the next step of replacing the battery in your Apple TV remote.
Step 4: Replace the Battery
Replacing the battery of your Apple TV remote is a simple process. Follow these steps to ensure a smooth battery replacement:
1. Make sure you have the new battery ready. Refer to the manufacturer’s instructions or the Apple TV remote specifications to determine the appropriate battery type. Typically, Apple TV remotes use a CR2032 coin cell battery.
2. Locate the battery compartment on the back of the Apple TV remote. It is usually indicated by a small battery icon. Use your fingers or a small tool to carefully open the battery compartment door. Be gentle to avoid damaging the remote.
3. Once the battery compartment is open, you will see the old battery. Take note of the orientation of the battery, as you will need to insert the new battery in the same way. If needed, use a small tool or your fingernail to carefully remove the old battery from its slot. Dispose of the old battery properly according to your local recycling guidelines.
4. Take the new battery and ensure it is properly aligned with the battery compartment. Most coin cell batteries have a small plus sign (+) on one side to indicate the positive terminal. Align it with the corresponding marking inside the battery compartment for correct placement.
5. Gently insert the new battery into the battery compartment, keeping in mind the correct orientation. Make sure it is securely in place and not loose. Close the battery compartment door, and you should hear a satisfying click or snap indicating that it has been properly closed.
6. Give the remote a gentle shake or tap it on your hand to ensure the battery is securely seated and making proper contact. This will help avoid any issues with intermittent connectivity or the remote not functioning correctly.
7. After replacing the battery, test the remote by pressing some buttons to verify proper functionality. If the remote does not respond, double-check the battery orientation and make sure it is inserted correctly.
By following these steps, you can easily replace the battery in your Apple TV remote. This will ensure your remote continues to work effectively and you can fully enjoy your Apple TV streaming experience.
Step 5: Test the Remote
After successfully replacing the battery in your Apple TV remote, it’s essential to test it to ensure it’s functioning correctly. Here’s how to test the remote:
1. Press any button on the remote: Start by pressing any button on the remote, such as the Menu or Volume button. If the remote is working properly, you should see a response on your Apple TV screen.
2. Check for a blinking light: The Apple TV remote has a small LED light at the top. When you press a button, the light should blink to indicate that the command has been successfully transmitted. Keep an eye out for the blinking light as you press different buttons.
3. Test different functions: To ensure that all the buttons on the remote are working correctly, try using different functions. For example, navigate through the menu options, adjust the volume, or play and pause a video. If all the functions respond as expected, it means the remote is working fine.
4. Distance test: Check the remote’s range by moving a bit farther away from your Apple TV. Press the buttons and see if the commands are still being registered. If the remote works even from a distance, it indicates a strong signal and good battery connection.
5. Try troubleshooting: If you encounter any issues or the remote doesn’t respond as expected, try troubleshooting steps. You can reboot your Apple TV, ensure there are no obstructions between the remote and the Apple TV, or unpair and re-pair the remote if necessary. Consult the Apple TV manual or support resources for more detailed troubleshooting instructions.
Testing the remote after replacing the battery is crucial to ensure that it is in proper working condition. By following these steps, you can be confident that your Apple TV remote is ready to control your entertainment system efficiently.
Conclusion
Changing the battery on your Apple TV remote is a simple and straightforward process that can greatly improve your user experience. By following the step-by-step instructions provided in this article, you can easily replace the battery and ensure that your remote is always powered and ready for use.
Remember to use the correct type of battery and handle it with care to avoid any damage. By keeping your remote in good working condition, you can enjoy uninterrupted entertainment and navigation on your Apple TV.
So, the next time your Apple TV remote shows signs of a dying battery, don’t worry. With this guide, you have all the information you need to quickly and easily change the battery and keep enjoying your favorite shows and movies on Apple TV.
FAQs
1. How do I change the battery on my Apple TV remote?
To change the battery on your Apple TV remote, follow these simple steps:
- Hold the remote with the buttons facing down.
- Locate the battery compartment door on the back of the remote.
- Slide the battery compartment door towards the bottom of the remote and lift it off.
- Remove the old battery.
- Insert a new CR2032 or BR2032 battery with the positive (+) side facing up.
- Place the battery compartment door back on the remote and slide it upwards to close it.
2. How often do I need to change the battery on my Apple TV remote?
The frequency of battery replacement depends on your usage. On average, the battery on an Apple TV remote can last for several months to a year, depending on the frequency and intensity of use. However, it is a good idea to keep spare batteries handy to avoid any inconvenience.
3. Can I use rechargeable batteries for my Apple TV remote?
Yes, you can use rechargeable batteries with your Apple TV remote. It is recommended to use high-quality rechargeable batteries that can hold a charge for a longer duration. Keep in mind that rechargeable batteries may have a slightly shorter lifespan compared to regular batteries, so you may need to recharge them more frequently.
4. My Apple TV remote is not working even after changing the battery. What should I do?
If your Apple TV remote is not working after changing the battery, there are a few troubleshooting steps you can try:
- Make sure the battery is properly inserted with the correct polarity.
- Try resetting the remote by holding the Menu and Volume Up buttons simultaneously for a few seconds.
- Check that your Apple TV is properly connected and functioning.
- If the issue persists, you may need to contact Apple support or consider getting a replacement remote.
5. Can I use a third-party remote for my Apple TV?
While it is technically possible to use a third-party remote with your Apple TV, it is recommended to use the official Apple TV remote for the best user experience. The Apple TV remote is specifically designed to work seamlessly with the Apple TV and offers full functionality and compatibility. Using a third-party remote may result in limited features and compatibility issues.