
In today’s fast-paced digital world, staying connected is an essential part of our daily lives. Whether it’s for work, leisure, or communication, our reliance on cell phones and mobile devices is undeniable. But what happens when your trusty cell phone starts to lose its battery life? That’s where knowing how to change your Blink battery becomes crucial. Blink batteries are widely used in a range of mobile accessories, including wireless earphones, smartwatches, and fitness trackers. In this comprehensive guide, we will take you through the step-by-step process of changing a Blink battery, ensuring that you never have to worry about running out of power while on the go. So, let’s dive in and discover how you can effortlessly swap out your Blink battery and keep your mobile accessories running smoothly!
Inside This Article
- Why is it important to change the Blink battery
- Tools needed to change Blink battery
- Step-by-step guide to change Blink battery
- Conclusion
- FAQs
Why is it important to change the Blink battery
Changing the battery in your Blink camera is a crucial aspect of maintaining its functionality and ensuring optimal performance. Here are some key reasons why it is important to regularly change the Blink battery:
- Continuous Power Supply: The Blink battery powers your camera, allowing it to capture and transmit footage. Regularly changing the battery ensures a continuous power supply, preventing any disruptions in surveillance.
- Uninterrupted Monitoring: A fully charged battery ensures uninterrupted monitoring of your home or property. By changing the battery as instructed, you can avoid any gaps in coverage and maintain reliable surveillance.
- Enhanced Efficiency: Over time, the battery in your Blink camera may lose its capacity and efficiency. By replacing it with a new battery, you can restore the camera’s performance and ensure that it operates at its peak potential.
- Extended Lifespan: Regularly changing the Blink battery can help extend the overall lifespan of your camera. By avoiding prolonged use with an aging or depleted battery, you reduce the risk of damage and increase the longevity of your device.
- Optimal Image Quality: A fresh battery ensures that your Blink camera can capture high-quality footage with clear images. By regularly changing the battery, you can guarantee the best image and video quality from your camera.
- Reliable Security: Your Blink camera provides security and peace of mind. To maintain its reliability, it is crucial to change the battery periodically. This ensures that your camera is always ready to capture any suspicious activities or events.
Overall, changing the Blink battery is essential for maintaining the functionality, efficiency, and reliability of your camera. By following the recommended battery replacement guidelines, you can ensure uninterrupted power supply, optimal performance, and reliable security surveillance.
Tools needed to change Blink battery
Changing the battery of your Blink device is a simple and straightforward process that requires a few essential tools. To ensure a smooth replacement process, make sure you have the following tools handy:
- Small screwdriver: A small screwdriver will be needed to remove the screws that hold the battery compartment in place. It is important to have the right size screwdriver to avoid damaging the screws or the device itself.
- Blink battery: Of course, you will need the replacement battery for your Blink device. Be sure to purchase the correct battery model specified for your particular Blink device. Check the user manual or the manufacturer’s website for the compatible battery model.
- Clean cloth: Before replacing the battery, it’s advisable to clean the battery compartment and the surrounding area to ensure a proper connection. A clean cloth or microfiber cloth would work well for this task.
- Disposable gloves: While not strictly necessary, wearing disposable gloves can help protect the battery and your hands from any dirt or contaminants during the replacement process. It’s always good to take precautions and keep everything clean.
- Tweezers: In some cases, the battery may be difficult to remove by hand due to its position or tight fit. Having a pair of tweezers on hand can make it easier to grip and remove the battery safely.
- Electrical tape: If the battery compartment cover or any other part of the device gets damaged during the battery replacement process, electrical tape can be useful for temporarily securing and protecting the components until they can be properly repaired or replaced.
Having these tools readily available will make the process of changing the Blink battery a breeze. Remember to handle the battery and the device with care, and always refer to the manufacturer’s instructions for detailed information on replacing the battery on your specific Blink device.
Step-by-step guide to change Blink battery
Changing the battery in your Blink device is a simple process that can be done in a few easy steps. Follow this step-by-step guide to ensure a smooth and successful battery replacement.
Step 1: Gather the necessary tools
Before you begin, make sure you have all the tools needed to change the Blink battery. You will need a small Phillips head screwdriver, a new battery of the appropriate type, and a clean, dry cloth. Having these tools ready will allow you to complete the battery replacement without any interruptions.
Step 2: Prepare the Blink device
To change the battery, you’ll need to remove the cover of the Blink device. Start by disconnecting the device from any power source and removing it from its mount. Lay it on a flat surface and use the small Phillips head screwdriver to gently loosen the screws securing the cover.
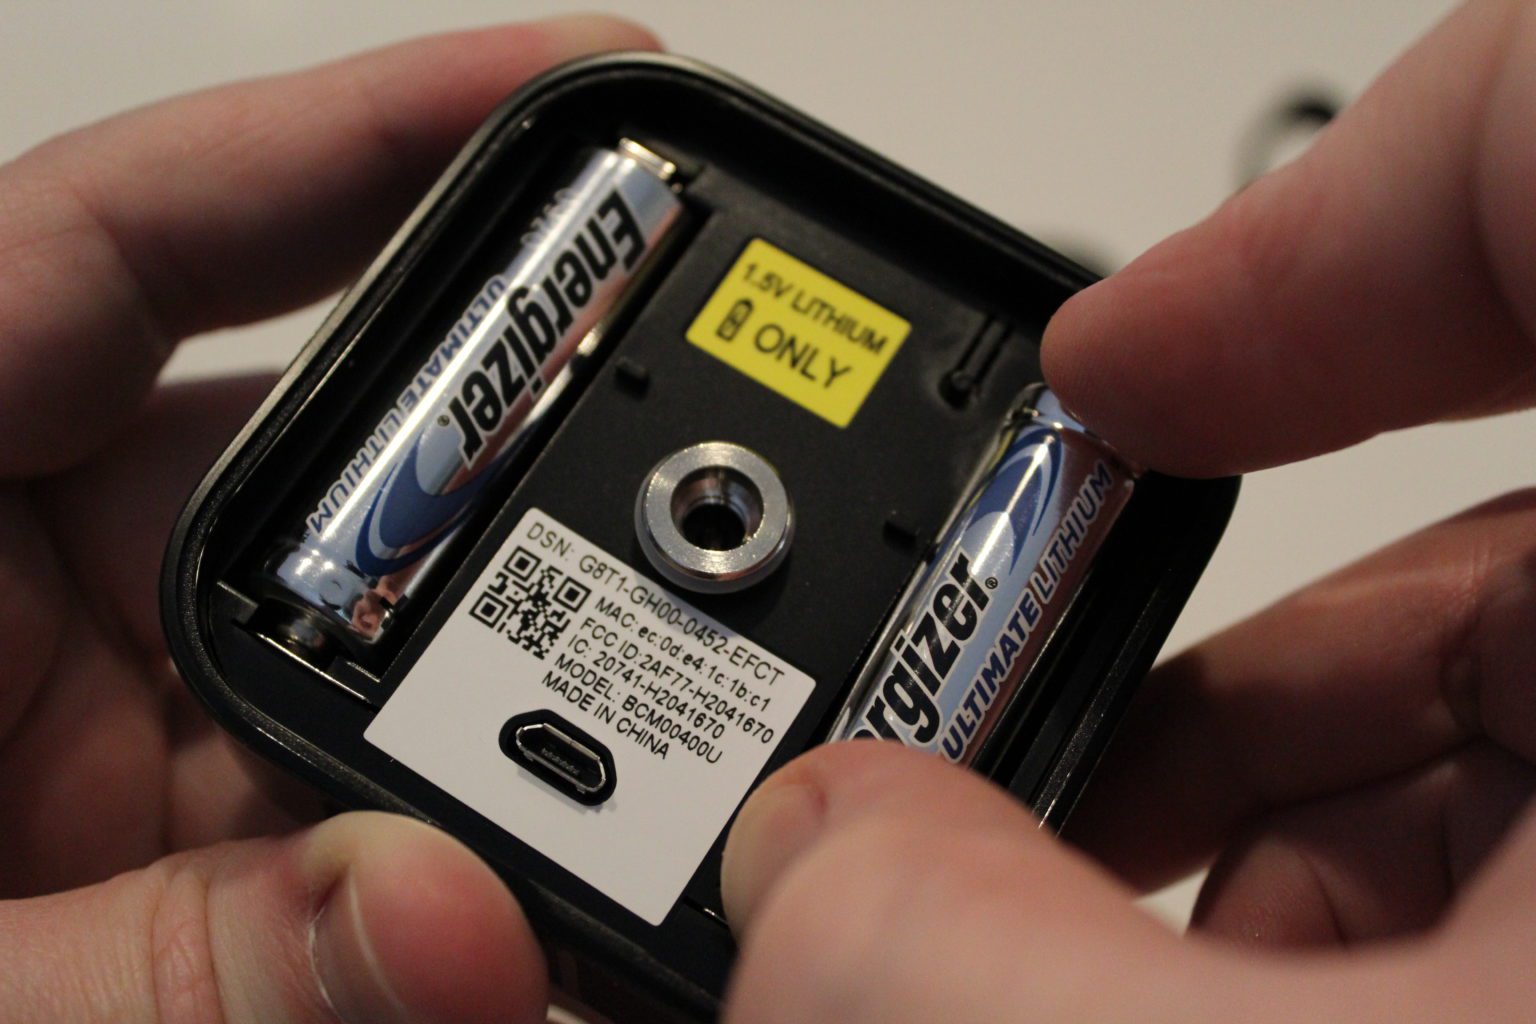
Step 3: Remove the old battery
Once the cover is removed, locate the battery inside the Blink device. Carefully remove the old battery, taking note of its orientation. Most Blink batteries have a small arrow indicating the correct way to insert the new battery later on. Use the clean, dry cloth to wipe away any dust or debris that may have accumulated.
Step 4: Insert the new battery
Take the new battery and insert it into the Blink device, making sure to align it correctly according to the arrow or other markings. Gently push the battery into place until it is snugly fitted. Avoid using excessive force as this could damage the battery or the device itself.
Step 5: Reassemble the Blink device
Once the new battery is securely in place, it’s time to reassemble the Blink device. Carefully align the cover with the screw holes and use the small Phillips head screwdriver to tighten the screws, ensuring they are snug but not overtightened. Avoid overtightening as this may cause damage to the device.
Step 6: Test the Blink device
Before mounting the Blink device back in its original location, it’s important to test it to ensure that the battery replacement was successful. Reconnect the device to any power source and check that it powers on and functions as expected. If everything looks good, you can proceed to mount it back in its designated spot.
By following these simple steps, you can easily change the battery in your Blink device and keep it running smoothly. Remember to always use the proper tools and handle the batteries with care. Regularly replacing the battery will ensure that your Blink device continues to provide you with reliable security and peace of mind.
Conclusion
Changing the battery on your Blink camera is a simple and essential task to ensure continued surveillance and security for your home or business. By following the step-by-step instructions provided in this article, you can easily replace the battery and get your Blink camera up and running in no time.
Remember to always use the recommended batteries for your Blink camera model to ensure optimal performance and longevity. Additionally, be sure to check the battery level regularly and replace it when necessary to maintain uninterrupted functionality.
With the knowledge and guidelines provided in this article, you have the power to keep your Blink camera working effectively and ensure the safety of your premises. Don’t let a dead battery compromise your security – take the necessary steps to change it and enjoy peace of mind knowing that your Blink camera is ready to capture every moment.
FAQs
1. How long does a Blink battery last?
The battery life of a Blink device can vary depending on usage and settings. On average, the battery can last up to two years before needing to be replaced.
2. How do I know when it’s time to change the Blink battery?
When the battery is running low, you will receive notifications in the Blink app. You can also check the battery status in the app to see the remaining battery life.
3. Can I use third-party batteries for my Blink device?
It is recommended to use genuine Blink batteries for optimal performance and compatibility. Third-party batteries may not provide the same level of reliability and may void the warranty.
4. How do I change the battery on my Blink device?
To change the battery, first, remove the back cover of the device. Then, carefully remove the old battery and replace it with a new one, ensuring that it is properly inserted. Finally, reattach the back cover.
5. Do I need to power off my Blink device before changing the battery?
It is not necessary to power off the device before changing the battery. However, for safety reasons, it is recommended to handle the device with care and avoid touching any exposed electrical components.