
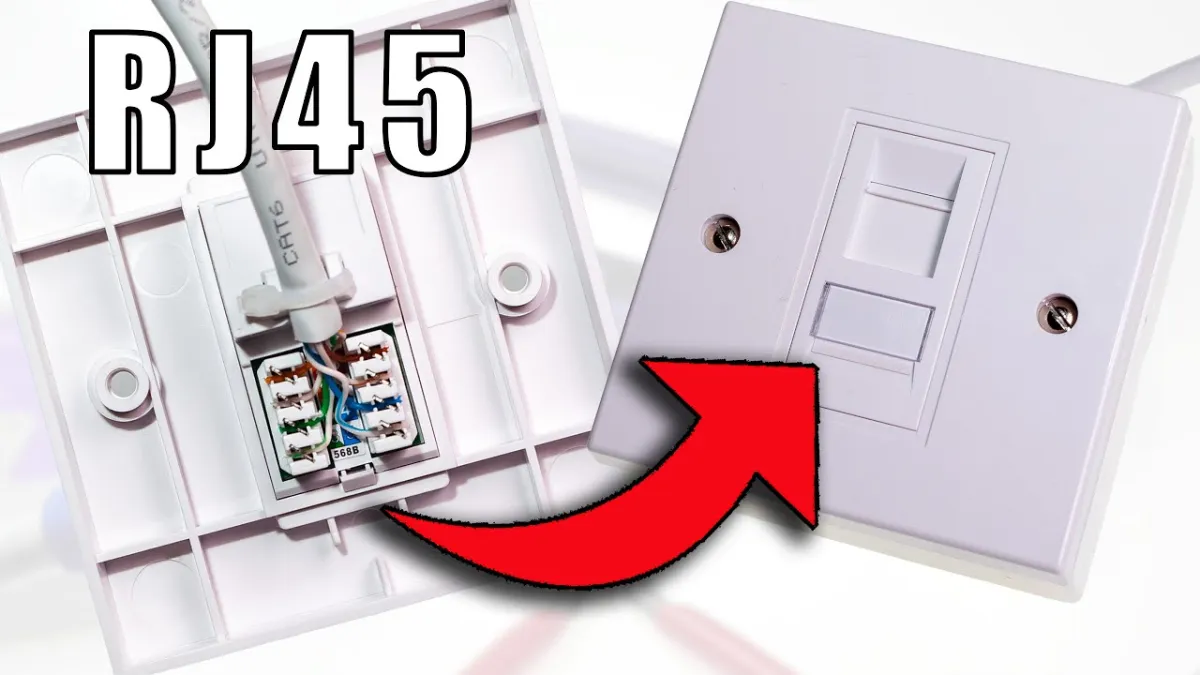
Are you struggling to connect a RJ45 connector? Don’t worry, we’ve got you covered! Whether you’re an IT professional or an avid DIY enthusiast, understanding how to connect a RJ45 connector is essential for any networking project. The RJ45 connector, also known as an Ethernet connector, is the most commonly used connector for network cables. It allows you to connect devices such as computers, routers, and switches to create a wired network connection. In this article, we will guide you through the process of connecting a RJ45 connector step-by-step, ensuring that you have a seamless and reliable network connection. So let’s dive in and learn how to connect a RJ45 connector like a pro!
Inside This Article
- Setting up the Tools and Materials
- Stripping the Ethernet Cable
- Arranging the Wires in the RJ45 Connector
- Crimping the RJ45 Connector
- Conclusion
- FAQs
Setting up the Tools and Materials
Before you can connect an RJ45 connector, it’s important to gather all the necessary tools and materials. Here’s what you’ll need:
1. Ethernet cable – Make sure you have a high-quality Ethernet cable that is suitable for the network speed you plan to use. It’s best to use a Category 5e or Category 6 cable for optimal performance.
2. RJ45 connector – This is the connector that you will use to attach the Ethernet cable to a device or wall jack. Ensure you have a high-quality RJ45 connector that is compatible with the cable you are using.
3. Cable stripper – A cable stripper is a tool specifically designed to remove the outer insulation from the Ethernet cable, exposing the individual wires inside. This is an essential tool for preparing the cable for the RJ45 connector.
4. Crimping tool – A crimping tool is required to secure the RJ45 connector onto the stripped Ethernet cable. This tool applies pressure to the connector, ensuring a strong and reliable connection.
5. Wire cutter – A wire cutter is useful for trimming the excess wire after crimping the connector. This ensures a clean and professional-looking connection.
6. Cable tester (optional) – While not essential, a cable tester can be handy to verify the integrity of the Ethernet connection once you have completed the process.
By having all these tools and materials ready before you begin, you can ensure a smooth and efficient process when connecting an RJ45 connector.
Stripping the Ethernet Cable
Before you can connect an RJ45 connector to an Ethernet cable, you need to strip the outer insulation from the cable end. Stripping the cable involves removing a portion of the protective jacket, exposing the individual wires within.
To strip the Ethernet cable, you will need a few tools, including a cable stripper or a utility knife. A cable stripper is the preferred tool as it allows for precise and consistent cuts. However, if you don’t have a cable stripper, a utility knife can be used with caution.
First, ensure that you have enough cable length for the connection you are making. It’s better to have a little extra length than not enough. Measure and mark the desired length on the cable, usually about an inch or so.
Next, using the cable stripper or the utility knife, carefully score the outer insulation at the marked point. Make sure to apply just enough pressure to cut through the jacket without damaging the inner wires. It’s recommended to rotate the cable while scoring to ensure an even cut all around.
Once you have made the cut, gently pull the scored section of the cable away from the inner wires. The outer insulation should separate cleanly, exposing the individual twisted pairs of wires.
Take a moment to inspect the exposed wires. Ensure that they are not frayed or damaged. If you notice any damage, it’s best to cut off the damaged portion and repeat the stripping process.
Finally, use a cable cutter, scissors, or wire stripper to neatly trim the excess length of the exposed wires. Leaving too much excess can lead to connection issues, while trimming too close to the insulation may result in unreliable connections.
With the Ethernet cable properly stripped, you are now ready to proceed to the next step of connecting the wires to the RJ45 connector.
Arranging the Wires in the RJ45 Connector
Now that you have stripped the Ethernet cable, it’s time to arrange the wires in the RJ45 connector. This step is crucial because it ensures that each wire is in the correct position and properly connected for a reliable connection.
Here’s a step-by-step guide on how to arrange the wires in the RJ45 connector:
- Untwist the wires: Start by untwisting each of the four pairs of wires in the Ethernet cable. Untangling them will make it easier to arrange them in the correct order.
- Straighten the wires: Once the wires are untwisted, use your fingers to straighten them. This will help prevent any unnecessary twists or bends that could affect the quality of the connection.
- Arrange the wires in the correct order: The arrangement of the wires in the RJ45 connector is crucial for proper communication. The standard arrangement, also known as T568B wiring, is as follows:
- Pin 1: Orange/White wire
- Pin 2: Orange wire
- Pin 3: Green/White wire
- Pin 4: Blue wire
- Pin 5: Blue/White wire
- Pin 6: Green wire
- Pin 7: Brown/White wire
- Pin 8: Brown wire
Note that some Ethernet cables may use a different wiring standard called T568A. Make sure to identify which one is used in your setup and arrange the wires accordingly.
Insert the wires into the RJ45 connector: With the wires arranged in the correct order, carefully insert them into the corresponding slots in the RJ45 connector. Ensure that each wire is fully inserted and reaches the end of the connector.
Double-check the arrangement: Before crimping the connector, take a final look at the arrangement of the wires. Make sure they are in the correct order and fully inserted into the connector slots. Any mistakes at this stage could lead to a faulty connection.
By following these steps and arranging the wires in the RJ45 connector correctly, you will be one step closer to establishing a solid and reliable Ethernet connection.
Crimping the RJ45 Connector
Now that you have properly arranged the wires in the RJ45 connector, it’s time to crimp the connector to secure the connection. Crimping is the process of permanently attaching the connector to the cable, ensuring a solid and reliable connection.
Before starting the crimping process, double-check that the wires are still in the correct order and fully inserted into the connector. Any misalignment or loose wires can result in a faulty connection.
Next, take the RJ45 connector and insert the end of the cable into the connector until the wires reach the end. Make sure the wires slide all the way into the connector and are aligned with the metal contacts inside.
Now, it’s time to use the crimping tool. Position the connector and cable into the appropriate slot of the crimping tool, ensuring it is placed securely before applying pressure.
Once you are confident in the positioning, firmly squeeze the crimping tool to exert pressure on the connector. The tool will pierce the insulation on the cable and crimp the metal contacts, securing the wires in place.
After completing the crimping process, give the connector a gentle tug to confirm that the wires are securely held in place. If the connector feels loose or the wires come out easily, it means the crimping process was not successful, and you may need to re-crimp the connector.
Once you are satisfied with the crimped connector, repeat the process for any additional connectors on the cable if necessary.
Finally, to ensure the best performance and longevity of the connection, use a cable tester to verify that the cable is functioning correctly. This will help detect any wiring issues or connectivity problems before deploying the cable.
By following these steps and using the proper tools, you can successfully crimp an RJ45 connector onto an Ethernet cable. Remember to take your time and double-check your work to ensure a reliable and secure connection.
Conclusion
In conclusion, knowing how to connect a RJ45 connector is a valuable skill for anyone working with networking systems. Whether you are setting up a home network or working in a professional environment, being able to properly connect RJ45 connectors can save you time and effort.
Remember to follow the step-by-step guide provided in this article to ensure a successful connection. Make sure to double-check your work and test the connection before finalizing it. Additionally, always use high-quality cables and connectors to ensure the best performance and durability.
By mastering the art of connecting RJ45 connectors, you can have the peace of mind knowing that your network connections are secure and efficient. So go ahead, tackle the task with confidence, and enjoy the benefits of a well-connected network!
FAQs
1. How do I connect a RJ45 connector to a network cable?
Connecting a RJ45 connector to a network cable is a straightforward process. Follow these steps:
- Gather the necessary tools, including a crimping tool, RJ45 connectors, and a network cable.
- Strip the outer covering of the network cable to expose the internal wires.
- Arrange the internal wires according to the desired pinout configuration. The standard pinout configuration for Ethernet cables is T568B.
- Carefully insert the arranged wires into the RJ45 connector, making sure they are properly aligned with the metal contacts inside.
- Use the crimping tool to firmly crimp the connector onto the cable, ensuring a secure connection.
2. Can I connect a RJ45 connector to a phone cable?
No, you cannot directly connect a RJ45 connector to a phone cable. Phone cables typically use a different type of connector called an RJ11 connector. RJ45 connectors are specifically designed for Ethernet network cables, while RJ11 connectors are used for telephone cables. The pin configuration and wiring schemes of these two connectors are different, so they are not compatible with each other. If you need to connect a phone cable to an Ethernet port, you will require an adapter or a special cable that can convert the RJ11 connection to RJ45.
3. What is the purpose of a RJ45 connector?
The purpose of a RJ45 connector is to provide a convenient and efficient way to terminate network cables, specifically Ethernet cables. These connectors have eight pins that correspond to the eight wires inside the cable, allowing for a secure and reliable connection. RJ45 connectors are compatible with various network devices such as computers, routers, switches, and modems, and they are essential for establishing wired network connections.
4. Are there different types of RJ45 connectors?
Yes, there are different types of RJ45 connectors, each serving a specific purpose. The most common types are:
- Unshielded Twisted Pair (UTP) connectors: The standard connectors used for Ethernet cables, commonly referred to as “straight-through” connectors.
- Shielded Twisted Pair (STP) connectors: Similar to UTP connectors, but with additional shielding to minimize electromagnetic interference.
- Registered Jack 45 (RJ45) connectors: These connectors have a locking tab mechanism to ensure a secure connection.
- Modular connectors: These connectors allow for the easy interchangeability of different types of connectors, such as RJ11 and RJ45, by using a modular jack.
It is important to choose the appropriate type of RJ45 connector based on the specific network requirements and cable type being used.
5. Can I reuse a RJ45 connector?
While it is technically possible to reuse a RJ45 connector, it is not recommended. The crimping process used to secure the connector onto the cable can cause deformations and weaken the connection. Reusing a connector may result in a loose or unstable connection, leading to network connectivity issues. It is generally best to use a new RJ45 connector when terminating a network cable to ensure a reliable and secure connection.