
If you are looking for an immersive gaming experience on your Xbox One, connecting the Afterglow Lvl 3 headset is a must. The Afterglow Lvl 3 headset offers crisp audio, comfortable design, and clear communication, making it an ideal accessory for every gamer.
In this article, we will guide you through the process of connecting the Afterglow Lvl 3 headset to your Xbox One, ensuring you can dive into your favorite games with high-quality sound and seamless communication. Whether you are a casual gamer or a hardcore enthusiast, this step-by-step guide will help you make the most out of your gaming sessions.
So, grab your controller, put on your Afterglow Lvl 3 headset, and let’s get started on setting up the ultimate gaming experience on your Xbox One!
Inside This Article
- Setting Up the Xbox One
- Connecting the Afterglow Lvl 3 Headset to Xbox One
- Adjusting Audio Settings on the Xbox One
- Troubleshooting Tips for Connecting the Afterglow Lvl 3 Headset to Xbox One
- Conclusion
- FAQs
Setting Up the Xbox One
Setting up your Xbox One is an exciting process that allows you to dive into the world of gaming and entertainment. Whether you’re a seasoned gamer or new to the Xbox family, following these steps will ensure a smooth setup experience.
1. Unbox your Xbox One: Start by unpacking your Xbox One console from the box. Carefully remove all the accessories, including the power cable, controller, and HDMI cable.
2. Connect the power cable: Plug one end of the power cable into the back of the Xbox One console and the other end into an electrical outlet. Make sure the console is placed in a well-ventilated area to avoid overheating.
3. Connect the HDMI cable: Take one end of the HDMI cable and connect it to the HDMI out port on the back of the Xbox One console. Plug the other end of the cable into the HDMI input port on your TV or monitor.
4. Power on the Xbox One: Press the power button on the front of the console to turn it on. Wait for the Xbox logo to appear on the screen, indicating that the console is booting up.
5. Set up the controller: Turn on the Xbox One controller by pressing the Xbox button in the center. Once the controller is on, press and hold the sync button on the top of the controller until the Xbox logo on the console begins to flash. This will pair the controller with the console.
6. Connect to the internet: Follow the on-screen prompts to connect your Xbox One to the internet. You can either use Wi-Fi or connect the console directly to your router using an Ethernet cable.
7. Update the console: After connecting to the internet, your Xbox One will automatically check for updates. If there are any updates available, follow the on-screen instructions to download and install them. This will ensure that your console has the latest features and improvements.
8. Sign in or create an Xbox Live account: If you already have an Xbox Live account, sign in using your credentials. If not, follow the on-screen prompts to create a new account. Xbox Live allows you to access a wide range of features, including multiplayer gaming and access to various apps and services.
9. Calibrate your TV: To optimize the visual experience, go to the Settings menu on your Xbox One and navigate to the Display & sound section. Follow the instructions to calibrate your TV for the best picture quality.
10. Personalize your settings: Customize your Xbox One experience by adjusting settings such as language, time zone, and privacy preferences. You can also set up features like parental controls and personalized home screens.
With these steps, you’ll have your Xbox One set up and ready to go in no time. Now it’s time to explore the vast library of games, movies, and entertainment options that the Xbox One has to offer!
Connecting the Afterglow Lvl 3 Headset to Xbox One
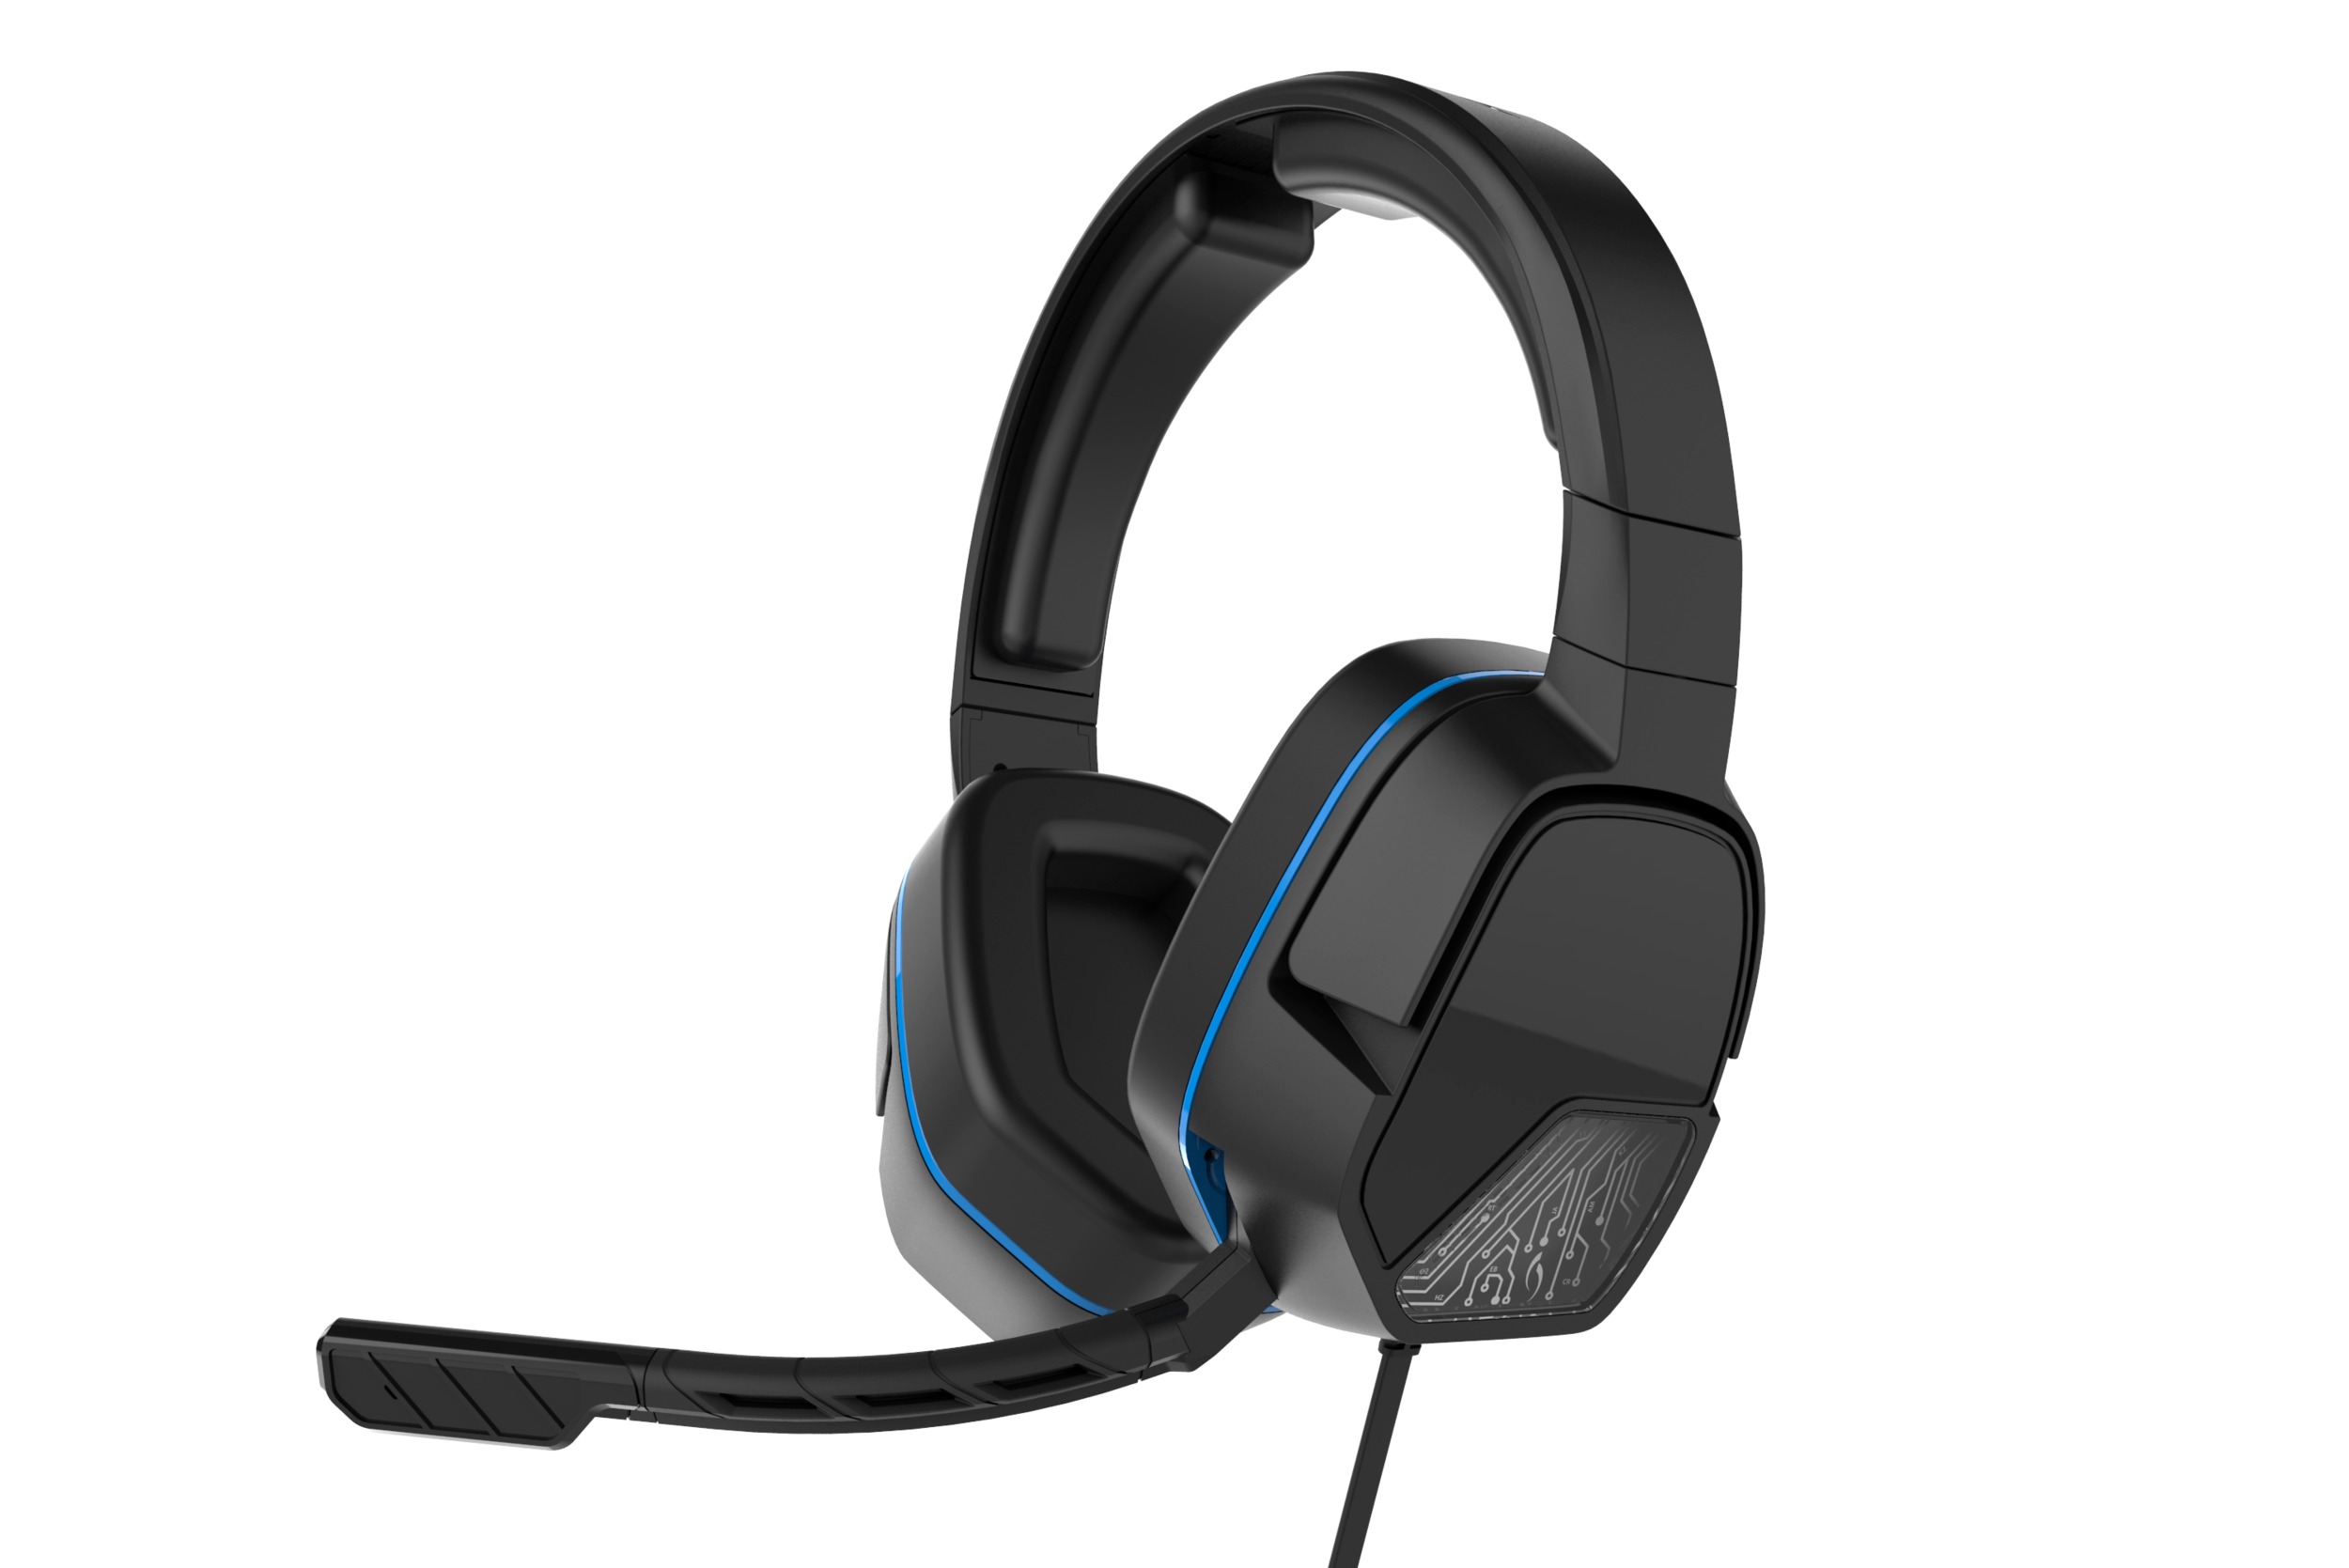
The Afterglow Lvl 3 headset is a popular choice among Xbox One gamers due to its affordability and impressive sound quality. Whether you’re a seasoned gamer or a newbie to the Xbox world, connecting your Afterglow Lvl 3 headset to your Xbox One is a straightforward process that will have you up and running in no time.
Before we delve into the steps, do ensure that you have the necessary components handy. You will need your Afterglow Lvl 3 headset, the Xbox One controller, and the Xbox One console itself. With everything ready, let’s get started!
Step 1: Begin by inserting the 3.5mm audio cable into the headset jack located at the bottom of the Xbox One controller. Make sure it is securely plugged in.
Step 2: Take the other end of the 3.5mm audio cable and connect it to the audio input on your Afterglow Lvl 3 headset. It should fit snugly into the audio jack.
Step 3: Once the headset is connected to the controller, turn on your Xbox One console and controller. You can do this by pressing the Xbox button on the controller.
Step 4: Now, navigate to the Xbox One’s home screen by pressing the Xbox button once more. From there, go to the “Settings” tab.
Step 5: In the “Settings” menu, select “Audio” and then “Headset Volume.” Adjust the volume settings according to your preference. This will ensure that you have the best audio experience while gaming.
And that’s it! You have successfully connected your Afterglow Lvl 3 headset to your Xbox One. Now you can enjoy immersive gaming sessions with crystal clear audio and crisp sound effects.
Remember, should you encounter any issues during the setup process, don’t fret. There are a few troubleshooting tips that may help you overcome any obstacles you face. Read on to find out more.
Adjusting Audio Settings on the Xbox One
When it comes to gaming, having the right audio settings can make a world of difference in the overall experience. The Xbox One offers various options to customize and optimize your audio output to suit your preferences. Whether you’re using the Afterglow Lvl 3 headset or any other compatible headset, adjusting the audio settings on your Xbox One is a straightforward process.
To begin, turn on your Xbox One console and navigate to the home screen. From there, scroll to the right and select the “Settings” option represented by a gear icon. This will open up the settings menu, where you can access various options for your console.
Once in the settings menu, select the “Display & sound” option. This will open up a submenu with several audio-related settings. One of the first options you’ll see is “Audio output.” Click on this option to access a range of audio configuration settings.
Within the “Audio output” menu, you’ll find options to adjust the volume, balance, and equalizer settings. You can control the overall volume level by adjusting the “Headset volume” slider. Slide it to the right to increase the volume and to the left to decrease it. Experiment with different volume levels until you find the perfect balance.
Next, you can fine-tune the audio balance between game audio and chat audio. This is particularly useful when you’re playing multiplayer games and need to prioritize communication with other players. Use the “Headset chat mixer” slider to adjust the balance according to your preference.
In addition, the Xbox One provides an equalizer feature that allows you to customize the audio output to suit your personal preferences. You can access the equalizer settings by selecting the “Equalizer” option within the “Audio output” menu. From there, you can choose from a selection of presets or manually adjust the sliders to tailor the audio to your liking.
Once you’ve made adjustments to the audio settings, don’t forget to test them out. Launch a game or play a video that features sound to determine if the settings are to your liking. If necessary, you can always go back and make further adjustments until you find the perfect audio setup.
It’s worth mentioning that these audio settings will apply to all compatible headsets, including the Afterglow Lvl 3 headset. So, whether you’re using the Afterglow headset or another brand, you can enjoy an immersive gaming experience by customizing the audio settings on your Xbox One.
Troubleshooting Tips for Connecting the Afterglow Lvl 3 Headset to Xbox One
Having trouble connecting your Afterglow Lvl 3 headset to your Xbox One? Don’t worry! We’ve got you covered with some troubleshooting tips to help you get your headset up and running in no time. Whether you’re experiencing connection issues or audio problems, these tips will help you troubleshoot and resolve any problems you may encounter.
1. Check the headset connection: Make sure the headset cable is properly connected to the Xbox One controller. Ensure that the cable is securely plugged into both the headset and the controller port. If the connection is loose, properly insert the cable to establish a secure connection.
2. Update your Xbox One controller firmware: Outdated controller firmware can cause compatibility issues with certain headsets. Connect your Xbox One controller to your console using a USB cable and check for any available firmware updates. Follow the instructions on-screen to update your controller firmware, which may help resolve any compatibility issues.
3. Restart your Xbox One console: Sometimes, a simple restart can fix connectivity issues. Power off your Xbox One console and unplug it from the power source. Wait for a few minutes, then plug it back in and power it on again. This can help refresh the system and establish a better connection with your headset.
4. Adjust Xbox One audio settings: Incorrect audio settings on your Xbox One can result in no sound or poor audio quality. On your Xbox One dashboard, go to “Settings” and select “Audio.” Make sure the headset volume is turned up and that the audio output is set to the correct device (e.g., Headset, HDMI, or Speakers).
5. Test the headset on a different device: To determine whether the issue lies with the headset or the Xbox One console, try connecting the Afterglow Lvl 3 headset to a different device, such as a smartphone or PC. If the headset works fine on another device, the problem likely resides with the Xbox One console or controller.
6. Reset your Xbox One console settings: If all else fails, you can try resetting your Xbox One console to its default settings. Go to “Settings,” select “System,” and choose “Console info.” From there, select “Reset console” and choose the option to reset the console without deleting your games and apps. This may help resolve any software or settings-related issues that are causing connectivity problems.
If you’ve followed these troubleshooting tips and are still experiencing issues with connecting your Afterglow Lvl 3 headset to your Xbox One, it may be helpful to reach out to the headset manufacturer or consult the Xbox support team for further assistance. With a little perseverance and troubleshooting, you’ll soon be able to enjoy your gaming experience with crisp and clear audio through your Afterglow Lvl 3 headset.
Conclusion
Connecting your Afterglow Lvl 3 headset to your Xbox One is a relatively simple process that can greatly enhance your gaming experience. By following the steps outlined in this article, you can seamlessly enjoy high-quality audio and communicate effectively with your friends and teammates.
Remember to check for updates and ensure that your Xbox One console and headset are running on the latest firmware versions to avoid any compatibility issues. Additionally, consider investing in other mobile accessories that can further elevate your gaming experience, such as a controller charger dock, protective case, or gaming headset stand.
Now that you have the knowledge and know-how, go ahead and connect your Afterglow Lvl 3 headset to your Xbox One and immerse yourself in the world of gaming like never before!
FAQs
Here are some frequently asked questions about connecting Afterglow Lvl 3 headset to Xbox One:
1. Can I connect the Afterglow Lvl 3 headset to my Xbox One?
Yes, the Afterglow Lvl 3 headset is compatible with Xbox One. It is designed to provide an immersive audio experience while gaming on Xbox One.
2. How do I connect the Afterglow Lvl 3 headset to my Xbox One?
To connect the Afterglow Lvl 3 headset to your Xbox One, follow these steps:
- Insert the 3.5mm audio jack into the 3.5mm headset jack on the bottom of the Xbox One controller.
- Make sure the headset is properly connected and secure.
- Adjust the audio settings on your Xbox One to ensure the headset is recognized and configured correctly.
Once connected, you can start enjoying the enhanced audio experience offered by the Afterglow Lvl 3 headset.
3. Do I need any additional adapters to connect the Afterglow Lvl 3 headset to my Xbox One?
No, the Afterglow Lvl 3 headset uses a standard 3.5mm audio jack, which is compatible with the Xbox One controller. Therefore, no additional adapters are required to connect the headset to your console.
4. How do I adjust the audio settings for the Afterglow Lvl 3 headset on Xbox One?
To adjust the audio settings for the Afterglow Lvl 3 headset on your Xbox One, do the following:
- Press the Xbox button on your controller to open the guide menu.
- Navigate to the System tab and select Settings.
- Under the Settings menu, choose Devices & Accessories.
- Select the controller that’s connected to your Afterglow Lvl 3 headset.
- From there, you can adjust the volume, chat/game balance, and mic monitoring settings to your preferences.
5. Can I use the Afterglow Lvl 3 headset with other devices besides Xbox One?
Yes, the Afterglow Lvl 3 headset can be used with other devices that have a 3.5mm audio jack, such as PlayStation 4, PC, and mobile devices. Simply plug in the audio jack and adjust the settings on the respective device to use the headset.