
Welcome to our guide on how to connect a headset to a Cisco phone. Whether you’re looking to improve call quality, increase productivity, or simply free up your hands while taking calls, a headset is an essential mobile accessory for any Cisco phone user. With the right setup, you can enjoy crystal-clear audio and convenient communication, making your workday easier and more efficient. In this article, we will walk you through the step-by-step process of connecting a headset to your Cisco phone, helping you make the most out of your device. From understanding the different types of headsets available to configuring the settings on your phone, we’ve got you covered. Say goodbye to tangled wires and hello to seamless and hassle-free communication!
Inside This Article
- Troubleshooting Tips
- Setting up the Cisco Phone
- Connecting the Headset to the Cisco Phone
- Configuring Audio Settings
- Conclusion
- FAQs
Troubleshooting Tips
1. Check the connectivity: Ensure that the Cisco phone is properly connected to the network and power source. Make sure the Ethernet cable is securely plugged into the phone and the network switch.
2. Restart the phone: Sometimes, a simple restart can resolve connectivity issues. Power off the Cisco phone, wait for a few seconds, and then power it back on. This can refresh the network connection and clear any temporary glitches.
3. Verify network settings: Double-check the network settings on the Cisco phone. Ensure that the IP address, subnet mask, and default gateway are correctly configured. If necessary, consult your network administrator to ensure the settings are accurate.
4. Update firmware: Outdated firmware can cause compatibility issues between the Cisco phone and the headset. Visit the Cisco website and check for the latest firmware updates for your specific phone model. Follow the instructions provided to upgrade the firmware if needed.
5. Check headset compatibility: Not all headsets are compatible with Cisco phones. Ensure that the headset you are trying to connect is specifically designed and approved for use with Cisco phones. Refer to the Cisco compatibility guide or contact their support for a list of compatible headsets.
6. Test with another headset: If you are experiencing issues with a specific headset, try connecting a different headset to the Cisco phone. This will help determine if the problem lies with the headset or the phone itself.
7. Reset the phone to factory settings: If all else fails, you may need to reset the Cisco phone to its factory settings. Be aware that this will erase all customized settings, so make sure to backup any important data beforehand. Follow the instructions provided by Cisco to perform a factory reset.
Setting up the Cisco Phone
Setting up your Cisco Phone is the first step towards enjoying all its features and functionalities. Whether you are a new user or if you are configuring a new device, the following steps will guide you through the process:
- Begin by connecting the Cisco Phone to a power source using the provided power adapter. Make sure that the power outlet is easily accessible.
- Next, connect the Ethernet cable from your network router or switch to the LAN port on the back of the Cisco Phone. This connection will provide the phone with internet access and allow it to communicate with your organization’s network.
- Once the power and Ethernet connections are established, the Cisco Phone will start booting up. It may take a few moments to initialize, so be patient.
- During the boot-up process, the phone will display various messages and indicators on its screen. Pay attention to these indicators as they provide important information about the phone’s status.
- Once the phone has finished booting up, you will be prompted to enter your login credentials. This typically includes your username and password provided by your organization’s IT department.
- After entering your login credentials, the Cisco Phone will authenticate with your organization’s server. This process may take a few moments, so allow the phone to complete the authentication process without interruption.
- Once the authentication is successful, your Cisco Phone will be ready to use. You can now start making and receiving calls, accessing voicemail, and utilizing the phone’s various features and applications.
- If you encounter any issues during the setup process, refer to the phone’s user manual or contact your organization’s IT support for assistance.
Setting up your Cisco Phone is a simple and straightforward process. By following these steps, you can quickly get your phone up and running, allowing you to stay connected and communicate seamlessly with colleagues and clients.
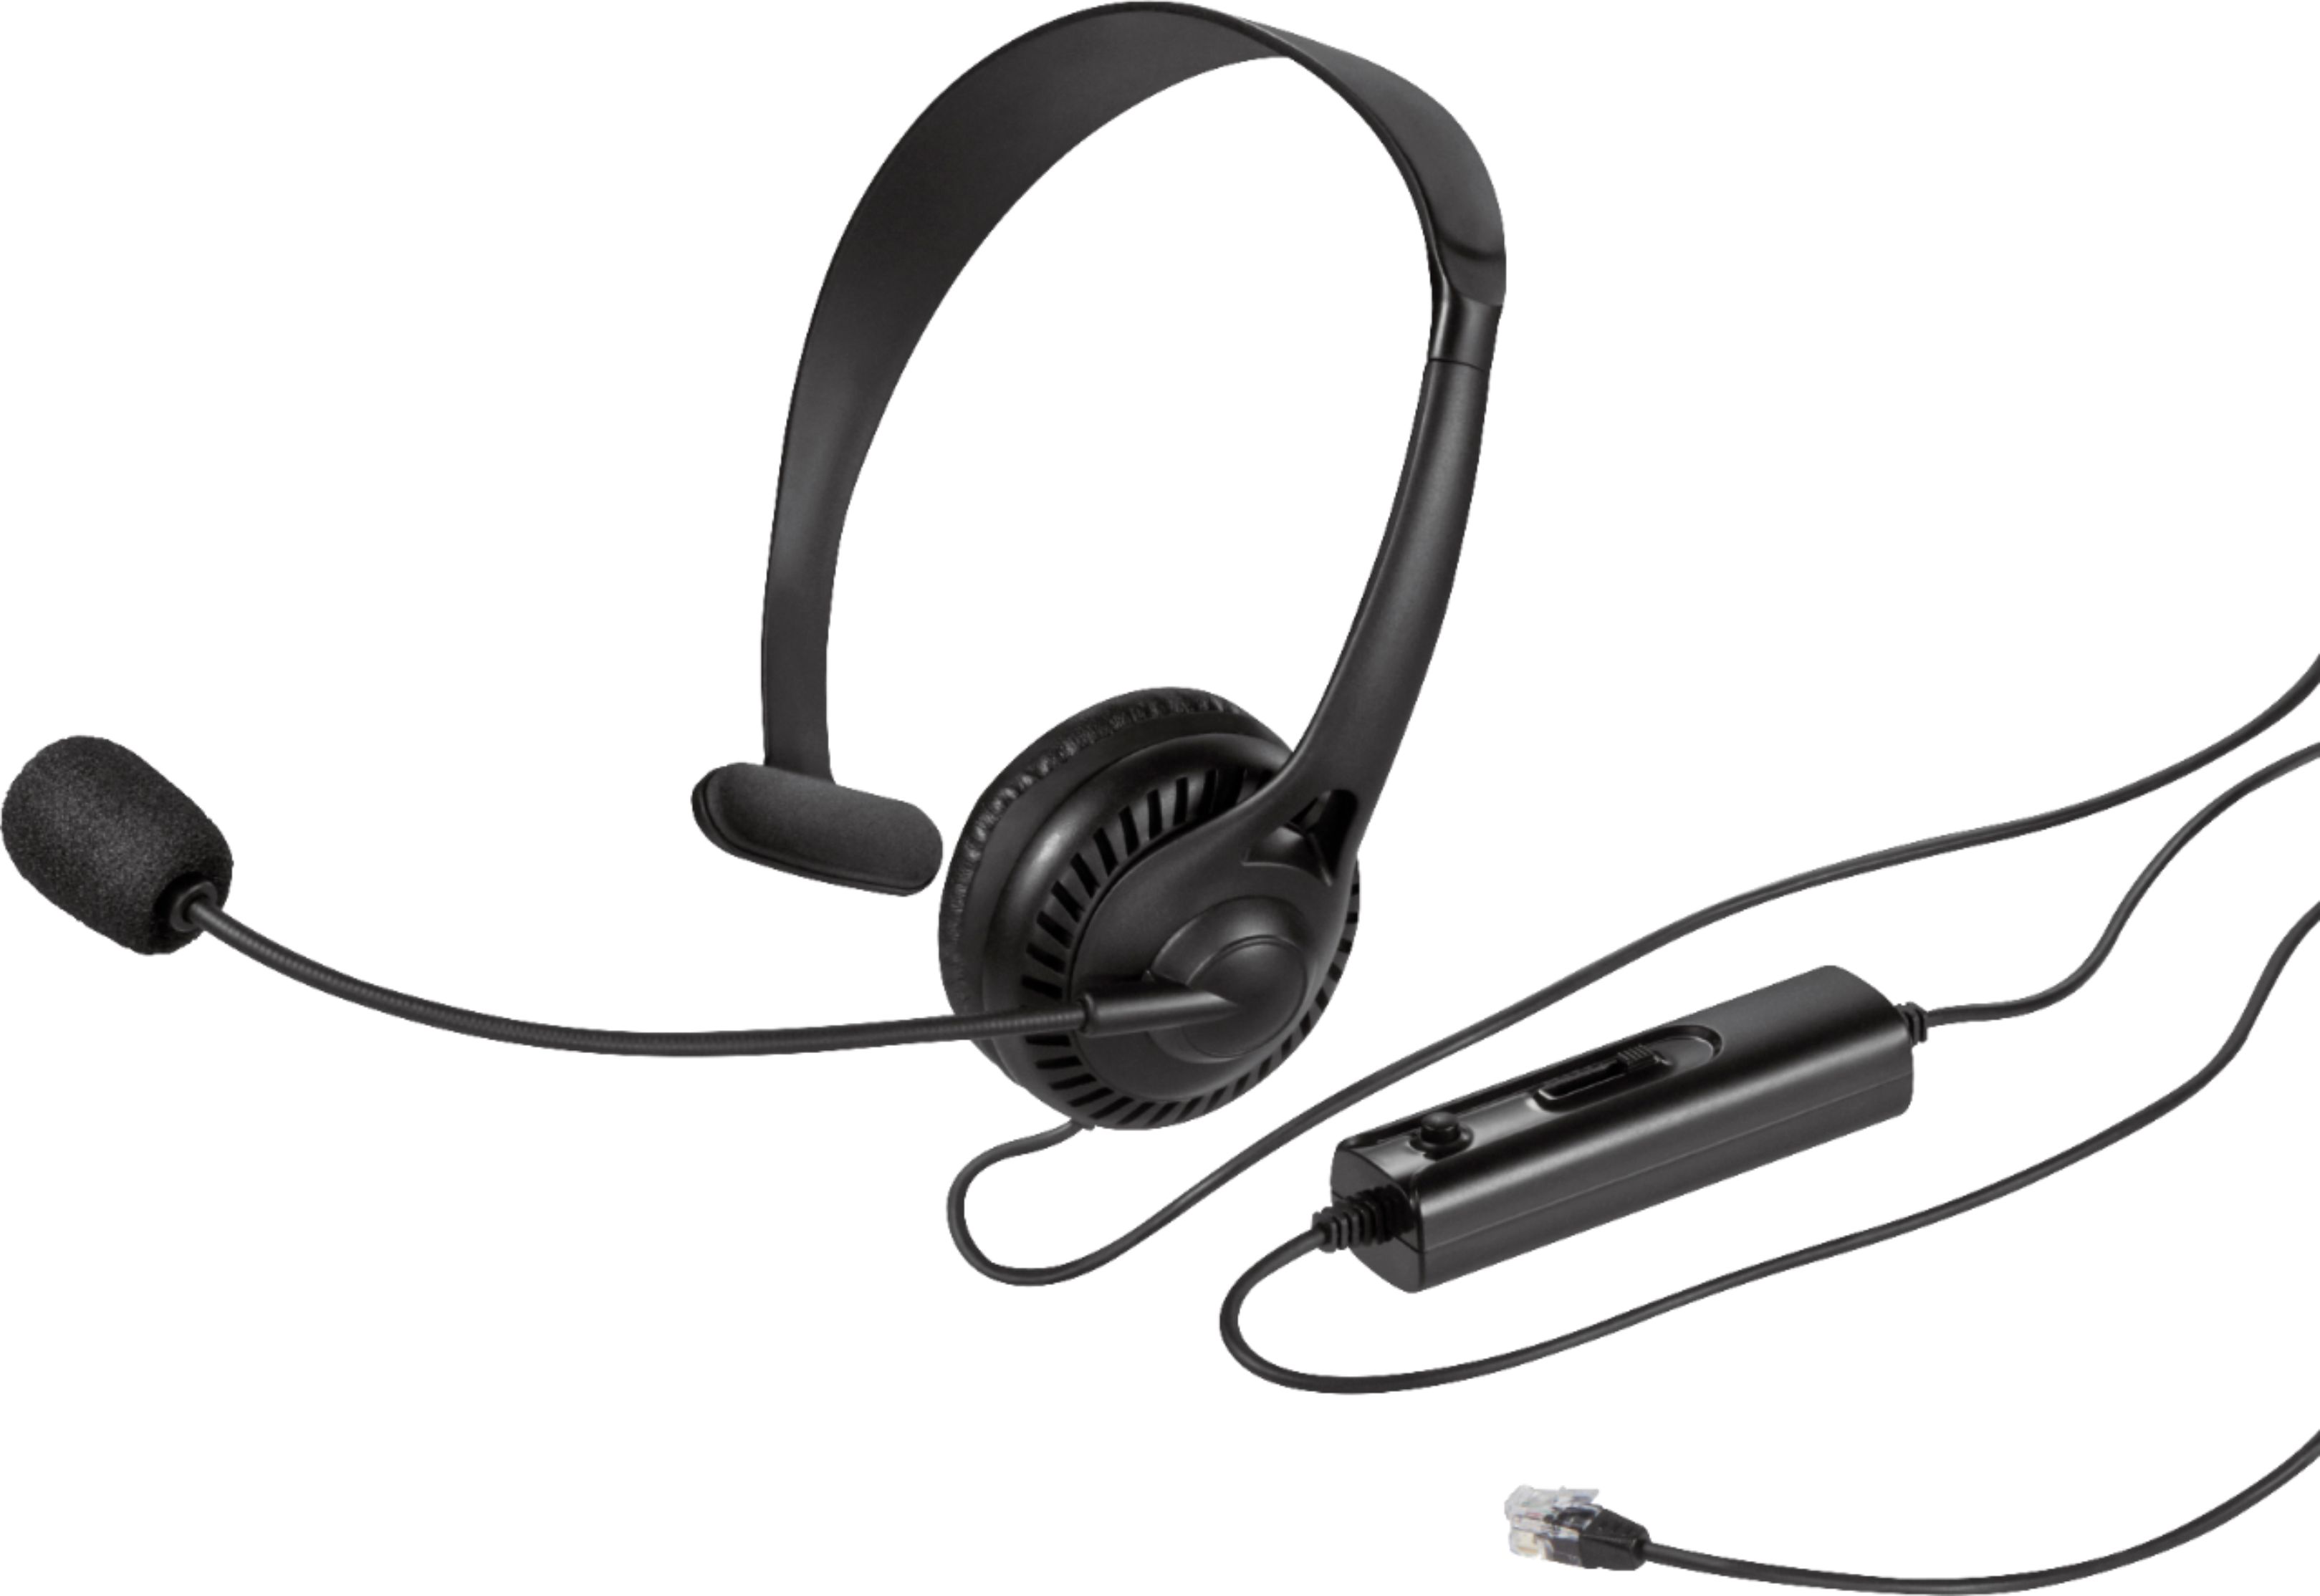
Connecting the Headset to the Cisco Phone
Now that you have your headset ready, it’s time to connect it to your Cisco phone. Follow these steps to ensure a seamless connection:
1. Locate the headset port on your Cisco phone. This port is typically located on the side or back of the phone and is labeled with a headset icon.
2. Plug one end of the headset’s cable into the headset port on the Cisco phone. Make sure it is firmly inserted to ensure a secure connection.
3. Depending on the type of headset you have, there may be additional connectors to plug in. For example, some headsets require a separate connection for the microphone. Refer to your headset’s user manual for specific instructions.
4. Once all the necessary connections are made, adjust the headset volume to a comfortable level. This can usually be done using the volume controls on the headset itself or through the Cisco phone’s settings.
5. Test the headset to ensure it is working properly. Make a test call or use the phone’s audio settings to play a sample sound. Adjust the audio settings as needed until you are satisfied with the sound quality.
6. If you encounter any issues with the headset connectivity, double-check the connections and ensure that the headset is compatible with your Cisco phone model.
7. If you are still experiencing difficulties, consult the user manual or reach out to the headset manufacturer’s support team for further assistance.
By following these steps, you should now have successfully connected your headset to your Cisco phone. Enjoy hands-free communication and enhanced audio quality during your calls.
Configuring Audio Settings
Once you have successfully connected your headset to your Cisco phone, the next step is to configure the audio settings to ensure optimal sound quality during your calls. Follow these steps to configure the audio settings on your Cisco phone:
- Press the Settings or Menu button on your Cisco phone.
- Select Audio Settings or Sound Settings from the menu options.
- Adjust the Volume settings to your desired level. This will control the volume of both the earpiece and the microphone.
- Next, configure the Audio Mode settings. The most common options include:
- Handset Mode: If you want to use the phone’s built-in speaker and microphone, select this mode. This is useful if you want to switch between using the headset and the phone’s native audio.
- Headset Mode: Select this mode if you want to exclusively use your headset for audio. This mode will disable the phone’s built-in speaker and microphone.
- Headset Plus Speaker Mode: This mode allows you to use both the headset and the phone’s speaker simultaneously. This can be useful if you want to share audio with others in a small group setting.
- If your Cisco phone has additional audio options like Ringer Volume or Ringtone Selection, you can adjust them according to your preferences.
- Once you have made all the necessary adjustments, press the Save or Apply button to save the changes.
It’s important to note that the exact steps and options may vary depending on the model and firmware version of your Cisco phone. If you encounter any difficulties or have specific audio requirements, consult the user manual or contact Cisco support for further assistance.
By properly configuring the audio settings on your Cisco phone, you can ensure clear and crisp audio during your phone calls, providing a seamless and professional communication experience.
Conclusion
Connecting a headset to your Cisco phone is a simple and straightforward process that allows you to enjoy hands-free communication and improve your productivity. Whether you opt for a wired or wireless headset, the steps involved are relatively the same.
By following the instructions provided by Cisco or the headset manufacturer, you can ensure a seamless connection and enjoy crisp audio quality during your phone calls. Remember to select a headset that meets your specific needs, whether it’s noise-canceling capabilities, comfort, or compatibility.
Having a headset connected to your Cisco phone enables you to multitask, move around freely, and engage in clear conversations without the need to hold the handset. This convenience is especially useful for busy professionals, call center agents, or anyone who spends a significant amount of time on the phone.
So, go ahead and enhance your phone experience by connecting a headset to your Cisco phone. Enjoy the freedom and flexibility it provides, while enjoying crystal-clear sound during all your important conversations.
FAQs
Here are some frequently asked questions about connecting a headset to a Cisco phone:
1. How do I connect a headset to a Cisco phone?
Connecting a headset to a Cisco phone is a simple process. First, locate the headphone jack on your Cisco phone – it is typically located on the side or back of the device. Next, plug one end of the headset cable into the headphone jack. Finally, put on the headset and adjust the volume settings on the phone if necessary. Your headset should now be connected and ready to use.
2. Can I use any type of headset with my Cisco phone?
While some Cisco phones support Bluetooth connectivity, most models require a corded headset. These headsets typically have a standard 3.5mm audio connector that can be easily plugged into the headphone jack of the Cisco phone. It is important to ensure compatibility between your headset and phone model before making a purchase.
3. How do I adjust the headset volume on a Cisco phone?
To adjust the headset volume on a Cisco phone, follow these steps:
- Press the Settings button on your Cisco phone.
- Using the navigation keys, scroll to the Audio Settings option and press the Select softkey.
- Scroll to Headset Volume and press the Select softkey again.
- Adjust the volume using the navigation keys or the volume keys on the phone.
- Press the Save softkey to save your changes.
4. Why is my headset not working with my Cisco phone?
If your headset is not working with your Cisco phone, there could be a few reasons for this. First, ensure that the headset is properly connected to the phone’s headphone jack. Check for any loose connections or damaged cables. Additionally, make sure that the headset is compatible with your specific Cisco phone model. If the issue persists, try restarting the phone or contacting the manufacturer for further assistance.
5. Can I use a wireless headset with my Cisco phone?
Some Cisco phone models support Bluetooth connectivity, allowing you to use a wireless headset. If your phone has Bluetooth capabilities, you can pair a compatible Bluetooth headset by accessing the phone’s Bluetooth settings. However, keep in mind that not all Cisco phone models support wireless headsets, so it’s important to check the specifications of your specific phone model before attempting to connect a wireless headset.