
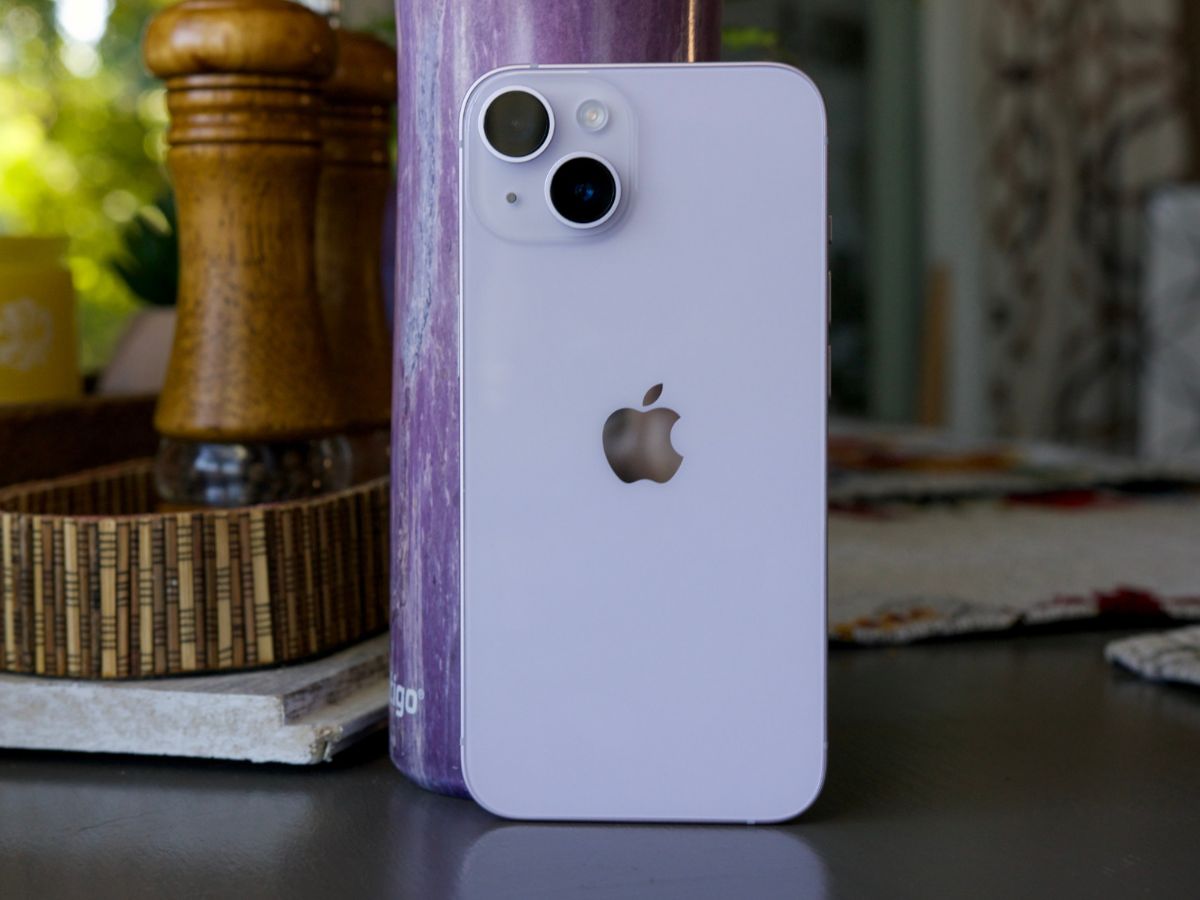
Are you ready to upgrade to the latest iPhone 14? Congratulations on your new purchase! One of the first steps you’ll need to take is installing your SIM card. The SIM card is essential for connecting your iPhone to a mobile network and accessing cellular services. It’s a small, rectangular card that contains your subscriber information and allows you to make calls, send messages, and use mobile data.
In this article, we’ll guide you through the process of installing a SIM card on your iPhone 14. Whether you’re a tech-savvy individual or a beginner, our step-by-step instructions will make it easy for you to get your device up and running in no time. So, let’s dive in and find out how to install a SIM card on your iPhone 14!
Inside This Article
Preparing for SIM Card Installation
Gathering necessary tools and materials is the first step to successfully installing a SIM card in your iPhone 14. Here are the items you’ll need:
- A SIM card: Make sure you have a compatible SIM card for your iPhone 14. Check with your service provider if you’re unsure.
- A SIM card eject tool or a small paperclip: This will be used to open the SIM card tray.
Once you have gathered these tools, you’re ready to proceed with the installation process.
Before installing the SIM card, it’s important to power off your iPhone 14. This will prevent any damage to the device and ensure a smooth installation. Here’s how to power off your iPhone 14:
- Press and hold the power button located on the right side (or top) of your iPhone 14.
- You will see a slider appear on the screen.
- Slide the slider to the right to power off your iPhone 14.
Now that your iPhone 14 is powered off, it’s time to locate the SIM card tray. The SIM card tray on the iPhone 14 is typically located on the right side of the device. Here’s how to find it:
- Locate the side button on your iPhone 14, which is usually on the right side.
- Directly below the side button, you will see a small hole – this is the SIM card tray.
By following these steps, you have now prepared your iPhone 14 for the SIM card installation. The next step is to insert the SIM card into the device, which will be covered in the next section.
Inserting the SIM Card
When it comes to setting up your new iPhone 14, one of the first steps is installing a SIM card. The SIM card is essential for connecting to your cellular network and accessing features such as calls, text messages, and mobile data.
In this section, we will guide you through the process of inserting the SIM card into your iPhone 14. Just follow the steps below, and you’ll be connected in no time.
Step 1: Opening the SIM Card Tray
The first thing you need to do is locate the SIM card tray on your iPhone 14. On most iPhone models, including the iPhone 14, the SIM card tray is located on the side of the device.
To open the SIM card tray, you will need a SIM card eject tool. This tool is typically included in the box with your iPhone. If you don’t have a SIM card eject tool, you can use a paperclip or a small, thin pin as a substitute.
Insert the SIM card eject tool into the small hole on the side of the iPhone, applying a gentle amount of pressure. The SIM card tray will pop out slightly, allowing you to pull it out with your fingers.
Step 2: Properly Aligning the SIM Card
Before inserting the SIM card, it’s important to ensure that it is properly aligned. This will prevent any potential issues and ensure a secure connection.
Take a look at your SIM card and locate the small notch or corner-cut. This indicates the correct orientation for inserting the SIM card into the tray.
Align the notch or corner-cut of the SIM card with the corresponding corner of the SIM card tray. It should fit into the tray smoothly and without any resistance.
Step 3: Inserting the SIM Card Tray Back Into the iPhone 14
Once you have aligned the SIM card, carefully place it into the SIM card tray. Make sure it rests flat and is securely nestled inside the tray.
Take the SIM card tray and gently push it back into the iPhone 14 until it is fully seated. You should feel a slight click, indicating that the tray is locked in place.
Now that the SIM card has been successfully installed, you can close the SIM card slot by pushing the tray back into the iPhone.
That’s it! You have successfully inserted the SIM card into your iPhone 14. Now you can power on your device and begin the activation process to start using your new phone.
Remember, if you ever need to remove or replace your SIM card, simply repeat these steps in reverse. With this knowledge, you can easily manage your SIM card and enjoy all the features of your iPhone 14.
Activating the SIM Card
The final step in installing a SIM card on your iPhone 14 is activating it. This is a crucial step that enables your phone to connect to your cellular network and make calls, send texts, and browse the internet. Follow these steps to activate your SIM card:
- Powering on the iPhone 14: Once you have inserted the SIM card into the iPhone 14, press and hold the power button until you see the Apple logo appear on the screen. This indicates that the phone is powering on.
- Following the on-screen prompts to activate the SIM card: After the iPhone 14 has powered on, you will be prompted to set up your device. Follow the on-screen instructions, which will guide you through the activation process. You may need to enter your Apple ID and password, select your language and region, and agree to the terms and conditions.
- Troubleshooting common activation issues: In some cases, you may encounter issues during the activation process. Here are a few common problems and their solutions:
- No signal or “No Service” displayed: If you are unable to connect to your cellular network or see a “No Service” message, ensure that your SIM card is properly inserted, your device is in an area with good network coverage, and airplane mode is turned off. If the problem persists, contact your service provider.
- Activation error or invalid SIM card: If you receive an activation error or a message indicating that the SIM card is not valid, make sure your iPhone 14 is connected to a stable Wi-Fi network. Additionally, double-check that the SIM card is compatible with your device. If you are still experiencing issues, reach out to your service provider for assistance.
- Incomplete activation or activation stuck: If the activation process gets stuck or remains incomplete, try restarting your iPhone 14 and attempting the activation again. If the problem persists, you may need to reset your network settings or contact your service provider.
By following these steps and troubleshooting any issues that may arise, you will successfully activate your SIM card on your iPhone 14. Once activated, you can enjoy the full functionality of your device and stay connected wherever you go.
Conclusion
In conclusion, installing a SIM card on your iPhone 14 is a straightforward process that allows you to access cellular network services and enjoy the full functionality of your device. With the SIM card slot located on the side of the iPhone 14, you can easily remove the SIM card tray using a SIM ejector tool or a paperclip. Carefully place the SIM card into the tray, ensuring that it is properly aligned and inserted. Gently slide the tray back into the iPhone and power it on to complete the installation process.
Having a functional SIM card is essential for making calls, sending text messages, and accessing data on your iPhone 14. By following the steps outlined in this guide, you can quickly and confidently install the SIM card and begin using your device. Remember to contact your mobile carrier if you encounter any issues or need assistance with activating your SIM card. Now that you have successfully installed your SIM card, you are ready to enjoy all the amazing features and capabilities of your iPhone 14.
FAQs
Here are some frequently asked questions about installing a SIM card on the iPhone 14:
1. How do I open the SIM card tray on the iPhone 14?
To open the SIM card tray on the iPhone 14, you will need a SIM eject tool or a small paperclip. Locate the SIM card tray on the side of the iPhone and insert the tool into the small hole. Apply gentle pressure to eject the tray. Once the tray pops out, you can remove it and proceed with installing your SIM card.
2. What type of SIM card does the iPhone 14 use?
The iPhone 14 uses a nano-SIM card. This is the smallest type of SIM card and is commonly used in modern smartphones. Ensure that your SIM card is the appropriate size before attempting to install it on your iPhone 14.
3. Can I use my existing SIM card on the iPhone 14?
If your existing SIM card is a nano-SIM card, you should be able to use it on the iPhone 14. However, if your SIM card is a different size, you may need to contact your mobile service provider to request a new SIM card or obtain a SIM card adapter to resize your current card.
4. How do I insert the SIM card into the iPhone 14?
To insert the SIM card into the iPhone 14, follow these steps:
- Ensure that the SIM card tray has been ejected from the iPhone.
- Place your nano-SIM card into the tray, ensuring that the gold contacts are facing down.
- Gently push the tray back into the iPhone until it clicks into place.
5. Do I need to activate my SIM card after installing it on the iPhone 14?
Yes, you will typically need to activate your SIM card after installing it on the iPhone 14. Activation can usually be done by contacting your mobile service provider or following the instructions provided with the SIM card. Activation is necessary to establish a connection to your provider’s network and enable calling, texting, and data usage on your device.