
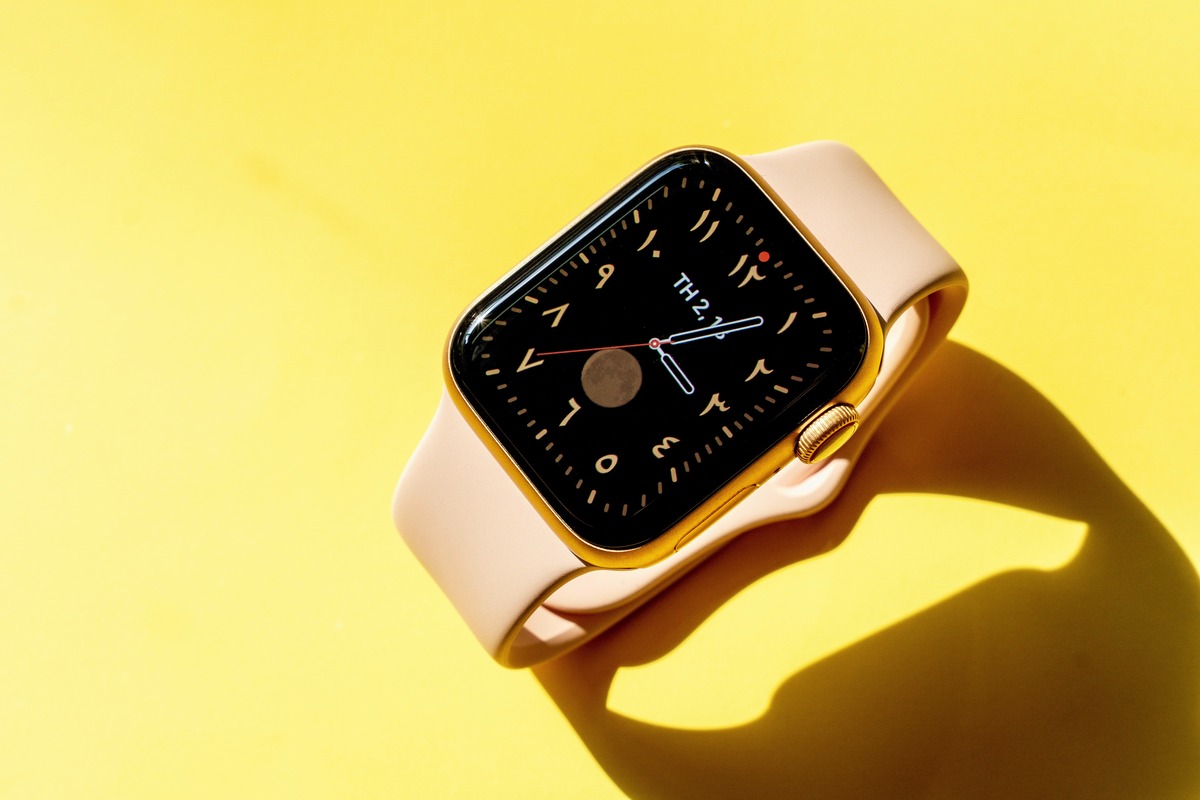
The Apple Watch is a popular and versatile device that offers a wide range of features and functionalities. With its sleek design and powerful capabilities, it has become an essential accessory for many users. One of the crucial steps in ensuring the security of your Apple Watch is setting a passcode. This passcode adds an extra layer of protection to your device, preventing unauthorized access and keeping your personal information safe. However, if you’re unsure about how to go about setting a passcode on your Apple Watch, you’ve come to the right place. In this article, we will guide you through the process, step by step, to help you secure your Apple Watch with a passcode.
Inside This Article
- Setting Up the Apple Watch
- Unboxing and pairing your Apple Watch
- Configuring language and region settings
- Connecting your Apple Watch to your iPhone
- Setting up Apple Pay and Siri on your watch
- Accessing Passcode Settings
- Navigating to the Settings app on your Apple Watch, Locating and selecting the Passcode option, Authenticating with your Apple Watch passcode, if required
- Creating a Passcode
- Choosing a secure and memorable passcode for your Apple Watch – Understanding the minimum passcode requirements – Inputting and confirming your passcode on the Apple Watch screen
- Configuring Passcode Options
- – Enabling or disabling the wrist detection feature- Adjusting the time delay before the passcode is required- Considering enabling the Erase Data option for added security
- Conclusion
- FAQs
Setting Up the Apple Watch
Setting up your Apple Watch is an exciting process that allows you to make the most of this innovative device. Whether you’ve just unboxed your Apple Watch or want to tweak your settings, this guide will walk you through the necessary steps to get your watch up and running.
The first step in setting up your Apple Watch is to unbox and pair it with your iPhone. This involves removing the watch from its packaging and turning it on by pressing and holding the side button. Once it’s powered on, you’ll see a message prompting you to open the Apple Watch app on your iPhone.
Next, you’ll need to configure the language and region settings on your Apple Watch. This ensures that your watch displays information in your preferred language and uses the correct region-specific settings, such as date and time formats.
After configuring the language and region, it’s time to connect your Apple Watch to your iPhone. Open the Apple Watch app on your iPhone, and tap on the “Start Pairing” option. You’ll be prompted to align your watch with the viewfinder on your iPhone’s camera. Follow the on-screen instructions to complete the pairing process.
Once your Apple Watch is successfully paired with your iPhone, you can proceed to set up features like Apple Pay and Siri. Apple Pay allows you to make secure payments directly from your watch, while Siri enables voice commands and interactions.
Setting up a passcode on your Apple Watch is an essential step to safeguard your personal information and protect your watch from unauthorized access. The passcode acts as a lock for your watch and prevents anyone from using it without your authorization.
To access the passcode settings, navigate to the Settings app on your Apple Watch. From there, locate and select the “Passcode” option. If prompted, authenticate using your Apple Watch passcode.
Creating a passcode is simple. Choose a secure and memorable passcode that is at least six digits long. You can also enable the “Allow Access When Locked” option to access features like Siri and Reply with Message when your watch is locked.
Additionally, you can configure passcode options by enabling or disabling the wrist detection feature. Wrist detection automatically locks your Apple Watch when you take it off your wrist, adding an extra layer of security.
You can also adjust the time delay before the passcode is required, allowing for a more customized experience based on your preferences. Lastly, consider enabling the “Erase Data” option. This feature ensures that all data on your watch is erased after ten incorrect passcode attempts, further enhancing the security of your personal information.
By setting up a passcode on your Apple Watch, you have taken an important step towards securing your device and protecting your data. Enjoy exploring the many features and functionalities that your Apple Watch has to offer!
Unboxing and pairing your Apple Watch
When you first receive your Apple Watch, the excitement of unboxing it is hard to contain. Follow these steps to get your Apple Watch up and running:
- Remove the Apple Watch from its packaging and place it on a clean, flat surface.
- Press and hold the side button until the Apple logo appears, indicating that the watch is turning on.
- Follow the on-screen prompts to choose your language and region settings. This step ensures that your Apple Watch displays information relevant to your location and language preferences.
- Next, it’s time to pair your Apple Watch with your iPhone. Make sure your iPhone is nearby and unlocked.
Configuring language and region settings
After turning on your Apple Watch, you’ll be prompted to select your language and region. This step is crucial as it determines the default language for your watch’s user interface and helps tailor certain features based on your location. Follow these steps to configure your language and region settings:
- On your Apple Watch, swipe up or down to access the Control Center.
- Tap the “Settings” icon, which resembles a cogwheel.
- Scroll down to find and tap “General.”
- Select “Language & Region.”
- Tap “Language” and choose your preferred language from the list.
- Return to the “Language & Region” screen and tap “Region.”
- Select your desired region from the available options.
Connecting your Apple Watch to your iPhone
To enjoy the full range of features on your Apple Watch, it needs to be connected to your iPhone. Follow these steps to establish a seamless connection:
- Ensure that your Apple Watch is turned on and your iPhone is nearby.
- Open the Apple Watch app on your iPhone.
- Tap “Start Pairing” and bring your iPhone near your Apple Watch. The watch will display a pattern on the screen.
- Hold the iPhone’s camera above the pattern on your Apple Watch screen until the message “Your Apple Watch is Paired” appears.
- Follow the prompts on your iPhone and Apple Watch to complete the setup process.
Setting up Apple Pay and Siri on your watch
Now that your Apple Watch is paired with your iPhone, it’s time to configure two essential features: Apple Pay and Siri. Apple Pay allows you to make secure purchases with a simple tap of your watch, while Siri enables voice commands and hands-free operation. Follow these steps to set up Apple Pay and Siri:
- On your iPhone, open the Apple Watch app.
- Scroll down and tap “Wallet & Apple Pay.”
- Follow the on-screen prompts to add your credit or debit cards to Apple Pay on your Apple Watch.
- Return to the main Apple Watch app screen and tap “Siri.”
- Toggle on “Hey Siri” for hands-free access to Siri on your Apple Watch.
With Apple Pay and Siri set up, you’re now ready to explore the countless possibilities of your Apple Watch.
Accessing Passcode Settings
To set a passcode on your Apple Watch, you’ll need to access the Passcode settings. Here’s how you can do it:
1. Begin by navigating to the Settings app on your Apple Watch. You can do this by pressing the Digital Crown to access the app grid and then tapping on the gear icon.
2. Once you’re in the Settings app, scroll down until you find the Passcode option. It should be indicated by an icon that resembles a padlock.
3. Tap on the Passcode option to access the Passcode settings menu.
If you’ve already set a passcode for your Apple Watch, you may need to authenticate with it before accessing the Passcode settings.
That’s it! You’ve successfully accessed the Passcode settings on your Apple Watch, and you’re now ready to create or modify your passcode.
Navigating to the Settings app on your Apple Watch, Locating and selecting the Passcode option, Authenticating with your Apple Watch passcode, if required
Setting a passcode on your Apple Watch adds an extra layer of security to your device, helping to protect your personal information and data. To set a passcode, you’ll need to navigate to the Settings app on your Apple Watch, locate the Passcode option, and authenticate with your Apple Watch passcode, if required.
To get started, raise your wrist to wake up your Apple Watch. From the watch face, press the Digital Crown to access the app grid. Look for the Settings app, which is represented by a gear icon, and tap on it to open the Settings menu.
Once you’re in the Settings menu, scroll down until you find the Passcode option. It is typically listed as the third or fourth option in the menu. Tap on Passcode to proceed.
If your Apple Watch has already been set up with a passcode, you will be prompted to enter your current passcode to make any changes. Enter the passcode using the on-screen keypad or the Apple Watch’s digital crown and tap “Done” to continue.
If you haven’t set a passcode yet, you will need to choose a passcode before proceeding further. The passcode can be a combination of numbers, letters, and symbols. It’s essential to select a passcode that is secure but also easy for you to remember.
Once you have entered or authenticated with your Apple Watch passcode, you’ll have access to the passcode settings. From this menu, you can change your passcode, enable or disable wrist detection, adjust the time delay before the passcode is required, and even enable the option to erase all data on the Apple Watch after multiple failed passcode attempts.
Remember to choose a passcode that is not easily guessable and avoid using personal information such as your date of birth or phone number. With a secure passcode, you can have peace of mind knowing that your Apple Watch is protected against unauthorized access.
Take a few minutes to navigate to the Settings app on your Apple Watch, locate the Passcode option, and set up a passcode that meets your security needs. By taking this simple step, you can enhance the safety and privacy of your Apple Watch.
Creating a Passcode
Setting a passcode on your Apple Watch is an important security measure to protect your personal information and prevent unauthorized access. Follow these simple steps to create a passcode:
- On your Apple Watch, navigate to the Settings app by tapping on the digital crown.
- Scroll down and select the “Passcode” option.
- If prompted, authenticate with your existing Apple Watch passcode.
- In the Passcode settings, tap on “Create a Passcode”.
- Choose a passcode that is both secure and easy for you to remember. You can use a combination of numbers, letters, and special characters.
- Enter the passcode on your Apple Watch screen by using the digital crown or the touchscreen.
- Confirm the passcode by entering it again.
- Your passcode is now set and your Apple Watch is protected.
It is crucial to choose a passcode that is not easily guessable and provides a high level of security. Avoid using common combinations like “1234” or “0000”, as these are easy to guess. Instead, opt for a passcode that is personal to you and not easily associated with your personal information.
Remember that your passcode will be required whenever you put on your Apple Watch or unlock it after removing it. This ensures that only authorized users have access to your device and the sensitive data it contains.
By creating a passcode, you are adding an extra layer of protection to your Apple Watch, safeguarding your personal information and ensuring the privacy of your data.
Choosing a secure and memorable passcode for your Apple Watch – Understanding the minimum passcode requirements – Inputting and confirming your passcode on the Apple Watch screen
Setting a passcode on your Apple Watch is essential to protect your personal data and ensure the security of your device. When it comes to choosing a passcode, you need to strike a balance between security and convenience. Below, we will guide you on how to select a secure and memorable passcode, understand the minimum passcode requirements, and input and confirm your passcode on your Apple Watch.
Choosing a secure and memorable passcode
When selecting a passcode for your Apple Watch, it’s crucial to choose one that is both secure and memorable. Here are some tips to help you create a strong passcode:
- Use a combination of numbers, letters (both uppercase and lowercase), and special characters.
- Avoid using common sequences like “1234” or “abcd,” as they are easy to guess.
- Avoid using personal information, such as your birthdate, phone number, or address, as they can be easily obtained by others.
- Create a passcode that is at least six digits long to enhance security.
- Consider using a passphrase or a combination of words that are memorable to you but difficult for others to guess.
Understanding the minimum passcode requirements
Apple Watch has a minimum passcode requirement to ensure a certain level of security. The following criteria must be met when setting up your passcode:
- The passcode must consist of at least four digits.
- You can also choose to use a longer passcode with a combination of alphanumeric characters.
- For added security, Apple recommends using a passcode with at least six digits or longer.
Inputting and confirming your passcode on the Apple Watch screen
Once you have chosen a secure and memorable passcode, it’s time to input and confirm it on your Apple Watch. Follow these steps:
- Press the Digital Crown button on the side of your Apple Watch to wake it up.
- Swipe right and enter your chosen passcode using the number pad displayed on the screen.
- After entering the passcode, tap the “Done” button or press the Digital Crown to confirm it.
- Your passcode is now set up on your Apple Watch, providing an extra layer of security for your device.
Remember to choose a passcode that is easy for you to remember but difficult for others to guess. By following these steps, you can ensure that your Apple Watch remains secure and protected.
Configuring Passcode Options
Once you’ve set up a passcode on your Apple Watch, you have the option to configure additional passcode settings to enhance the security and convenience of using your smartwatch. Here are some key passcode options available:
1. Enabling or disabling wrist detection: Wrist detection is a feature that uses the heart rate sensor to automatically lock your Apple Watch when you take it off your wrist. To enable or disable wrist detection, navigate to the Passcode settings on your watch and toggle the switch for “Wrist Detection.”
2. Adjusting the time delay before the passcode is required: By default, your Apple Watch will require a passcode immediately after you take it off your wrist. However, you can adjust the time delay to make it more convenient for regular use. To change the time delay, go to Passcode settings and select “Passcode Lock Timer.” Choose the desired time delay that suits your needs.
3. Considering enabling the Erase Data option: If you’re concerned about the security of your personal information in case your Apple Watch gets lost or stolen, you can enable the “Erase Data” option. When enabled, this feature will erase all data on your Apple Watch after ten unsuccessful passcode attempts. Keep in mind that enabling this option will permanently delete all data, so use it with caution.
By configuring these passcode options, you can personalize the security settings of your Apple Watch according to your preferences and needs. It’s important to strike a balance between convenience and security to ensure a hassle-free and protected experience with your smartwatch.
– Enabling or disabling the wrist detection feature- Adjusting the time delay before the passcode is required- Considering enabling the Erase Data option for added security
When setting a passcode on your Apple Watch, there are additional options you can configure to enhance security and customize your user experience. Here are some important features to consider:
Enabling or disabling the wrist detection feature: The wrist detection feature on your Apple Watch ensures that your watch remains locked when it is not being worn. This is an important security measure, as it prevents unauthorized access to your watch and its data. To enable or disable wrist detection, navigate to the Passcode settings on your Apple Watch and toggle the wrist detection option.
Adjusting the time delay before the passcode is required: By default, your Apple Watch will require you to enter your passcode every time you take it off your wrist and put it back on. However, you can adjust the time delay before the passcode is required to offer more convenience without compromising security. To customize this setting, go to the Passcode settings and select the “Unlock with iPhone” option. This will allow your Apple Watch to remain unlocked for a specified period after it has been taken off.
Considering enabling the Erase Data option for added security: For maximum security, you can enable the Erase Data option on your Apple Watch. This feature will erase all the data on your watch after ten consecutive failed passcode attempts. While this option provides an extra layer of protection, it is essential to exercise caution when enabling it, as it can result in the loss of all data on your watch. To enable this feature, go to the Passcode settings and toggle the Erase Data option to the on position.
By customizing these passcode options on your Apple Watch, you can enhance security and convenience based on your personal preferences and needs. Remember to choose a strong and memorable passcode to ensure the utmost protection for your watch and the data it contains.
Conclusion
In conclusion, setting a passcode on your Apple Watch is a simple yet crucial step to ensuring the security and privacy of your personal data. By following the steps outlined in this article, you can easily set a passcode that is both secure and convenient for you to use. Whether you prefer a four-digit passcode or the added security of an alphanumeric passcode, the choice is yours.
Remember, your Apple Watch contains valuable information and access to various apps and services, making it important to protect it with a passcode. This feature provides an additional layer of security and prevents unauthorized access to your device.
Taking a few moments to set a passcode on your Apple Watch will give you peace of mind knowing that your personal data is safe and secure. So don’t delay, follow the steps outlined in this article and start enjoying the added security of a passcode on your Apple Watch today.
FAQs
Q: How do I set a passcode on the Apple Watch?
A: Setting a passcode on your Apple Watch is easy. Simply go to the Settings app on your Apple Watch, scroll down and tap on “Passcode”. From there, you can set a passcode of your choice and enable the passcode lock.
Q: Why should I set a passcode on my Apple Watch?
A: Setting a passcode on your Apple Watch adds an extra layer of security, protecting your personal information and ensuring that only you have access to your device. It helps prevent unauthorized access and keeps your data safe.
Q: Can I use the same passcode for my Apple Watch and iPhone?
A: While it is possible to use the same passcode for both your Apple Watch and iPhone, we highly recommend setting a separate passcode for each device. This adds an additional level of security and reduces the risk of compromising both devices if one gets lost or stolen.
Q: How often should I change my Apple Watch passcode?
A: It is good practice to periodically change your passcode to maintain security. We recommend changing your Apple Watch passcode every few months or whenever you feel the need for an extra layer of protection. This helps prevent unauthorized access and keeps your data secure.
Q: What should I do if I forget my Apple Watch passcode?
A: If you forget your Apple Watch passcode, don’t worry. You can reset it by using your paired iPhone. Open the Apple Watch app on your iPhone, go to the “My Watch” tab, and then tap on “Passcode”. From there, you can disable the passcode lock and set a new one. However, please note that this will erase all data on your Apple Watch, so it’s important to have a recent backup before resetting the passcode.