
Are you a passionate gamer who wants to take your gaming experience to the next level? If so, you may be wondering how to connect a PS4 headset to enhance your gameplay with immersive audio. The PS4 offers a range of connectivity options for headsets, allowing you to communicate with other players, enjoy in-game audio, and fully immerse yourself in the gaming world. Whether you’re playing multiplayer games, engaging in online chats, or simply want to enjoy crystal-clear audio while playing solo, connecting a headset to your PS4 is a straightforward process. In this article, we’ll provide you with step-by-step instructions on how to connect a PS4 headset, along with some helpful tips and recommendations to get the most out of your gaming experience.
Inside This Article
- Step 1: Ensure Compatibility
- Step 2: Connect via 3.5mm Audio Jack
- Step 3: Connect via USB Port
- Step 4: Connect Wirelessly via Bluetooth
- Troubleshooting Tips
- Conclusion
- FAQs
Step 1: Ensure Compatibility
In order to connect your PS4 headset successfully, it is crucial to ensure that it is compatible with your gaming console. Compatibility can vary depending on the type of headset you are using. Here are a few factors to consider:
- Wired or Wireless: Determine whether your headset is wired or wireless. Wired headsets usually connect via a 3.5mm audio jack or USB, while wireless headsets connect via Bluetooth or a USB dongle.
- Connection Options: Check the connection options supported by your headset and the PS4. Common options include 3.5mm audio jack, USB, and Bluetooth. Make sure your headset and PS4 have at least one connection option in common.
- Compatibility List: Research the compatibility list provided by the manufacturer or consult the user manual to verify if your headset model is compatible with the PS4 or requires any additional adapters or software updates.
- System Software Version: Ensure that your PS4’s system software is up to date. Sometimes, certain headset models require specific system software versions to function properly.
By taking these compatibility factors into consideration, you can be confident that your headset will seamlessly connect and provide an enhanced gaming experience with your PS4.
Step 2: Connect via 3.5mm Audio Jack
Connecting your PS4 headset via the 3.5mm audio jack is a simple and straightforward method that allows you to enjoy your gaming experience without the need for additional accessories or complicated setups. Here’s a step-by-step guide on how to do it:
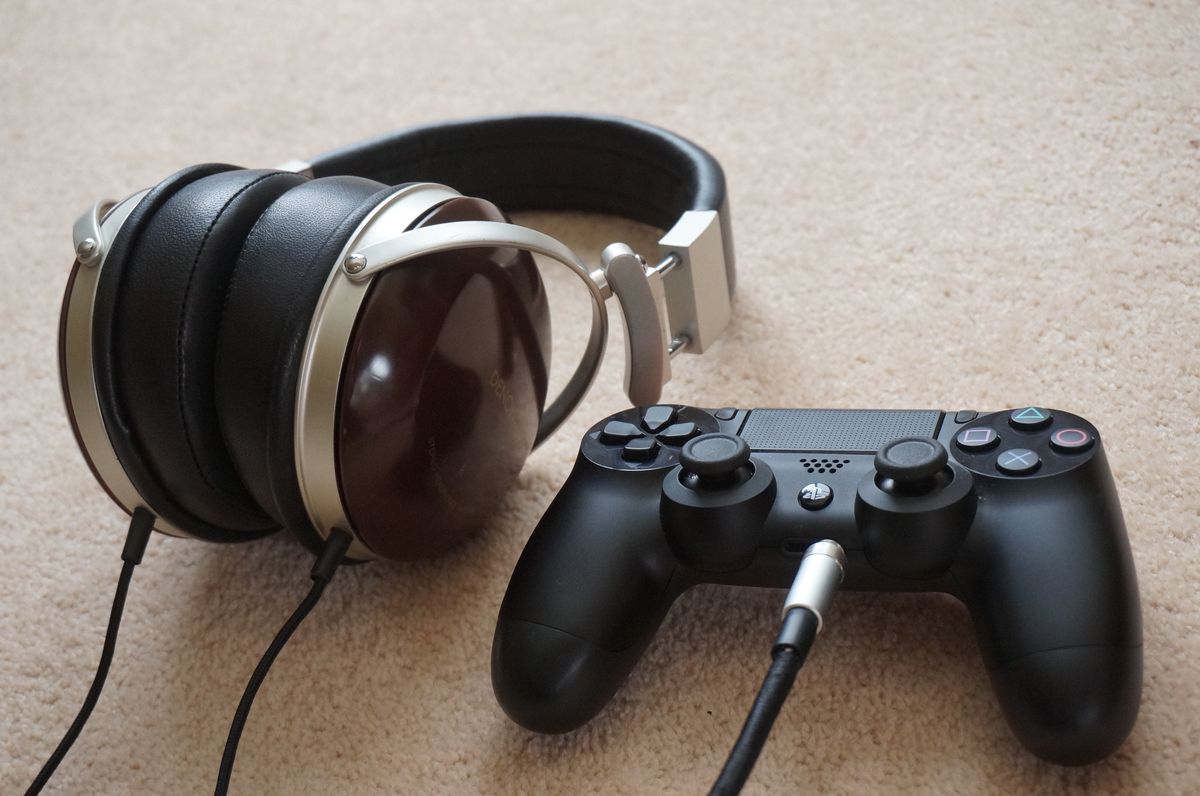
1. Locate the 3.5mm audio jack on your PS4 controller. It is usually located at the bottom of the controller, next to the charging port.
2. Take one end of the audio cable that comes with your headset and plug it into the 3.5mm audio jack on the controller. Make sure it is securely inserted to ensure proper audio transmission.
3. Take the other end of the audio cable and connect it to the audio jack on your headset. Again, ensure that it is firmly plugged in to avoid any audio disruptions during gameplay.
4. Once the headset is connected, adjust the volume settings on both the PS4 console and the headset itself to your desired level. This can be done through the console’s settings menu or by using the volume buttons on the headset if available.
5. Test the audio output by launching a game or playing a video on your PS4. Make sure that sound is coming through the headset and adjust the volume accordingly. If the audio is not playing through the headset, double-check the connections and the console’s settings.
That’s it! You have successfully connected your PS4 headset via the 3.5mm audio jack. Now, you can enjoy immersive gaming audio without any hassle.
Step 3: Connect via USB Port
If you prefer a wired connection, connecting your PS4 headset via the USB port is a convenient option. Here’s how you can do it:
1. Start by locating the USB port on your PS4 console. It is typically located in the front or on the side.
2. Plug one end of the USB cable into the USB port on your PS4 console. Ensure that the connection is secure.
3. Take the other end of the USB cable and connect it to the USB port on your PS4 headset. Again, make sure it is firmly plugged in.
4. Once the USB connection is established, your PS4 console should automatically recognize the headset. If prompted, follow the on-screen instructions to complete the setup process.
5. Finally, you may need to adjust the audio settings on your PS4 console to ensure the sound is routed through the headset. To do this, navigate to the “Settings” menu on your PS4 dashboard, select “Devices,” then choose “Audio Devices.” From here, you can select your headset as the default audio device.
That’s it! You have successfully connected your PS4 headset via the USB port. This wired connection ensures a stable and reliable audio experience, perfect for those intense gaming sessions.
Step 4: Connect Wirelessly via Bluetooth
If you prefer a wire-free gaming experience, connecting your PS4 headset via Bluetooth is a great option. Follow these steps to establish a wireless connection:
1. Start by putting your PS4 headset into pairing mode. Refer to the user manual for instructions on how to do this, as it may vary depending on the model. Generally, you’ll need to press and hold the Bluetooth button on the headset until the indicator light starts flashing.
2. On your PS4 console, go to the Settings menu and select Devices. Then, choose Bluetooth Devices. Ensure that Bluetooth is enabled on your console.
3. From the Bluetooth Devices menu, select “Add a Device” or “Pair New Device” option. Your console will start scanning for nearby devices.
4. On your headset, wait for the console to detect it. Once your headset appears on the PS4’s screen, select it to initiate the pairing process.
5. Follow any on-screen prompts to complete the pairing process. The console may ask you to enter a passcode or confirm the connection on your headset.
6. Once the pairing is successful, your PS4 headset should be connected wirelessly via Bluetooth. You can now enjoy an immersive gaming experience without the hassle of wires.
It’s worth noting that not all PS4 headsets are Bluetooth compatible. Ensure that your headset supports Bluetooth connectivity before attempting this method. Additionally, make sure that your headset is charged and within range of the PS4 console for a seamless wireless connection.
Keep in mind that the Bluetooth connection may introduce some latency, which can impact the audio synchronization with your gameplay. If you notice any audio delays or inconsistencies, you may need to switch to a wired connection for optimal performance.
With your PS4 headset connected via Bluetooth, you can fully immerse yourself in the world of gaming without any wired distractions. Enjoy the freedom of movement and superior audio quality as you embark on exciting gaming adventures.
Troubleshooting Tips
Despite your best efforts, there may be times when you encounter issues while trying to connect your PS4 headset. Don’t worry – we’ve got you covered with some troubleshooting tips to help you get back on track!
1. Check your connections: Ensure that all cables are securely plugged in. Sometimes a loose connection can cause audio problems or result in no sound at all. Take a moment to double-check that everything is properly connected.
2. Restart your console: Sometimes a simple restart can work wonders. Turn off your PlayStation 4 console, unplug the power cord, wait for a few seconds, and then plug it back in. Power it on and try connecting your headset again.
3. Update your console’s firmware: Outdated firmware can sometimes cause compatibility issues. Make sure your PS4 console has the latest firmware installed. You can do this by going to the settings menu, selecting “System Software Update,” and following the on-screen instructions.
4. Adjust audio settings: Access the audio settings on your PS4 console and ensure that the headset audio is properly configured. Check that the volume is set to an appropriate level and that the headset is selected as the primary audio output device.
5. Test your headset on another device: To determine whether the issue lies with the headset or the console, try connecting your headset to another device, such as a smartphone or a computer. If it works fine on another device, the problem may be with your PS4 console.
6. Reset your headset: If you’re still experiencing difficulties, try resetting your headset. Refer to the manufacturer’s instructions for the specific headset model you’re using to learn how to perform a reset.
7. Contact customer support: If you’ve exhausted all troubleshooting options and are still unable to connect your PS4 headset, it may be time to reach out to customer support. They can provide specialized assistance based on your specific issue and help you find a resolution.
Remember, troubleshooting can be a process of trial and error, so don’t get discouraged if the first attempt doesn’t solve the problem. Keep trying different solutions and reach out to professionals if necessary. With a little persistence, you’ll soon be enjoying your gaming experience with your PS4 headset!
The ability to connect a PS4 headset opens up a world of immersive gaming experiences and enhanced communication with fellow players. Whether you choose a wired or wireless headset, the process of connecting it to your PS4 is relatively straightforward, thanks to the user-friendly design of the console.
By following the steps outlined in this guide, you can ensure that your headset is properly connected and ready to use for gaming sessions, online chats, and more. Remember to check for any firmware updates or compatibility requirements specific to your headset model to ensure optimal performance.
Having a reliable and comfortable headset can greatly enhance your gaming experience, allowing you to hear every detail and communicate clearly with your team. So, go ahead and connect your PS4 headset and immerse yourself in the world of gaming like never before!
FAQs
Q: How do I connect a PS4 headset to my console?
A: Connecting a PS4 headset is a simple process. First, locate the 3.5mm headphone jack on your PS4 controller. Insert the headset’s audio plug into the controller’s jack. Once connected, you can adjust the audio and microphone settings through the PS4’s system menu.
Q: What if my PS4 headset uses a USB connection instead of a 3.5mm plug?
A: If your PS4 headset utilizes a USB connection, you can plug it directly into one of the USB ports on your console. The PS4 will automatically recognize the headset, and you can adjust audio and microphone settings in the system settings.
Q: Can I use a wireless headset with my PS4?
A: Yes, you can use a wireless headset with your PS4. There are two options available: Bluetooth headsets or those specifically designed for PS4, such as the official PlayStation Gold Wireless Headset. To connect a Bluetooth headset, access the PS4’s Bluetooth device settings and follow the pairing instructions provided with your headset.
Q: How do I adjust the volume on my PS4 headset?
A: To adjust the volume on your PS4 headset, you can use the volume buttons on the headset itself if it has built-in controls. Alternatively, you can adjust the volume through the PS4’s system menu. Go to the Quick Menu, select Sound/Devices, and then Adjust Volume. From there, you can adjust the headset volume to your preferred level.
Q: My PS4 headset microphone is not working. What should I do?
A: If your PS4 headset microphone is not working, there are a few troubleshooting steps you can take. First, check if the microphone is muted or the volume is turned down. If not, try unplugging and plugging in the headset again. Additionally, make sure that the microphone is enabled in the PS4’s system settings. If the issue persists, it may be a hardware problem, and you should contact the headset manufacturer for further assistance.