
Organizing photos on your iPhone can sometimes feel like a daunting task, especially if you have a large collection. From memorable vacation pictures to family gatherings, the endless stream of photos can quickly become overwhelming. But fear not, as there are simple and effective ways to keep your iPhone photo library organized and easily accessible.
In this article, we will guide you through four straightforward steps to help you organize your photos on your iPhone like a pro. Whether you want to create albums, delete unwanted photos, or arrange your pictures by date or location, we’ve got you covered. So let’s dive in and discover the tips and tricks that will transform your cluttered photo gallery into a well-organized collection of cherished memories.
Inside This Article
- How to Organize Photos on Your iPhone in Four 4 Steps (2023)
- Importing Photos to Your iPhone
- Creating Albums: Sorting photos by event or date, Organizing photos by location or theme, Adding captions or descriptions to albums
- Deleting and Managing Photos
- Conclusion
- FAQs
How to Organize Photos on Your iPhone in Four 4 Steps (2023)
Organizing your photos on your iPhone can be a daunting task, especially if you have a large collection. However, with the right techniques and tools, you can efficiently manage and find your photos with ease. In this article, we will guide you through four simple steps to help you organize your photos on your iPhone.
Step 1: Importing Photos to Your iPhone
The first step in organizing your photos is to ensure that all your photos are imported into your iPhone’s photo library. There are several ways to do this. If you use iCloud, you can enable the iCloud Photo Library option in your iPhone settings, which will automatically sync your photos across all your Apple devices. Another option is to transfer photos from your computer to your iPhone using iTunes or third-party file transfer apps. Additionally, you can download photos from cloud storage apps like Google Drive or Dropbox directly to your iPhone.
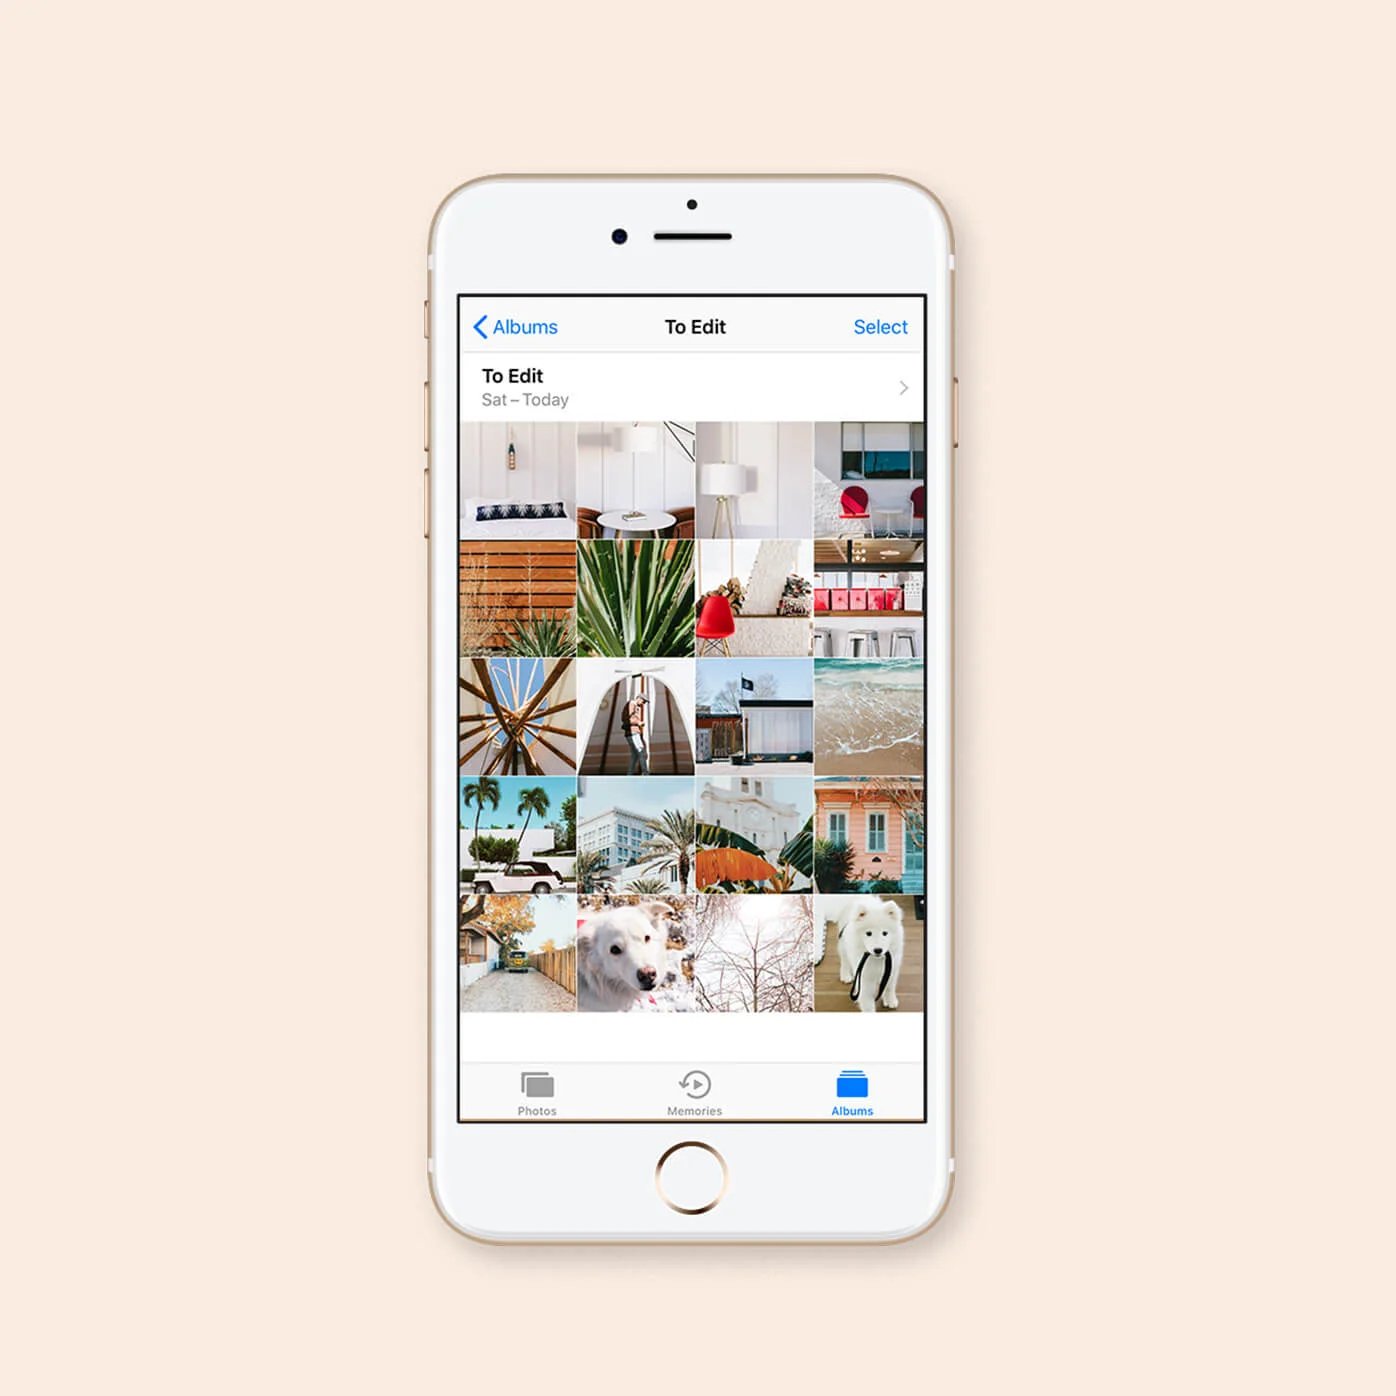
Step 2: Creating Albums
Once your photos are imported, it’s time to create albums to organize them. You can sort your photos by event or date, creating separate albums for birthdays, vacations, or special occasions. Another way to organize your photos is by location or theme. You can create albums for specific places you’ve visited or for certain subjects such as nature, food, or pets. To make your albums more descriptive, you can add captions or descriptions to further categorize your photos.
Step 3: Deleting and Managing Photos
To keep your photo library clutter-free, it’s important to learn how to delete and manage your photos effectively. If you want to delete multiple photos at once, you can select multiple photos by tapping on the “Select” option and then choosing the photos you want to delete. They will be moved to the “Recently Deleted” album, where you can recover them within 30 days if needed. For a more automated approach, you can use smart folders, which use AI to analyze your photos and automatically group them based on certain criteria, such as people, places, or objects.
Step 4: Utilizing Photo Editing and Enhancement Tools
In addition to organizing your photos, you can also enhance them using the photo editing tools available on your iPhone. Adjusting the brightness, contrast, and saturation can make your photos more vibrant and visually appealing. You can also apply filters and effects to give your photos a unique look. Additionally, you can remove red-eye or blemishes using the retouching tools. These editing and enhancement tools will allow you to transform your photos and make them even more memorable.
By following these four steps, you can effectively organize and manage your photos on your iPhone. Whether you want to find a specific photo from a memorable event or showcase your best shots to friends and family, having an organized photo library will make it easier and more enjoyable to navigate through your collection. So, start organizing your photos today and unlock the full potential of your iPhone’s camera.
Importing Photos to Your iPhone
One of the first steps to organizing your photos on your iPhone is importing them to your device. There are multiple ways to do this, depending on where your photos are stored. Here are three methods you can use:
Using the iCloud Photo Library
If you have the iCloud Photo Library enabled on your iPhone, it will automatically sync your photos across all your Apple devices. To import photos using iCloud Photo Library:
- Ensure that your iPhone is connected to Wi-Fi.
- Open the Photos app on your iPhone.
- Go to “Settings” on your iPhone, then tap on your name at the top of the screen.
- Select “iCloud” and then “Photos.”
- Toggle on “iCloud Photos” to enable the feature.
- Wait for the sync process to complete. Your photos will appear in the Photos app.
Transferring photos from your computer
If your photos are stored on your computer, you can easily transfer them to your iPhone using the following steps:
- Connect your iPhone to your computer using a USB cable.
- On your computer, open the file explorer or Finder and locate the folder where your photos are stored.
- Select the photos you want to transfer to your iPhone and copy them.
- Go to the Photos app on your iPhone.
- Tap on the “Albums” tab at the bottom of the screen.
- Tap on “Photos” and then select the option to add photos or create a new album.
- Paste the copied photos into the desired location.
Downloading photos from cloud storage apps
If you have your photos stored in cloud storage apps like Google Drive, Dropbox, or OneDrive, you can download them directly to your iPhone. Here’s how:
- Open the respective cloud storage app on your iPhone.
- Navigate to the folder where your photos are stored.
- Select the photos you want to download.
- Tap on the download icon or choose the option to save the photos to your device.
- Once the download is complete, the photos will be available in your Photos app.
By following these steps, you can easily import photos to your iPhone, making them accessible for organizing and managing in the next steps.
Creating Albums: Sorting photos by event or date, Organizing photos by location or theme, Adding captions or descriptions to albums
One of the best ways to keep your iPhone photos organized is by creating albums. By categorizing your photos into specific albums, you can easily find and access them whenever you want. Here are some helpful tips on how to create albums and sort your photos:
Sorting photos by event or date
Sorting your photos by event or date is a great way to group them based on the occasion or when they were taken. To do this, follow these steps:
- Open the Photos app on your iPhone.
- Select the “Photos” tab at the bottom of the screen.
- Tap “Select” at the top right corner of the screen.
- Select the photos you want to include in the album by tapping on them.
- Tap the “Add To” option at the bottom of the screen.
- Choose “New Album” and give it a name.
- Tap “Save” to create the album and add the selected photos to it.
By organizing your photos by event or date, you can easily browse through your albums and relive those special moments.
Organizing photos by location or theme
Another way to create meaningful albums is by organizing your photos based on location or theme. Whether you want to group photos from a specific vacation spot or showcase a collection of your favorite sunsets, organizing by location or theme can make it easier to find and enjoy your photos. Here’s how:
- Open the Photos app on your iPhone.
- Select the “Photos” tab at the bottom of the screen.
- Tap “Select” at the top right corner of the screen.
- Choose the photos you want to include in the album by tapping on them.
- Tap the “Add To” option at the bottom of the screen.
- Select an existing album or choose “New Album” to create a new one.
- Give the album a name that reflects the location or theme.
- Tap “Save” to create the album and add the selected photos to it.
By organizing your photos by location or theme, you can easily showcase your favorite memories and create visually appealing albums.
Adding captions or descriptions to albums
Adding captions or descriptions to your albums can provide context and make them more meaningful. You can include details about the event, location, or theme of the album, allowing you to easily recall the story behind the photos. To add captions or descriptions to your albums, follow these steps:
- Open the Photos app on your iPhone.
- Select the “Albums” tab at the bottom of the screen.
- Choose the album you want to add a caption or description to.
- Tap the “…” (more) button in the top right corner of the screen.
- Select “Edit” from the options that appear.
- Tap the text field under “Title” and enter your desired caption or description.
- Tap “Done” to save the changes.
By adding captions or descriptions to your albums, you can provide context and enhance the storytelling aspect of your photo collection.
Creating albums, sorting photos by event or date, organizing them by location or theme, and adding captions or descriptions are effective ways to keep your iPhone photos organized. Whether you want to easily find specific photos or showcase your favorite memories, albums can help you manage your photo library in a way that suits your preferences and style.
Deleting and Managing Photos
Managing photos on your iPhone is an essential task to keep your camera roll neat and organized. In this section, we will explore three key functions for deleting and managing photos: deleting multiple photos at once, recovering deleted photos from the Recently Deleted album, and using smart folders to automatically organize your photos.
Deleting Multiple Photos at Once
Deleting multiple photos at once can save you valuable time when it comes to removing unwanted or duplicate photos from your iPhone. To delete multiple photos, follow these simple steps:
- Open the Photos app on your iPhone.
- Navigate to the album or the camera roll where the photos you want to delete are located.
- Tap on the “Select” button located at the top-right corner of the screen.
- Now, tap on each photo you want to delete. You will see a blue checkmark appearing on the selected photos.
- Once you have selected all the photos you want to delete, tap the trash can icon at the bottom-right corner of the screen.
- A confirmation message will appear. Tap “Delete Photos” to confirm.
By following these steps, you can quickly remove multiple unwanted photos from your iPhone in just a few taps.
Recovering Deleted Photos from the Recently Deleted Album
We all make mistakes, and sometimes we accidentally delete photos we didn’t mean to. Fortunately, the Photos app has a built-in feature called the Recently Deleted album, which acts as a safety net for deleted photos. To recover deleted photos from the Recently Deleted album:
- Open the Photos app on your iPhone.
- Tap on the Albums tab at the bottom of the screen.
- Scroll down and find the “Recently Deleted” album.
- Open the album, and you will see all the photos you have deleted within the last 30 days.
- Tap on the photo you want to recover.
- At the bottom-right corner of the screen, tap on the “Recover” button.
- The photo will be restored to its original location, and you can find it back in your camera roll or the respective album where it was initially stored.
The Recently Deleted album provides a convenient way to recover mistakenly deleted photos without the need for advanced technical skills or external software.
Using Smart Folders to Automatically Organize Photos
If you have a large collection of photos on your iPhone, organizing them manually can be a time-consuming task. Luckily, the Photos app offers a feature called smart folders, which can automatically organize your photos based on specific criteria. Here’s how to use smart folders:
- Open the Photos app on your iPhone.
- Tap on the Albums tab at the bottom of the screen.
- Scroll down and find the “Smart Folders” option.
- Tap on “Smart Folders” to open it.
- You will see different categories such as Selfies, Panoramas, Screenshots, and more.
- To view the photos within a specific category, tap on it.
- The smart folder will display all the relevant photos, automatically organized without any manual effort from your side.
Using smart folders can help you locate specific types of photos more efficiently and keep your collection well-organized without the need for manual sorting.
Conclusion
In conclusion, organizing your photos on your iPhone is a crucial step in managing your digital memories effectively. With the four simple steps outlined in this article, you can easily declutter your photo library and find specific images with ease.
By organizing your photos into albums, using the Favorites feature, utilizing the search function, and taking advantage of cloud storage options, you can create a streamlined and efficient system for accessing and enjoying your cherished moments.
Remember to regularly review and backup your photo library to ensure the safety and longevity of your images. With these tips in mind, you can take control of your iPhone’s photo organization and enjoy a clutter-free and well-curated digital album.
FAQs
1. How can I organize my photos on my iPhone?
To organize photos on your iPhone, you can follow these steps:
- Open the Photos app on your iPhone.
- Select the photos you want to organize by tapping on them.
- Tap on the “Options” button.
- Choose the desired option, such as creating albums, adding tags, or sorting by date or location.
2. Can I create albums to organize my photos?
Yes, you can create albums in the Photos app on your iPhone to organize your photos. Simply select the photos you want to include in the album, tap on the “Options” button, and choose “Add to Album”. You can create a new album or add the selected photos to an existing one.
3. How can I add tags to my photos?
To add tags to your photos on your iPhone, follow these steps:
- Open the Photos app and select the photos you want to tag.
- Tap on the “Options” button and choose “Add Tags”.
- Enter the desired tags and tap “Done”.
4. How can I sort my photos by date or location?
To sort your photos on your iPhone by date or location, you can follow these steps:
- Open the Photos app and go to the “Albums” tab.
- Select the album you want to sort.
- Tap on the “Options” button and choose “Sort”.
- Select either “By Date” or “By Location” to sort your photos accordingly.
5. Is it possible to organize photos automatically on my iPhone?
Yes, your iPhone has a feature called “Smart Albums” that automatically organizes your photos based on specific criteria, such as favorites, screenshots, selfies, and more. These smart albums update automatically as you take new photos or make changes to your existing ones. To access them, open the Photos app, go to the “Albums” tab, and scroll down to find the various smart albums available.