
The camera has become an essential feature of smartphones, and iPhone users are especially fond of the outstanding camera quality that Apple devices offer. However, many users are unaware of the various camera settings available to customize their photography and videography experience.
In this article, we will delve into one specific aspect of iPhone camera settings – video-recording resolution. We will explore how changing the resolution can enhance your videos and provide you with greater control over the size and quality of your recordings. Whether you want to conserve storage space or capture stunning high-definition videos, learning how to adjust the video-recording resolution on your iPhone is a valuable skill.
So, let’s dive in and discover how to change the video-recording resolution on your iPhone to elevate your videography game.
Inside This Article
- Overview
- Understanding Video-Recording Resolution
- Changing Video-Recording Resolution on iPhone
- Best Practices for Video-Recording Resolution
- Conclusion
- FAQs
Overview
When it comes to capturing moments on your iPhone, the camera is one of the most vital tools at your disposal. Whether you’re snapping photos or shooting videos, being able to adjust the settings according to your preferences can make all the difference. In this article, we will focus on video-recording resolution and how you can change it on your iPhone.
Video-recording resolution refers to the number of pixels used to display the video on the screen. Higher resolution means sharper and more detailed videos, while lower resolution can help save storage space on your device. By knowing how to change the video-recording resolution on your iPhone, you can easily adapt the settings to fit your specific needs.
Changing the video-recording resolution on your iPhone requires just a few simple steps. Whether you want to shoot high-quality videos or conserve storage space, this guide will walk you through the process.
Lastly, we will also provide you with some best practices for video-recording resolution, so you can make the most out of your iPhone’s camera capabilities and capture stunning videos that truly stand out.
Understanding Video-Recording Resolution
Video recording resolution refers to the number of pixels captured and displayed in a video. It determines the level of detail and clarity of the recorded footage. Understanding video-recording resolution is crucial for getting the best video quality on your iPhone.
The resolution is typically described in terms of the number of horizontal and vertical pixels. For example, a common video resolution is 1920 x 1080, also known as Full HD or 1080p. The first number represents the number of horizontal pixels, while the second number represents the number of vertical pixels.
Higher resolution means more pixels are captured, resulting in sharper and more detailed videos. However, it also requires more storage space. Lower resolution, on the other hand, captures fewer pixels and may result in a less detailed video, but it requires less storage space.
It’s important to note that the video-recording resolution also affects factors like file size and playback compatibility. Higher resolutions typically result in larger file sizes, which may take up more space on your device and require more bandwidth to transfer and share. Additionally, playback compatibility can vary across different devices and platforms.
When choosing a video-recording resolution, consider the purpose and intended use of the footage. If you’re recording a casual moment or sharing it on social media, a lower resolution may be sufficient. However, for professional purposes or capturing precious memories, a higher resolution would be recommended to ensure the best possible quality.
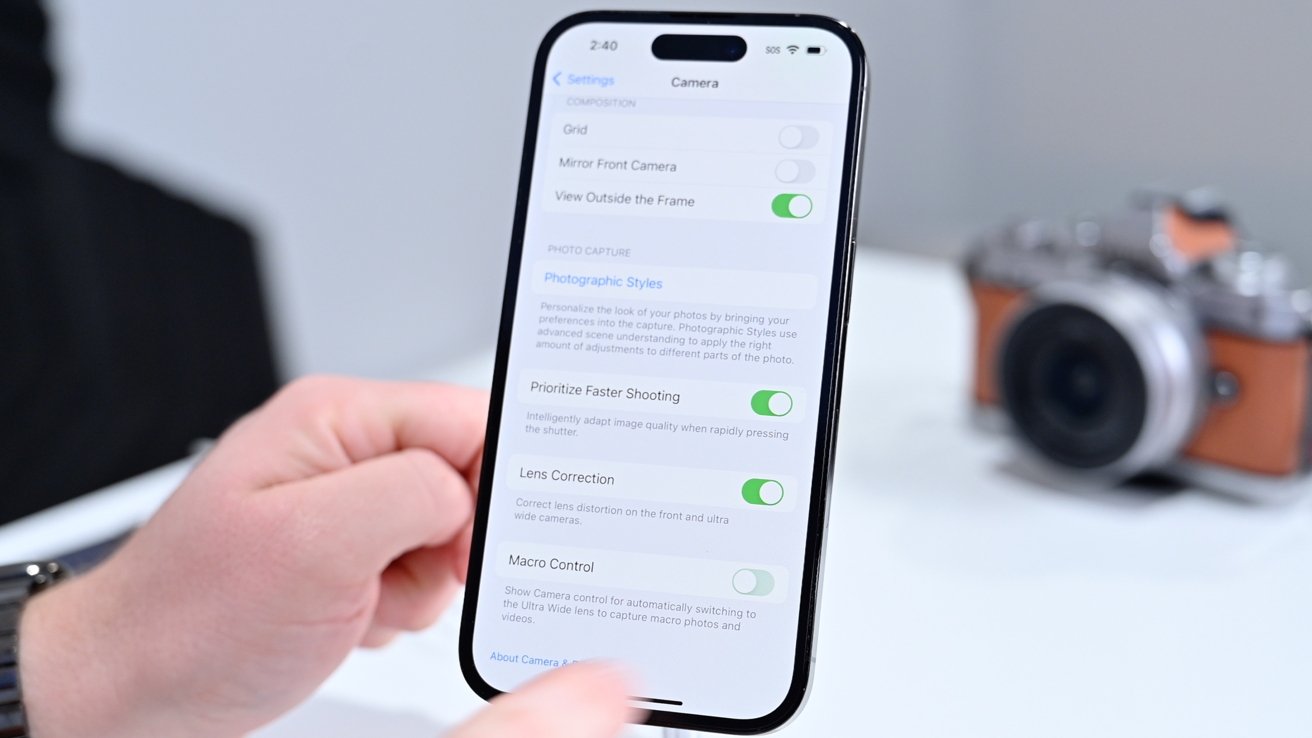
Changing Video-Recording Resolution on iPhone
One of the great features of the iPhone camera is its ability to record videos in stunning clarity. With each new iPhone release, Apple has consistently improved the video-recording capabilities, allowing users to capture their precious moments in higher and higher resolutions. If you want to change the video-recording resolution on your iPhone, follow these simple steps:
- Open the Camera app on your iPhone.
- Swipe left or right to switch to the desired video-recording mode (such as Video, Slo-Mo, or Time-Lapse).
- Tap the “Resolution” or “Quality” icon located at the top of the screen. It usually looks like a pair of arrows pointing up or down.
- A list of available video-recording resolutions will appear. These resolutions are determined by the capabilities of your specific iPhone model.
- Tap on the resolution you wish to use for your video recording. The selected resolution will be highlighted or have a checkmark next to it.
- Exit the Camera app and start recording your video with the new resolution.
Changing the video-recording resolution on your iPhone allows you to balance video quality and file size based on your needs. Higher resolutions, such as 4K or 1080p, provide incredibly sharp and detailed videos, perfect for capturing important events or creating professional-looking content. However, keep in mind that higher resolutions also result in larger file sizes, which may take up more storage space on your device.
On the other hand, lower resolutions, such as 720p or lower, are ideal for conserving storage space and for casual video recording. These resolutions may not offer the same level of detail as higher resolutions, but they are still more than sufficient for everyday use and sharing on social media.
It’s worth noting that not all iPhone models offer the same range of video-recording resolutions. The newer iPhone models typically support higher resolutions, while older models may have more limited options. Always refer to your specific iPhone model’s documentation for the available video-recording resolutions.
Now that you know how to change the video-recording resolution on your iPhone, you have the flexibility to capture videos in the quality that best suits your needs. Whether you’re filming a family gathering, a vacation adventure, or creating content for your personal or professional use, having control over the video resolution gives you the power to create stunning visuals with your iPhone camera.
Best Practices for Video-Recording Resolution
When it comes to capturing videos on your iPhone, choosing the right resolution can make a significant difference in the quality of your footage. Understanding and utilizing the best practices for video-recording resolution can help you achieve stunning results and enhance your overall video experience.
Here are some valuable tips to consider when selecting the ideal video-recording resolution on your iPhone:
- Assess your purpose: Before starting to record, determine the purpose of your video. Are you filming a professional project, a personal vlog, or just capturing a fun moment? Identifying the purpose will guide you in selecting the appropriate resolution.
- Consider your storage capacity: Higher video resolutions typically result in larger file sizes. Make sure you have ample storage space on your iPhone to accommodate the chosen resolution. Running out of storage mid-video can be a frustrating experience.
- Quality versus file size: The higher the resolution, the better the video quality. However, higher resolutions also consume more storage space and may take longer to upload or share. Find the right balance between quality and file size that suits your needs.
- Lighting conditions: Consider the lighting conditions in the environment where you’ll be recording. Higher resolutions can often capture more details, but in low-light situations, a lower resolution may reduce noise and produce better results.
- Frame rate: The frame rate refers to the number of individual frames captured per second. A higher frame rate, such as 60fps, creates smoother motion, but can also result in larger file sizes. Choose a frame rate that suits your desired video style and purpose.
- Consider the viewing platform: Think about where your videos will be primarily viewed or shared. Different platforms may have specific requirements or optimal resolutions. For example, if you plan to upload your video to a social media platform, check their recommended resolution settings.
- Testing and experimentation: Don’t be afraid to experiment with different resolutions and settings. Test the video quality at different resolutions and assess which one offers the best balance of quality, file size, and compatibility with your intended audience and platform.
By following these best practices, you can tailor the video-recording resolution on your iPhone to deliver impressive videos that meet your specific needs. Remember to regularly check your iPhone’s settings and adapt them based on the situation to ensure optimal video quality.
Conclusion
Changing the video-recording resolution on your iPhone can greatly enhance your mobile video recording experience. By adjusting the resolution settings, you have the flexibility to capture videos in different qualities, allowing you to save storage space or capture high-resolution footage for professional purposes.
iPhones offer a variety of video-recording resolution options, ranging from standard definition to 4K Ultra HD. Depending on your device model and your specific needs, you can easily navigate through the camera settings to select the desired resolution.
Remember, when choosing a video resolution, it’s essential to consider both the quality you desire and the available storage space on your device. Higher resolution settings will result in larger file sizes, which may require more storage and longer upload times.
Experiment with different resolutions to find the optimal balance between video quality and storage space. With the ability to change video-recording resolution, you can ensure that your iPhone captures stunning videos that meet your individual preferences.
FAQs
– Can I change the video recording resolution on my iPhone?
Yes, you can change the video recording resolution on your iPhone. Apple offers various resolution options to cater to different needs and preferences.
– How can I change the video recording resolution on my iPhone?
To change the video recording resolution on your iPhone, follow these steps:
1. Open the Settings app on your iPhone.
2. Scroll down and tap on “Camera”.
3. Under the Camera settings, tap on “Record Video”.
4. Here, you will see a list of available resolution options. Simply tap on the desired resolution to select it.
– What are the available video recording resolutions on iPhone?
The available video recording resolutions on iPhone may vary depending on the model and operating system version. However, common options include:
– 720p HD at 30 fps
– 1080p HD at 30 fps
– 1080p HD at 60 fps
– 4K at 24 fps
– 4K at 30 fps
– 4K at 60 fps
– Which video recording resolution should I choose?
The video recording resolution you choose depends on your specific needs. If you intend to share the videos on social media or view them on a smaller screen, lower resolution options like 720p HD or 1080p HD at 30 fps can be sufficient. However, if you want to capture high-quality videos for professional purposes or want more flexibility for editing, higher resolution options like 4K may be preferable.
– Will changing the video recording resolution affect the file size?
Yes, changing the video recording resolution will affect the file size of the videos. Higher resolution videos tend to have larger file sizes due to the increased amount of visual information captured. If you are concerned about storage space on your iPhone, consider choosing a lower resolution option to reduce file sizes.