
In today’s digital age, recording videos has become a ubiquitous part of our lives. Whether it’s capturing precious moments with friends and family or creating content for social media, having the ability to record high-quality videos on our smartphones is essential. When it comes to smartphones, there is one brand that stands out: Apple’s iPhone. With its advanced camera capabilities and user-friendly interface, recording videos on an iPhone has never been easier. In this article, we will explore the fastest and most efficient ways to record videos on the latest iPhone models. From adjusting settings to utilizing built-in features, we will provide you with a comprehensive guide to recording videos on your iPhone like a pro. So, grab your iPhone, get ready to unleash your creativity, and let’s dive into the world of effortless video recording.
Inside This Article
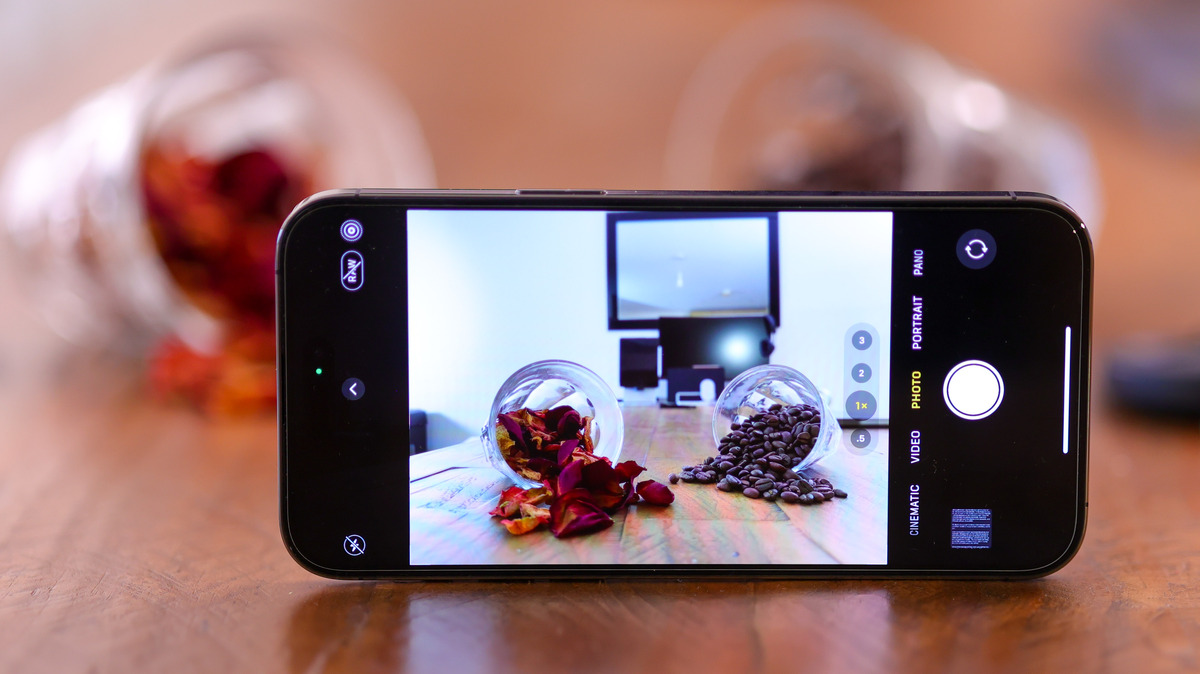
- Quick Steps to Record Video on iPhone
- Choosing the Right Camera Settings
- Utilizing Shortcuts and Gestures for Faster Recording
- Tips for Optimizing Video Recording on iPhone
- Conclusion
- FAQs
Quick Steps to Record Video on iPhone
Recording videos on your iPhone is a breeze with its advanced camera capabilities. Whether you want to capture a precious moment or document an important event, follow these quick steps to start recording videos on your iPhone:
- Unlock your iPhone: Press the Home button or use Face ID or Touch ID to unlock your device.
- Open the Camera app: Locate and tap on the Camera app icon on your home screen. It’s usually a small camera icon with rounded edges.
- Switch to video mode: By default, the Camera app opens in photo mode. Look for the video recording button, usually represented by a red circle, and tap on it to switch to video mode.
- Frame your shot: Before you hit the record button, ensure that your subject is centered and in focus. You can tap on the screen to focus on a specific area or adjust exposure using the sun icon.
- Start recording: Once you’re ready, tap the record button to start recording your video. You’ll notice a timer indicating the duration of the recording at the top of the screen.
- Stop recording: To stop recording, simply tap the stop button, which is usually a square or a red circle. Your video will be automatically saved to your Camera Roll.
That’s it! You’ve successfully recorded a video on your iPhone. Now you can enjoy watching, editing, and sharing your captured moments with your friends and family.
Keep in mind that the process may slightly vary depending on the model of your iPhone and the version of iOS you’re running. However, these steps should generally apply to most iPhones.
Now, let’s delve into some additional camera settings and tips to optimize your video recordings on your iPhone.
Choosing the Right Camera Settings
When capturing videos on your iPhone, choosing the right camera settings can greatly enhance the quality and overall experience. Here are some essential tips to help you make the most out of your video recording:
- Resolution and Frame Rate: The iPhone offers various resolution and frame rate options, allowing you to customize the look and feel of your videos. Higher resolutions, such as 4K, deliver stunning details, while lower resolutions like 1080p conserve storage space. Similarly, higher frame rates, such as 60fps, ensure smooth motion, while lower frame rates like 30fps create a more cinematic look.
- Exposure: Proper exposure ensures that your videos are well-lit and balanced. You can adjust exposure manually by tapping on the screen to set the focus point and then sliding the exposure control up or down. Alternatively, you can use the auto-exposure feature by tapping and holding on the screen until the AE/AF lock indicator appears.
- White Balance: White balance helps maintain accurate color representation in your videos. Depending on the lighting conditions, you can choose from preset white balance options like Auto, Daylight, Cloudy, and more. Alternatively, you can use the custom white balance feature by holding a white object in the frame and tapping on it to set the white balance.
- Stabilization: iPhone models come equipped with impressive stabilization capabilities. By enabling the optical or digital image stabilization, you can minimize camera shake and ensure smooth footage, especially when shooting handheld or in motion.
- Audio: Capturing clear and high-quality audio is crucial for a great video. Choose the right microphone option for your needs, whether it’s the built-in microphone, a compatible external microphone, or wireless headphones with a built-in microphone for convenience.
- Focus: The iPhone’s autofocus feature does an excellent job of keeping your subjects sharp and in focus. However, for more control, you can tap on the screen to set the focus point manually. Additionally, using the “AE/AF lock” feature can help maintain focus even if you move the camera or subject.
- Gridlines: Enabling the gridlines on your iPhone camera can assist with composing balanced and visually pleasing shots. The gridlines follow the rule of thirds, helping you align your subject and create more interesting and professional-looking videos.
By understanding and adjusting these camera settings on your iPhone, you can elevate your video recordings and create stunning content that captures the essence of the moment.
Utilizing Shortcuts and Gestures for Faster Recording
Recording videos on your iPhone can be made even faster and more efficient by utilizing shortcuts and gestures. These handy features allow you to capture special moments with just a few taps or swipes, saving you time and effort. Here are some tips on how to make the most of these shortcuts and gestures:
- Use the Lock Screen shortcut: To quickly access the camera for recording, you can swipe left on the Lock Screen. This instantly opens the camera app, ready for you to start recording without having to unlock your phone first.
- Swipe between camera modes: When you are in the camera app, you can swipe left or right on the screen to switch between different camera modes. This allows you to seamlessly transition from photo mode to video mode and vice versa, saving you the hassle of navigating through menus.
- Tap to focus and adjust exposure: To ensure that your video is well-focused and properly exposed, you can tap on the screen while recording to adjust the focus and exposure. This handy gesture enables you to capture clear and well-lit videos, especially in challenging lighting conditions.
- Utilize the Volume button as a shutter: Did you know that you can use the volume buttons on your iPhone as a shutter button when recording videos? Pressing the volume up or down button will instantly capture a photo while you are in video recording mode. This shortcut comes in handy when you want to take quick snapshots while shooting a video.
- Swipe up for video settings: If you need to make adjustments to your video settings while recording, you can swipe up on the screen to reveal the control panel. From there, you can switch between different video resolutions, toggle HDR mode, or enable or disable features like video stabilization or flash. This gesture ensures that you have easy access to the settings you need without interrupting your recording.
By utilizing these shortcuts and gestures, you can record videos on your iPhone more quickly and efficiently. These features are designed to simplify the recording process, allowing you to capture precious moments with ease. So next time you’re capturing a video on your iPhone, make sure to take full advantage of these handy shortcuts and gestures!
Tips for Optimizing Video Recording on iPhone
Recording high-quality videos on your iPhone can be a great way to capture precious moments or create content for social media. To make the most out of your video recording experience, here are some valuable tips to optimize your iPhone’s video recording capabilities:
- Clean your iPhone’s camera lens: Before you start recording, it’s essential to ensure that your iPhone’s camera lens is clean and free from smudges or fingerprints. Use a microfiber cloth or a soft lens cleaning cloth to gently wipe the lens, improving the overall clarity of your videos.
- Use stable support or a tripod: Keeping your iPhone steady while recording is crucial for stable and shake-free footage. Invest in a tripod or use a stable support like a table or wall to minimize camera shake. You can also enable the iPhone’s built-in stabilization feature for smoother videos.
- Adjust the exposure and focus: To achieve well-balanced videos, tap on the area you want to focus on while recording. This will adjust both the exposure and focus settings. Alternatively, you can lock the exposure and focus by pressing and holding on the screen until the AE/AF Lock indicator appears.
- Utilize HDR mode: High Dynamic Range (HDR) mode is a useful feature that helps capture more details, especially in challenging lighting conditions. Enable HDR mode in your iPhone’s camera settings to enhance the dynamic range of your videos and improve overall image quality.
- Experiment with different camera modes: Explore the various camera modes available on your iPhone, such as Time-Lapse, Slo-Mo, or Pano, to add creative elements to your videos. These modes can provide unique perspectives and make your videos more engaging.
- Take advantage of third-party camera apps: While the native camera app on your iPhone is excellent, consider trying out third-party camera apps that offer additional features, such as manual controls, advanced video settings, or filters. These apps can give you more flexibility and creative options in your video recordings.
- Manage storage space: Recording videos can consume a significant amount of storage on your iPhone. To avoid running out of space during recording, regularly transfer your videos to a computer or cloud storage. You can also optimize storage by enabling the “Optimize iPhone Storage” feature in Settings > Photos.
- Take advantage of video editing tools: After recording your videos, you can further enhance them using video editing apps available on the App Store. These apps allow you to trim, add effects, transitions, and even music to create professional-looking videos right on your iPhone.
- Experiment with different angles and compositions: To make your videos visually appealing, try capturing them from various angles and exploring different compositions. Play with the rule of thirds, leading lines, or symmetrical framing to add depth and interest to your videos.
- Consider external microphones: If you frequently record videos with sound, consider investing in an external microphone. External microphones can significantly improve the audio quality of your recordings, reducing background noise and capturing clearer and crisper sound.
By following these tips, you can optimize your video recording capabilities on your iPhone and capture videos that are not only visually stunning but also rich in quality and content.
In conclusion, recording videos on your iPhone has never been easier in 2023. With the advancements in technology, the latest iPhone models are equipped with powerful video recording capabilities, allowing you to capture stunning footage with just a few taps. Whether you’re a professional videographer or a casual user, you can leverage the features and functions of your iPhone to create high-quality videos. From adjusting settings like resolution and frame rate to using apps for additional editing options, the possibilities are endless. So, grab your iPhone, unleash your creativity, and start recording amazing videos that will leave a lasting impression. Make use of these tips and tricks, and soon you’ll be capturing and sharing memories like a pro!
FAQs
1. How do I record video on iPhone?
To record video on your iPhone, simply open the Camera app and select the “Video” mode. Tap the red capture button to start recording, and tap it again to stop. You can also use the volume-up button or the side button (on iPhone X or later) to start and stop recording.
2. How long can I record a video on iPhone?
The duration of video recording on an iPhone depends on various factors such as the available storage space and the selected video quality. With ample storage, you can record videos of several hours in length.
3. Can I record videos in slow motion on my iPhone?
Yes, you can record videos in slow motion on certain iPhone models. Open the Camera app, swipe to the “Slo-Mo” mode, and tap the red capture button to start recording. You can adjust the slow-motion speed in the Photos app after recording.
4. How can I improve the video quality on my iPhone?
To improve the video quality on your iPhone, ensure adequate lighting conditions, stabilize the device with a tripod or steady hand, and use the built-in video settings like adjusting exposure, white balance, and focus. Additionally, you can consider using third-party video recording apps for more advanced features.
5. How do I access my recorded videos on iPhone?
To access your recorded videos on iPhone, open the Photos app and navigate to the “Videos” or “Albums” section. All your recorded videos will be stored there. You can organize, edit, and share your videos directly from the Photos app.