
If you’re someone who loves to keep their digital life organized, you’ll know the importance of maintaining a well-structured system for your files, folders, and albums. This holds true not just for documents and images, but also for your music collection. If you’re a Mac user, you might be wondering how to group albums in folders on your device.
In this article, we will explore the step-by-step process of creating album folders on your Mac. Whether you’re looking to organize your favorite songs based on genres, artists, or any other category, grouping them in folders can make it easier to locate and enjoy your music with just a few clicks. We’ll also cover some additional tips and tricks to optimize your music organization system.
So, if you’re ready to take your music organization game to the next level, let’s dive in and learn how to group albums in folders on a Mac.
Inside This Article
- Organizing Albums on a Mac
- Creating Folders for Albums
- Renaming and Moving Albums within Folders
- Managing Albums in Folders
- Conclusion
- FAQs
Organizing Albums on a Mac
As a Mac user, organizing your albums is an essential task to keep your photos well-managed and easily accessible. Fortunately, the Photos app on your Mac provides simple yet powerful built-in features to help you accomplish this.
The first step in organizing albums on your Mac is to launch the Photos app. Once opened, you will see the “Albums” tab at the top of the window. Click on it to view all your existing albums.
To create a new album, simply click on the “+” button located at the top-right corner of the window. Give your album a descriptive name that represents its content or theme. You can create albums for specific events, trips, or even for different genres of photos.
Once you’ve created your albums, you can start adding photos to them. There are several ways to do this:
- Drag and Drop: Select the desired photos from your library and drag them into the album folder.
- Right-click: Right-click on a photo, go to the “Add to” option, and choose the album you want to add it to.
- Keyboard Shortcuts: Select the photos and press Command + Option + A to add them to an album.
By organizing your albums, you can easily locate and browse through your photos in a more efficient manner. It also makes sharing specific collections of photos with others a breeze.
Keep in mind that organizing albums on your Mac does not affect the location or arrangement of the actual image files on your computer. The albums function as virtual containers that group your photos logically within the Photos app.
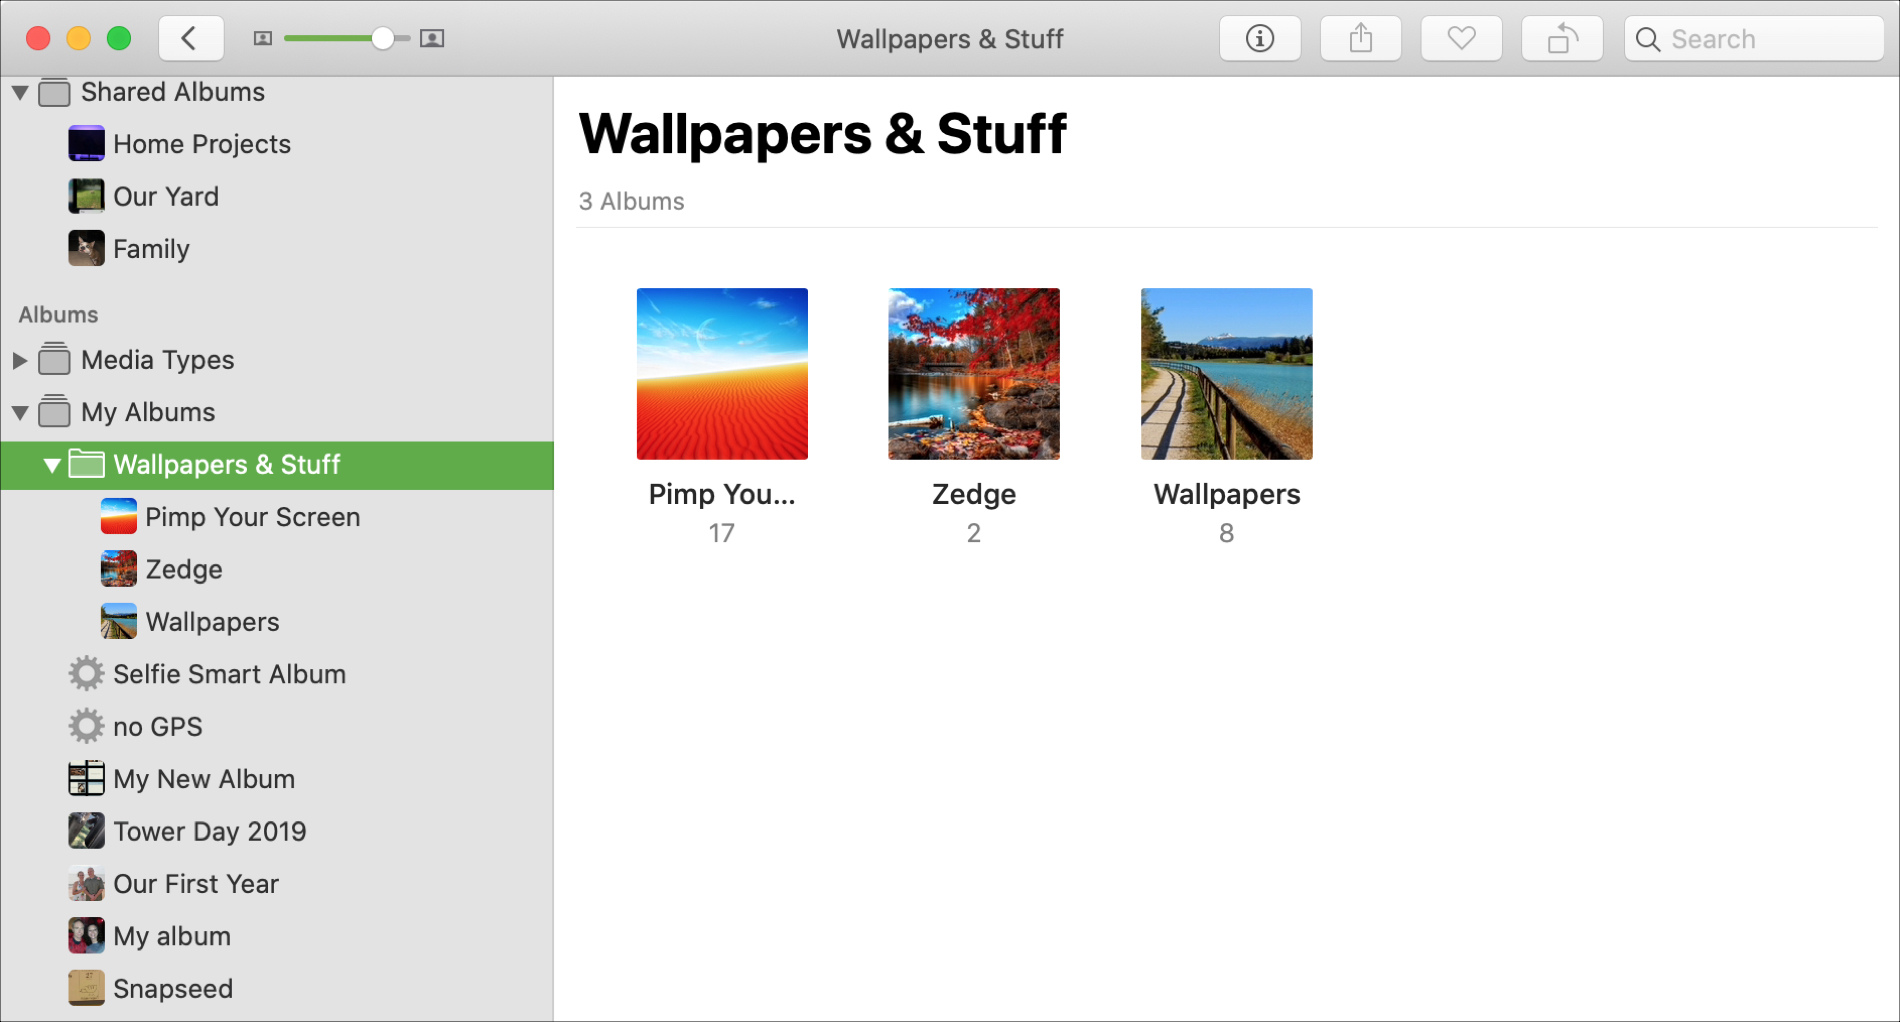
Creating Folders for Albums
Organizing your albums into folders is a great way to keep your photo library neat and tidy. With the latest update on your Mac, creating folders for albums has never been easier. Follow these simple steps to get started:
1. Open the Photos app on your Mac. You can find it in the Applications folder or by searching for it using Spotlight.
2. In the sidebar, locate the “Albums” section and click on it. This will display all your albums in the main window.
3. To create a new folder, right-click anywhere in the empty space within the Albums section. A contextual menu will appear.
4. From the menu, select the option “New Folder.” A new folder will be created with the default name “Untitled Folder.”
5. Once the folder is created, you can rename it by right-clicking on the folder and selecting “Rename Folder” from the contextual menu. Enter the desired name for the folder.
6. Now that you have your folder, you can start adding albums to it. Simply drag and drop an album onto the folder. The album will be moved into the folder.
7. You can also create subfolders within the main folder by following the same process. Right-click on the main folder, select “New Folder,” and repeat steps 4-6.
8. To remove an album from a folder, simply click and drag the album out of the folder. It will be moved back to the main Albums section.
By creating folders for your albums, you can easily categorize and locate your photos with ease. It’s a fantastic way to streamline your photo organization and save time searching for specific pictures.
So go ahead and start creating folders for your albums on your Mac. With just a few clicks, you’ll have a well-organized and visually pleasing photo library.
Renaming and Moving Albums within Folders
Once you have created folders to organize your albums on your Mac, you may find the need to rename or move albums within these folders. This allows you to further customize your organization system and ensure your albums are exactly where you want them to be. Follow these simple steps to rename and move albums within folders.
To rename an album within a folder, simply locate the folder containing the album you wish to modify. Right-click or control-click on the album and select “Rename” from the drop-down menu. Alternatively, you can select the album and press the “Return” key on your keyboard. Enter the new desired name for the album and press “Return” again to save the changes.
If you wish to move an album to a different location within the same folder, click and drag the album to the desired position. A visual indicator will show you where the album will be placed once you release the mouse button. You can also use the keyboard shortcuts “Command + X” to cut the album and “Command + V” to paste it in the desired location within the same folder.
Should you want to move an album from one folder to another, simply click and drag the album from its current folder to the destination folder. Release the mouse button to drop the album into the new folder. Alternatively, you can use the “Command + X” shortcut to cut the album, navigate to the destination folder, and use the “Command + V” shortcut to paste it there.
It’s important to note that when you move an album to a different folder, it is no longer present in the original folder. However, if you want to keep a copy of the album in both folders, you can simply duplicate it within the new folder by right-clicking on the album and selecting “Duplicate” from the options.
By utilizing the ability to rename and move albums within folders on your Mac, you can maintain a clean and organized photo library that reflects your specific preferences and needs. Whether it’s rearranging albums for a more logical order or giving them more descriptive names, these simple steps allow you to take control of your photo organization process.
Managing Albums in Folders
Once you have successfully organized your albums into folders on your Mac, it’s important to understand how to efficiently manage and navigate through them. Here are some helpful tips for managing albums in folders:
1. Sorting Albums: By default, albums in a folder are arranged in alphabetical order. However, you can easily change the sorting order to suit your preferences. Simply click on the “View” option in the menu bar and choose how you want the albums to be sorted, such as by date, title, or artist.
2. Filtering Albums: If you have a large collection of albums in a folder, finding a specific one can be time-consuming. To make it easier, take advantage of the search feature in the Finder. Open the folder containing your albums, click on the search bar, and type in the name of the album you’re looking for. The search results will instantly display matching albums within the folder.
3. Adding and Removing Albums: As your music library evolves, you may want to add new albums to existing folders or remove albums from them. To add an album to a folder, simply drag and drop it from the main music library onto the folder. Conversely, to remove an album from a folder, click and drag it out of the folder and release it in the main music library.
4. Editing Album Information: Occasionally, you may need to edit the information associated with an album, such as the album title, artist name, or cover art. Right-click on the album within the folder and select “Get Info” from the dropdown menu. You can then modify the desired details and click “OK” to save the changes.
5. Moving and Copying Albums: If you decide to reorganize your albums and want to move them to a different folder or make a copy of an album in multiple folders, you can do so easily. Simply click and drag the album from its current location to the desired folder. To make a copy, hold the “Option” key while dragging the album.
6. Backing Up Albums: It’s always a good practice to regularly back up your music library, including the albums within folders. This ensures that you have a copy of your entire collection in case of any unforeseen events. You can back up your albums by using external storage devices, cloud services, or dedicated backup software.
By effectively managing your albums within folders on your Mac, you can keep your music library organized, easily locate specific albums, and have full control over your collection. Take advantage of the features and tips mentioned above to make the most out of your music management experience.
The ability to group albums in folders on a Mac is an incredibly useful feature for organizing and managing your photo collection. Not only does it help declutter your library, but it also allows for easy navigation and quick access to specific albums. Whether you’re a professional photographer or simply an avid photo enthusiast, organizing your albums into folders can save you time and effort in the long run.
With the step-by-step guide outlined in this article, you can effortlessly create and manage album folders on your Mac. By utilizing the Photos app and its intuitive interface, you’ll have full control over your albums and be able to tailor your organization system to fit your needs.
So why wait? Start organizing your albums into folders today and experience the benefits of a neatly arranged photo library. With just a few simple clicks, you can transform the way you manage and enjoy your cherished memories.
FAQs
1. Can I group albums into folders on my Mac?
Yes, you can easily group albums into folders on your Mac. This allows you to organize your photo collection and make it more manageable.
2. How do I create a folder for my photo albums on a Mac?
To create a folder for your photo albums on a Mac, simply follow these steps:
– Open the Photos app on your Mac.
– Select the albums you want to group together.
– Right-click on one of the selected albums and choose the “New Folder with Selection” option.
– Provide a name for your folder and press Enter.
3. Can I add or remove albums from a folder?
Yes, you can easily add or remove albums from a folder on your Mac. Here’s how:
– Open the Photos app and navigate to the folder containing the albums.
– To add an album, simply drag and drop it into the folder.
– To remove an album, click on the folder, select the album you want to remove, and press the Delete key on your keyboard.
4. Can I rearrange the order of albums within a folder?
Yes, you can rearrange the order of albums within a folder on your Mac. Follow these steps:
– Open the Photos app and go to the folder containing the albums.
– Click on the folder to view its contents.
– To rearrange the albums, simply click and hold an album, then drag it to the desired position within the folder.
5. Will grouping albums into folders affect their organization in other apps or devices?
Grouping albums into folders on your Mac will not affect their organization in other apps or devices. Folders you create in the Photos app are specific to your Mac and do not alter the structure of your albums in iCloud or other synced devices.