
Are you struggling to access your iPhone photos on your PC? Don’t worry, we’ve got you covered! In this article, we will explore four easy and effective ways to access your iPhone photos on your PC. Whether you want to transfer your photos for editing, backup, or simply to have them on your computer, these methods will allow you to do so seamlessly. From using the built-in Windows Photos app to utilizing cloud storage services or third-party software, we’ll walk you through each method step by step. Say goodbye to the frustration of not being able to access your precious memories on your PC, and get ready to enjoy the convenience and versatility of accessing your iPhone photos right at your fingertips!
Inside This Article
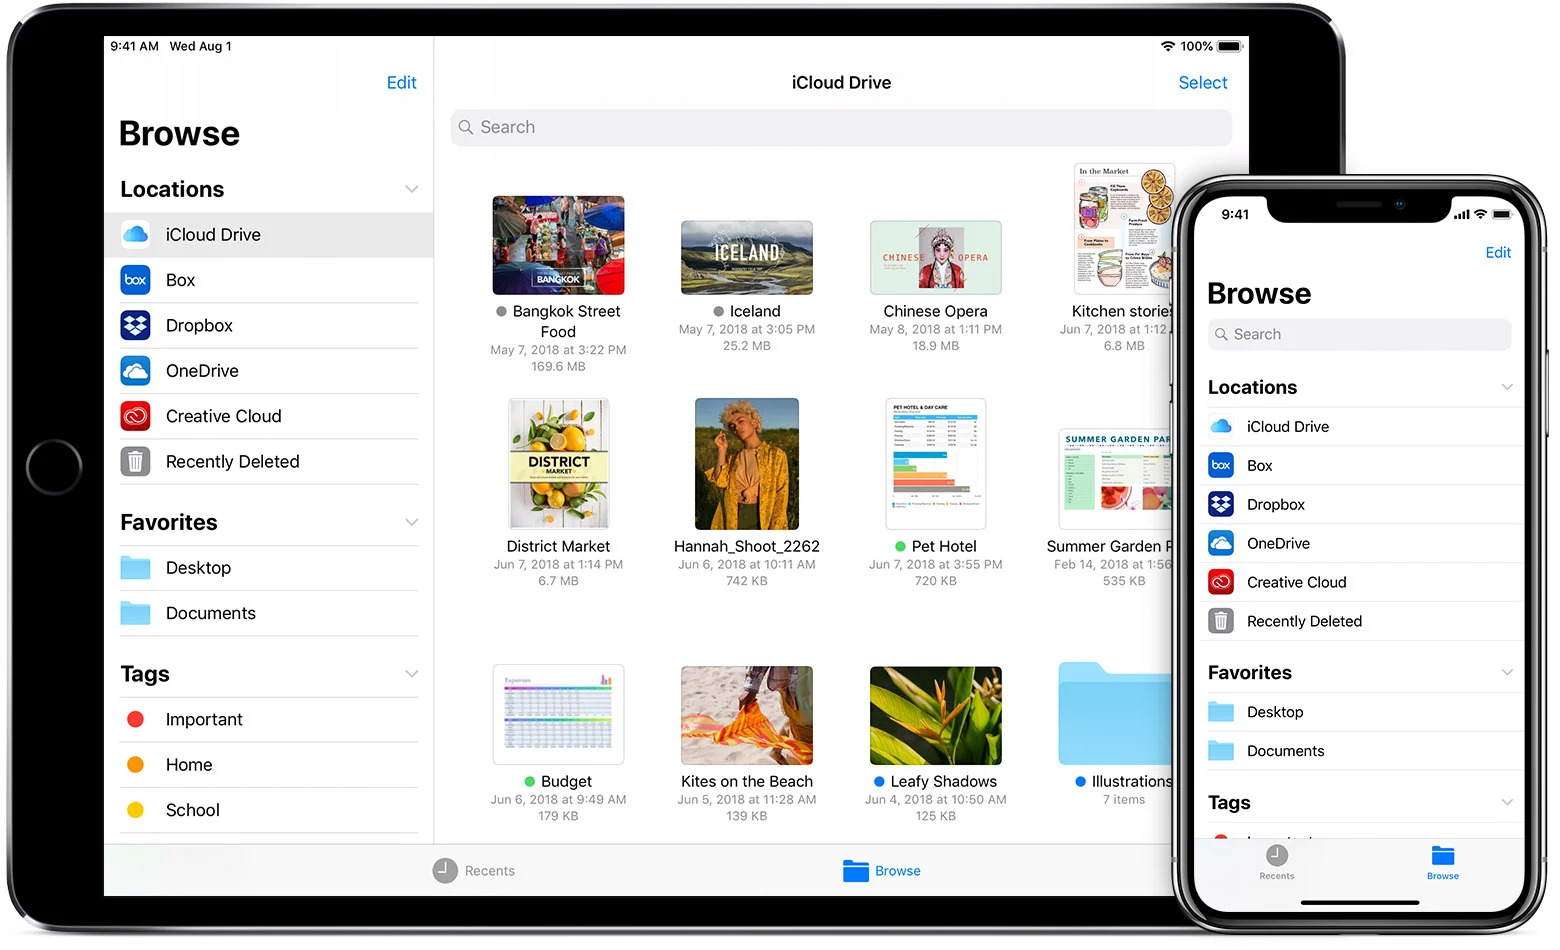
- Access iPhone Photos using iCloud
- Transfer iPhone Photos using iTunes
- Use File Explorer on Windows
- Use Third-Party Software and Apps
- Conclusion
- FAQs
Access iPhone Photos using iCloud
If you want a seamless and convenient way to access your iPhone photos on your PC, using iCloud is a fantastic option. iCloud is Apple’s cloud storage service that allows you to sync and access your photos, videos, and other files across all your Apple devices and Windows PC.
Here’s a step-by-step guide on how to access your iPhone photos using iCloud:
- Ensure iCloud is enabled on your iPhone: Open the Settings app on your iPhone, tap on your name at the top, and select “iCloud.” Make sure the “Photos” toggle is turned on.
- Download and install iCloud for Windows: On your PC, open a web browser and visit the Apple Support website. Search for “iCloud for Windows” and download the latest version of the software.
- Sign in to iCloud for Windows: Once the installation is complete, open the iCloud for Windows app and sign in using your Apple ID and password.
- Choose iCloud Photo Library: In the iCloud for Windows app, you will see several options. Make sure the “Photos” option is checked, and then select “Options” next to it.
- Select “iCloud Photo Library” and other options: In the Photos Options window, check the box next to “iCloud Photo Library.” You can also choose to enable other options like “Download new photos and videos to my PC” and “Upload new photos and videos from my PC.”
- Apply and Start the Sync: Click on the “Apply” button at the bottom right corner to save your changes. Then click on “Done” and “Apply” again to start the syncing process.
- Access your iPhone Photos on PC: Once the syncing is complete, open the File Explorer on your PC and navigate to the iCloud Photos folder. You will find all your iPhone photos and albums organized here.
By following these steps, you can easily access your iPhone photos on your PC using iCloud. This method ensures that your photos are readily available across all your devices and allows you to manage and organize them conveniently.
With iCloud, you can also enable the “Optimize PC Storage” option in the iCloud for Windows app. This feature automatically keeps lower-resolution versions of your photos on your PC to save storage space while still keeping the full-resolution originals in iCloud.
It’s worth mentioning that using iCloud for syncing your photos requires an active internet connection. So, ensure that you have a stable internet connection to access your iPhone photos seamlessly on your PC.
Transfer iPhone Photos using iTunes
If you prefer to use iTunes to transfer your iPhone photos to your PC, you’re in luck! iTunes offers a straightforward method to sync your photos between your iPhone and your computer.
Here’s a step-by-step guide on how to transfer iPhone photos using iTunes:
- First, connect your iPhone to your computer using the USB cable.
- Launch iTunes on your computer. If it doesn’t open automatically, you can manually start it.
- Once iTunes is open, click on the device icon located in the upper-left corner of the iTunes window. This will take you to the “Summary” tab of your iPhone’s settings.
- In the left sidebar, under “Settings,” click on “Photos.”
- Check the box next to “Sync Photos.”
- Choose the app or folder that contains the photos you want to transfer. You can select the “Pictures” folder on your computer or a specific application like “Photos” or “Adobe Lightroom.”
- Select the desired options for syncing photos, such as all photos or selected albums.
- Click on the “Apply” button in the lower-right corner to start the sync process.
- Wait for iTunes to transfer the photos from your iPhone to your PC. The time it takes will depend on the number and size of the photos.
- Once the transfer is complete, you can go to the selected folder or application on your PC to access your iPhone photos.
Remember, using iTunes to transfer your iPhone photos to your PC will sync them, which means any changes made to the photos on one device will be reflected on the other. This can be convenient for keeping your photo library organized and up to date across multiple devices.
However, if you prefer more control over your photo transfer process or want to avoid syncing and potential duplicate files, consider using other methods like the Windows Photos App, File Explorer, iCloud Photos, or third-party software.
Use File Explorer on Windows
One of the simplest ways to access your iPhone photos on a PC is by using File Explorer. Follow these steps to transfer your photos:
- Connect your iPhone to your PC using a USB cable.
- Open File Explorer by pressing Windows Key + E on your keyboard.
- In the left-hand sidebar of File Explorer, click on This PC or My Computer.
- Locate your iPhone under Devices and drives. It will usually appear as “Apple iPhone”.
- Double-click on your iPhone to open it, and then open the Internal Storage or DCIM folder.
- You should now see all your iPhone photos. You can select multiple photos by holding down the CTRL key while clicking on the photos you want to transfer.
- Once you have selected the photos, click on the Copy to button in the File Explorer toolbar.
- Navigate to the folder on your PC where you want to save the photos, then click on the Paste button.
- The selected photos will now be transferred from your iPhone to your PC.
Using File Explorer is a convenient method for accessing your iPhone photos on a Windows PC. It allows you to transfer and organize your photos without the need for any additional software. Keep in mind that the transfer speed may vary depending on the number and size of the photos.
Use Third-Party Software and Apps
If you’re looking for more flexibility and functionality in accessing your iPhone photos on your PC, utilizing third-party software and apps is a viable option. These tools offer additional features and customization options that can enhance your photo management experience. Here are a few popular options:
1. EaseUS MobiMover: EaseUS MobiMover is a comprehensive iPhone data transfer tool that allows you to easily import and export photos between your iPhone and PC. With its intuitive interface, you can select and transfer specific albums or individual photos effortlessly.
2. AnyTrans: AnyTrans is a versatile iOS manager that offers a wide range of features, including the ability to transfer and access iPhone photos on your PC. It supports both Windows and Mac systems, providing a seamless and efficient way to manage your photo library.
3. Google Photos: Google Photos is a cloud-based photo storage platform that allows you to back up and access your iPhone photos from any device with an internet connection. Simply install the Google Photos app on your iPhone and enable the automatic backup feature, and you’ll be able to access your photos on your PC using the Google Photos website or desktop application.
4. Dropbox: Dropbox is a popular cloud storage service that offers cross-platform compatibility. By installing the Dropbox app on your iPhone and PC, you can easily transfer and access your iPhone photos on your computer. Simply upload your photos to Dropbox from your iPhone, and they will be instantly available on your PC.
When using third-party software and apps, it’s important to research and choose a reliable and reputable option. Look for user reviews and check for compatibility with your specific iPhone model and PC operating system.
By utilizing third-party software and apps, you can gain greater control and convenience in accessing and managing your iPhone photos on your PC. These tools offer diverse features and functionalities that can enhance your photo organization and streamline your workflow.
Take the time to explore and experiment with different options to find the one that best suits your needs. Whether you’re looking for a simple photo transfer tool or a comprehensive photo management solution, there’s a third-party software or app out there that can cater to your requirements.
Conclusion
In conclusion, accessing iPhone photos on a PC is essential for those who want to transfer, backup, or edit their precious memories. Luckily, there are several ways to accomplish this task seamlessly. Whether you prefer using a USB cable, iCloud, iTunes, or third-party software, you can easily transfer your photos from your iPhone to your PC.
Remember to choose the method that best suits your needs and technical proficiency. If you are looking for a simple and direct approach, using a USB cable is the way to go. On the other hand, if you value convenience and cloud storage, iCloud may be your best bet. For users who already have iTunes installed, utilizing its syncing capabilities might be the most convenient option.
Regardless of the method you choose, always prioritize the security and integrity of your photos. Create regular backups, use trusted software, and be cautious when transferring files. By following these steps, you can easily access your iPhone photos on your PC and ensure that your memories are safe and accessible whenever you need them.
FAQs
1. Can I access my iPhone photos on a PC?
Yes, you can access your iPhone photos on a PC. There are several methods available to transfer and access your photos, such as using iTunes, iCloud, or third-party software.
2. How do I access my iPhone photos on a PC using iTunes?
To access your iPhone photos on a PC using iTunes, connect your iPhone to the PC using a USB cable. Open iTunes and select your device. Go to the “Photos” tab and enable the “Sync Photos” option. Choose the folders you wish to sync and click “Apply” to transfer the photos to your PC.
3. What is iCloud Photo Library?
iCloud Photo Library is a service provided by Apple that allows you to store and access your photos and videos across all your Apple devices. It automatically syncs your photos and videos to iCloud, making them available on your PC as well.
4. How do I access my iPhone photos on a PC using iCloud?
To access your iPhone photos on a PC using iCloud, ensure that you have enabled iCloud Photo Library on your iPhone. On your PC, open a web browser and go to iCloud.com. Sign in with your Apple ID, click on the “Photos” app, and you will be able to view and download your iPhone photos.
5. Are there any third-party software options to access iPhone photos on a PC?
Yes, there are several third-party software options available that can help you access your iPhone photos on a PC. Some popular options include iMazing, AnyTrans, and PhotoSync. These software tools provide more flexibility and additional features for organizing and transferring your iPhone photos to your PC.