
In today’s digital world, our smartphones have become our go-to devices for capturing precious moments. Whether it’s a breathtaking sunset, a candid selfie, or a fun-filled adventure with friends, our iPhones are always by our side, ready to capture every memory. However, when it comes to transferring those cherished photos from our iPhones to our PCs, the traditional method of using iTunes can be cumbersome and time-consuming.
But fret not! In this article, we will explore five hassle-free ways to transfer your photos from your iPhone to your PC without relying on iTunes. These methods are not only quick and efficient but also allow you to select and transfer specific photos or even entire albums with ease. So, if you’re tired of dealing with iTunes and want to explore alternative ways to transfer your photos, read on to discover the effortless solutions that await you!
Inside This Article
- Transfer Photos using iCloud Photos
- Transfer Photos using the Windows Photos App
- Transfer Photos using Google Photos
- Transfer Photos using a Third-Party Transfer Tool
- Conclusion
- FAQs
Transfer Photos using iCloud Photos
If you are an iPhone user looking to transfer photos from your device to your PC without relying on iTunes, iCloud Photos can be a great solution. iCloud Photos allows you to sync and access your photos across all of your Apple devices seamlessly. Here’s how you can transfer photos from your iPhone to your PC using iCloud Photos:
1. Enable iCloud Photos on your iPhone: Open the Settings app on your iPhone and tap on your Apple ID at the top. Then, go to “iCloud” and tap on “Photos”. Enable “iCloud Photos” by toggling the switch to the right.
2. Download iCloud for Windows: On your PC, download and install iCloud for Windows from the official Apple website. Sign in with your Apple ID when prompted.
3. Set up iCloud Photos on your PC: After installing iCloud for Windows, open the app and sign in with your Apple ID. Check the box next to “Photos” and click on the “Options” button. Here, you can choose to optimize the storage by selecting “Optimize iPhone Storage. Click “Apply” to save your settings.
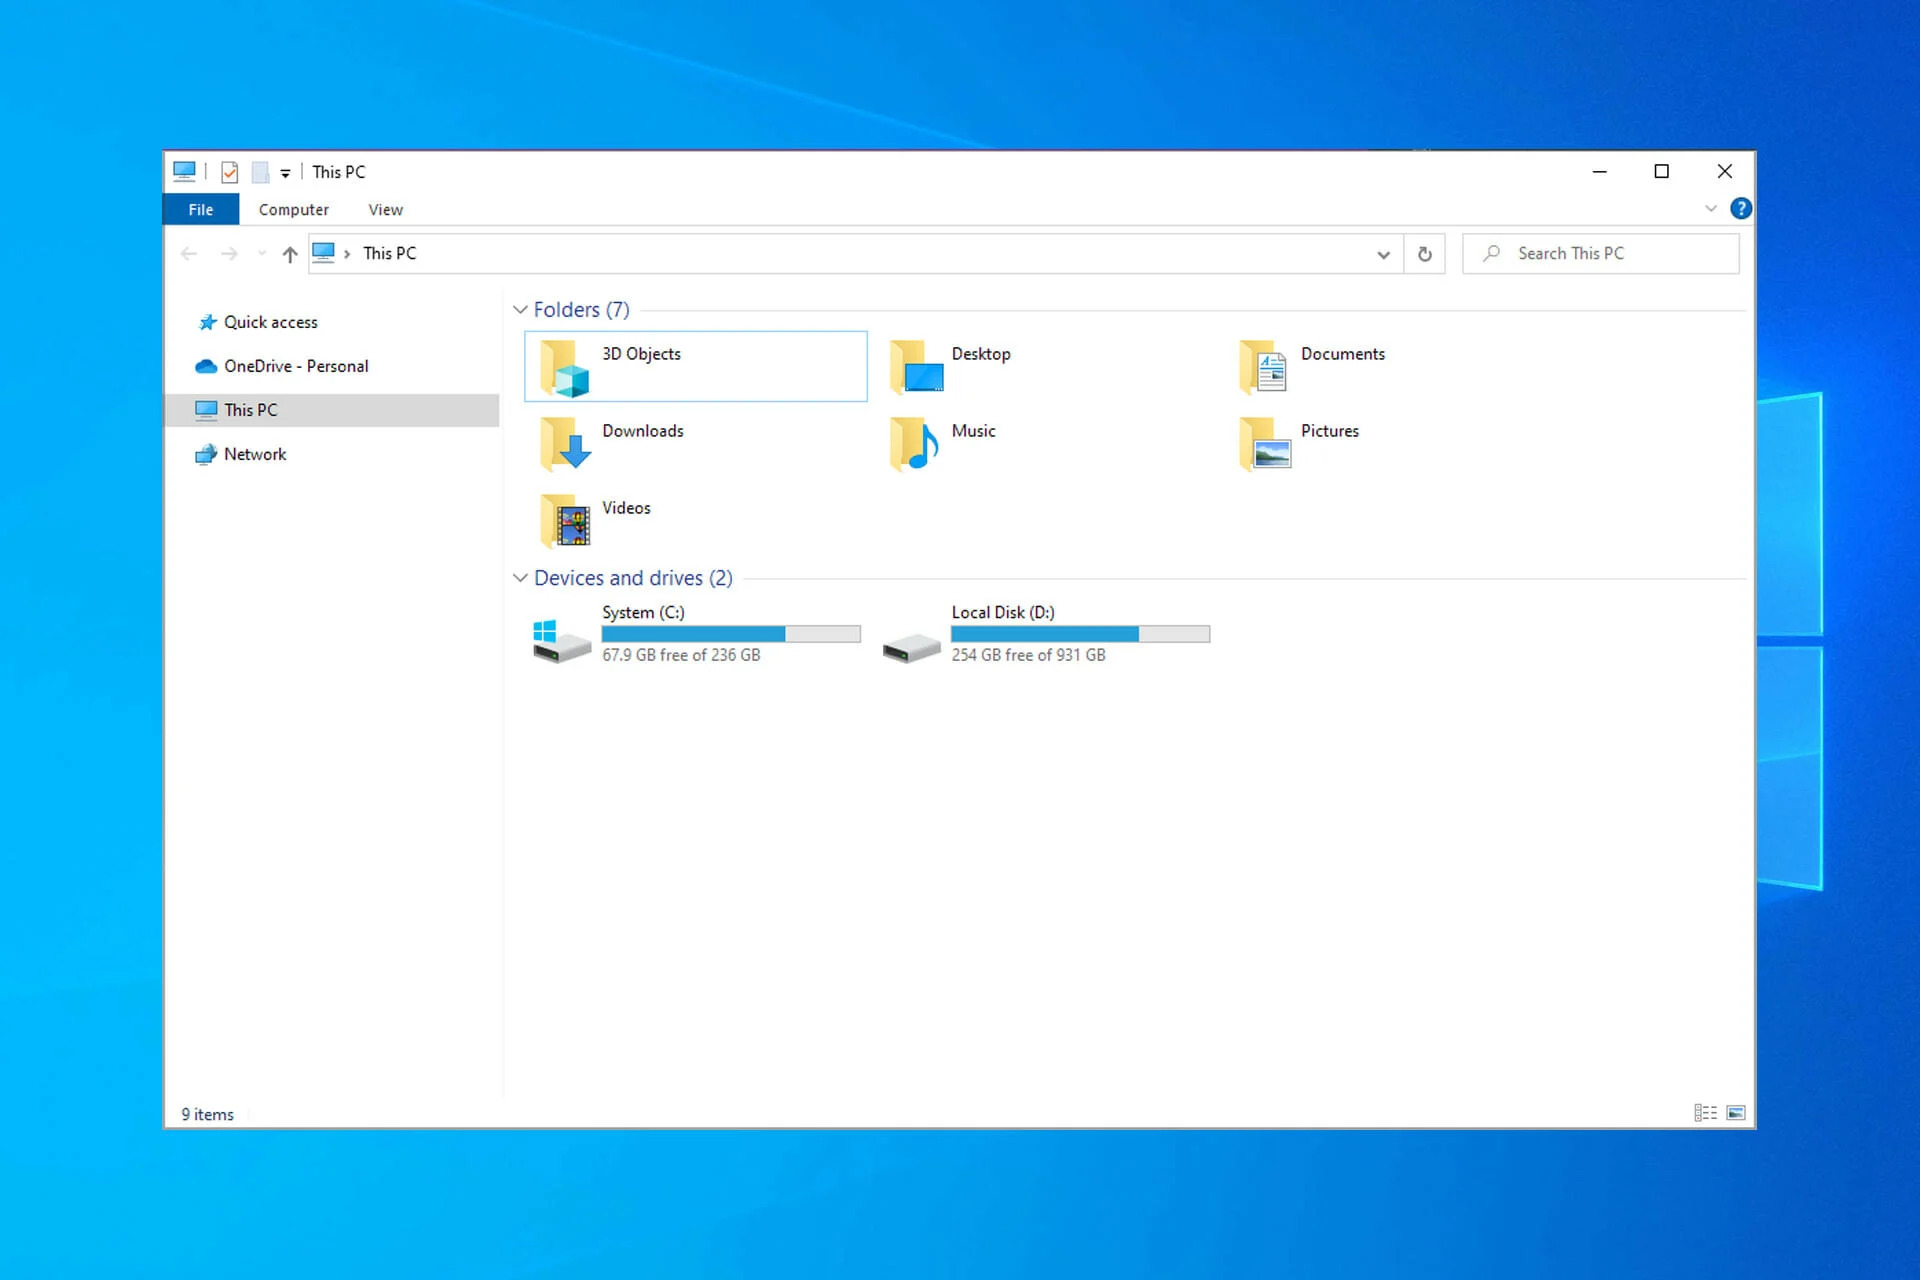
4. Access your photos on your PC: Open the “File Explorer” on your PC and click on “iCloud Photos” under “Quick Access”. Here, you will find all the photos synced from your iPhone. You can now copy and transfer them to any location on your PC.
5. Turn off iCloud Photos on your iPhone: Once you have transferred all the desired photos to your PC, you can turn off iCloud Photos on your iPhone if you prefer. Simply go back to “Settings” > “Apple ID” > “iCloud” > “Photos” and toggle off “iCloud Photos”. Please note that turning off iCloud Photos will remove the synced photos from your iPhone.
Using iCloud Photos to transfer photos from your iPhone to your PC offers a convenient and hassle-free method. By following these steps, you can easily access and transfer your precious memories without the need for iTunes.
Transfer Photos using the Windows Photos App
If you’re looking for an efficient and hassle-free way to transfer photos from your iPhone to your PC, the Windows Photos app is a great option. This app comes pre-installed on most Windows computers and allows you to easily import and manage your photos.
Here’s how you can transfer photos using the Windows Photos app:
- Connect your iPhone to your Windows PC using a USB cable.
- Unlock your iPhone and, if prompted, enter your passcode.
- On your PC, open the Windows Photos app by clicking on the Start button and searching for “Photos”.
- In the Photos app, click on the “Import” button located at the top right corner of the window.
- The app will automatically detect your iPhone and display the photos available for import. You can select specific photos or choose “Import All” to transfer all the photos.
- Choose the destination folder where you want to save the imported photos on your PC.
- Click on the “Import” button to start transferring the photos from your iPhone to your PC.
- Once the transfer is complete, you can access the imported photos in the specified folder on your PC.
The Windows Photos app is not only convenient for transferring photos, but it also offers additional features for organizing and editing your images. You can easily create albums, add tags, and make basic adjustments to enhance your photos.
With the Windows Photos app, you no longer have to rely on iTunes or third-party software to transfer your photos. It provides a seamless and straightforward method to transfer your precious memories from your iPhone to your PC.
Transfer Photos using Google Photos
If you’re looking for a hassle-free way to transfer photos from your iPhone to your PC without using iTunes, Google Photos is a convenient option. Google Photos offers unlimited free storage for high-quality photos and videos, making it an ideal solution for managing and transferring your iPhone photos.
To get started, you’ll need to install the Google Photos app on your iPhone from the App Store. Once installed, open the app and sign in with your Google account. If you don’t have one, you can quickly create a Google account for free.
Once you’re signed in, Google Photos will automatically prompt you to back up your iPhone photos to the cloud. If you haven’t enabled this feature, go to the app’s settings, tap “Backup & sync,” and toggle the switch to enable it.
After enabling backup, Google Photos will start to upload your iPhone photos to your Google account. Depending on the size of your photo library and the speed of your internet connection, this process may take some time to complete.
Once the uploading is finished, you can access your iPhone photos on any device with an internet connection. To transfer your photos to your PC, open a web browser on your computer and go to photos.google.com. Sign in with the same Google account you used on your iPhone.
On the Google Photos website, you will see all your uploaded photos organized by date. You can browse through the albums or use the search bar to find specific photos. To transfer photos to your PC, select the ones you want to download by clicking on them.
Once you’ve selected the photos, click on the three-dot menu icon at the top right corner of the screen. From the drop-down menu, select “Download” to begin the downloading process. Google Photos will then compress the selected photos into a zip file and prompt you to save it to your computer.
After the download is complete, locate the zip file on your computer and extract its contents. You will now have access to your iPhone photos on your PC, ready to be organized or edited as you wish.
With Google Photos’ seamless integration and intuitive interface, transferring photos from your iPhone to your PC has never been easier. So, give it a try and enjoy the convenience of managing your photos across different devices effortlessly.
Transfer Photos using a Third-Party Transfer Tool
While iCloud Photos and the Windows Photos App are convenient options for transferring photos from your iPhone to your PC, sometimes you may prefer to use a third-party transfer tool for added flexibility and functionality. These tools offer a range of features that can streamline the process and provide more control over the transfer. Here are some of the popular third-party transfer tools you can use:
- iMobie AnyTrans: AnyTrans is a highly regarded transfer tool that allows you to easily transfer photos, videos, and other files between your iPhone and PC. It offers a user-friendly interface and supports various transfer methods, including one-click transfer, batch transfer, and selective transfer. AnyTrans also offers additional features like iCloud backup management, file conversion, and device content management.
- Syncios Manager: Syncios Manager is another great option for transferring photos from your iPhone to your PC. It provides a simple and intuitive interface and supports both one-click and selective transfer options. Syncios Manager also offers additional features like backup and restore, data recovery, and app management.
- iMazing: iMazing is a comprehensive transfer and management tool that allows you to transfer photos, videos, and other files between your iPhone and PC. It offers a range of transfer options, including one-click transfer, selective transfer, and backup restoration. iMazing also provides advanced features like device diagnostics, app management, and data extraction.
- Wondershare Dr.Fone: Dr.Fone is a versatile transfer tool that supports transferring photos, videos, contacts, and other files between your iPhone and PC. It offers a user-friendly interface and multiple transfer modes, including one-click transfer and selective transfer. Dr.Fone also provides additional features like data recovery, backup, and system repair.
- EaseUS MobiMover: MobiMover is a reliable transfer tool that allows you to transfer photos, videos, and other files between your iPhone and PC. It offers a simple and straightforward interface and supports one-click transfer and selective transfer options. MobiMover also provides additional features like data backup, data recovery, and file management.
When using a third-party transfer tool, make sure to follow the instructions provided by the tool’s developer for the specific transfer process. These tools often require you to connect your iPhone to your PC using a USB cable and may require you to install software on both devices. Once connected, you can easily select the photos you want to transfer and initiate the transfer process.
While using third-party tools can provide additional flexibility and functionality, it’s important to ensure the security and legitimacy of the tool you choose. Look for reputable tools from trusted developers and read reviews from other users to make an informed decision.
With the help of these third-party transfer tools, you can easily transfer photos from your iPhone to your PC without relying on iCloud or the Windows Photos App. Choose the tool that best suits your needs and enjoy seamless photo transfers in just a few simple steps.
Conclusion
In conclusion, transferring photos from your iPhone to your PC without the use of iTunes is now easier than ever. With the advancement of technology and the availability of various methods and tools, you can quickly and seamlessly transfer your precious memories in just a few simple steps.
Whether you choose to use cloud services, third-party apps, or direct connection methods, you have the freedom to select the option that best suits your needs and preferences. Say goodbye to the limitations of iTunes and enjoy the convenience and efficiency of transferring photos hassle-free.
Now, you can effortlessly transfer your photos from your iPhone to your PC, allowing you to organize, edit, and share your memories with ease. Embrace the power of technology and make the most of your digital photographic journey. So, go ahead, give these methods a try, and unlock the full potential of your iPhone and PC connectivity.
FAQs
1. Can I transfer photos from my iPhone to PC without using iTunes?
Yes, you can transfer photos from your iPhone to PC without using iTunes. There are several alternative methods you can use, such as using iCloud, Google Photos, Dropbox, or using a third-party app specifically designed for photo transfers.
2. How can I transfer photos from my iPhone to PC using iCloud?
To transfer photos from your iPhone to PC using iCloud, you need to make sure that you have iCloud Photo Library enabled on your iPhone and iCloud Drive enabled on your PC. Once both devices are connected to the internet, your photos will automatically sync to iCloud, and you can access them from your PC using the iCloud website or iCloud for Windows.
3. Can I transfer photos from my iPhone to PC using Google Photos?
Yes, you can transfer photos from your iPhone to PC using Google Photos. You need to install the Google Photos app on your iPhone and sign in with your Google account. Open the app and enable the “Backup & Sync” feature, which will automatically upload your photos to your Google Photos account. Then, you can access your photos from the Google Photos website on your PC and download them to your computer.
4. Can I transfer photos from my iPhone to PC using Dropbox?
Yes, you can transfer photos from your iPhone to PC using Dropbox. Install the Dropbox app on your iPhone and sign in with your Dropbox account. Open the app and enable the “Camera Upload” feature, which will automatically upload your photos to your Dropbox account. Then, you can access your photos from the Dropbox website or the Dropbox desktop app on your PC and download them to your computer.
5. Are there any third-party apps for transferring photos from iPhone to PC?
Yes, there are several third-party apps available for transferring photos from iPhone to PC. Some popular options include AirDrop, PhotoSync, and iMazing. These apps provide additional features and flexibility in transferring photos, such as batch transfers, selective transfers, and the ability to transfer photos wirelessly or through a USB connection.