
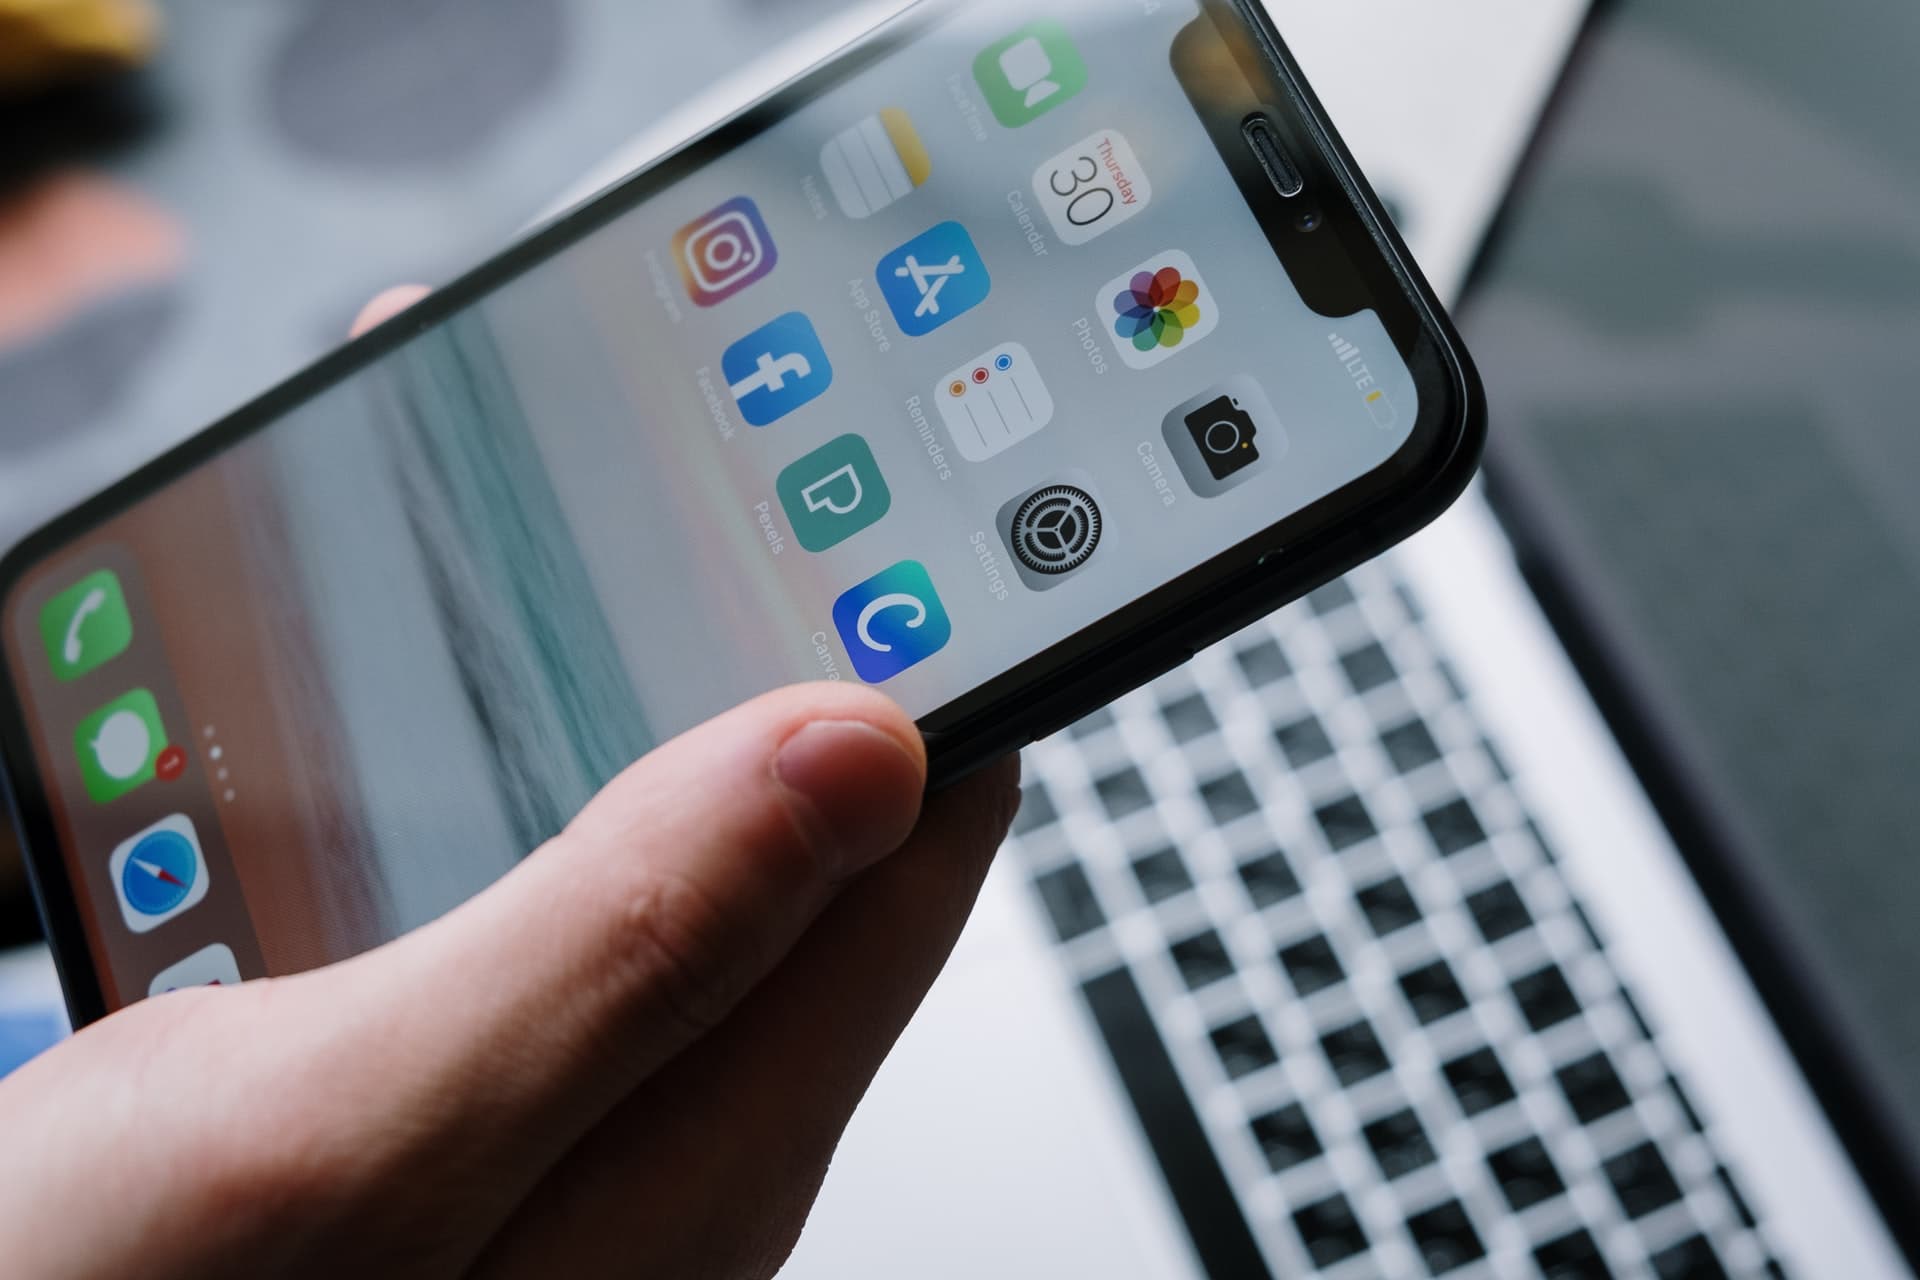
Are you tired of constantly having to unlock your phone every few seconds to prevent it from going into sleep mode? If so, you’ve come to the right place. Changing the time your phone stays on before it automatically goes into sleep or lock mode can greatly improve your user experience. Not only will it save you from the constant hassle of unlocking your phone, but it will also ensure that you have uninterrupted access to your device whenever you need it. In this article, we’ll dive into the step-by-step process of changing the sleep or lock mode settings on your mobile phone. Whether you’re an Android or iOS user, we’ve got you covered. So, let’s get started and extend the time your phone stays on!
Inside This Article
- Adjusting the Display Timeout Settings
- Using an App to Control Screen Timeout
- Modifying the Power Saving Mode Options
- Customizing the Sleep Settings through Developer Options
- Conclusion
- FAQs
Adjusting the Display Timeout Settings
If you’ve ever found yourself frustrated with your phone’s screen turning off too quickly, or staying on for longer than you’d like, you’ll be happy to know that adjusting the display timeout settings is a simple solution. This feature determines how long your phone’s screen stays on before automatically turning off to conserve battery power.
To make changes to the display timeout settings on your phone, follow these steps:
- Open the Settings app: Find the Settings app on your phone’s home screen or in the app drawer. It typically has an icon that looks like a gear or a series of sliders.
- Locate Display or Display & Brightness: Scroll through the settings until you find the Display option, or a similar option like Display & Brightness. Tap on it to proceed to the next step.
- Adjust the Timeout Setting: Look for an option called Screen Timeout, Sleep, or simply Timeout. Tap on it to access the available timeout options.
- Select your preferred timeout: Choose the desired duration for your screen timeout. This can range from as short as 15 seconds to as long as 5 minutes or more, depending on your device’s settings.
- Save your changes: After selecting the appropriate timeout option, make sure to save your changes by tapping on the Save, Apply, or OK button, depending on your specific device.
By adjusting the display timeout settings, you can personalize the length of time your phone’s screen stays on before automatically turning off. This allows you to find the perfect balance between preserving battery life and ensuring that the screen remains on long enough for your needs. Keep in mind that shorter timeout durations can help conserve battery power, while longer durations may be more useful in situations where you need constant access to your device.
Experiment with different timeout durations to find what works best for you. You can always change the settings later if you find that your preferences have evolved. Now that you know how to adjust the display timeout settings, you can enjoy a more customized mobile experience tailored to your individual needs and habits.
Using an App to Control Screen Timeout
If you’re looking for more advanced options to control the screen timeout on your mobile phone, using an app can be a convenient solution. There are several apps available on the app stores that allow you to customize and tweak the screen timeout settings according to your preferences.
One popular app for this purpose is “Stay Alive!” which is available for both Android and iOS devices. This app allows you to prevent the screen from timing out while using specific apps or when the device is charging. It gives you precise control over the screen timeout duration, offering options like “Infinite” or “Custom,” where you can set the desired time limit.
Another app worth considering is “Screen Timeout Manager” for Android devices. This app provides an easy-to-use interface to adjust the screen timeout settings, with options to set different timeouts for specific apps or system-wide. It also offers additional features like screen brightness control and screen timeout override for specific scenarios.
When using an app to control screen timeout, it’s important to choose a reputable and trustworthy app from a reliable source. Be sure to read user reviews and ratings before installing any app, and make sure it is compatible with your device’s operating system version.
Using an app to control screen timeout can give you more flexibility and customization options than the built-in settings on your phone. It allows you to fine-tune the screen timeout duration based on your usage patterns and specific requirements.
Modifying the Power Saving Mode Options
If you’re looking to extend the time your phone stays on, another option to consider is modifying the power saving mode options. Power saving mode is a feature that helps conserve battery life by limiting background processes and reducing screen brightness. By adjusting these settings, you can potentially increase the duration before your phone automatically goes to sleep.
To access the power saving mode options, follow these steps:
- Go to the Settings menu on your phone.
- Select the Battery or Power Management option.
- Look for the Power Saving Mode or Battery Saver option.
- Tap on the option to enter the power saving mode settings.
Once you’ve entered the power saving mode settings, you may have the ability to customize various options, such as screen brightness, CPU performance, and background app restrictions. The specific options available may differ depending on your phone’s manufacturer and model.
Adjusting the screen brightness can have a significant impact on how long your phone can stay on. By lowering the brightness, you reduce the power consumption of your phone’s display, allowing it to last longer before going to sleep. Additionally, you may have the option to limit the CPU performance, which can further extend the battery life.
Some power saving mode settings also provide the option to restrict background app activity. By limiting the number of processes running in the background, the overall power consumption of your phone decreases, potentially increasing the time it stays on before going into sleep mode.
It’s important to note that enabling power saving mode may result in some functionality restrictions. For instance, background data sync and push notifications may be temporarily disabled to conserve battery power. However, these limitations can be useful if your primary goal is to prolong the time your phone stays on.
Remember to experiment with different power saving mode configurations to find the optimal balance between energy conservation and desired functionality. Keep in mind that some advanced power saving options may only be available on certain phones or with specific software versions.
By modifying the power saving mode options, you have the ability to maximize the time your phone stays on, ensuring that you can use it for longer periods without interruption.
Customizing the Sleep Settings through Developer Options
If you’re looking for more advanced options to customize the sleep settings on your Android phone, you can delve into the Developer Options. Here’s how you can access and modify the sleep settings through Developer Options:
1. Open the Settings app on your Android device and scroll down to find the “About Phone” or “About Device” option. Tap on it.
2. Look for the “Build Number” or “Build Version” option. Tap on it repeatedly, about seven times, until you see a message indicating that you have enabled Developer Options.
3. Go back to the main Settings page, and you should now see an additional option called “Developer Options.” Tap on it.
4. In the Developer Options menu, scroll down until you find the “Stay Awake” or “Keep Screen On While Charging” option. Enable this option to keep your screen on while your device is charging.
5. Additionally, you can adjust the “Window Animation Scale,” “Transition Animation Scale,” and “Animator Duration Scale” options to speed up or slow down the screen animations on your device.
6. To further customize your sleep settings, you can explore other options in the Developer Options menu, such as “Background process limit,” “Bluetooth audio codec,” and more.
7. Remember that altering settings in the Developer Options can have an impact on the performance and stability of your device. It is advised to make changes only if you have a good understanding of what each option does.
By customizing the sleep settings through Developer Options, you can have more control over how your Android phone functions. Whether you want to keep the screen on while charging or fine-tune the animation settings, exploring the Developer Options can offer you a range of advanced customization options.
In conclusion, being able to change the time your phone stays on is a valuable feature that can help optimize its performance and conserve battery life. By adjusting the screen timeout settings, you can customize the duration your phone remains active before turning off the display.
Whether you prefer a longer or shorter timeout period, the ability to modify this setting allows you to personalize your phone usage experience. Additionally, it can be particularly useful in different situations, such as when you need to conserve battery power or when you want to ensure your phone’s screen stays active for a longer duration.
Remember that the steps to change the screen timeout may vary slightly depending on your specific phone model and operating system. So, it’s always a good idea to refer to your device’s user manual or visit the manufacturer’s website for detailed instructions.
By following the steps outlined in this article, you can easily modify the screen timeout settings on your phone to suit your preferences and needs, contributing to a more efficient and personalized mobile experience.
FAQs
1. How do I change the amount of time my phone stays on?
To change the amount of time your phone stays on before automatically locking or going into sleep mode, follow these steps:
1. Go to the Settings menu on your phone.
2. Look for the “Display” or “Screen Timeout” option.
3. Tap on it and choose the desired time duration from the available options.
4. Save the changes, and your phone will stay on for the newly set duration before sleeping.
2. Can I set different screen timeout durations for different apps?
Unfortunately, most mobile devices do not have built-in options to set different screen timeout durations for different apps. The screen timeout duration applies to the entire device and is not app-specific. However, some third-party apps may offer the ability to customize screen timeout settings on a per-app basis. Check your device’s app store for such apps if you require this functionality.
3. Will increasing the screen timeout duration drain my phone’s battery faster?
Yes, keeping your phone’s screen on for a longer duration can consume more battery power. The screen is one of the biggest power consumers on a mobile device. Therefore, it is recommended to find a balance between convenience and preserving battery life. Avoid setting an unnecessarily long screen timeout duration if it is not required, especially when on battery-saving mode or low battery situations.
4. Why does my phone automatically lock or go into sleep mode?
Phones automatically lock or go into sleep mode to conserve battery power and prevent unintentional interaction with the device. When your phone is locked or in sleep mode, it still remains operational in the background, but the screen is turned off to minimize battery drain. This feature ensures that your phone doesn’t remain idle with the screen on when not in use, thus preserving battery life.
5. Can I completely disable the screen timeout on my phone?
While some devices may allow you to set a screen timeout of “Never,” it is not generally recommended to disable the screen timeout completely. Constantly keeping the screen on can significantly drain your battery and may cause screen burn-in or other display issues over time. It’s advisable to set a reasonably longer screen timeout duration to suit your needs while still conserving battery life and ensuring the longevity of your device’s display.