
Are you tired of going through multiple steps just to save a new contact on your mobile phone? Well, if you have a device with 3D Touch capability, then you’re in luck! With this advanced technology, creating a new contact from the home screen has never been easier. Gone are the days of navigating through menus and settings, wasting precious time. Now, all it takes is a simple press on the screen to initiate the process. In this article, we will guide you through the steps of using 3D Touch to effortlessly create a new contact directly from your home screen. Say goodbye to the hassle, and say hello to convenience!
Inside This Article
- How to Create a New Contact from the Home Screen with 3D Touch
- Enabling 3D Touch on Your Device
- Accessing the Contacts App from the Home Screen
- Initiating the New Contact Creation
- Filling in Contact Details
- Conclusion
- FAQs
How to Create a New Contact from the Home Screen with 3D Touch
3D Touch is a powerful feature on many mobile devices that allows users to access additional options and shortcuts by applying varying levels of pressure on the screen. One useful function of 3D Touch is the ability to create a new contact directly from the home screen. This can save you time and make adding new contacts to your device a breeze.
In this article, we will guide you through the simple steps to create a new contact from the home screen using 3D Touch. Whether you’re an iPhone or Android user, enabling 3D Touch and accessing the contacts app from the home screen is the first step towards quickly adding a new contact.
1. Enabling 3D Touch on Your Device
If you have an iPhone, 3D Touch is automatically enabled. However, on Android devices, the availability of 3D Touch may vary depending on the brand and model. To check if your Android device supports 3D Touch, go to the Settings menu and search for “Touch Sensitivity” or “Force Touch” options. If available, enable this feature to harness the full potential of 3D Touch on your device.
2. Accessing the Contacts App from the Home Screen
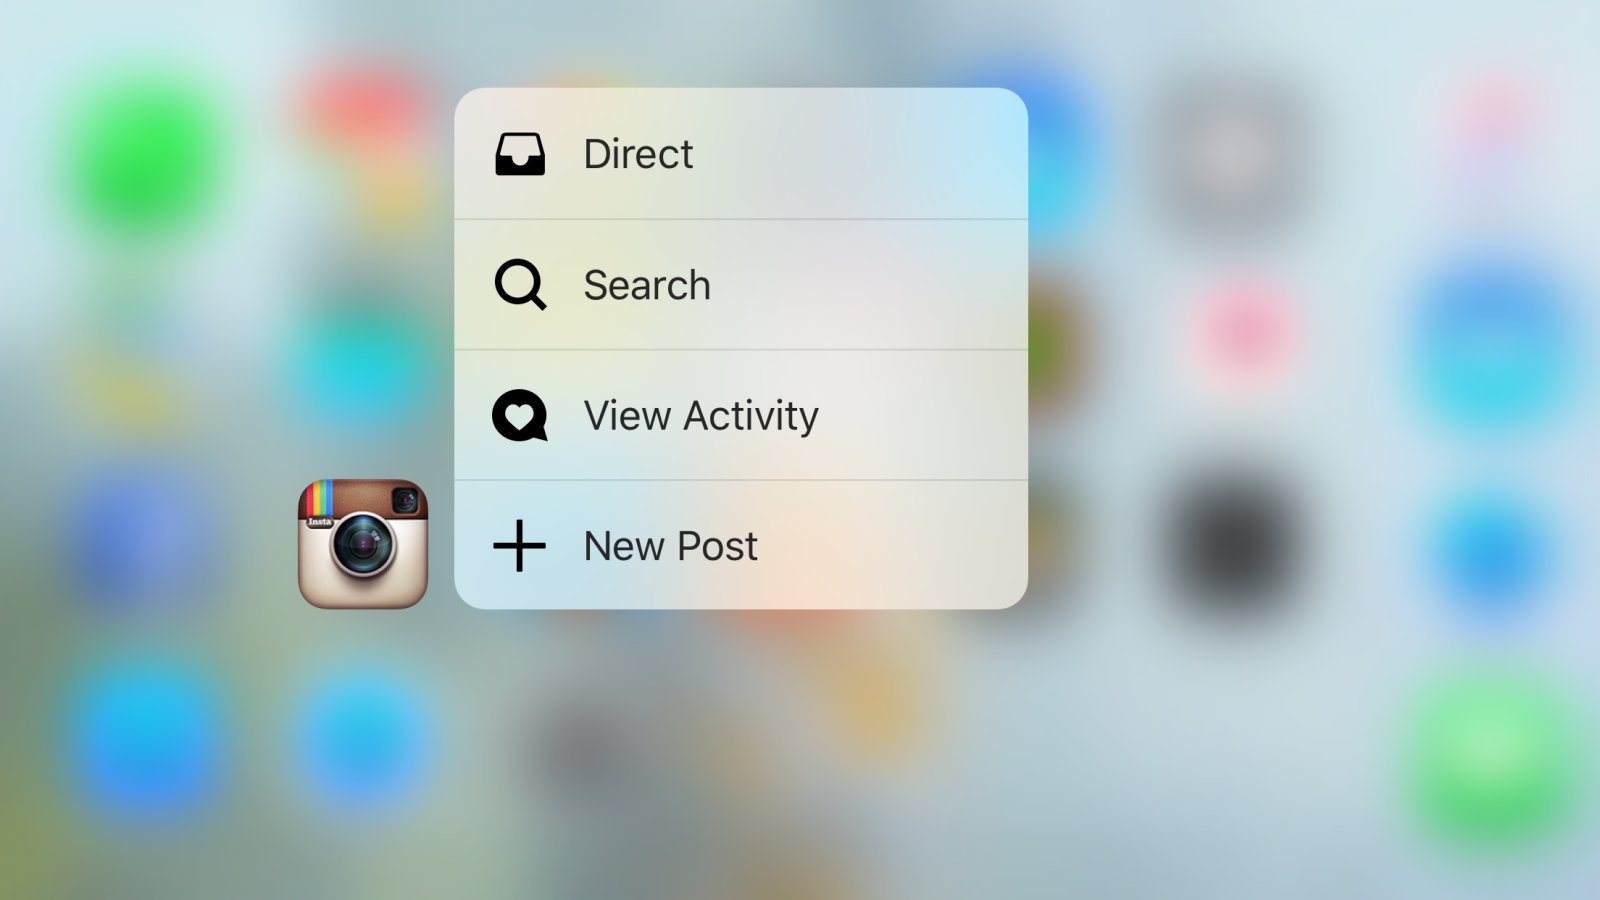
Once 3D Touch is enabled, head to your home screen and locate the Contacts app. On most devices, the Contacts app icon resembles a person’s silhouette. Gently press and hold the Contacts app icon with your finger to activate 3D Touch. You will notice a menu with various options that pop up on the screen.
3. Initiating the New Contact Creation
Within the 3D Touch menu, look for the option that allows you to create a new contact. This option might be labeled as “New Contact,” “Add Contact,” or something similar. Tap on this option to proceed to the next step.
4. Filling in Contact Details
After selecting the option to create a new contact, you will be directed to a page where you can enter the contact’s details. This typically includes their name, phone number, email address, and any additional information you’d like to add. Fill in the required fields, and if desired, add a photo for easy identification.
Once you have entered all the necessary information, save the contact by selecting the “Save” or “Done” button, depending on your device’s interface. The new contact will then be added to your contacts list, accessible from the Contacts app.
Now that you know how to create a new contact from the home screen using 3D Touch, you can quickly add important phone numbers and information without navigating through multiple menus. This time-saving feature is not only convenient but also ensures that you can keep track of all your contacts in one place.
So, go ahead and give it a try! Enable 3D Touch, access the Contacts app, and utilize the power of 3D Touch to create new contacts effortlessly.
Enabling 3D Touch on Your Device
If you want to take advantage of the convenience and functionality of creating a new contact from the home screen with 3D Touch, the first step is to ensure that 3D Touch is enabled on your device.
To enable 3D Touch, follow these simple steps:
- Go to the “Settings” app on your device.
- Scroll down and tap on “Accessibility”.
- Next, tap on “Touch”.
- Finally, toggle the “3D Touch” option to enable it.
Once you have successfully enabled 3D Touch, you’ll be able to access the contacts app directly from the home screen by applying pressure to the icon.
Now that you know how to enable 3D Touch on your device, let’s move on to the next step!
Accessing the Contacts App from the Home Screen
Accessing the Contacts app on your mobile phone is essential for creating new contacts. Follow these simple steps to open the Contacts app directly from your home screen:
- Start by unlocking your device and navigating to the home screen.
- Look for the app icon that represents the Contacts app. It usually resembles an address book or a silhouette of a person.
- Once you have located the Contacts app icon, gently press it using 3D Touch. This feature is available on supported devices and gives you quick access to app shortcuts and options.
- When you apply pressure to the Contacts app icon, a menu will appear on the screen with various options.
- Locate and select the “New Contact” option from the menu. This will open a new contact creation screen within the Contacts app.
If your device does not support 3D Touch, you can still access the Contacts app by tapping the app icon normally. However, using 3D Touch provides a faster and more convenient way to access specific app features directly from the home screen.
Once you have successfully accessed the Contacts app, you can proceed to the next step of creating a new contact. Fill in the essential contact details to ensure that you have all the necessary information at your fingertips whenever you need it.
Initiating the New Contact Creation
Now that you have accessed the Contacts app from the Home Screen, it’s time to initiate the new contact creation process. Follow these simple steps to get started:
1. Tap on the “New Contact” option: On the Contacts app, you’ll find a plus (+) sign or the label “New Contact” at the top right corner of the screen. Tap on it to begin creating a new contact.
2. Choose the contact type: Depending on your device and contact management settings, you may be prompted to select the contact type. This could include “Phone,” “Email,” “Home,” or other categories. Select the appropriate type for the contact you are creating.
3. Enter the contact’s name: The name is a crucial piece of information for any contact. Tap on the respective field and enter the first name, last name, or both, as desired. You may also have the option to add a nickname or other relevant details.
4. Add contact details: After entering the contact’s name, you can proceed to add additional details for the contact. This can include phone numbers, email addresses, physical addresses, and more. Tap on the respective fields, enter the information, and tap “Done” or the equivalent button to save the details.
5. Customize other fields: Depending on your preferences, you may have other fields available to customize, such as job title, organization, notes, and more. Feel free to fill in these fields as needed to provide comprehensive information about the contact.
6. Add a photo: If you want to personalize the contact, you can add a photo by tapping on the “Add Photo” option. You can choose to take a photo using your device’s camera, select one from your photo library, or use an existing image assigned to the contact.
7. Group the contact: To organize your contacts further, you can assign the new contact to a specific group. This can be a pre-existing group or a new one you create. Simply tap on the “Add to Group” option and select the appropriate group from the list.
8. Save the contact: Once you have entered all the necessary information and customized any optional fields, tap on the “Save” or “Done” button at the top right corner of the screen. This will save the new contact to your device’s Contacts app.
By following these steps, you can effortlessly initiate the creation of a new contact from the Home Screen using 3D Touch. Streamlining the process makes it convenient for you to manage your contacts and stay connected with ease.
Filling in Contact Details
Once you have initiated the creation of a new contact using 3D Touch, the next step is filling in the contact details. This is where you can provide essential information such as the person’s name, phone number, email address, and more. Follow these steps to complete the contact details:
1. Enter the contact’s name: Begin by entering the name of the person you are adding as a contact. You can input both their first and last name.
2. Add phone numbers: Contact details typically include phone numbers. Tap on the “Add Phone” option to add a phone number for the contact. You can choose from several options such as mobile, home, work, or other custom labels to specify the type of phone number you are entering. Tap on the label, enter the phone number, and click the “+” button to save it.
3. Include email addresses: Many contacts have email addresses, so make sure to provide this information if available. Tap on the “Add Email” option to add an email address for the contact. You can enter multiple email addresses by tapping on the ‘+’ button after each entry.
4. Add additional details: Depending on your needs, you may want to include additional details about the contact. This can include their address, birthday, anniversary, and more. Tap on the “Add Field” option to reveal a list of available fields. Select the desired field, enter the relevant information, and tap the “+” button to save it.
5. Add a profile picture: Adding a profile picture to your contact can help you easily identify them. Tap on the existing profile picture or the space designated for a photo, and you will have the option to choose an image from your photo gallery or take a new picture.
6. Save the contact: Once you have filled in all the necessary contact details, tap on the “Done” or “Save” button to save the contact. The new contact will now be added to your address book and will be accessible whenever you need it.
Remember, the more information you provide in the contact details, the easier it will be to stay organized and connect with your contacts when needed. So take the time to fill in all the relevant details and ensure your address book is fully updated.
Conclusion:
Creating a new contact from the home screen using 3D Touch is a convenient and time-saving feature that streamlines the process of adding contacts to your mobile phone. This powerful feature, available on select smartphones, allows users to quickly access the contact creation menu by pressing firmly on the screen. With just a few taps, you can enter the contact’s name, phone number, email address, and other details. Whether you are saving a new business contact, a friend’s information, or an important contact during an emergency, utilizing 3D Touch to create a new contact on your mobile phone is a simple and efficient method. So, take advantage of this handy feature and start building your contact list with ease!
FAQs
1. Can I create a new contact from the home screen using 3D Touch?
Yes, you can create a new contact directly from the home screen using 3D Touch. It is a convenient and time-saving feature that allows you to quickly add someone’s information to your contacts without opening the Contacts app.
2. How do I create a new contact with 3D Touch?
To create a new contact using 3D Touch, simply press and hold the Contacts app icon on the home screen. A menu will pop up, displaying various options. Tap on “Create Contact” to open a blank contact form where you can enter the person’s details, such as name, phone number, and email address. Once you’re done, tap “Save” to save the contact.
3. Can I add a profile picture to a new contact created with 3D Touch?
Yes, when you create a new contact using 3D Touch, you have the option to add a profile picture. After entering the contact’s details, tap on the placeholder image and choose either to take a photo or select one from your photo library. This way, you can personalize your contacts and easily recognize them at a glance.
4. Is the “Create Contact” option available on all iPhones?
No, the “Create Contact” option is available on iPhones that support 3D Touch. This feature was first introduced with the iPhone 6s and is included in newer models, including the iPhone 7, 8, X, and later. If you have an older iPhone model without 3D Touch, you won’t be able to create a new contact from the home screen using this method.
5. Can I customize the “Create Contact” shortcut on the home screen?
Unfortunately, the “Create Contact” shortcut on the home screen using 3D Touch cannot be customized. It is a default feature that cannot be changed or reassigned to a different action. However, you can always add new contacts by opening the Contacts app and manually adding the details.