
Are you the proud owner of the latest iPhone 13 and eager to start using Apple Pay? Look no further! In this comprehensive guide, we will walk you through the steps on how to set up and use Apple Pay on your iPhone 13. With the convenience and security Apple Pay offers, you’ll be able to make seamless and contactless payments at supported stores, online retailers, and even within apps. Whether you’re buying groceries, dining out, or shopping for your favorite gadgets, Apple Pay on the iPhone 13 makes it quick and easy to complete transactions with just a tap of your phone. So, get ready to revolutionize your payment experience as we delve into the world of Apple Pay on the iPhone 13.
Inside This Article
- Setting up Apple Pay on iPhone 13
- Adding credit or debit cards to Apple Pay
- Making payments with Apple Pay on iPhone 13
- Managing your Apple Pay settings on iPhone 13
- Conclusion
- FAQs
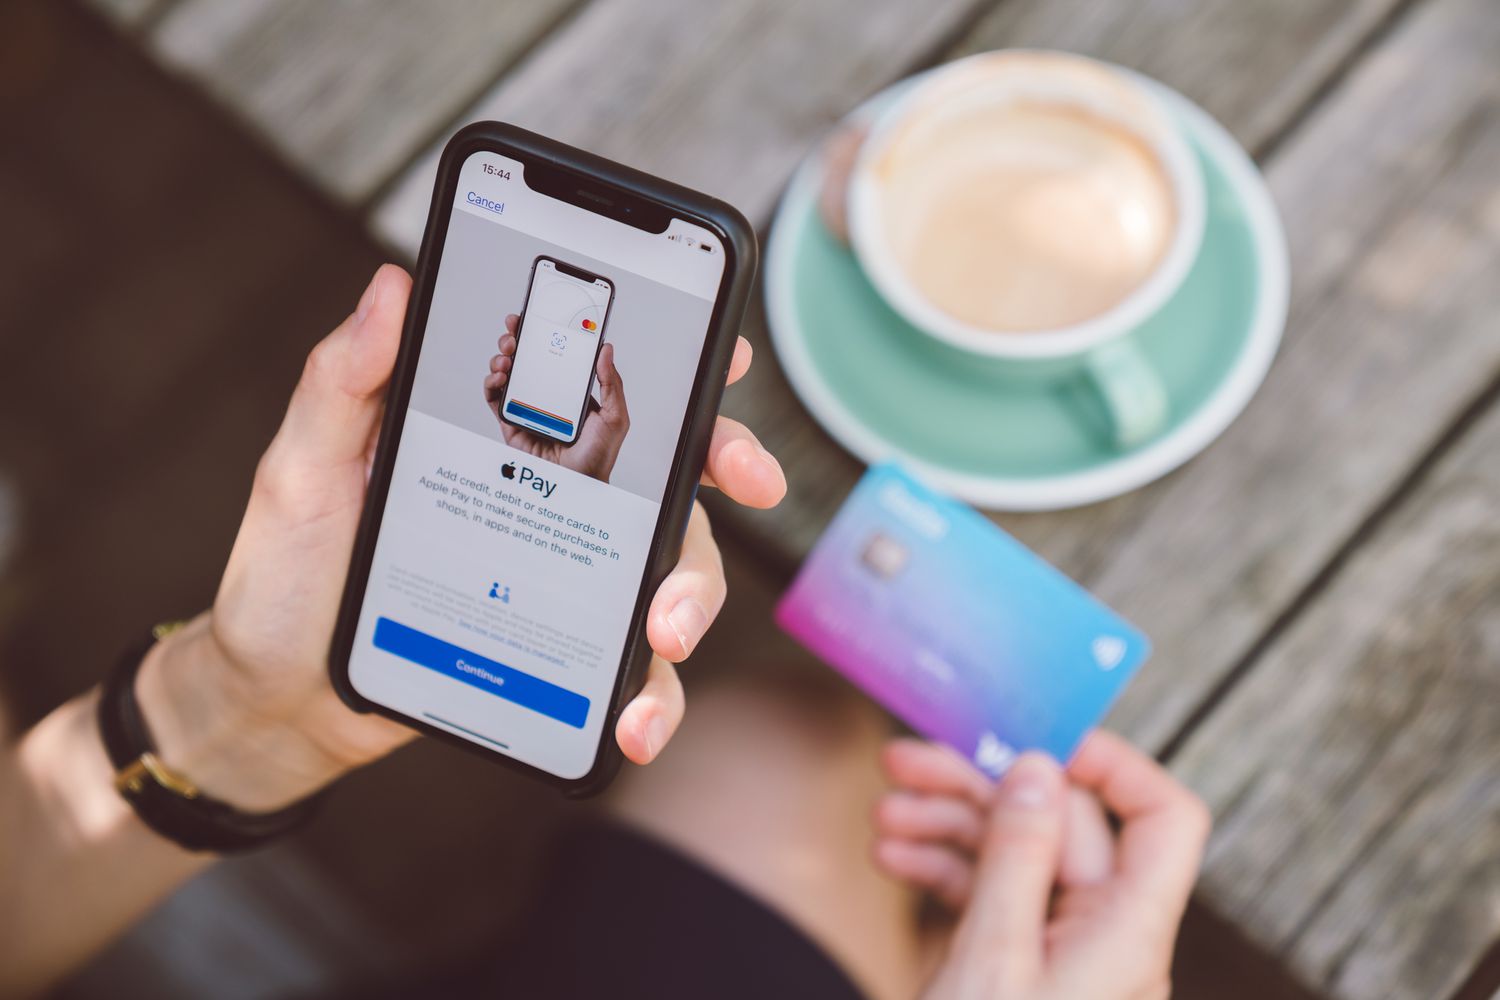
Setting up Apple Pay on iPhone 13
Apple Pay has revolutionized the way we make payments, providing a convenient and secure method for transactions. If you’ve recently purchased the new iPhone 13, you’ll be pleased to know that setting up Apple Pay on your device is a breeze. In just a few simple steps, you’ll be ready to make fast and secure payments with just a tap of your iPhone 13.
The first step to setting up Apple Pay on your iPhone 13 is to ensure that you have the latest iOS version installed. This ensures that you have all the necessary features and security updates. To check for updates, go to Settings > General > Software Update. If there’s an update available, tap on ‘Download and Install’ to get the latest version.
Once your iPhone 13 is updated, open the Wallet app, which is pre-installed on your device. Tap on the ‘+’ sign to add a new card. You’ll have the option to add a credit or debit card, as well as store cards and transit cards. Follow the on-screen instructions to add your card details, including the card number, expiration date, and security code.
If you have a card saved in your iCloud Keychain, your iPhone 13 may automatically suggest adding it to Apple Pay. Simply confirm the details and proceed with the setup. If not, you can manually enter the card details by selecting “Enter Card Details Manually.”
Next, your bank or card issuer may require you to verify your card before it can be used with Apple Pay. This verification process typically involves receiving a verification code via SMS or email and entering it into the Wallet app. Follow the instructions provided by your bank to complete this step.
Once your card is verified, you’ll need to set it as the default card for Apple Pay. This ensures that it’s automatically selected when you make a payment. To set your default card, go to Settings > Wallet & Apple Pay and tap on “Default Card.” Choose the card you want to set as default from the list of available cards.
That’s it! You’ve successfully set up Apple Pay on your iPhone 13. Now, when you’re ready to make a payment, simply double-click the side button on your device to bring up Apple Pay. Authenticate using Face ID, Touch ID, or your device passcode, and hold your iPhone 13 near the contactless payment terminal. Your payment will be processed in seconds, providing a seamless and secure experience.
Remember, you can add multiple cards to Apple Pay and switch between them easily. To manage your cards, open the Wallet app and tap on the card you want to manage. From there, you can view transaction history, manage notifications, and remove the card if needed.
Setting up Apple Pay on your iPhone 13 is a simple process that ensures you can enjoy the convenience and security of contactless payments. With just a few taps, you’ll be ready to make fast and secure transactions wherever Apple Pay is accepted.
Adding credit or debit cards to Apple Pay
Apple Pay is a convenient and secure way to make payments with your iPhone 13. To get started, you’ll need to add your credit or debit cards to the Apple Pay wallet. Here’s how:
1. Open the Wallet app on your iPhone 13. This app comes pre-installed and can be found on your home screen.
2. Tap the “+” button at the top-right corner of the screen. This will initiate the process of adding a new card.
3. You have a few options to add your card. If your card is already associated with your Apple ID, you can simply tap “Continue” and follow the prompts to verify your card. If not, you can choose to manually enter your card details or use your iPhone’s camera to scan your card.
4. If you’re manually entering your card details, input the card number, expiration date, and security code. Tap “Next” to continue.
5. Follow the on-screen prompts to verify your card. This may involve receiving a verification code via SMS or using the authentication method provided by your card issuer.
6. Once your card is verified, you’ll receive a notification confirming its addition to Apple Pay. You can now use this card to make secure contactless payments using your iPhone 13.
7. Repeat the above steps for any additional credit or debit cards you want to add to Apple Pay.
It’s important to note that not all banks and financial institutions support Apple Pay. If you encounter any issues adding your card, contact your card issuer or bank for assistance.
Adding your credit or debit cards to Apple Pay on your iPhone 13 is a simple process that ensures you can make quick and secure payments with just a few taps on your device.
Making payments with Apple Pay on iPhone 13
Apple Pay is a convenient and secure way to make payments using your iPhone 13. With just a few taps, you can easily complete transactions in stores, online, and within apps. Here’s how to use Apple Pay on your iPhone 13 to make payments effortlessly.
1. To initiate an Apple Pay transaction, simply double-press the side button on your iPhone 13. This will bring up your default payment card and activate the Face ID or Touch ID authentication process.
2. Once your identity is confirmed, hold the top of your iPhone 13 near the contactless payment reader or point of sale terminal. You may be required to authenticate your payment using Face ID or Touch ID again, depending on the payment amount and the merchant’s requirements.
3. If you want to use a different card from your default payment card, you can easily switch between cards by tapping on the card’s image at the bottom of the screen. This will bring up a list of your available cards, and you can select the one you wish to use for the payment.
4. For online or in-app purchases, look for the Apple Pay button at checkout. Tap on it, review the payment details, and use Face ID or Touch ID to authorize the transaction. Your payment information, including your card details, will be securely transmitted without the merchant having access to it.
5. After completing the transaction, you will receive a notification on your iPhone 13 confirming the payment. You can also view your transaction history in the Wallet app.
Making payments with Apple Pay on your iPhone 13 is not only easy but also offers enhanced security. Your card details are never shared with the merchant, reducing the risk of your payment information being compromised. Plus, you can enjoy the convenience of making quick and contactless payments wherever Apple Pay is accepted.
So, next time you’re at the checkout counter or making an online purchase, save yourself the hassle of digging for your credit card and give Apple Pay on your iPhone 13 a try. It’s a simple, secure, and cutting-edge way to make payments with just a tap of your device.
Managing your Apple Pay settings on iPhone 13
Once you have set up Apple Pay on your iPhone 13 and added your credit or debit cards, you can easily manage and customize your Apple Pay settings to suit your preferences. Here are some essential settings you can adjust:
- Default Card: You can specify a default card to be used when making payments with Apple Pay. This can be done by going to Settings > Wallet & Apple Pay > Default Card and selecting the desired card.
- Transaction History: If you want to keep track of your Apple Pay transactions, you can enable transaction history. Simply go to Settings > Wallet & Apple Pay > Transaction History and toggle the switch to enable it. You can view your transaction history in the Wallet app.
- Notification Preferences: You can choose to receive notifications for successful transactions made with Apple Pay. To manage your notification preferences, go to Settings > Wallet & Apple Pay > Notify When Paid and select your desired notification option.
- Passcode and Face ID: To enhance the security of your Apple Pay transactions, you can require a passcode or Face ID authentication before making a payment. Go to Settings > Wallet & Apple Pay > Passcode/Face ID and follow the prompts to set up this feature.
- Card Management: If you need to edit or remove a card from Apple Pay, you can do so by going to Settings > Wallet & Apple Pay > Your Cards. From there, you can select the card you want to manage and make the necessary updates or remove it from Apple Pay.
By managing your Apple Pay settings on iPhone 13, you can customize your payment experience and ensure the security of your transactions. Take a few moments to explore these settings and make any adjustments that suit your needs.
Conclusion
In conclusion, using Apple Pay on the iPhone 13 is a convenient and secure method of making payments. With its advanced features and integration with Face ID or Touch ID, Apple Pay offers a seamless and safe way to make transactions both in-store and online. The ability to store multiple cards in the Wallet app and the added security measures such as tokenization and transaction-specific security codes ensure that your financial information is protected.
By taking advantage of Apple Pay, you can enjoy a faster and more convenient shopping experience, whether you’re buying a cup of coffee or making a major purchase. With the increasing acceptance of Apple Pay by retailers worldwide, it’s becoming easier to use this payment method. So, if you’re an iPhone 13 user, be sure to set up Apple Pay on your device and join the digital payment revolution.
FAQs
1. What is Apple Pay and how does it work on iPhone 13?
2. Can I use Apple Pay on iPhone 13 to make purchases online?
3. Is Apple Pay secure on iPhone 13?
4. How do I set up Apple Pay on iPhone 13?
5. Can I use Apple Pay on iPhone 13 without an internet connection?