
Setting up Apple Pay on your new iPhone 13 is a seamless process that allows you to make secure and convenient payments both in-store and online. With the advanced features of the iPhone 13, setting up Apple Pay has never been easier. In this article, we will guide you through the step-by-step process of setting up Apple Pay on your iPhone 13, enabling you to make quick and secure transactions with just a touch or a glance. Whether you're new to Apple Pay or upgrading to the latest iPhone, we've got you covered with all the information you need to get started. Let's dive in and explore how to set up Apple Pay on your iPhone 13, so you can experience the ease and security of contactless payments firsthand.
Inside This Article
- Setting Up Apple Pay on iPhone 13
- Adding Credit or Debit Cards
- Using Apple Pay in Stores
- Using Apple Pay in Apps and Online
- Managing Apple Pay Settings
- Troubleshooting Apple Pay Issues
- Conclusion
- FAQs
Setting Up Apple Pay on iPhone 13
Setting up Apple Pay on your iPhone 13 is a seamless process that allows you to make secure and convenient payments in stores, apps, and online. With the advanced security features of Face ID or Touch ID, Apple Pay ensures that your transactions are protected. Here’s a step-by-step guide to setting up Apple Pay on your iPhone 13.
First, open the Wallet app on your iPhone 13. If you don’t find it on your home screen, you can easily locate it using the search feature. Once you’ve opened the Wallet app, tap the “+” (plus) sign to add a new card.
Next, you’ll be prompted to add a card. You can choose to add a credit or debit card that you already have in your Apple ID account, or you can add a new card by following the on-screen instructions. If you’re adding a new card, you can use your iPhone’s camera to capture the card details or enter them manually.
After entering your card details, your bank will verify the information. In some cases, you might be required to provide additional verification through a one-time password or a verification link sent to your registered email or phone number. Once your card is verified, it will be added to your Wallet, and you can start using Apple Pay immediately.
Once your card is added to the Wallet app, you can choose a default card for transactions. This default card will be used for Apple Pay transactions unless you select a different card during the payment process. You can easily change the default card at any time by going to Settings, selecting Wallet & Apple Pay, and then choosing the default card.
Adding Credit or Debit Cards
Adding your credit or debit cards to Apple Pay on your iPhone 13 is a straightforward process that allows for convenient and secure transactions. Here’s how you can seamlessly integrate your cards into the Apple Pay system.
Firstly, launch the Wallet app on your iPhone 13. This app features a simple interface with a plus sign (+) located at the top right corner. Tap on the plus sign to initiate the card addition process.
Next, you will have the option to either use the camera to capture your card details or enter the information manually. Using the camera can expedite the process by automatically detecting and inputting the card details, including the card number and expiration date.
After the card details are entered or captured, you may be prompted to verify the card with your bank. This typically involves receiving a verification code via text, email, or a phone call to confirm that you are the authorized cardholder.
Once the card is successfully verified, it will be added to your Wallet app, and you can start using it with Apple Pay immediately. Your iPhone 13 will securely store the card details, allowing you to make contactless payments at supported retailers and within apps.
Using Apple Pay in Stores
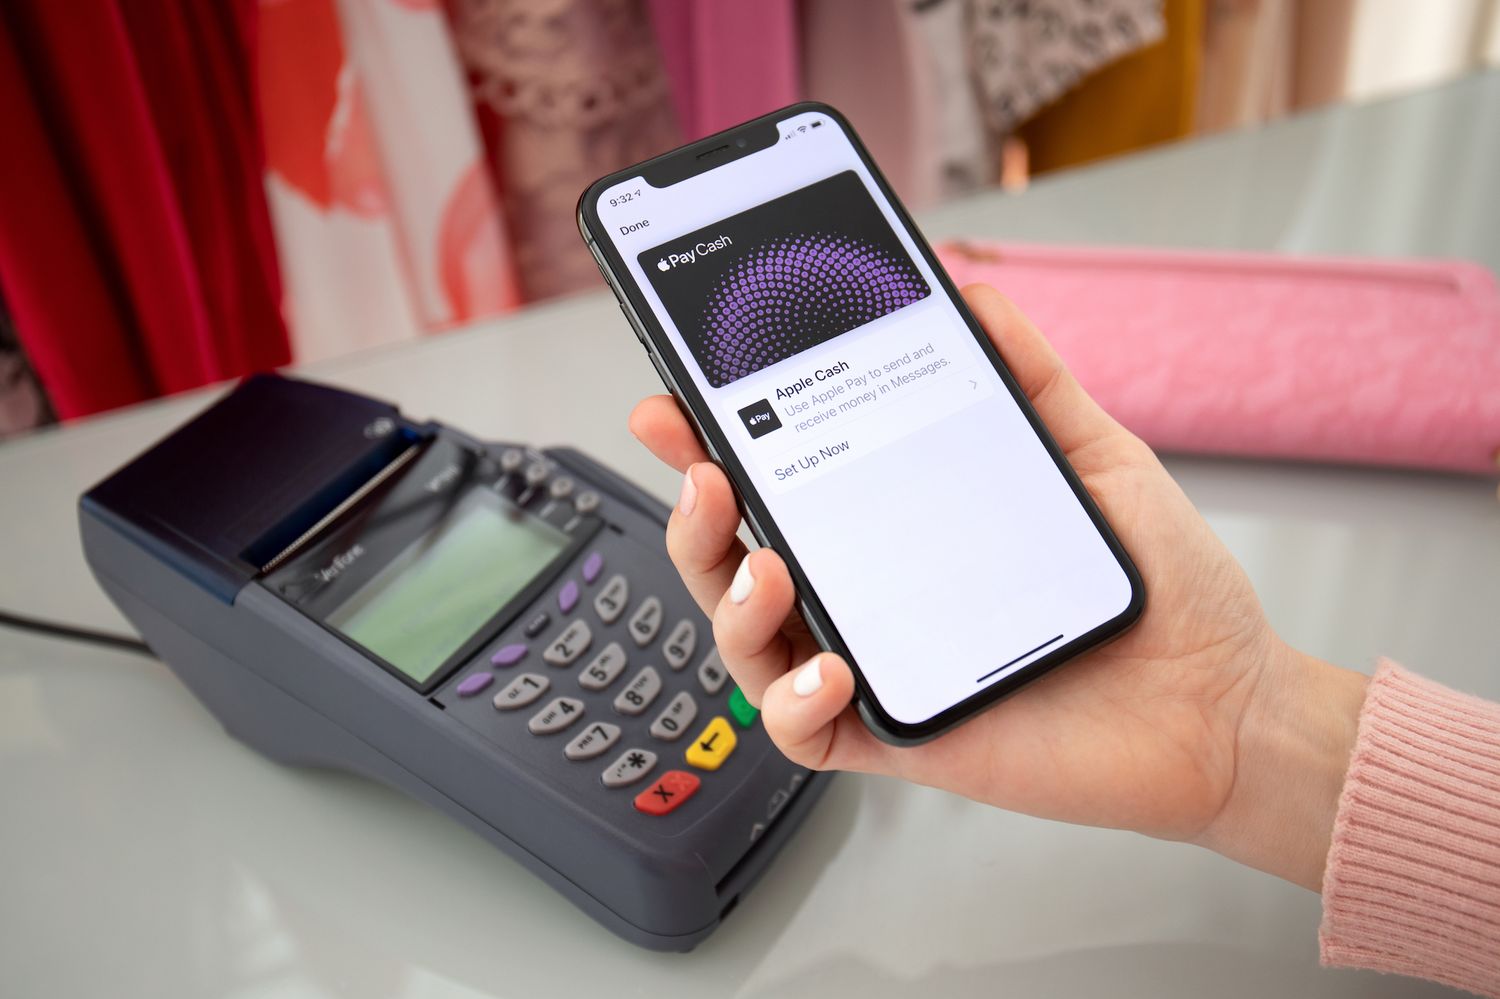
Using Apple Pay in stores is incredibly convenient and secure. Once you’ve set up Apple Pay on your iPhone 13, making purchases in physical stores becomes a breeze. When you’re ready to pay, simply hold your iPhone near the contactless reader and authenticate the transaction with Face ID, Touch ID, or your passcode. The process is quick, seamless, and eliminates the need to fumble for your wallet or card.
Many major retailers, including grocery stores, pharmacies, and restaurants, now accept Apple Pay. Look for the contactless payment symbol or the Apple Pay logo at the checkout terminal. With a simple tap and confirmation, you can complete your transaction without sharing your card details with the merchant, enhancing the security of your purchases.
Furthermore, Apple Pay works with most credit and debit cards from top banks and financial institutions, allowing you to use your preferred payment method for added convenience. Whether you’re grabbing a quick coffee, shopping for groceries, or dining out, using Apple Pay with your iPhone 13 streamlines the payment process and provides peace of mind regarding the security of your transactions.
Using Apple Pay in Apps and Online
Once you’ve set up Apple Pay on your iPhone 13, you can use it to make secure and convenient purchases within apps and on websites that support this payment method. When you’re ready to make a purchase, simply look for the Apple Pay option at checkout.
When using Apple Pay in apps, you’ll typically see the Apple Pay button as a payment option. Tapping this button will prompt you to authenticate the transaction using Face ID, Touch ID, or your device passcode. Once authenticated, the payment will be processed, and you’ll receive a confirmation of the transaction.
Similarly, when making purchases on websites, you’ll have the option to select Apple Pay at checkout. After selecting Apple Pay, you’ll need to authenticate the transaction using Face ID, Touch ID, or your device passcode. Once authenticated, the payment will be processed, and you’ll receive a confirmation of the transaction.
Using Apple Pay in apps and online provides a seamless and secure payment experience, eliminating the need to manually enter your payment and shipping information for each transaction. It’s a convenient way to make purchases while keeping your sensitive information protected.
Managing Apple Pay Settings
Once you’ve set up Apple Pay on your iPhone 13, it’s essential to manage the settings to ensure a smooth and secure experience. Managing Apple Pay settings allows you to customize your preferences and maintain control over your payment methods.
Here are some key aspects of managing Apple Pay settings on your iPhone 13:
- Managing Default Card: You can designate a default card for Apple Pay transactions. This ensures that your preferred card is automatically selected when using Apple Pay, streamlining the payment process.
- Adding and Removing Cards: Apple Pay provides the flexibility to add new cards and remove outdated or compromised ones. This allows you to keep your payment options up to date and secure.
- Managing Transaction Preferences: Apple Pay settings enable you to customize transaction preferences, such as requiring Face ID or Touch ID authentication for payments. This adds an extra layer of security to your transactions.
- Viewing Transaction History: You can access your Apple Pay transaction history through the settings, allowing you to review past purchases made using Apple Pay on your iPhone 13.
- Managing Notification Preferences: Apple Pay settings also include options for managing notification preferences related to transactions, providing you with control over the alerts you receive for payments made through Apple Pay.
By managing these settings, you can tailor your Apple Pay experience to suit your preferences and security needs, ensuring a seamless and secure payment process on your iPhone 13.
Troubleshooting Apple Pay Issues
If you encounter any issues while using Apple Pay on your iPhone 13, don’t fret! Here are some common problems and their solutions to ensure a smooth and hassle-free experience.
1. Connection Issues: If you’re having trouble connecting to the internet or your cellular network, Apple Pay may not function properly. Ensure that your device has a stable internet connection or try switching between Wi-Fi and cellular data to resolve the issue.
2. Unsupported Cards: If your credit or debit card is not supported by Apple Pay, you won’t be able to add it to your device. Check with your card issuer to confirm compatibility with Apple Pay or consider using a different supported card.
3. Incorrect Billing or Shipping Information: If you’re unable to complete a transaction using Apple Pay, double-check the billing and shipping details associated with the card. Ensure that the information is accurate and matches the details on file with the card issuer.
4. Device Compatibility: Apple Pay may not be available in all regions or on older iPhone models. Confirm that your device and region support Apple Pay, and if necessary, consider updating your device to the latest iOS version.
5. Touch ID or Face ID Issues: If your iPhone 13’s Touch ID or Face ID is not functioning correctly, it may impact the authentication process for Apple Pay transactions. Ensure that your biometric authentication settings are properly configured and that your device recognizes your fingerprint or facial features.
6. Wallet Passcode Troubles: If you’ve set up a passcode for your Apple Wallet and are experiencing difficulties with it, consider resetting the passcode or reviewing your device’s security settings to ensure seamless access to Apple Pay.
7. Contacting Apple Support: If you’ve attempted the above steps and continue to encounter issues with Apple Pay, reaching out to Apple Support can provide personalized assistance and troubleshooting tailored to your specific situation.
By addressing these common troubleshooting scenarios, you can optimize your Apple Pay experience on the iPhone 13 and enjoy the convenience and security it offers for making purchases both in-store and online.
**
Conclusion
**
Setting up Apple Pay on your iPhone 13 is a seamless process that offers convenience, security, and versatility in managing your finances. With the added layer of security provided by Face ID or Touch ID, you can make purchases with confidence, whether in-store, online, or within apps. The integration of Apple Pay with Wallet ensures that your payment information is readily accessible and easily manageable. By following the simple steps outlined in this guide, you can swiftly enable Apple Pay and begin enjoying the benefits of this innovative payment solution. Embrace the future of digital transactions and experience the ease of using Apple Pay on your iPhone 13.
FAQs
Q: How do I set up Apple Pay on iPhone 13?
To set up Apple Pay on your iPhone 13, follow these steps:
- Open the Wallet app.
- Tap the "+" sign to add a new card.
- Follow the prompts to add your credit or debit card.
Q: Is Apple Pay secure?
Yes, Apple Pay is secure. It uses a device-specific number and unique transaction code to process payments, ensuring that your card details are never shared with merchants.
Q: Can I use Apple Pay at any store?
Apple Pay is widely accepted at various stores, restaurants, and online retailers. Look for the contactless payment symbol or Apple Pay logo at checkout.
Q: Can I add multiple cards to Apple Pay on iPhone 13?
Yes, you can add multiple credit and debit cards to Apple Pay on your iPhone 13. Simply follow the same process for each additional card.
Q: What should I do if my iPhone 13 is lost or stolen and I have Apple Pay set up?
If your iPhone 13 is lost or stolen, you can use the "Find My" app to remotely lock or erase your device, including your cards in Apple Pay. Additionally, you can contact your bank to suspend or remove the cards from Apple Pay.