
If you own a Polycom phone, you may have wondered how to forward calls to another number. Whether you’re in the office or on the go, call forwarding is a useful feature that allows you to redirect incoming calls to a different number of your choice. In this article, we will explore the step-by-step process of how to forward calls on a Polycom phone, ensuring that you never miss an important call again. Whether you’re looking to temporarily forward calls to a colleague while you’re in a meeting or permanently forward calls to your mobile phone, we’ve got you covered. So let’s dive in and discover how you can take full advantage of call forwarding on your Polycom phone.
Inside This Article
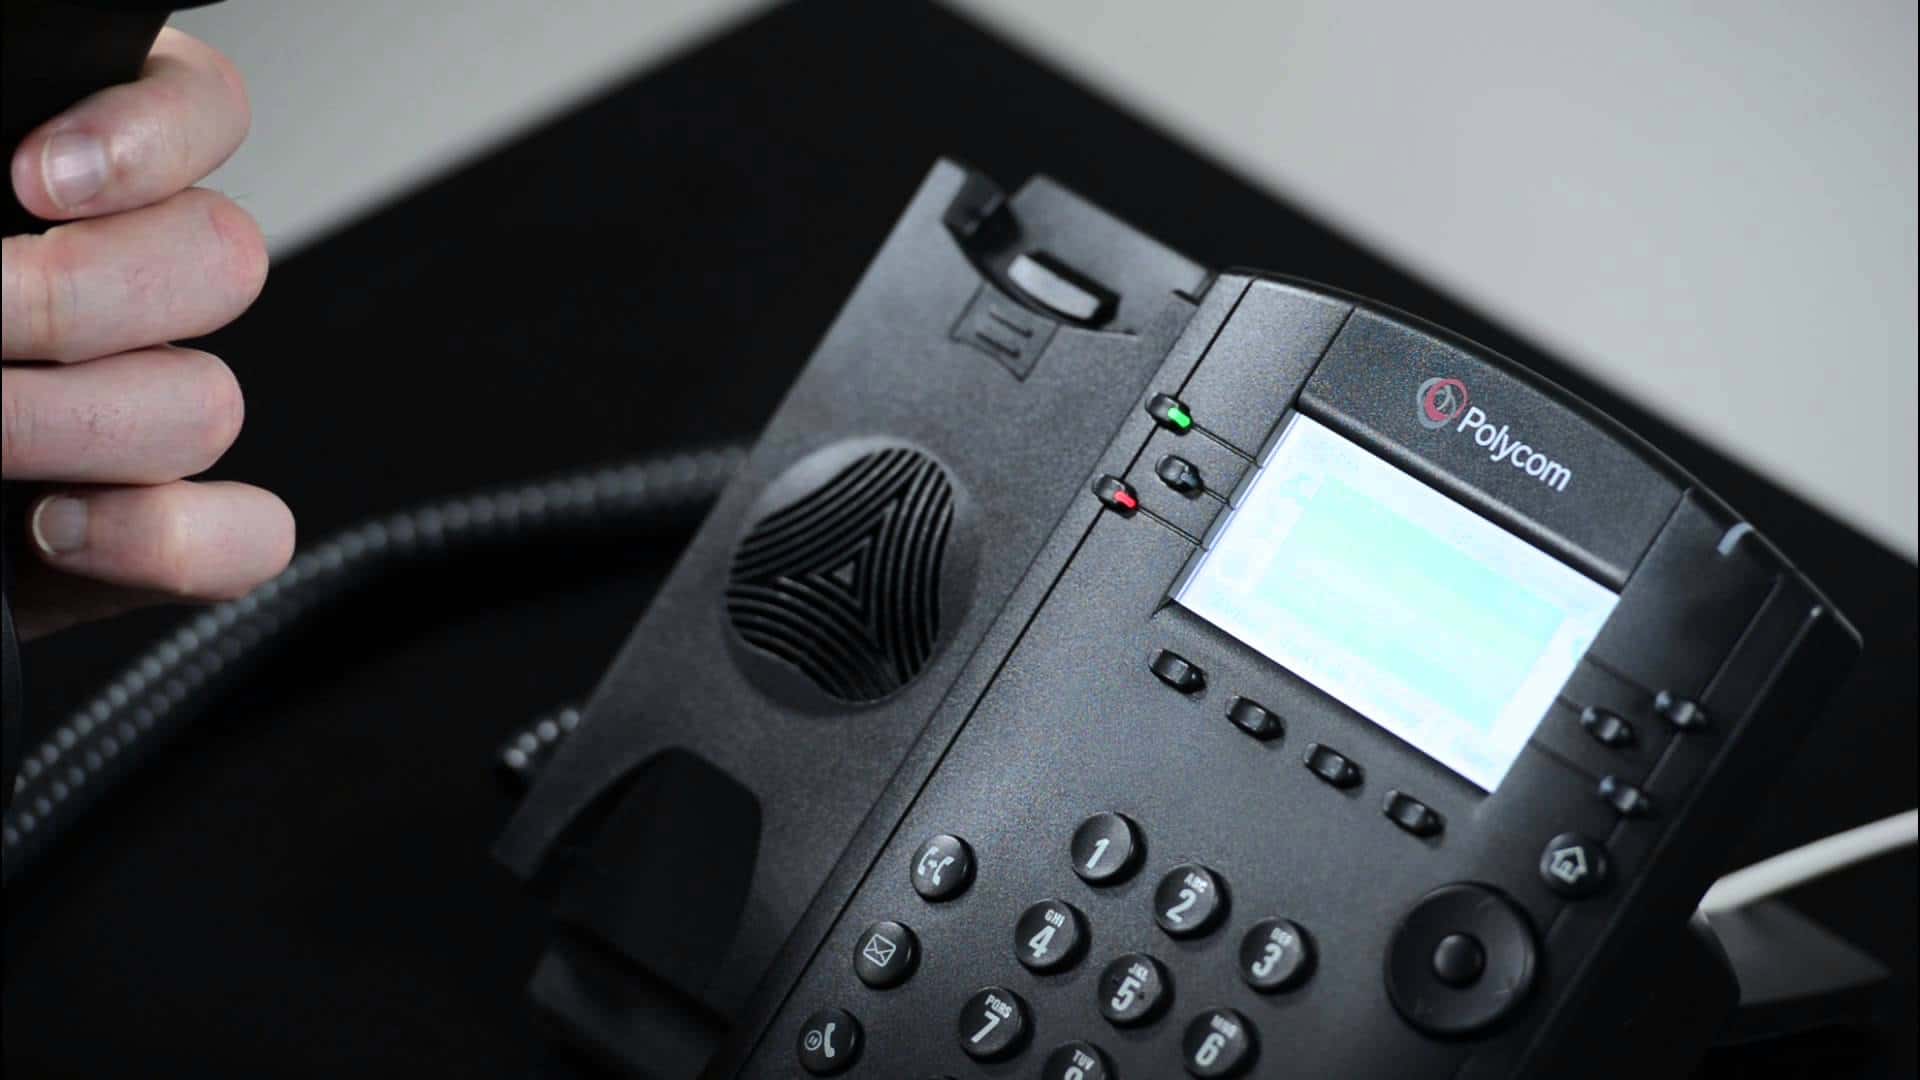
- Overview of Polycom Phones
- Setting up Call Forwarding on Polycom Phones
- Forwarding Calls to Another Phone Number
- Forwarding Calls to Voice Mail
- Conclusion
- FAQs
Overview of Polycom Phones
Polycom Phones are a popular choice for businesses and individuals looking for reliable, high-quality communication devices. With a history of innovation and cutting-edge technology, Polycom has become synonymous with exceptional voice clarity and seamless connectivity. Whether you need a phone for your office, home office, or on-the-go, Polycom offers a diverse range of phones that cater to different needs and preferences.
One of the standout features of Polycom Phones is their superior audio performance. These phones utilize advanced HD Voice technology, ensuring crystal-clear sound quality that allows for smooth and natural conversations. Whether you’re in a noisy office or a quiet room, Polycom Phones deliver enhanced audio clarity, making communication effortless and enjoyable.
In addition to exceptional audio quality, Polycom Phones also offer a range of features that enhance productivity and streamline communication. These phones come equipped with intuitive user interfaces, making it easy to navigate menus and access various functions. From caller ID and call waiting to conference calling and voicemail, Polycom Phones provide a reliable and feature-rich communication experience.
Another key aspect of Polycom Phones is their versatility. Whether you need a desk phone, a conference phone, or a wireless phone, Polycom has you covered. Their product lineup includes a variety of models with different form factors and connectivity options. Whether you prefer a traditional desk phone or a wireless handset, there’s a Polycom Phone that matches your preferences and needs.
Polycom Phones are also known for their durability and reliability. These devices are built to last, with high-quality materials and robust construction. Whether you’re buying a phone for personal or professional use, you can trust that it will withstand the rigors of daily use and deliver exceptional performance over the long term.
Setting up Call Forwarding on Polycom Phones
Call forwarding is a useful feature that allows you to redirect incoming calls to another phone number or extension. If you are using a Polycom phone and need to set up call forwarding, follow these simple steps:
1. Press the “Home” button on your Polycom phone to access the main menu.
2. Navigate to the “Settings” option and select it.
3. Scroll down to find the “Call Features” or “Call Settings” option and enter it.
4. Look for the “Call Forwarding” submenu and select it.
5. In the call forwarding menu, you will see different options such as “Always Forward,” “Forward Busy,” and “Forward No Answer.” Choose the appropriate option based on your preference.
6. Once you have selected the desired call forwarding option, you will be prompted to enter the destination number where you want the calls to be forwarded. Enter the phone number or extension where you want to redirect the incoming calls.
7. Save your settings by pressing the appropriate button, usually labeled as “Save” or “Apply.”
8. Exit the menu and test the call forwarding feature by asking someone to call your original phone number. The call should be redirected to the designated destination number you set up.
It’s important to note that the steps mentioned above may vary slightly depending on the model and firmware of your Polycom phone. However, the general process remains the same.
By setting up call forwarding on your Polycom phone, you can ensure that you never miss an important call, even when you are away from your desk or out of the office.
If you encounter any issues while setting up call forwarding on your Polycom phone, refer to the troubleshooting section or reach out to your system administrator for assistance.
Forwarding Calls to Another Phone Number
Forwarding calls to another phone number is a useful feature that allows you to redirect incoming calls from your Polycom phone to another phone number of your choice. Whether you’re stepping out of the office or simply want calls to be redirected to another device, call forwarding ensures you never miss important calls.
To set up call forwarding on your Polycom phone, follow these simple steps:
- Press the “Menu” button on your Polycom phone.
- Navigate to the “Settings” option using the arrow keys, then press the “Select” button.
- Scroll down and select the “Basic” option, then choose “Call Forwarding” from the list.
- Enter the phone number you want to forward calls to. Make sure to include the country code and any necessary prefixes.
- Press the “Enable” or “Activate” button to enable call forwarding.
Once call forwarding is activated, all incoming calls to your Polycom phone will be automatically redirected to the specified phone number. This can be especially handy when you’re out of the office or need calls to be answered by someone else.
If you no longer wish to forward calls, you can easily disable call forwarding by following these steps:
- Press the “Menu” button on your Polycom phone.
- Navigate to the “Settings” option using the arrow keys, then press the “Select” button.
- Scroll down and select the “Basic” option, then choose “Call Forwarding” from the list.
- Press the “Disable” or “Deactivate” button to disable call forwarding.
Please note that the exact steps may vary slightly depending on the model of your Polycom phone. Refer to the user manual or contact your phone system administrator for specific instructions.
If you encounter any issues with call forwarding, here are a few troubleshooting tips to consider:
- Ensure that you have entered the correct phone number for call forwarding.
- Verify that your Polycom phone is connected to the network and has a stable internet connection.
- Check if there are any restrictions or limitations on call forwarding set by your phone system administrator.
- Restart your Polycom phone and try enabling call forwarding again.
By following these steps, you can easily set up call forwarding on your Polycom phone and ensure that you never miss important calls, even when you’re away from your desk. Enjoy the convenience and flexibility of call forwarding to stay connected wherever you are.
Forwarding Calls to Voice Mail
When you’re unable to answer incoming calls on your Polycom phone, forwarding them to voicemail is a convenient solution. This feature ensures that you never miss an important message while providing a seamless experience for your callers. In this section, we will guide you through the simple steps to set up call forwarding to voicemail on your Polycom phone.
Step 1: Access the Call Forwarding Settings
Begin by locating the call forwarding settings on your Polycom phone. This can usually be found in the phone’s menu or settings options. Once you have found the appropriate section, select the option for call forwarding.
Step 2: Enable Call Forwarding
Within the call forwarding settings, you will have the option to enable or disable call forwarding. Select the option to enable call forwarding, indicating that you wish to forward calls to your voicemail.
Step 3: Set the Forwarding Destination
Next, you will need to specify the destination for call forwarding. In this case, you will select your voicemail box as the forwarding destination. Enter the appropriate voicemail number or extension to ensure that calls are routed correctly.
Step 4: Save and Confirm
After specifying the forwarding destination, save your settings to apply the changes. Some Polycom phones may require you to confirm the call forwarding setup before it becomes active. Follow any prompts or confirmations on your phone’s display to complete the process.
Step 5: Test the Call Forwarding
Once you have set up call forwarding to voicemail, it’s a good idea to test the feature to ensure it is functioning as intended. Use another phone or enlist the help of a colleague to make a test call to your Polycom phone and verify that the call is being properly forwarded to your voicemail.
Congratulations! You have successfully set up call forwarding to voicemail on your Polycom phone. Now, you can have peace of mind knowing that your callers can leave messages even when you can’t answer the phone.
Conclusion
In conclusion, forwarding calls on a Polycom phone is a convenient feature that allows you to stay connected and never miss an important call, even when you are away from your desk. Whether you need to redirect calls to another extension, a mobile phone, or a colleague, Polycom phones offer a variety of options to suit your needs.
By following the simple steps outlined in this article, you can easily set up call forwarding on your Polycom phone and have peace of mind knowing that your calls will be forwarded to the right person or device. This feature is particularly useful for professionals who are frequently on the move or work in a collaborative environment where call routing is essential.
Remember to familiarize yourself with the specific call forwarding options available on your particular Polycom phone model, as the steps may vary slightly. Enjoy the enhanced flexibility and productivity that call forwarding brings to your workday with Polycom phones!
FAQs
1. How do I forward calls on a Polycom Phone?
To forward calls on a Polycom Phone, follow these steps:
– Press the “Forward” button on the phone.
– Enter the number you want to forward calls to.
– Press the “Forward” button again to confirm.
2. Can I forward calls to multiple numbers?
Yes, you can forward calls to multiple numbers on a Polycom Phone. After pressing the “Forward” button, you can enter multiple numbers, separating each with a comma or pressing the “Forward” button multiple times to add more numbers.
3. How do I cancel call forwarding on a Polycom Phone?
To cancel call forwarding on a Polycom Phone, follow these steps:
– Press the “Forward” button on the phone.
– Press the “Cancel” or “Disable” button to deactivate call forwarding.
4. Can I forward calls only when my Polycom Phone is busy or unanswered?
Yes, you can configure call forwarding to activate only when your Polycom Phone is busy or unanswered. Check the settings of your Polycom Phone or consult the user manual for instructions on how to set up conditional call forwarding.
5. Is call forwarding free on a Polycom Phone?
Call forwarding on a Polycom Phone is typically free of charge. However, it is always recommended to verify with your service provider or consult your phone’s user manual for any additional information, as charges may vary depending on your specific phone plan and carrier.