
Are you struggling to remove the SIM card from your Xperia ZX3 phone? Don’t worry, we’ve got you covered! In this article, we will guide you step by step on how to safely and easily extract the SIM card from your Xperia ZX3. Whether you’re upgrading your phone, changing carriers, or simply troubleshooting an issue, removing the SIM card is a common task that you may need to perform. We understand that it can be a bit tricky if you’re not familiar with the process, but with our helpful instructions, you’ll be able to successfully remove the SIM card from your Xperia ZX3 in no time. Let’s get started!
Inside This Article
- Method 1: Ejecting the SIM Card using the SIM card tool
- Method 2: Using a paperclip or pin to eject the SIM Card
- Method 3: Using the “Settings” menu to remove the SIM Card
- Method 4: Seeking assistance from a professional technician
- Conclusion
- FAQs
Method 1: Ejecting the SIM Card using the SIM card tool
If you own a Sony Xperia ZX3 phone and need to remove the SIM card, don’t worry! Sony has made it easy for you to do so using a SIM card tool.
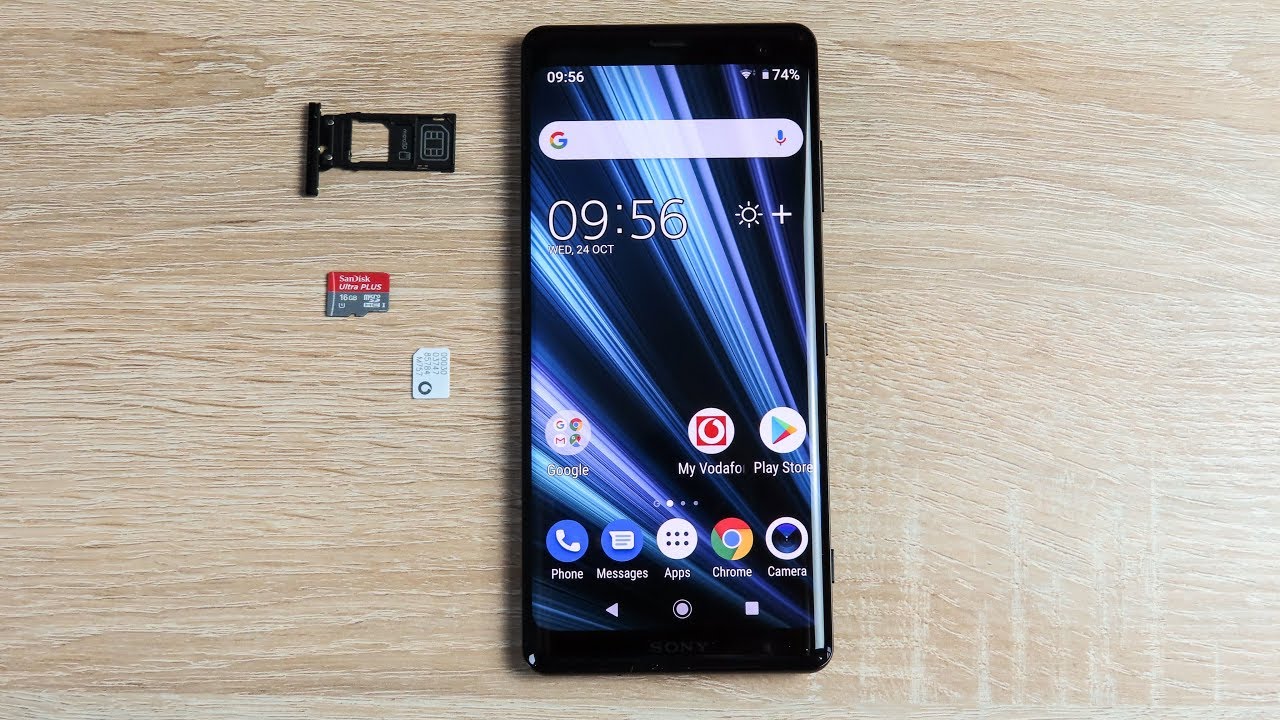
The SIM card tool is a small metal pin-like object that comes with your Xperia ZX3 phone. It is specifically designed to eject the SIM card tray from the phone’s body without causing any damage to the device.
Here’s a step-by-step guide on how to eject the SIM card using the SIM card tool:
- Locate the SIM card tray on your Xperia ZX3 phone. It is usually found on the side of the device.
- Insert the SIM card tool into the small hole next to the SIM card tray. Apply gentle pressure and push it in until you feel some resistance.
- Once you feel resistance, continue pushing inward until the SIM card tray pops out slightly.
- With the tray partially ejected, remove the SIM card tool from the hole and use your fingers to pull out the tray completely.
- Take out the SIM card from the tray by gently sliding it out.
When inserting the SIM card tool or removing the SIM card, make sure to handle them with care to prevent any accidental damage.
Once you have removed the SIM card, you can replace it with a new SIM card or reinsert the same SIM card if needed. To reinsert the SIM card tray, simply align it with the slot on the phone and gently push it back into place until it clicks securely.
Using the SIM card tool to eject the SIM card is a quick and efficient method that ensures no harm comes to your Sony Xperia ZX3 phone. Remember to keep the SIM card tool in a safe place so that you can easily access it whenever you need to remove or replace the SIM card.
Method 2: Using a paperclip or pin to eject the SIM Card
If you don’t have a SIM card tool at hand, don’t worry! You can still remove the SIM card from your Xperia ZX3 using a simple paperclip or pin. This method is convenient and widely used by smartphone users around the world.
Here are the steps to follow:
- Locate the SIM card tray on your Xperia ZX3. It is usually located on the side of the device, near the power button or volume controls. Look for a small hole next to the tray.
- Take a paperclip or a pin and straighten it out, ensuring that it is long enough to reach the SIM card tray.
- Insert the end of the paperclip or pin into the small hole next to the SIM card tray. Apply gentle pressure until you feel the mechanism inside release.
- Gently pull out the SIM card tray using the paperclip or pin. Be careful not to force it or apply excessive pressure, as this may damage the tray or the SIM card itself.
- Remove the SIM card from the tray by sliding it out. Take a moment to check for any debris or dust that may have accumulated on the SIM card or in the tray. If necessary, you can use a soft cloth or compressed air to clean them.
- Once the SIM card is removed, carefully place it in a safe location, such as a small plastic bag or SIM card holder, to avoid misplacing it.
- To reinsert the SIM card tray, align it with the slot on your Xperia ZX3 and gently push it back into place until you hear or feel a click.
- Finally, turn on your Xperia ZX3 and ensure that the SIM card is recognized by checking the signal strength and network connection.
Remember to handle the paperclip or pin with caution, as they can be sharp and may cause injury if not used properly. Take your time and be patient while performing these steps to avoid any accidents or damage to your device.
Using a paperclip or pin to eject the SIM card is a simple and effective method, especially when a SIM card tool is not readily available. It allows you to quickly remove and insert the SIM card without the need for any additional tools. Just make sure to follow these steps carefully to ensure a smooth and hassle-free process.
Method 3: Using the “Settings” menu to remove the SIM Card
If you’re unable to physically access your Xperia ZX3 phone or simply prefer a more convenient method, you can use the “Settings” menu to remove the SIM card. This method is especially useful if you’re experiencing difficulty with the physical ejection mechanisms or don’t have access to a SIM card removal tool or a paperclip.
To remove the SIM card using the “Settings” menu, simply follow these steps:
- Open the “Settings” app on your Xperia ZX3 phone. You can usually find this app on the home screen or in your app drawer.
- Look for the “Network & Internet” or “Connections” option and tap on it. The exact name may vary depending on your Xperia ZX3 phone model and software version.
- Locate and select the “SIM card & mobile networks” or similar option. This will take you to the SIM card management settings.
- Find the option to “Remove SIM card” or “Eject SIM card” and tap on it.
- Confirm your action by tapping on “OK” or “Remove” when prompted.
Once you’ve completed these steps, your Xperia ZX3 phone will remove the SIM card from the device. It’s important to note that this method may require a SIM card tray to be present in your Xperia ZX3 phone, so make sure to check your device’s specifications or user manual if you’re unsure.
Additionally, if you have any important data stored on your SIM card, such as contacts or messages, it’s recommended to back up this information before removing the SIM card using the “Settings” menu. This will ensure that your data is safely preserved and can be transferred to a new SIM card if needed.
Overall, using the “Settings” menu to remove the SIM card offers a hassle-free alternative for Xperia ZX3 users who prefer a software-based method. It’s quick, straightforward, and doesn’t require any additional tools. Just remember to exercise caution and double-check your device’s specifications before proceeding.
Method 4: Seeking assistance from a professional technician
If you’re having trouble removing the SIM card from your Xperia ZX3 phone, or if you simply prefer to leave the task to the experts, seeking assistance from a professional technician is a viable option. These technicians are well-versed in handling various mobile devices, including the Xperia ZX3, and can safely remove the SIM card without causing any damage to your phone.
By relying on a professional technician, you can ensure that the SIM card removal process is carried out smoothly and efficiently. They have the necessary tools and expertise to handle delicate electronic components, reducing the risk of accidents or mistakes that could potentially harm your device.
Moreover, a professional technician can provide valuable guidance and recommendations for troubleshooting any other issues you may be experiencing with your Xperia ZX3 phone. They can diagnose potential problems and offer solutions or repairs if needed.
When seeking assistance from a professional technician, it is important to choose a reputable service provider. Look for technicians who are certified and experienced in handling Xperia ZX3 phones or similar models. Read customer reviews or seek recommendations to ensure that you are entrusting your device to someone reliable and trustworthy.
Many mobile phone manufacturers also have authorized service centers where you can bring your Xperia ZX3 phone for SIM card removal or any other repairs. These service centers are equipped with genuine parts and have access to official technical support, ensuring that your device is in good hands.
While seeking assistance from a professional technician may involve some cost, it can provide peace of mind knowing that your Xperia ZX3 phone will be handled by experts. This method is especially recommended if you are unsure about removing the SIM card yourself or if you encounter any difficulties while attempting to do so.
Conclusion
In conclusion, getting the SIM card out of an Xperia ZX3 phone is a simple and straightforward process. By following the steps outlined in this article, you can easily remove the SIM card and swap it with a new one, or troubleshoot any issues related to the SIM card. Remember to power off the phone before attempting to remove or insert the SIM card to avoid any potential damage.
With the knowledge and understanding gained from this article, you can confidently navigate the process of removing the SIM card from your Xperia ZX3 phone. Whether you’re replacing your SIM card or performing maintenance, you now have the tools and know-how to get the job done efficiently.
Remember, always refer to your phone’s user manual or consult with the manufacturer’s support team if you encounter any difficulties or have specific questions about your Xperia ZX3 phone. With practice and experience, you will become a pro at handling SIM cards in no time.
FAQs
1. How do I remove the SIM card from my Xperia ZX3 phone?
To remove the SIM card from your Xperia ZX3 phone, follow these steps:
– Turn off your phone.
– Locate the SIM card slot, which is generally located on the side or under the back cover of the phone.
– Use a SIM card removal tool or a small paperclip to eject the SIM card tray.
– Gently push the tool into the small hole next to the SIM card slot until the tray pops out.
– Take out the SIM card from the tray, and you’re done!
2. What should I do if the SIM card is stuck in my Xperia ZX3 phone?
If the SIM card is stuck in your Xperia ZX3 phone, there are a few things you can try:
– Make sure your phone is turned off before attempting to remove the SIM card.
– Use a pair of tweezers to carefully grip the exposed edge of the SIM card and gently pull it out.
– If the SIM card is still stuck, try using a small amount of tape to create a sticky surface on the end of a paperclip or toothpick. Insert the sticky end into the SIM card slot and gently maneuver it to lift the card out.
3. Can I use a different-sized SIM card in my Xperia ZX3 phone?
The Xperia ZX3 phone is designed to support nano-SIM cards. If you have a different-sized SIM card, such as a micro-SIM or standard SIM, you will need to use a SIM card adapter. These adapters allow you to insert a smaller-sized SIM card into a larger slot, ensuring compatibility with your Xperia ZX3 phone.
4. What is the purpose of a SIM card in a mobile phone?
A SIM card, or Subscriber Identity Module, is a small chip that stores important information for your mobile phone service. It includes your unique identification number, called the ICCID, as well as your phone number and other subscriber details. The SIM card allows you to connect to a mobile network, make calls, send messages, and access mobile data services.
5. Can I use my Xperia ZX3 phone without a SIM card?
Yes, you can still use your Xperia ZX3 phone without a SIM card. However, without a SIM card, you will not be able to make calls, send messages, or access mobile data through a cellular network. You can still use the phone for other functions that do not require a cellular connection, such as browsing the internet using Wi-Fi, taking photos, playing games, or using various apps.