
Are you a new Android phone owner wondering how to insert a SIM card? Look no further! In this article, we will guide you through the process step-by-step, ensuring that you can start enjoying your new device in no time. A SIM card is a small chip that allows your phone to connect to a cellular network and make calls, send messages, and access the internet. Inserting a SIM card is a straightforward process that varies slightly depending on the phone model. We will provide you with general guidelines while also highlighting any specific considerations for popular Android brands like Samsung, Google, and OnePlus. So, let’s dive in and learn how to insert a SIM card in your Android phone!
Inside This Article
- Preparing to Insert Sim Card
- Locating the Sim Card Slot
- Inserting the Sim Card
- Restarting and Activating the Sim
- Conclusion
- FAQs
Preparing to Insert Sim Card
Before you start inserting the Sim card into your Android phone, there are a few steps you need to take to ensure a smooth and successful process. Follow these preparations to avoid any complications:
1. Power off your Android phone: It’s essential to turn off your phone before inserting or removing the Sim card. This prevents any accidental damage to the card or the phone’s Sim card slot.
2. Gather the necessary tools: To insert the Sim card, you’ll need a Sim card ejector tool, also known as a Sim card tray removal tool. This small pin-like tool is usually included in the box of your Android phone. If you don’t have one, you can use a paperclip or a thin needle as an alternative.
3. Locate the Sim card slot: Different Android phone models have different Sim card slot locations. The most common places to find the Sim card slot are on the side, top, or bottom of the phone. Refer to your phone’s user manual or look for an outline of a Sim card on the phone’s exterior to locate the slot.
4. Check the Sim card type: Android phones usually support nano-Sim cards. However, there are still some models that use micro-Sim or standard-Sim sizes. Make sure you have the correct Sim card size that is compatible with your Android phone.
5. Optional: Backup your data: While inserting a Sim card should not erase any data on your phone, it’s always a good idea to back up your important contacts, photos, and other data before making any changes to your device.
Following these preparations will help ensure a smooth and hassle-free process when inserting the Sim card into your Android phone. Now that you’re ready, let’s move on to locating the Sim card slot.
Locating the Sim Card Slot
Before you can insert a SIM card into your Android phone, you need to locate the SIM card slot. The placement of the SIM card slot may vary depending on the make and model of your Android device. Typically, the SIM card slot can be found either on the side or the top of the phone.
First, examine the edges of your phone to find the SIM card slot. Look for a small tray or slot with a pinhole next to it. Some older models may have the SIM card slot located under the back cover of the phone. In this case, you’ll need to remove the back cover and battery to access the SIM card slot.
If you’re having difficulty locating the SIM card slot, consult your phone’s user manual or visit the manufacturer’s website for specific instructions. These resources will provide detailed diagrams and explanations to guide you in finding the SIM card slot.
Once you have successfully located the SIM card slot, you’re ready to insert the SIM card and continue setting up your Android phone.
Inserting the Sim Card
Now that you have located the Sim card slot on your Android phone, it’s time to insert the card. Follow these step-by-step instructions to ensure a smooth and successful process:
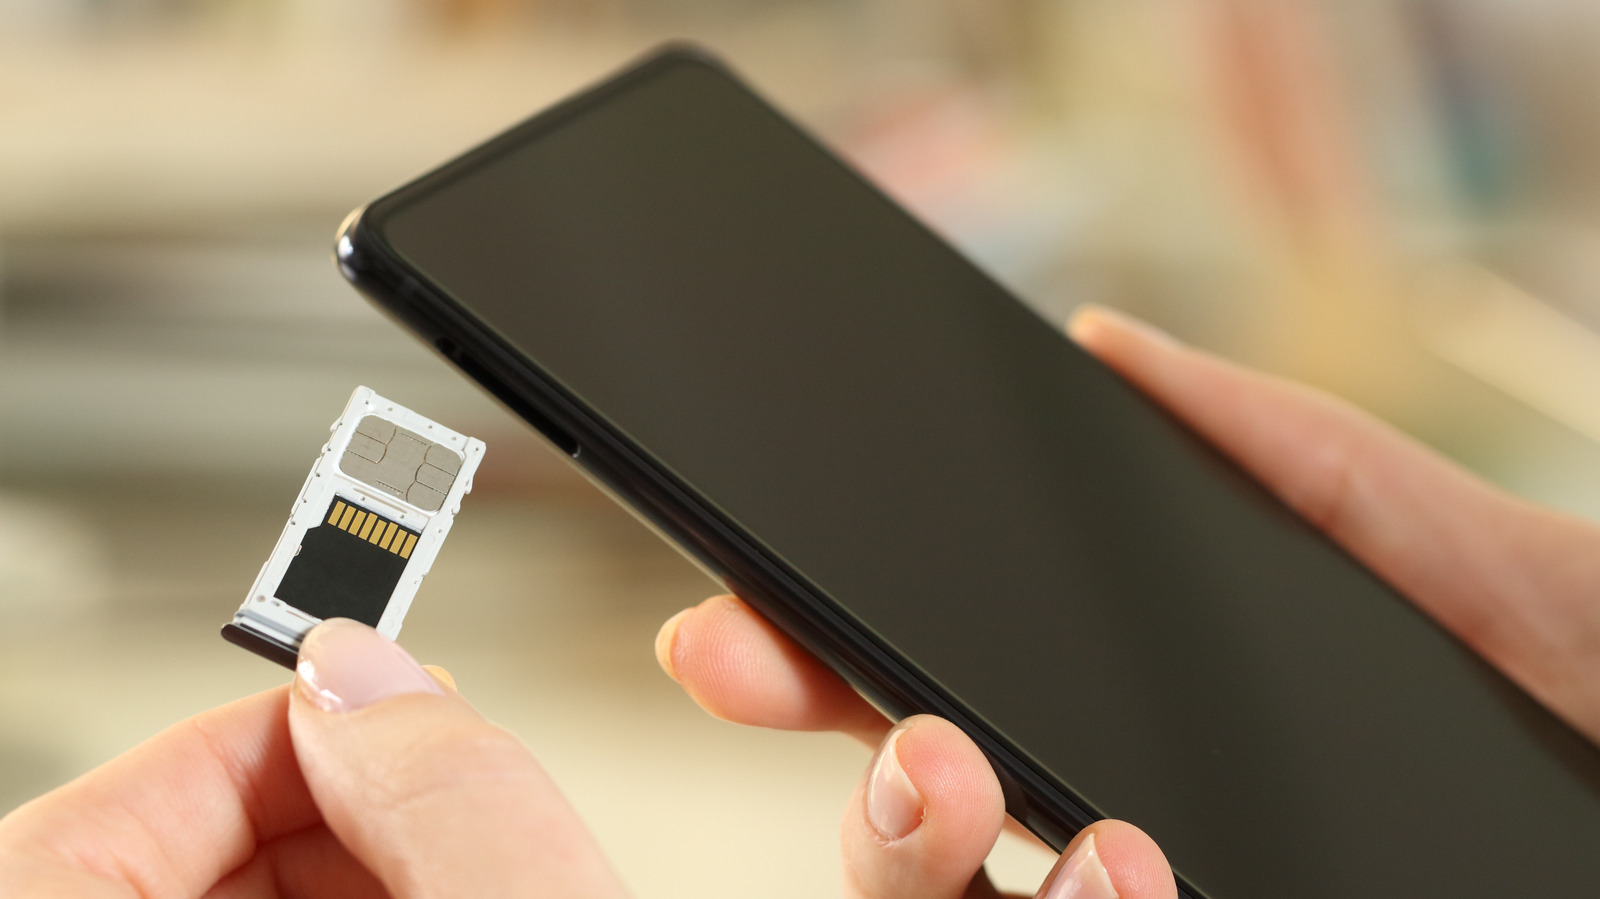
1. Take a close look at the Sim card and identify the correct orientation. Most Sim cards have a small cut-out on one corner. Align this cut-out with the designated area in the Sim card slot.
2. Gently insert the Sim card into the designated slot, ensuring that it is fully inserted and securely placed. Avoid using excessive force, as this can damage the Sim card or the phone.
3. Once the Sim card is inserted, carefully push the Sim card tray back into the phone until it is flush with the device’s body. Make sure it is properly aligned and sits securely in place.
4. Give the phone a quick visual check to confirm that the Sim card is inserted correctly. You can also try gently pulling on the Sim card tray to ensure it is properly locked in place.
5. Now that the Sim card is inserted, you can proceed to power on your Android phone. Press and hold the power button until the device powers up. The phone should detect and recognize the Sim card within a few seconds.
6. If prompted, enter the required PIN code for your Sim card. This is typically a four-digit code that protects your Sim card from unauthorized use. Once you enter the PIN code, your Android phone should be fully operational with the Sim card activated.
Remember, if you ever need to remove or replace the Sim card, simply follow the same steps in reverse order. Taking care when inserting and removing the Sim card will help prevent any damage to the card or your phone.
Now that you know how to insert a Sim card into your Android phone, you can start enjoying the full range of features and functionalities that your device has to offer. Whether it’s making calls, sending messages, or connecting to the internet, your Sim card is an essential component that allows you to stay connected in this digital age.
Restarting and Activating the Sim
After inserting the SIM card into your Android phone, the next step is to restart your device. This will ensure that the SIM card is recognized and activated properly. To restart your phone, simply press and hold the power button until the power options menu appears. Then, select the “Restart” option and wait for your phone to reboot.
Once your Android phone has restarted, it will begin the process of activating the SIM card. This usually involves connecting to the mobile network and registering the SIM card with your carrier. The activation process may take a few minutes, so be patient as your phone establishes a connection.
During the activation process, you may see a series of on-screen prompts or notifications. Follow any instructions that appear on your phone’s display to complete the activation. This may include entering your carrier’s activation code or confirming your account information.
If you encounter any issues during the SIM card activation process, you can try a few troubleshooting steps. Firstly, check your phone’s settings to ensure that the mobile network is enabled. You can usually find this option in the “Network & Internet” or “Connections” section of your phone’s settings.
If your phone still does not activate the SIM card, you can try removing the SIM card and reinserting it. Ensure that it is inserted properly and secure it in place. Then, restart your phone again and see if the activation process completes successfully.
If you are still unable to activate the SIM card or you receive an error message, it’s best to contact your carrier’s customer support for further assistance. They can help troubleshoot the issue and provide additional guidance.
Once the SIM card is successfully activated, you should have access to mobile data, calls, and text messaging through your carrier’s network. Remember, the activation process may vary slightly depending on your specific Android phone model and carrier, so be sure to consult your device’s user manual or contact your carrier if you have any specific questions or concerns.
Conclusion
Inserting a SIM card into an Android phone is a simple process that allows you to connect to your mobile network and enjoy all the features of your device. By accessing the SIM card slot, usually located on the side or top of the phone, you can easily insert or remove the SIM card. Remember to turn off your phone before doing so to avoid any potential damage.
Having a properly inserted SIM card is essential for making calls, sending messages, and accessing mobile data. Whether you’re upgrading your phone or changing your cellular provider, knowing how to insert a SIM card in an Android phone is a valuable skill to have. Following the step-by-step instructions and ensuring a secure connection will ensure a hassle-free experience.
So, the next time you get a new phone or need to switch out your SIM card, don’t worry. With this simple guide, you’ll be able to insert your SIM card into your Android phone with ease, allowing you to fully utilize the features and capabilities of your device.
FAQs
1. How do I insert a SIM card in my Android phone?
To insert a SIM card in your Android phone, follow these steps:
– Power off your phone.
– Locate the SIM card slot, which is usually on the side or top of the phone.
– Use a SIM eject tool or a paperclip to remove the SIM card tray.
– Place the SIM card into the tray, making sure the gold contacts are facing down.
– Slide the SIM card tray back into the device until it clicks into place.
– Power on your phone and ensure that the SIM card is recognized.
2. Can I use any SIM card with my Android phone?
Most Android phones are designed to be compatible with a wide range of SIM cards. However, it’s important to check the supported networks and SIM card sizes for your specific phone model. Some phones may only work with certain carriers or require a specific SIM card size (such as nano SIM or micro SIM). Check your phone’s user manual or contact the manufacturer for more information.
3. What should I do if my Android phone does not recognize the SIM card?
If your Android phone does not recognize the SIM card, try the following troubleshooting steps:
– Make sure the SIM card is inserted correctly and securely in the SIM card slot.
– Restart your phone and check if the SIM card is detected.
– Test the SIM card in another phone to see if it works properly.
– Contact your carrier to ensure that the SIM card is activated and compatible with your phone.
– If none of these steps work, there may be an issue with the SIM card slot or the phone’s hardware. In such cases, it’s best to contact your phone manufacturer or visit a technician for further assistance.
4. Can I switch SIM cards between Android phones?
In most cases, you can switch SIM cards between Android phones, especially if they are from the same carrier and use the same SIM card size. However, there are a few things to consider:
– Some phones may be locked to a specific carrier, which means they will only work with SIM cards from that carrier. Make sure your new phone is not carrier locked before switching SIM cards.
– If your new phone requires a different SIM card size than your current phone, you may need to trim or purchase a new SIM card.
– Backup your important data, as switching SIM cards may affect certain settings or configurations on your phone.
5. Is it necessary to remove the SIM card before selling or disposing of my Android phone?
Yes, it is highly recommended to remove the SIM card before selling or disposing of your Android phone. Removing the SIM card ensures that your personal data, contacts, and sensitive information are not accessible to others. It is also a good practice to perform a factory reset on your phone to fully erase all data. Keep in mind that removing the SIM card will disable cellular connectivity on the phone, so make sure you have an alternative means of communication if needed.