
Welcome to our comprehensive guide on how to transfer your SIM card to the latest iPhone 14. If you’ve recently upgraded to the newest iPhone model or purchased a new one, transferring your SIM card is a crucial step to ensure that you can make calls, send text messages, and access mobile data on your new device. In this article, we will walk you through the process of transferring your SIM card to the iPhone 14, providing step-by-step instructions and helpful tips along the way. Whether you’re a seasoned iPhone user or new to the platform, this guide has got you covered. So, let’s get started and make sure you can seamlessly transition to your brand new iPhone 14.
Inside This Article
- Check SIM Compatibility- Supported SIM types for iPhone 14- Verify SIM card size
- Back Up Your Old SIM Card – How to save contacts and data from your current SIM – Backup options for different phone platforms
- Activate your New SIM Card- Steps to activate a new SIM card- Contacting your mobile service provider
- Transferring SIM to iPhone 14 – Instructions for physically inserting the SIM card into iPhone 14 – Troubleshooting common issues during the transfer process
- Conclusion
- FAQs
Check SIM Compatibility- Supported SIM types for iPhone 14- Verify SIM card size
Before transferring your SIM card to the new iPhone 14, it is crucial to ensure compatibility. The iPhone 14 supports various SIM types, depending on the model and the region where it is being used. Here are the supported SIM types for the iPhone 14:
- Nano-SIM: This is the most common SIM card size used in recent iPhones. It has a smaller form factor and is widely compatible with many networks.
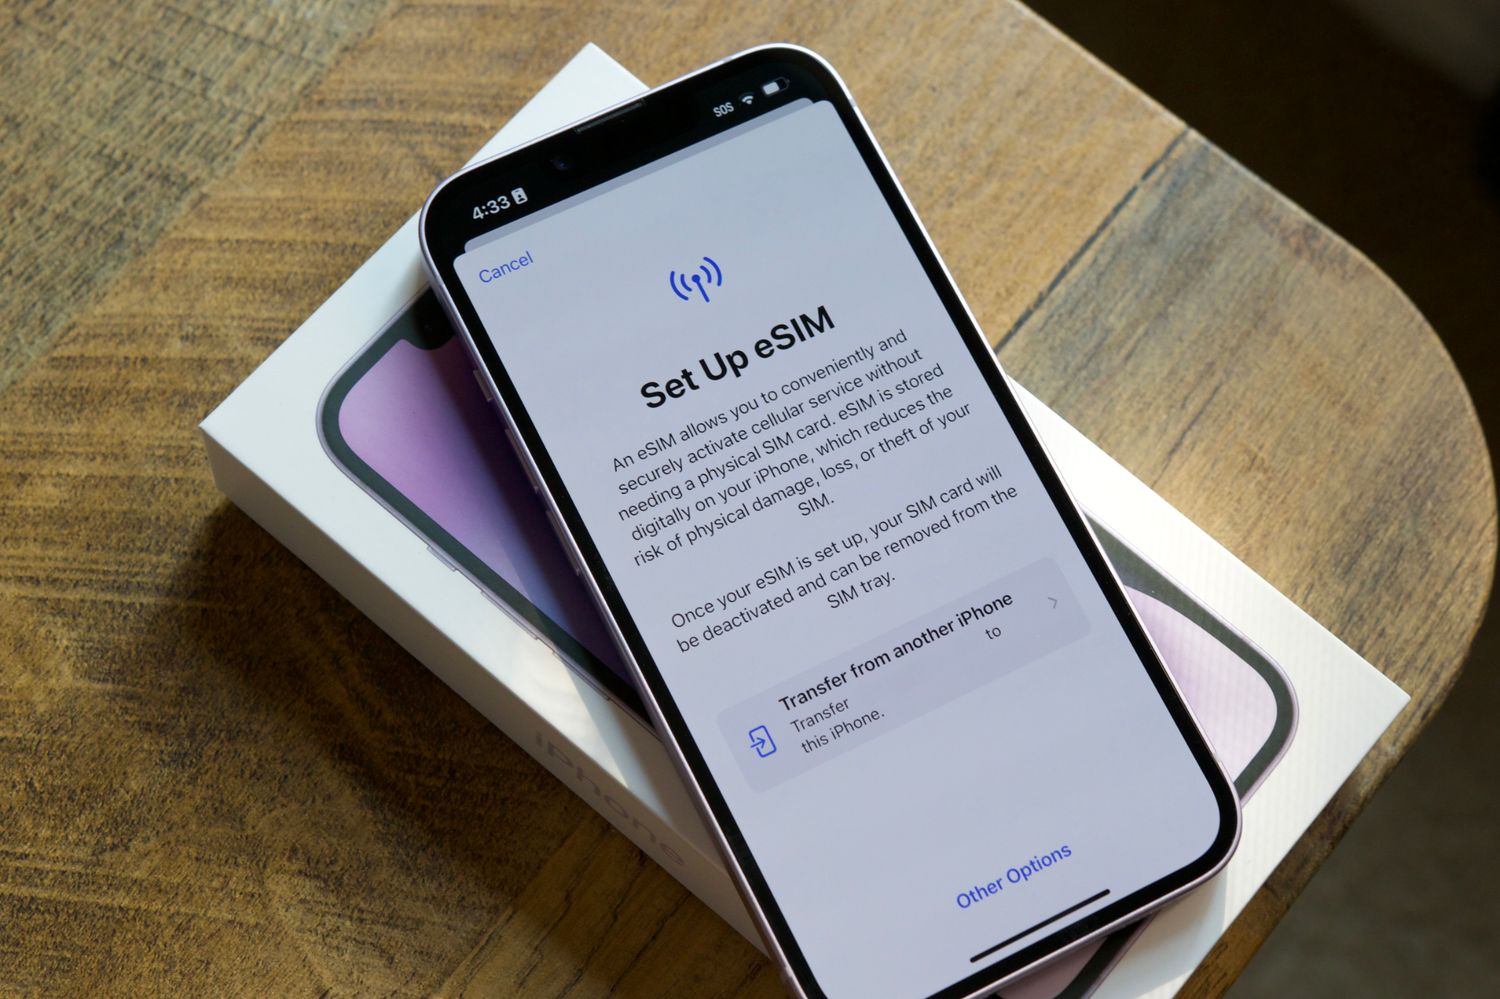
- eSIM: The iPhone 14 also supports eSIM, which is an embedded SIM card that eliminates the need for a physical SIM card. It allows you to switch between carriers without changing the SIM card physically.
To verify the SIM card size required for your iPhone 14, you can refer to the user manual or the Apple website. It is essential to use the correct SIM card size to ensure proper functionality and avoid any difficulties during the transfer process.
Back Up Your Old SIM Card – How to save contacts and data from your current SIM – Backup options for different phone platforms
Before transferring your SIM card to the new iPhone 14, it is essential to back up your old SIM card’s contacts and data. This will ensure that you don’t lose any important information during the transfer process. Here are some steps you can follow to back up your old SIM card:
1. Check your phone platform: Different phone platforms have different backup options. If you are using an iPhone, you can back up your contacts and data directly to iCloud. Android users can use Google account or third-party apps to perform a backup. If you are unsure about the backup options available for your phone, consult the manufacturer’s website or support resources for guidance.
2. Back up to iCloud (for iPhone users): If you are using an iPhone, you can easily back up your contacts and data to iCloud. To do this, go to Settings, tap on your Apple ID, select iCloud, and ensure that the Contacts toggle is enabled. Once this is done, your contacts will be automatically backed up to iCloud. Additionally, you can also back up other data such as photos, messages, and app data by toggling the respective options.
3. Back up to Google account (for Android users): Android users can back up their contacts and data to their Google account. To do this, go to Settings, select Accounts, and tap on your Google account. Ensure that the Contacts option is enabled. Once this is done, your contacts will be automatically backed up to your Google account. You can also check if other data such as calendar events, photos, and app data are being backed up by exploring the Google Account settings.
4. Third-party backup options: If the built-in backup options are not sufficient for your needs, you can explore third-party backup apps available on your respective app store. These apps offer additional features and flexibility when it comes to backing up your contacts and data, allowing you to choose what to back up and where to store the backup file.
Remember, it is important to regularly back up your contacts and data to prevent any potential loss. By following these steps based on your phone platform, you can ensure a smooth transfer of your SIM card to the new iPhone 14 without losing any important information.
Activate your New SIM Card- Steps to activate a new SIM card- Contacting your mobile service provider
Activating your new SIM card is an essential step in transferring it to your iPhone 14. Follow these simple steps to activate your new SIM card:
1. Begin by removing the SIM card tray from your iPhone 14. You can find the SIM card tray on the side of your device. Using a SIM eject tool or a paperclip, gently push the SIM tray release button to pop it out.
2. Carefully place your new SIM card into the SIM card tray, making sure that it aligns correctly with the designated slot. Double-check to ensure that the SIM card fits securely and is not loose.
3. Once you have inserted the new SIM card, reinsert the SIM card tray back into your iPhone 14. Make sure it is properly aligned, and push it back into place until you hear a click. This indicates that the tray is securely locked.
4. Now, power on your iPhone 14. If your device prompts you to enter a SIM card PIN, use the PIN provided by your mobile service provider. This PIN is usually found on the SIM card packaging or can be obtained by contacting your service provider.
5. Your iPhone 14 will now search for a network signal. Once it detects a signal, you will see the name of your mobile service provider displayed on the screen. This indicates that your new SIM card is activated and ready for use.
If you encounter any issues during the activation process or need assistance, it is best to contact your mobile service provider directly. They will be able to guide you through the steps and troubleshoot any problems that may arise.
Remember, activating your new SIM card is important to ensure that you can make calls, send texts, and access data on your iPhone 14. By following these steps and reaching out to your mobile service provider if needed, you will be able to enjoy all the features and capabilities of your new device.
Transferring SIM to iPhone 14 – Instructions for physically inserting the SIM card into iPhone 14 – Troubleshooting common issues during the transfer process
Transferring your SIM card to a new iPhone 14 is a simple process that allows you to keep your existing phone number and service provider. In this section, we will provide step-by-step instructions on how to physically insert the SIM card into your iPhone 14. We will also address common issues that you may encounter during the transfer process and offer troubleshooting tips to resolve them. Let’s get started!
Instructions for physically inserting the SIM card into iPhone 14
Before you begin, make sure you have gathered all the necessary tools, including a SIM card ejector tool or a paperclip. Here’s how to transfer your SIM card:
- Ensure your iPhone 14 is turned off. This is important to avoid any potential damage to your SIM card or device.
- Locate the SIM card tray on your iPhone 14. It is usually located on the side or the top of the device, depending on the model.
- Insert the SIM card ejector tool or a straightened paperclip into the small hole next to the tray. Apply a gentle amount of pressure to eject the tray.
- Remove the SIM card tray from your iPhone 14.
- Take your SIM card and carefully place it in the tray, ensuring that the gold contacts are facing down and aligned with the corresponding contacts on the tray.
- Gently push the tray back into the device until it clicks into place.
- Turn on your iPhone 14 and wait for it to recognize the SIM card. You may need to enter your SIM card PIN if prompted.
- Once your iPhone 14 has recognized the SIM card, you should see your service provider’s name or signal indicators on the status bar. Congratulations, your SIM card has been successfully transferred to your new iPhone 14!
Troubleshooting common issues during the transfer process
No signal or “SIM not recognized” message: If your iPhone 14 does not recognize the SIM card or you are not getting any signal, try the following troubleshooting steps:
- Ensure that the SIM card is inserted correctly, with the gold contacts facing down.
- Check if the SIM card is damaged or scratched. If so, try using a new SIM card.
- Restart your iPhone 14 and wait for it to re-establish the connection with the SIM card.
- If the problem persists, contact your service provider to verify if there are any issues with your account or SIM card activation.
SIM card tray is stuck: If you are unable to eject the SIM card tray, try the following:
- Ensure that you are inserting the ejector tool or paperclip straight into the hole next to the SIM card tray.
- Apply firm but gentle pressure while ejecting the tray. Do not use excessive force as it may damage the device.
- If the tray remains stuck, contact Apple Support or visit an authorized service center for assistance.
By following these instructions and troubleshooting tips, you should be able to successfully transfer your SIM card to your new iPhone 14. Enjoy your new device and uninterrupted service!
Conclusion:
In conclusion, transferring a SIM to an iPhone 14 is a simple and straightforward process. With the advancements in technology and the user-friendly interface of the iPhone, it has become easier than ever to transfer your SIM card from one device to another. Whether you are upgrading to the latest iPhone or simply switching to a new one, following the steps outlined in this article will ensure a smooth transition.
Remember to back up your data, remove the SIM card from the old device carefully, insert it into the SIM card tray of your iPhone 14, and then power it on to activate the service. If you face any challenges or encounter any issues during the transfer process, reach out to your service provider or Apple support for assistance.
With your SIM successfully transferred to your new iPhone 14, you can now enjoy all the amazing features and benefits that the device has to offer. Stay connected, explore the world of apps, capture stunning photos, and enjoy the seamless performance of your new iPhone 14.
FAQs
1. Can I transfer my SIM card to the iPhone 14?
Yes, you can transfer your SIM card to the iPhone 14. The iPhone 14 supports both Nano SIM and eSIM, allowing you to seamlessly transfer your existing SIM card to the new device.
2. How do I transfer my SIM card to the iPhone 14?
To transfer your SIM card to the iPhone 14, follow these steps:
– Power off your old phone and remove the SIM card.
– Locate the SIM card tray on the iPhone 14.
– Insert the SIM card into the SIM card tray.
– Gently push the SIM card tray back into the iPhone 14 until it is securely in place.
– Power on your iPhone 14 and you should now have access to your mobile network.
3. Can I transfer data from my old phone to the iPhone 14 when transferring the SIM card?
Transferring the SIM card only transfers cellular network connectivity. If you want to transfer your data, such as contacts, photos, apps, and settings, you can use iCloud, iTunes, or third-party apps to perform a full transfer. Alternatively, you can use the Quick Start feature available on iOS devices to wirelessly transfer your data from your old phone to the iPhone 14.
4. Do I need to contact my mobile carrier after transferring my SIM card to the iPhone 14?
In most cases, you don’t need to contact your mobile carrier after transferring your SIM card to the iPhone 14. However, if you experience any issues with your cellular network connectivity or if your carrier requires any additional steps for activation, it’s recommended to reach out to them for assistance.
5. What if my old phone uses a different SIM card size?
If your old phone uses a different SIM card size, such as a Micro SIM or a Standard SIM, and you want to transfer it to the iPhone 14, you may need to use a SIM card adapter or request a new SIM card from your carrier. SIM card adapters allow you to insert a smaller SIM card into a larger SIM card slot, ensuring compatibility with the iPhone 14’s Nano SIM card tray.