
Are you trying to remove remote management from your iPhone but don’t have the password? Well, you’re in the right place! In this article, we will guide you through the process of removing remote management from your iPhone without the need for a password. Remote management, also known as Mobile Device Management (MDM) profile, is a feature that allows administrators to control and configure devices remotely. However, there may be instances where you no longer want or need this level of control on your device. Whether you want to regain complete control of your iPhone or need to remove a corporate MDM profile, we’ve got you covered. Read on to discover the step-by-step instructions on how to remove remote management from your iPhone without a password.
Inside This Article
- How To Remove Remote Management From iPhone Without Password
- Resetting Network Settings
- Restoring iPhone Using iTunes
- Contacting Apple Support
- Using Third-Party Tools
- Conclusion
- FAQs
How To Remove Remote Management From iPhone Without Password
If you’ve found yourself in a situation where you need to remove remote management from your iPhone but don’t have the password, you may be feeling frustrated and unsure of what to do. Remote management, also known as Mobile Device Management (MDM), is a feature that allows organizations to control and manage devices remotely. However, there are legitimate reasons why someone would want to remove remote management from their iPhone, such as personal use or if the device was previously owned by someone else. In this article, we’ll guide you through the steps to remove remote management from your iPhone without needing the password.
How to Check if Remote Management is Enabled on Your iPhone
The first step in removing remote management from your iPhone without a password is to verify whether it is actually enabled on your device. Follow these steps:
- Go to the “Settings” app on your iPhone.
- Scroll down and tap on “General”.
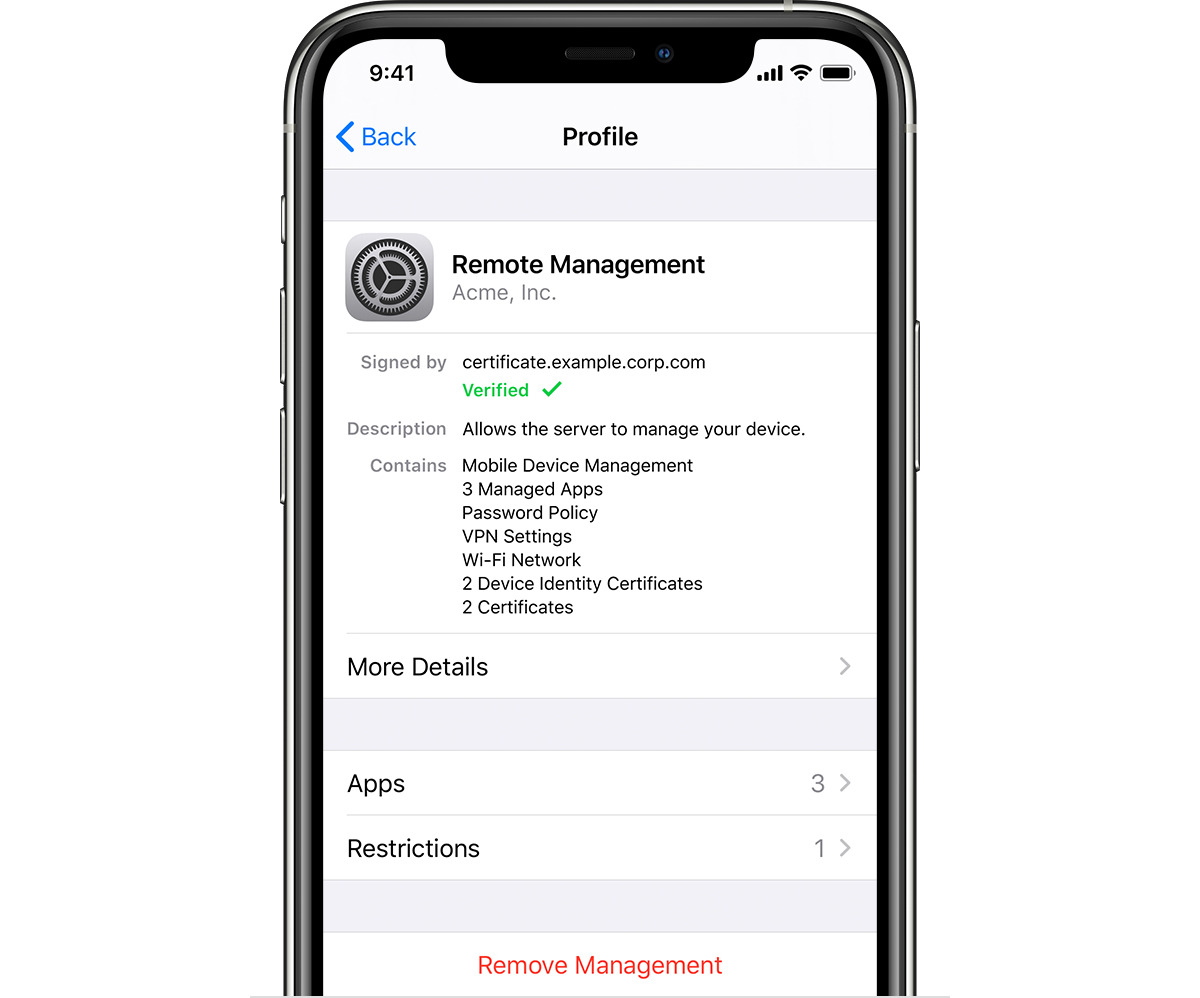
- If you have remote management enabled, you should see an option called “Device Management” or “Profile & Device Management”. Tap on it.
- If you find any profiles listed under “Device Management”, it indicates that remote management is enabled on your iPhone.
By performing this check, you will be able to confirm the presence of remote management on your device.
Removing Remote Management Using Apple Configurator 2
Apple Configurator 2 is a Mac application that allows you to configure and manage iOS devices. If you have access to a Mac computer, you can use it to remove remote management from your iPhone without a password. Here’s how:
- Connect your iPhone to the Mac using a USB cable.
- Open Apple Configurator 2 on your Mac.
- Select your iPhone from the list of connected devices.
- In the menu bar, click on “Actions” and then “Delete” or “Remove” to remove the remote management profile.
- Follow the on-screen prompts to complete the removal process.
- Once done, disconnect your iPhone from the Mac.
Using Apple Configurator 2 allows you to remove the remote management profile from your iPhone, granting you full control over your device.
Removing Remote Management Using iCloud Activation Lock
If you don’t have access to a Mac computer or Apple Configurator 2, you can try removing remote management from your iPhone using iCloud Activation Lock. Please note that this method requires you to contact the previous owner of the device. Here’s what you need to do:
- Contact the previous owner of the iPhone and explain the situation.
- Ask them to remove the device from their iCloud account by following these steps:
- Go to iCloud.com and sign in with their Apple ID.
- Click on “Find iPhone”.
- Select the iPhone in question from the list of devices.
- Click on “Erase iPhone” to remove the device from their iCloud account.
- Erase your iPhone by following these steps:
- Go to “Settings” on your iPhone.
- Tap on “General”.
- Scroll down and select “Reset”.
- Choose “Erase All Content and Settings”.
- Set up your iPhone as a new device:
- Follow the on-screen prompts to set up your iPhone as if it were brand new.
- Sign in with your own Apple ID and create a new iCloud account.
By following these steps, you’ll effectively remove the remote management from your iPhone, allowing you to use the device as your own.
Removing remote management from an iPhone without a password can be a challenging task, but by following the methods outlined in this article, you’ll be able to regain control of your device. If you encounter any difficulties or have further questions, don’t hesitate to reach out to Apple support for assistance.
Resetting Network Settings
Resetting network settings on your iPhone can be a helpful troubleshooting step when you encounter connectivity issues or want to resolve network-related problems. It erases all the saved Wi-Fi networks, Bluetooth connections, VPN settings, and other network-related configurations on your device. Here’s how you can reset network settings on your iPhone:
- Open the Settings app on your iPhone.
- Scroll down and tap on “General”.
- Scroll down again and select “Reset”.
- Tap on “Reset Network Settings”.
- You will be prompted to enter your device passcode.
- Confirm your action by tapping on “Reset Network Settings” again.
- Your iPhone will reboot and network settings will be reset to their default values.
It’s important to note that resetting network settings will not delete any personal data or media from your device. However, it will remove all saved Wi-Fi passwords, so make sure to have them handy after the reset. Additionally, you will need to reconnect to Wi-Fi networks and reconfigure any Bluetooth devices once the reset is complete.
Resetting network settings can often resolve issues like Wi-Fi that won’t connect, Bluetooth problems, or cellular data connectivity problems. If you are experiencing any network-related issues on your iPhone, it’s worth giving this troubleshooting step a try before seeking further assistance.
Please note that resetting network settings should be approached with caution, as it will also remove any custom network configurations you may have set up, such as static IP addresses or DNS settings. Make sure you have the necessary information to reconfigure your network settings if required.
Restoring iPhone Using iTunes
Restoring your iPhone using iTunes can be a helpful solution in a variety of situations. Whether you’re experiencing software issues, want to clear out your device to start fresh, or need to fix a major problem, iTunes offers a reliable method for restoring your iPhone. Here’s a step-by-step guide on how to restore your iPhone using iTunes.
Step 1: Before you begin, make sure you have the latest version of iTunes installed on your computer. You can download it from the Apple website if needed. Connect your iPhone to your computer using a USB cable.
Step 2: Once your iPhone is connected, open iTunes on your computer. You might see a message asking for your device passcode or to Trust This Computer. Follow the prompts and enter your passcode if necessary.
Step 3: On the left-hand side of the iTunes window, you’ll find a list of devices. Select your iPhone from the list.
Step 4: In the Summary tab, you’ll see information about your device, including the option to restore your iPhone. Click on the “Restore iPhone” button.
Step 5: A pop-up window will appear, asking if you want to back up your iPhone before restoring it. It’s recommended to create a backup to ensure you don’t lose any important data. Choose the option that suits your needs.
Step 6: After selecting the backup option, iTunes will begin restoring your iPhone. This process may take some time, so be patient and avoid disconnecting your device during the restore.
Step 7: Once the restore is complete, your iPhone will restart. You’ll be prompted to set up your device as new or restore from a backup. If you backed up your iPhone prior to the restore, you can choose to restore from that backup.
Step 8: Follow the on-screen prompts to complete the setup process. You may need to enter your Apple ID and password and agree to the terms and conditions.
Step 9: After completing the setup process, your iPhone will be restored to its factory settings. You can now customize your device and start using it again.
Restoring your iPhone using iTunes is a straightforward process that can help resolve many issues. However, it’s important to note that restoring your device will erase all data on it, so make sure you have a backup if you want to save your data. If you’re experiencing persistent issues with your iPhone, restoring it using iTunes can often provide a fresh start and improve overall performance.
Contacting Apple Support
When you encounter issues with your iPhone or any other Apple device, reaching out to Apple Support can provide you with the necessary guidance and solutions. Apple Support is known for its exceptional customer service, ensuring that you receive timely assistance to resolve your queries and problems.
There are several ways to get in touch with Apple Support. First, you can visit the Apple Support website and explore the support articles and guides available. Many common issues have detailed instructions on how to troubleshoot and resolve them. The website also provides access to the Apple Support Community, where you can interact with other users and seek advice.
If you prefer direct assistance, you can contact Apple Support via phone. Simply dial the Apple Support hotline in your country, and a knowledgeable Apple representative will be on hand to assist you. This option is great when you are facing complex issues that require personalized troubleshooting.
Another option is to chat with a support representative through the Apple Support app or website. This allows for real-time communication, making it convenient to ask questions and receive immediate responses. Additionally, Apple Support can provide remote assistance using screen sharing, enabling them to better understand your issue and guide you through the necessary steps.
Apple Support also offers the option to schedule a callback from their support team. This is useful if you are unable to wait on hold or if you prefer to have a dedicated time slot for your support request. Simply provide your contact information and a brief description of the issue, and Apple Support will reach out to you at your chosen time.
Remember to gather relevant information before contacting Apple Support. This may include your device’s serial number, your Apple ID, and any error messages you have encountered. Having this information readily available will allow the support representative to assist you more efficiently.
Using Third-Party Tools
Using Third-Party Tools
If you are unable to remove remote management from your iPhone using the official methods mentioned above, there are third-party tools available that may provide a solution. These tools are designed to bypass or remove the remote management settings, allowing you to regain full control over your device.
When using third-party tools, it’s important to note that there may be risks involved. Some tools may not be reliable or may pose a security threat to your device. It’s important to do thorough research and choose a reputable tool before proceeding.
One popular third-party tool that can help remove remote management from your iPhone is iMyFone LockWiper. This tool offers a simple and effective way to bypass remote management settings without the need for a password. It supports various iPhone models and can remove remote management in just a few easy steps.
To use iMyFone LockWiper, follow these steps:
- Download and install iMyFone LockWiper on your computer.
- Launch the program and choose the “Unlock Apple ID” mode.
- Connect your iPhone to the computer using a USB cable.
- Click on the “Start to Unlock” button and follow the on-screen instructions.
- Wait for the process to complete, and remote management will be removed from your iPhone.
It’s essential to remember that using third-party tools to remove remote management may void your warranty. Additionally, not all tools may be compatible with the latest iOS versions, so it’s crucial to ensure compatibility before proceeding.
If you choose to use a third-party tool, make sure to carefully read and understand the instructions provided by the tool’s developer. Following the instructions accurately will help minimize the chances of encountering any issues during the removal process.
Finally, before using any third-party tool, it’s recommended to create a backup of your iPhone’s data. This way, if anything goes wrong during the removal process, you can restore your device and retrieve your data without any hassle.
Conclusion
Removing remote management from an iPhone without a password can be a challenging task, but it is not impossible. By following the steps mentioned in this article, you can regain control of your device and remove any unwanted remote management settings.
It is important to note that these methods may vary depending on the specific iOS version and device model you are using. If you encounter any difficulties or are unsure about any of the steps, it is recommended to seek professional help or contact Apple Support for assistance.
Remember to always practice caution when dealing with remote management settings or any other device security measures. By staying vigilant and keeping your device updated with the latest software, you can protect your privacy and enjoy a secure mobile experience.
Now, armed with this knowledge, you can confidently tackle any remote management issues you may come across and regain complete control over your iPhone.
FAQs
1. Can I remove remote management from my iPhone without the password?
Unfortunately, removing remote management from your iPhone without the password is not possible. The password is a security measure put in place to prevent unauthorized access and ensure the safety of your device and data. If you don’t have the password, you will need to contact the administrator or the person who set up the remote management on your device to remove it.
2. What is remote management on an iPhone?
Remote management is a feature that allows an administrator or a device manager to remotely control and manage iPhones and other iOS devices. It enables them to enforce security policies, install and update apps, and perform various administrative tasks on the device. This feature is often used in enterprise environments to maintain control and ensure compliance with company policies.
3. How do I know if my iPhone has remote management?
To check if your iPhone has remote management, go to “Settings” on your device. Look for the “General” option, and tap on it. If your device has remote management, you will see a “Profile” or “Device Management” option. Tap on it, and you will be able to view the details of the remote management configuration on your device.
4. Can remote management be removed by restoring the iPhone?
Yes, restoring your iPhone to its factory settings can remove the remote management configuration. However, it is important to note that restoring your device will erase all data and settings, so make sure to backup your important information before proceeding with the restore. After the restore, you can set up your device as new or restore from a backup.
5. Is it possible to bypass remote management on an iPhone?
Bypassing remote management on an iPhone is not recommended and is not a legitimate solution. Remote management is a security measure implemented to protect the device and its data. Bypassing it can compromise the security of your device and may even violate the terms of service or usage agreement. If you are encountering issues with remote management, it is best to contact the administrator or the person who set it up for assistance.