
Have you ever encountered a situation where you wished you could turn back time and restore your phone to an earlier state? Whether it’s due to a software glitch, a malware attack, or simply wanting to revert to a previous setup, the ability to restore your phone can be incredibly useful. In this article, we will explore how to restore your phone to an earlier date and get your device back to its original form. Whether you’re an iPhone user or an Android enthusiast, we’ve got you covered with step-by-step instructions and tips to ensure a seamless restoration process. So let’s dive in and discover how to take a trip back in time with your phone.
Inside This Article
- Overview
- Checking for Compatibility
- Backing up Important Data
- Performing the Restoration Process
- Conclusion
- FAQs
Overview
Restoring your phone to an earlier date may be necessary to fix software issues, revert to a previous configuration, or recover lost data. It is a process that reverts your phone’s settings and data to the state it was in at a specific point in time. This can be useful if you recently installed a problematic app, experienced a software glitch, or want to go back to a stable state before making any changes.
Restoring your phone to an earlier date is only possible if you have previously created a backup. This ensures that you can recover your data and settings once the restoration is complete. It’s essential to check if you have a recent backup to avoid losing any important information.
In certain cases, a factory reset may be required to restore your phone to an earlier date. This will erase all data and settings, returning your device to its original factory state. It is a more drastic measure and should only be undertaken when other restoration methods fail.
Before proceeding with any restoration process, it is advisable to fully charge your phone to prevent any interruptions during the procedure. Additionally, it’s a good idea to connect your phone to a stable Wi-Fi network to ensure a smooth download and installation of any necessary updates.
In the following sections, we will explore the steps to check for compatibility, back up important data, and perform the restoration process on various mobile phone models.
Checking for Compatibility
Before proceeding with the restoration process of your phone to an earlier date, it is crucial to ensure that your device is compatible with this feature. Here are some key factors to consider:
1. Operating System: Make sure that your phone’s operating system supports the restoration feature. Different operating systems have varying capabilities, so it’s essential to check the specific requirements for your device.
2. Firmware Version: Check if your phone’s firmware version is compatible with the restoration process. Firmware updates often introduce new features and improvements, so it’s important to stay on the latest version for optimal performance.
3. Device Model: Not all phone models support the restoration feature. Verify if your device model is included in the list of compatible devices. This information can usually be found on the manufacturer’s website or in the user manual.
4. Storage Space: Ensure that your phone has sufficient storage space to accommodate the restoration process. Depending on the size of the backup file, you may need to free up some space on your device before proceeding.
5. Connectivity: Make sure your phone has a stable internet connection for the restoration process. This is necessary to download and install the necessary files and updates during the restoration process.
6. Battery Level: It is essential to have enough battery power during the restoration process to avoid any interruptions. Plug in your phone or ensure it has enough charge before starting the restoration.
7. Backup Compatibility: Verify that the backup file you intend to use for the restoration is compatible with your phone’s operating system and version. Using an incompatible backup file might lead to errors or unsuccessful restoration.
By checking these factors, you can ensure that your phone is fully compatible with the restoration process, reducing the risk of any compatibility-related issues during or after the restoration.
Backing up Important Data
Backing up your important data is a crucial step before restoring your phone to an earlier date. It helps ensure that you don’t lose any important files, messages, or contacts during the restoration process. Here are some steps to follow to back up your data:
1. Syncing with the Cloud: Most smartphones have built-in cloud services that allow you to automatically back up your data, such as photos, videos, contacts, and app data. Make sure you have enabled the cloud backup feature and sync your device regularly to ensure all your important data is backed up securely.
2. Using External Storage: If your device doesn’t have cloud backup functionality or if you prefer to have physical copies of your data, you can back up your files manually to external storage devices like an SD card or USB drive. Connect the external storage device to your phone and copy the files you want to back up to the device.
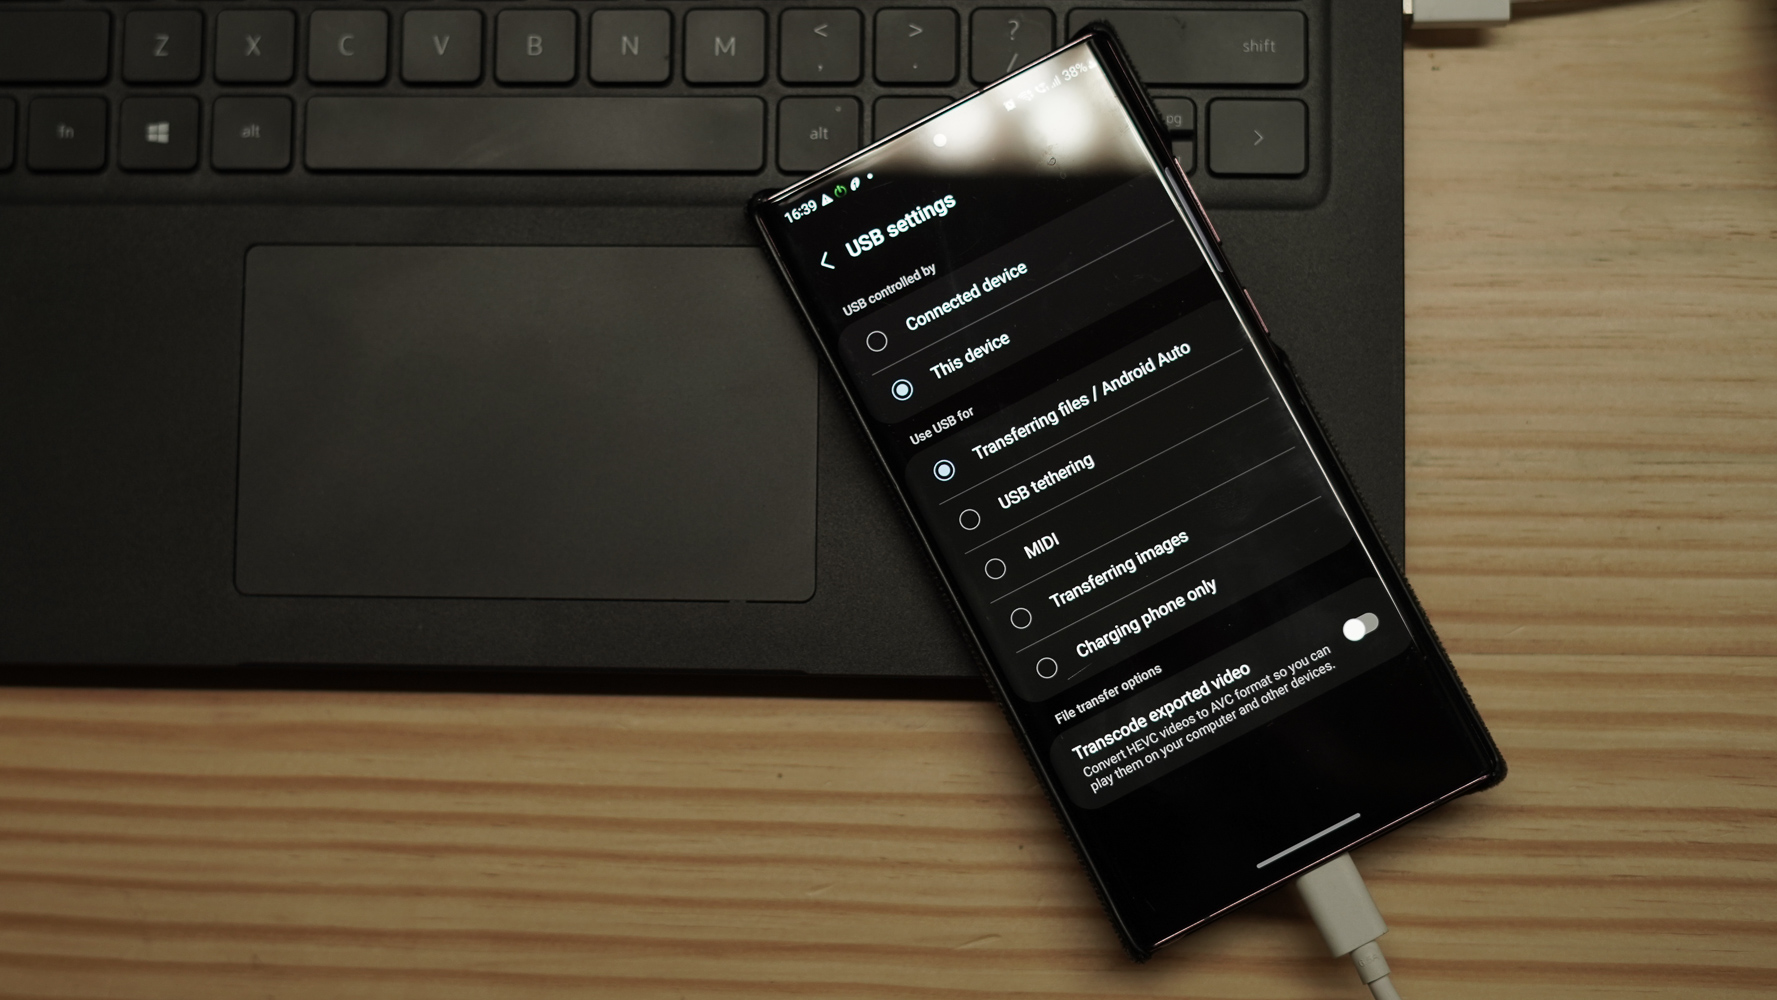
3. Transferring Files to a Computer: Another option is to connect your phone to a computer and transfer your files directly. Use a USB cable to connect your phone to your computer and access the device’s storage. Then, copy and paste the files you want to back up onto your computer’s hard drive or any other external storage media.
4. Using Backup Apps: There are several backup apps available on app stores that provide comprehensive backup options for different types of data. These apps allow you to back up your contacts, messages, call logs, app data, and more. Research and choose a reliable backup app that suits your needs, and follow the instructions provided by the app to back up your data.
Remember to verify and double-check that your data has been successfully backed up before proceeding with the restoration process. It’s better to be safe than sorry when it comes to safeguarding your important files and information.
Performing the Restoration Process
Restoring your phone to an earlier date can be a helpful troubleshooting step if you’ve encountered issues or want to revert your device to a previous state. Here’s a step-by-step guide on how to perform the restoration process:
- Step 1: Access the Settings Menu
- Step 2: Locate the Backup and Reset Option
- Step 3: Backup Your Data
- Step 4: Choose the Factory Data Reset Option
- Step 5: Confirm and Reset
- Step 6: Enter Your Security Credentials
- Step 7: Wait for the Reset to Complete
- Step 8: Set Up Your Phone
Start by accessing the settings menu on your phone. Look for the gear-shaped Settings icon on your home screen or in the app drawer.
In the settings menu, scroll down or search for the “Backup and Reset” option. It is usually located under the “System” or “System and Device” category.
Before proceeding with the restoration process, it’s crucial to back up your data to avoid any potential loss. Tap on the “Backup” or “Backup and Restore” option and follow the on-screen instructions to create a backup of your important files, contacts, and settings.
After backing up your data, go back to the “Backup and Reset” menu. Look for the “Factory Data Reset” or “Reset” option. This will initiate the restoration process.
When you select the Factory Data Reset option, a warning message will appear, informing you about the consequences of the process. Carefully read the information and make sure you understand that all data will be deleted. If you are sure, tap on the “Reset” button to confirm your decision.
Before the restoration process begins, you may be prompted to enter your device’s security credentials, such as a passcode, pattern, or PIN. This step ensures that only authorized users can perform a factory reset.
Once you’ve entered your security credentials, sit back and wait for the restoration process to complete. Your phone will undergo a series of actions, including wiping all data, reverting settings to default, and installing any necessary system updates. This may take a few minutes.
Once the reset is complete, your phone will restart. Follow the on-screen instructions to set up your device as if it were new, including connecting to a Wi-Fi network, signing in to your Google account, and restoring data from the backup you created earlier.
By following these steps, you can perform a restoration process on your phone and revert it to an earlier date. Remember to back up your data before proceeding with the reset to avoid any permanent loss of important files. Performing a restoration can be a useful troubleshooting tool to resolve software issues and bring your phone back to its previous state.
In conclusion, restoring your phone to an earlier date can be a useful solution for various issues that you may encounter. Whether it’s fixing software glitches, resolving performance problems, or undoing unwanted changes, this process allows you to revert your device back to a previous state. By following the steps outlined in this article, you’ll be able to easily restore your phone and enjoy a smoother and more stable experience. Remember to back up your data before proceeding with the restoration process to avoid any loss of important files. With the ability to roll back to a previous state, you have the power to fix any issues and bring your phone back to its optimal functionality. So, don’t hesitate to use this method whenever you encounter problems on your mobile device.
FAQs
Q: Can I restore my phone to an earlier date?
A: Unfortunately, it is not possible to restore a phone to a specific date in the past like you can with a computer. However, you can perform a factory reset or restore from a backup to revert your phone to its original settings.
Q: Will restoring my phone to an earlier date delete all my data?
A: Yes, restoring your phone to an earlier date using a factory reset or restoring from a backup will erase all the data on your phone. It is crucial to backup your important files, photos, and documents before proceeding with the restoration process.
Q: How can I backup my phone before restoring it?
A: There are several ways to backup your phone before restoring it. You can use cloud-based services like Google Drive or iCloud to backup your data wirelessly. Alternatively, you can connect your phone to a computer and transfer your files manually. Make sure to follow the backup instructions specific to your device for a seamless process.
Q: What steps should I follow to perform a factory reset?
A: To perform a factory reset on your phone, navigate to the “Settings” menu, select “System” or “General Management,” depending on your device, and then locate and tap on “Reset” or “Reset Options.” From there, you can choose the option to perform a factory reset. Keep in mind that this will erase all data on your device and restore it to its original factory settings.
Q: How do I restore my phone from a backup?
A: The process of restoring your phone from a backup varies depending on the operating system and device you have. For iPhones, you can restore from an iCloud or iTunes backup during the initial setup or from the settings menu. Android devices offer similar options to restore from Google Drive backups or through the settings menu. Consult your device’s user manual or the manufacturer’s website for detailed instructions on how to restore your phone from a backup.