
Are you looking for a convenient way to save pictures to Google Drive from your phone? In today’s digital age, where capturing precious moments on our smartphones has become second nature, it’s important to have a reliable method to store and organize these cherished memories. Google Drive offers a seamless solution for backing up and accessing your photos from anywhere, be it your phone, tablet, or computer. In this article, we will guide you through the process of saving pictures to Google Drive directly from your phone. Whether you’re an iPhone user or an Android enthusiast, we’ve got you covered. So, let’s dive in and discover how to effortlessly safeguard your cherished photos and free up precious space on your mobile device.
Inside This Article
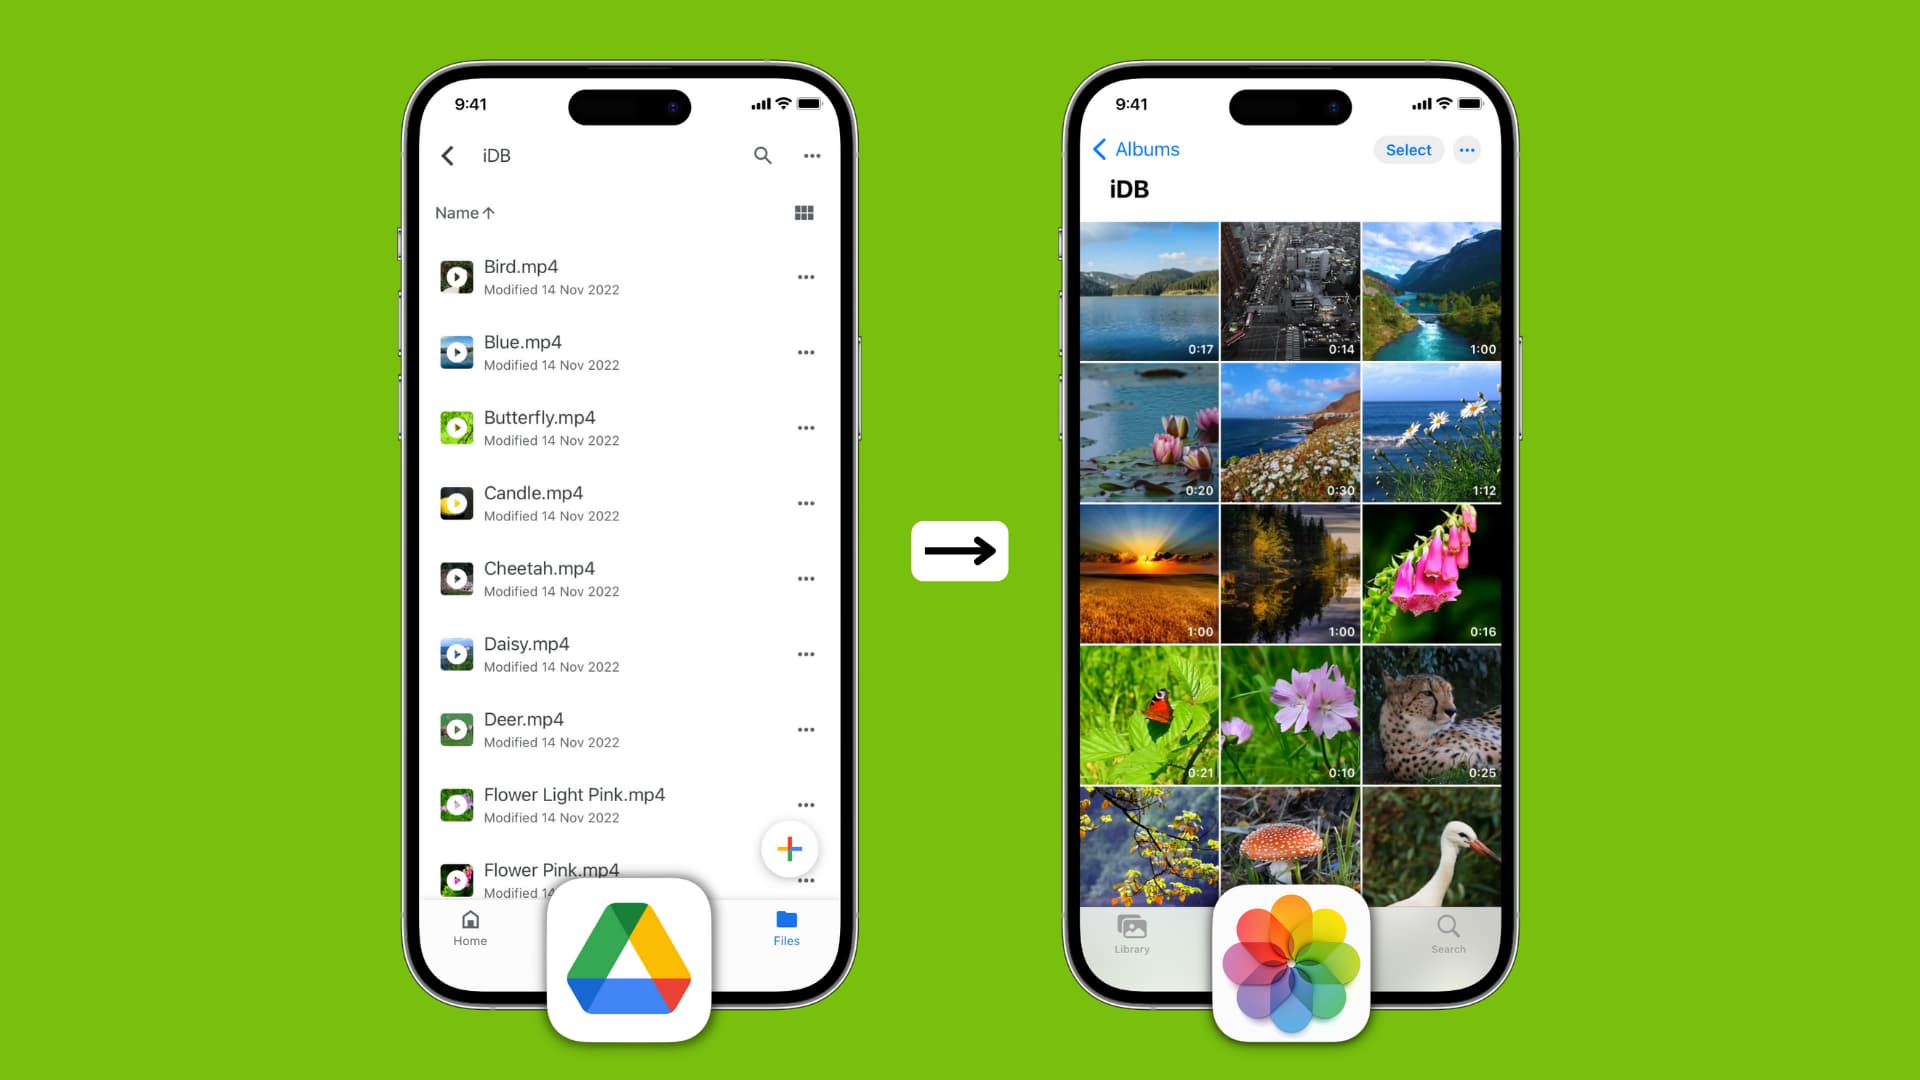
- Methods to Save Pictures to Google Drive from Phone
- Tips for Efficiently Saving Pictures to Google Drive
- Conclusion
- FAQs
Methods to Save Pictures to Google Drive from Phone
When it comes to storing and organizing your pictures, Google Drive is a fantastic option. With its user-friendly interface and generous storage capacity, you can safely backup your precious memories in a few simple steps. In this article, we will explore three methods to save pictures to Google Drive from your phone: using the Google Drive app, using the Google Photos app, and uploading via the Google Drive website.
Option 1: Using the Google Drive App
The Google Drive app provides a seamless way to save pictures directly from your phone to your Google Drive account. Below are the steps to follow:
- Ensure that you have the Google Drive app installed on your phone. If not, download it from your device’s app store.
- Open the Google Drive app and sign in to your Google account.
- Tap the “+” icon to create a new folder or select an existing folder where you want to save the pictures.
- Within the selected folder, tap the “+” icon again to add files.
- Navigate to the location of the pictures on your phone and select the images you wish to save to Google Drive.
- Tap the “Add” or “Upload” button to initiate the upload process.
Your selected pictures will now be saved to Google Drive, and you can access them from any device with internet access.
Option 2: Using the Google Photos App
If you use the Google Photos app to manage your pictures, saving them to Google Drive is even simpler:
- Open the Google Photos app on your phone and make sure you are logged in to your Google account.
- Select the pictures you want to save to Google Drive by tapping and holding on the first image, then dragging your finger to select the rest.
- Tap the “Share” icon (usually represented by an arrow) and select “Save to Drive” from the available options.
- Choose the preferred folder in your Google Drive to save the selected pictures.
- Tap “Save” to initiate the uploading process.
That’s it! Your pictures will now be saved to Google Drive and accessible across all your devices.
Option 3: Uploading via the Google Drive Website
If you prefer using the Google Drive website to manage your files, you can still save pictures from your phone using this method:
- Open a web browser on your phone and navigate to the Google Drive website (drive.google.com).
- Sign in to your Google account if prompted.
- Tap the “+” button to create a new folder or select an existing folder to save your pictures.
- Click the “New” button (represented by a “+” icon) and select “File upload” from the drop-down menu.
- Navigate to the location where your pictures are stored on your phone.
- Select the desired pictures and click “Open” to start the upload process.
Once the upload is complete, your pictures will be saved to your Google Drive account.
Now that you know the three methods to save pictures to Google Drive from your phone, you can choose the one that suits you best. Whether it’s using the Google Drive app, the Google Photos app, or uploading via the Google Drive website, you can ensure safe storage and easy access to your pictures anytime, anywhere.
Tips for Efficiently Saving Pictures to Google Drive
When it comes to saving pictures to Google Drive from your phone, there are a few tips and tricks that can help you maximize efficiency and ensure you have easy access to your precious memories. Let’s explore three useful tips to help streamline the process.
Tip 1: Organizing Pictures into Folders
One of the key aspects of efficiently saving pictures to Google Drive is to organize them into folders. This allows you to categorize and locate your photos quickly and effortlessly. Create folders based on different events, dates, or subjects to keep your pictures well-organized.
To create a folder in Google Drive, simply open the app or website, navigate to the storage location, and click on the “New” button. Choose the “Folder” option and give it a name. Once the folder is created, you can easily move your pictures into it by selecting the photos and clicking on the “Move” button.
Tip 2: Utilizing Automatic Backup Settings
To save pictures to Google Drive seamlessly, take advantage of the automatic backup settings available on most smartphones. Both Android and iOS devices offer the option to automatically back up your photos to Google Drive, ensuring that your pictures are safely stored without any manual effort.
To enable automatic backup on Android, open the Google Photos app, tap on the menu button, select “Settings,” and choose “Back up & sync.” Toggle the switch to turn on the backup feature. For iOS devices, go to “Settings,” select “Photos,” and enable the “iCloud Photos” or “Google Photos” options, depending on your preference.
Tip 3: Checking Storage Space Available
Before saving pictures to Google Drive from your phone, it’s crucial to check the storage space available in your Google Drive account. This will ensure that you have enough room to store your photos without exceeding your allocated storage limit.
To check your Google Drive storage space, open the Google Drive app or website and navigate to the settings or account section. Here, you will find information about your storage usage and available space. If you’re running low on storage, you may need to consider upgrading your Google Drive plan or deleting unnecessary files to make room for new pictures.
By following these tips, you can efficiently save pictures to Google Drive from your phone. Organizing your pictures into folders, utilizing automatic backup settings, and monitoring your storage space will help you keep your memories safe and easily accessible.
Conclusion
In conclusion, saving pictures to Google Drive from your phone is a convenient and secure way to store and access your images. Whether you want to free up space on your device or ensure that your precious memories are safely backed up, Google Drive provides a reliable and user-friendly solution.
By following the steps outlined in this article, you can easily upload and organize your photos in Google Drive, making them easily accessible across multiple devices. Additionally, the ability to share and collaborate on images with others adds an extra layer of versatility to this cloud storage platform.
So why wait? Start utilizing the power of Google Drive today and enjoy the peace of mind that comes with having your pictures backed up and readily available whenever you need them.
FAQs
1. How do I save pictures to Google Drive from my phone?
To save pictures to Google Drive from your phone, follow these steps:
1. Open the Google Drive app on your phone.
2. Tap on the “+” (plus) icon at the bottom right corner of the screen.
3. Select “Upload” from the options.
4. Choose the location where your pictures are stored on your phone. It can be your Gallery, Photos, or Downloads folder.
5. Select the pictures you want to save to Google Drive by tapping on them. You can select multiple pictures if needed.
6. Tap on the “Upload” button to start uploading the selected pictures to your Google Drive. The progress of the upload will be displayed on the screen.
7. Once the upload is complete, the pictures will be saved in your Google Drive account in a folder called “Uploads” by default.
2. Can I save pictures directly to a specific folder on Google Drive?
Yes, you can save pictures directly to a specific folder on Google Drive from your phone. Here’s how:
1. Open the Google Drive app on your phone.
2. Tap on the “+” (plus) icon at the bottom right corner of the screen.
3. Select “Upload” from the options.
4. Choose the location where your pictures are stored on your phone.
5. Select the pictures you want to save to Google Drive by tapping on them.
6. Before tapping on the “Upload” button, tap on the three-dot menu icon at the top right corner of the screen.
7. Select the folder on Google Drive where you want to save the pictures.
8. Tap on the “Upload” button to start uploading the selected pictures to the chosen folder on your Google Drive.
3. Can I save pictures to Google Drive without using the mobile app?
Yes, you can save pictures to Google Drive without using the mobile app. You can use the web browser on your phone to access Google Drive and follow these steps:
1. Open the web browser on your phone and go to drive.google.com.
2. Sign in to your Google account if you haven’t already.
3. Tap on the “+” (plus) icon to create a new file.
4. Choose “File upload” from the options.
5. Navigate to the location where your pictures are stored on your phone.
6. Select the pictures you want to save to Google Drive.
7. Tap on the “Open” or “Upload” button to start uploading the selected pictures to your Google Drive.
8. The pictures will be saved in your Google Drive account, and you can access them from any device with internet access.
4. How much storage space do I have on Google Drive for saving pictures?
Google Drive offers 15GB of free storage space for every Google account. This storage space is shared between your Google Drive, Gmail, and Google Photos. If you exceed the 15GB limit, you will need to either purchase additional storage or clear up some space by deleting unnecessary files or upgrading to a paid Google Drive storage plan. You can check your current storage usage and purchase additional storage by visiting the Google Drive storage settings.
5. Can I access the pictures saved on Google Drive offline?
Yes, you can access the pictures saved on Google Drive offline if you have previously set them to be available offline. Here’s how you can do it:
1. Open the Google Drive app on your phone.
2. Locate the folder containing the pictures you want to access offline.
3. Tap on the three-dot menu icon next to the folder.
4. Select “Make available offline” from the options.
5. Google Drive will automatically download and store the selected pictures on your phone so that you can access them without an internet connection.
6. To access the pictures offline, go to the “Offline” section within the Google Drive app and open the folder containing the pictures. You can view, edit, and share them just like you would when connected to the internet.