
The Samsung S20 is a powerful and feature-packed mobile phone that offers a host of capabilities to its users. One such capability is the ability to scan documents directly from the device, making it convenient for both personal and professional use. Whether you need to scan a receipt, a contract, or any other important document, the S20 provides a simple and efficient solution. In this article, we will walk you through the steps on how to scan a document with your Samsung S20, providing you with the knowledge and confidence to make the most of this handy feature. So, let’s dive in and discover how you can easily scan documents using your Samsung S20!
Inside This Article
How To Scan A Document With Samsung S20
If you own a Samsung S20 and need to scan a document, you’re in luck! The Samsung Notes app has a built-in document scanning feature that allows you to easily capture and save images of your documents. In this article, we’ll walk you through the process of scanning a document using your Samsung S20, from enabling the Samsung Notes app to adjusting the scan settings.
1. Enable the Samsung Notes app:
The first step is to make sure you have the Samsung Notes app installed on your Samsung S20. If you don’t have it, you can download it from the Samsung Galaxy Store or the Google Play Store. Once you have the app installed, open it and sign in with your Samsung account (if prompted).
2. Access the document scanning feature:
Open the Samsung Notes app on your Samsung S20. Tap on the “New note” icon to create a new note. In the toolbar at the top of the note, you’ll find various options. Tap on the “Image” icon, which looks like a mountain inside a square.
3. Position the document properly:
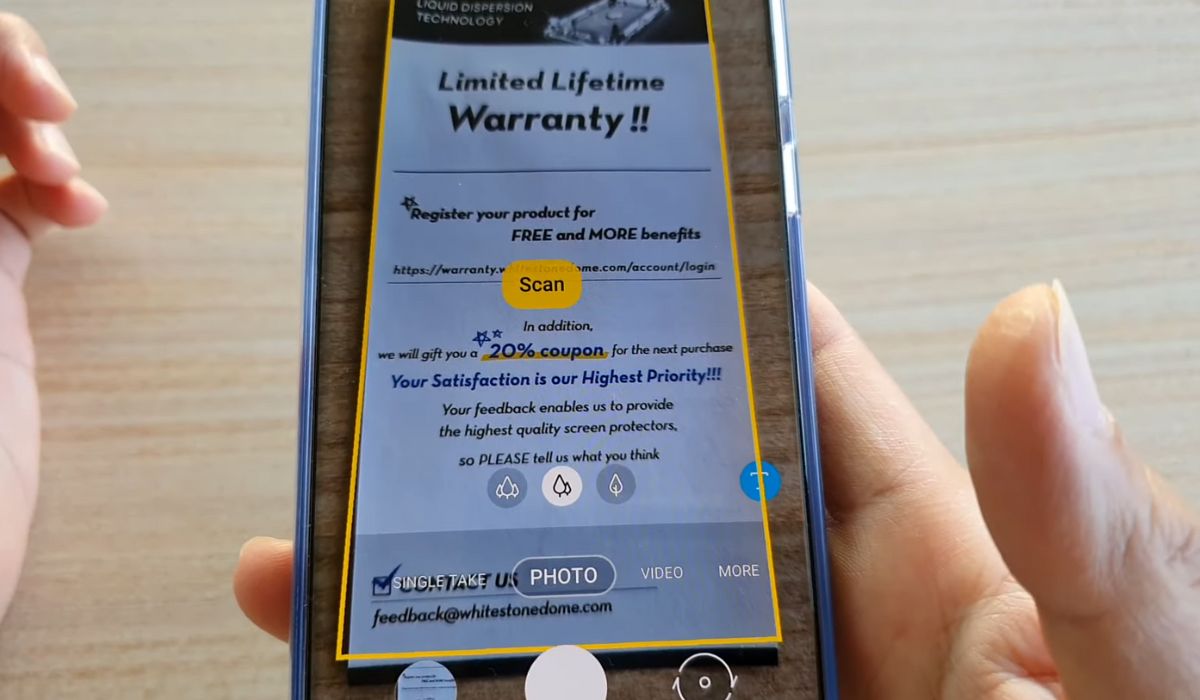
Place the document you want to scan on a flat surface with good lighting. Make sure the entire document is visible and aligned properly within the frame on your device’s screen. You can use the guidelines provided on the screen to assist you in aligning the document correctly.
4. Adjust the scan settings:
Before capturing the document, you can adjust the scan settings to suit your needs. You have the option to choose the color mode (color, grayscale, or black and white), adjust the resolution, and even enable the auto crop feature to remove any unnecessary margins. Simply tap on the settings icon (three vertical dots) on the document scanning screen to access these options.
Once you’re satisfied with the document’s positioning and scan settings, tap on the capture button (usually a circular button at the bottom of the screen) to scan the document. The scanned image of the document will be saved in the Samsung Notes app, where you can view, edit, or share it as needed.
With the Samsung Notes app on your Samsung S20, scanning documents has never been easier. Whether you need to digitize important paperwork or simply keep a digital copy of a document, you can rely on your Samsung S20 to do the job efficiently and effectively.
In conclusion, scanning documents with the Samsung S20 is a convenient and efficient process that allows you to digitize important paperwork on the go. By taking advantage of the advanced camera capabilities and intuitive scanning apps, you can easily capture high-quality scans of documents, receipts, or any other paper-based materials. Whether you need to send a signed contract, save a copy of a bill, or organize your paperwork digitally, the Samsung S20 provides a user-friendly solution that eliminates the need for bulky scanners or complicated software. With just a few simple steps, you can transform physical documents into digital files that can be easily shared, stored, or edited. Embrace the power of mobile scanning with the Samsung S20 and streamline your document management process like never before.
FAQs
Q: How do I scan a document with Samsung S20?
To scan a document with Samsung S20, you can use the built-in scanner feature in the Samsung Notes app. Simply open the app, create a new note, and tap on the “Add” button (usually represented by a plus sign). From the options that appear, select “Scan”. Align the document within the scanning area, and the app will automatically capture the image. You can then save, edit, or share the scanned document as needed.
Q: Can I scan multiple pages at once using Samsung S20?
Yes, you can scan multiple pages at once using Samsung S20. After scanning the first page as mentioned in the previous answer, instead of saving the document, tap on the “Add” button again and continue scanning additional pages. Once you have finished scanning all the pages, you can save them as a single document or individual documents, depending on your preference.
Q: Can I adjust the quality of the scanned documents?
Yes, you can adjust the quality of the scanned documents with Samsung S20. In the Samsung Notes app, after scanning a document, you will have the option to edit the scanned image. Tap on the “Edit” button and select “Adjust” from the menu. Here, you can adjust various parameters such as brightness, contrast, and sharpness to enhance the quality of the scanned document.
Q: What file formats are supported for saving scanned documents?
The Samsung Notes app supports saving scanned documents in various file formats such as PDF, JPEG, and PNG. By default, the app may save the scanned document as a PDF, but you can choose to save it in a different format if desired. When saving the scanned document, you will have the option to select the file format before finalizing the saving process.
Q: Can I annotate or write on the scanned documents?
Yes, you can annotate or write on the scanned documents with Samsung S20. After scanning a document and saving it, you can open the document within the Samsung Notes app. From there, you can use the built-in tools to write, draw, highlight, or annotate on the document. This feature is especially handy if you need to add notes or signatures to the scanned document before sharing or saving it.