
The Samsung S20 is a cutting-edge smartphone that offers a wide range of features to its users. One of the most useful capabilities of the Samsung S20 is its scanning feature, which allows you to easily digitize documents, receipts, and other important papers directly from your phone. Whether you need to send a document quickly or store important information digitally, the scanning feature on the Samsung S20 makes it a breeze to accomplish. In this article, we will take a closer look at how to utilize the scanning feature on the Samsung S20. From understanding the scanning options to learning tips for getting the best results, we will guide you through the process of scanning documents using your Samsung S20. So, let’s dive in and discover how to scan from Samsung S20.
Inside This Article
- Overview of Scanning from Samsung S20
- Step 1: Open the Camera App
- Step 2: Access the Scanner Mode
- Step 3: Position the Document Correctly
- Step 4: Adjust the Scan Settings
- Step 5: Capture the Scan
- Step 6: Review and Edit the Scan
- Step 7: Save or Share the Scanned Document
- Conclusion
- FAQs
Overview of Scanning from Samsung S20
Scanning documents has become an essential task in today’s digital era. With the Samsung S20, scanning documents has never been easier. This flagship smartphone offers a built-in scanner feature that allows you to easily capture and digitize paper documents on the go. Whether you need to scan receipts, contracts, or important notes, the Samsung S20’s scanning capability has got you covered.
The scanning feature on the Samsung S20 is accessible through the Camera app, eliminating the need for a separate scanning app. With just a few simple steps, you can transform physical documents into digital files effortlessly. In this article, we will guide you through the process of scanning from your Samsung S20, from opening the Camera app to saving or sharing the scanned document.
So, if you’re ready to harness the power of your Samsung S20 to scan your documents conveniently, let’s dive into the step-by-step instructions!
Step 1: Open the Camera App
Scanning documents with your Samsung S20 is a breeze thanks to its advanced camera capabilities. To get started, open the Camera app on your device. You can usually find the Camera app icon on your home screen or in the app drawer.
Simply tap on the Camera app icon to launch it. Once the app is open, you will be ready to begin the scanning process.
Alternatively, you can also access the Camera app by swiping down from the top of your screen to reveal the notification panel. From there, locate the Camera shortcut and tap on it to open the app.
Once you have successfully opened the Camera app, you will be greeted with a live viewfinder screen. This screen will display what your camera is currently seeing, allowing you to frame and capture your desired document for scanning.
Opening the Camera app is the first step towards scanning documents with your Samsung S20. Now that you’ve successfully opened the app, it’s time to move on to the next step and access the scanner mode.
Step 2: Access the Scanner Mode
Once you have opened the Camera app on your Samsung S20, the next step is to access the scanner mode. The scanner mode is a feature that allows you to easily scan documents using your device’s camera. To access this mode, look for the option that resembles a document or a scanner icon. It is usually located in the top menu bar of the Camera app.
Tap on this icon to enter the scanner mode. This will activate the camera for scanning purposes and bring up the necessary tools and options on the screen. You should see a viewfinder or a rectangular frame that indicates the area where the document needs to be placed for scanning.
It’s important to note that the exact appearance and placement of the scanner mode option may vary depending on the version of the Camera app and the specific device settings. However, it is generally easy to locate and access, ensuring that you can start scanning without any hassle.
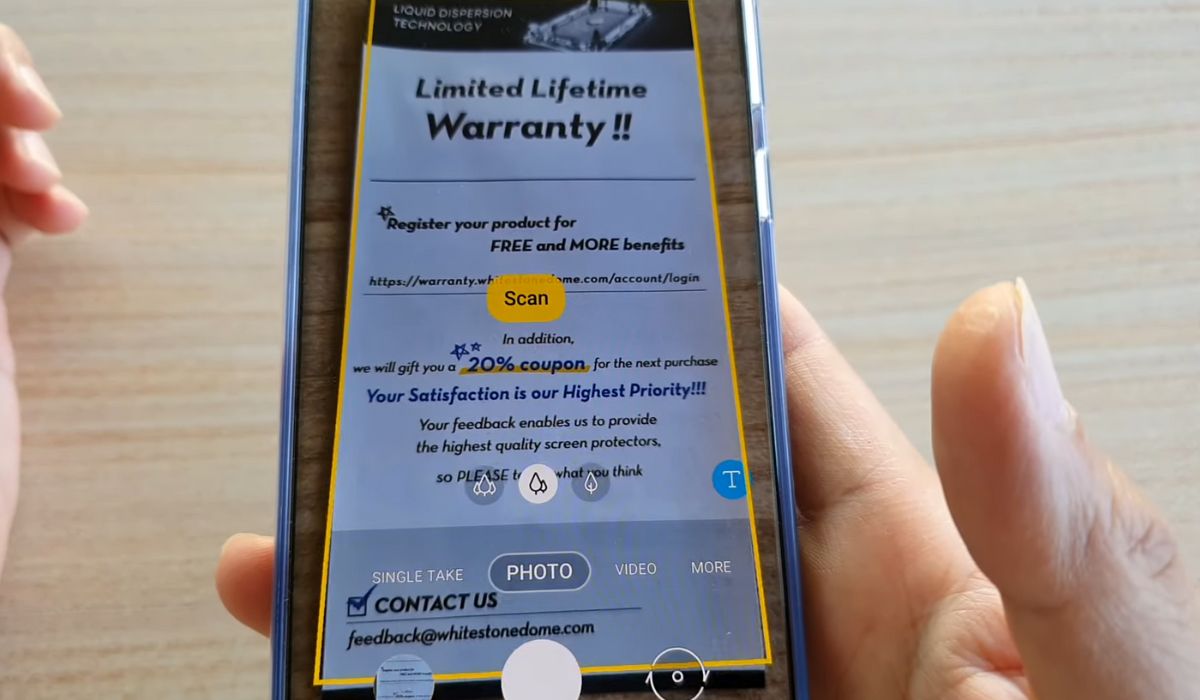
Step 3: Position the Document Correctly
Positioning the document correctly is crucial when scanning from your Samsung S20. By ensuring that the document is aligned properly, you can capture a clear and accurate scan. Follow these steps to position the document correctly:
- Place the document flat on a stable surface. This could be a table, desk, or any other flat surface that provides support.
- Align the edges of the document with the edges of your phone’s screen. This will help you capture the entire document without any missing corners or edges.
- Make sure the document is well-lit and there are no shadows or obstructions that could affect the quality of the scan. Natural light or a well-lit room will yield the best results.
- Hold your phone directly above the document, ensuring that the camera lens is parallel to the surface of the document. This will help you maintain a clear and focused scan.
- If you’re scanning a larger document that doesn’t fit entirely within the screen, you may need to capture multiple scans and then merge them using a scanner app or image editing software.
By positioning the document correctly, you increase the chances of getting a high-quality scan that is readable and clear. Take your time to ensure proper alignment and lighting before moving on to the next step.
Step 4: Adjust the Scan Settings
Once you have your document positioned correctly in the camera frame, it’s time to adjust the scan settings on your Samsung S20 to ensure that you capture the best possible scan. Here are some key settings to consider:
1. Resolution: The resolution determines the level of detail in your scanned document. Higher resolutions result in more precise scans, but they also take up more storage space. Depending on your needs, you can choose from different resolution options, such as 300 DPI (dots per inch) for standard documents or 600 DPI for more detailed scans.
2. Color and Contrast: Depending on the type of document you’re scanning, you may want to adjust the color and contrast settings to enhance the readability of the scan. For documents with colored text or images, you can choose to scan in color. However, if you’re scanning a black and white document, selecting the grayscale option can help improve clarity. Additionally, adjusting the contrast can make text appear sharper and more legible.
3. Document Type: Samsung S20 offers various document type options to optimize the scanning process. You can select options such as Auto, Business Card, Document, or Whiteboard, depending on the type of content you’re scanning. Choosing the appropriate document type helps the device optimize the scan settings for better results.
4. File Format: Your Samsung S20 allows you to save your scanned documents in different file formats, such as PDF or JPEG. PDF is ideal if you need to maintain the original formatting and can be easily shared or printed, while JPEG is suitable for images or documents that you may want to edit later.
5. Auto Edge Detection: To ensure that all the important content of your document is captured, enabling the auto edge detection feature is advisable. This feature detects the edges of the document and automatically adjusts the scan accordingly, eliminating the need for manual adjustments.
By adjusting these scan settings, you can optimize the quality and appearance of your scanned documents on your Samsung S20. Take some time to experiment with the settings and find the combination that works best for your specific scanning needs.
Step 5: Capture the Scan
Now that you have positioned the document correctly and adjusted the scan settings, it’s time to capture the scan and create a high-quality digital copy of your document.
To capture the scan on your Samsung S20, simply tap the shutter button or press the volume down button. This will trigger the camera to take a picture of the document in focus. Make sure to keep your hands steady to avoid any blurriness in the scan.
When you capture the scan, the camera app may automatically detect the edges of the document and apply cropping to remove any unnecessary background. This feature helps to ensure that only the relevant content is captured and saved.
After capturing the scan, you will be able to review it on the screen. Take a moment to check if the scan is clear and all the important information is captured. If you are satisfied with the result, you can proceed to the next step. If not, you can repeat the capturing process to get a better scan.
If you are scanning multiple pages, you can continue with the same process for each page. Just make sure to position each document correctly and capture the scan individually. Having separate scans for each page will make it easier to manage and organize the digital copies later.
Once you have completed capturing the scans, you can move on to the next step of the scanning process, which involves reviewing and editing the scans if necessary. Stay tuned to learn more about this important step!
Step 6: Review and Edit the Scan
Once you have captured the scan on your Samsung S20, it’s important to review and edit the scan to ensure its quality and readability. Follow these steps to make any necessary adjustments:
1. Zoom In and Out: Use pinch-to-zoom gestures on your device screen to zoom in on specific sections of the scan for a closer look. This is especially useful when reviewing small text or intricate details.
2. Crop the Scan: If the scan includes unnecessary borders or blank spaces, you can crop the image to remove them. Locate the crop tool, usually represented by a square or rectangle icon, and adjust the edges to frame the document neatly.
3. Rotate and Straighten: If the scan appears skewed or crooked, you can use rotation and straightening tools to align it properly. Look for the rotate or straighten options in the editing menu and adjust accordingly until the scan is perfectly aligned.
4. Enhance the Quality: Some scanning apps offer features to enhance the quality of the scan. These can include options to adjust brightness, contrast, sharpness, or even remove shadows or noise. Experiment with these settings to improve the overall appearance of the scan.
5. Adjust Color and Filters: Depending on the document type and your preferences, you may want to adjust the color saturation or apply filters to enhance the scan’s visual appeal. This can be particularly useful when scanning old photographs or documents with faded ink.
6. Add Annotations: If you need to emphasize specific sections or add notes to the scan, look for annotation tools within the editing menu. You can use these tools to highlight, underline, draw arrows, or add text to the scan.
7. Preview Changes: As you make edits to the scan, it’s important to preview the changes in real-time to ensure they meet your requirements. This allows you to fine-tune the adjustments before saving or sharing the finalized scan.
8. Undo and Redo: If you make a mistake during the editing process, most scanning apps offer an undo and redo function that allows you to revert or reapply previous changes. These features can be helpful if you accidentally delete important sections or make unintended edits.
9. Save the Edited Scan: Once you are satisfied with the edits, save the scan on your Samsung S20. You may have the option to overwrite the original file or save it as a separate edited version. Choose the method that best suits your needs.
10. Share the Scan: After reviewing and editing the scan, you can easily share it with others. Look for the sharing icon or the “Share” option within the scanning app and select the desired method, such as sending it via email, messaging apps, or saving it to cloud storage.
By following these steps and reviewing/editing your scans on your Samsung S20, you can ensure that the final output is clear, presentable, and of high quality. Take the time to make any necessary adjustments, and you will have a perfectly scanned document ready for use or sharing.
Step 7: Save or Share the Scanned Document
Once you have successfully captured and reviewed the scan using your Samsung S20’s scanner mode, it’s time to save or share the scanned document. Here are a few options you can consider:
- Save it to your device: If you want to keep a copy of the scanned document on your Samsung S20, simply tap on the “Save” or “Save to Gallery” option. This will save the document to your device’s internal storage or gallery, depending on your settings. You can easily access the scanned document later for reference or further editing.
- Share via Email or Messaging: If you need to send the scanned document to someone, you can do so directly from your Samsung S20. Tap on the “Share” or “Send” icon and choose the email or messaging app you prefer. This will open a new email or message draft with the scanned document attached. Add the recipient’s email address or contact details, include a message if needed, and hit send.
- Upload to Cloud Storage: To keep your scanned documents organized and easily accessible across multiple devices, consider uploading them to a cloud storage service. Samsung S20 offers seamless integration with popular cloud storage platforms like Google Drive, Dropbox, and OneDrive. Simply tap on the “Share” or “Upload” option, select the desired cloud storage app, and follow the prompts to upload the scanned document to your preferred cloud storage folder or account.
- Print the Scanned Document: If you need a physical copy of the scanned document, you can print it directly from your Samsung S20. Tap on the “Share” or “Print” option and select the connected printer from the list. Adjust the print settings if necessary, such as paper size and orientation, and initiate the printing process. Make sure your printer is properly set up and connected to your smartphone for a smooth printing experience.
- Other Sharing Options: Apart from email, messaging, and cloud storage, you can explore other sharing options available on your Samsung S20. Depending on the apps installed on your device, you may have the ability to share the scanned document via social media platforms, file transfer apps, or even Bluetooth transfer. Simply tap on the “Share” option and browse through the available apps to find the most convenient method of sharing for your specific needs.
By utilizing the above options, you can efficiently save or share scanned documents from your Samsung S20. Whether you need to store important paperwork digitally, send documents to colleagues, or print them for physical records, the scanning feature on your smartphone offers convenient solutions for your document management needs.
Conclusion
Scanning images and documents directly from your Samsung S20 can be a convenient and efficient way to digitize your files on the go. With the advanced camera capabilities and intuitive software features, the process is made simple and accessible for users.
By following the steps outlined in this article, you can easily utilize the built-in scanner on your Samsung S20 to capture high-quality scans of various documents, including receipts, business cards, and handwritten notes. Whether you need to organize your paperwork, share important information, or simply keep a digital copy of important documents, the scanning functionality on your Samsung S20 will prove handy in countless situations.
So, the next time you find yourself needing to scan a document, reach for your Samsung S20 and put its powerful scanner to use. You’ll be amazed at how easy it is to capture and digitize your important files right from the palm of your hand.
FAQs
1. Can I scan documents directly from my Samsung S20?
Yes, the Samsung S20 comes with a built-in scanner feature that allows you to scan documents directly from your device. It eliminates the need for a separate scanner and provides a convenient way to digitize your documents on the go.
2. How do I access the scanner feature on my Samsung S20?
To access the scanner feature on your Samsung S20, open the camera app and tap on the More button. From the list of options, select the Scan option. This will open the built-in scanner tool on your device, ready for you to start scanning documents.
3. Can I scan multiple pages into a single document on the Samsung S20?
Yes, the scanner feature on the Samsung S20 allows you to scan multiple pages and save them as a single document. After scanning the first page, simply tap on the “+” button to add more pages to your document. Once you’re done scanning, you can save the document as a PDF or image file.
4. How can I enhance the quality of scanned documents on my Samsung S20?
To enhance the quality of scanned documents on your Samsung S20, make sure you have adequate lighting while scanning. Keep the document flat and in focus, and try to avoid any glare or shadows. Additionally, you can use the built-in editing tools to adjust the brightness, contrast, and cropping of the scanned document.
5. What formats can I save scanned documents in on my Samsung S20?
The scanner feature on the Samsung S20 allows you to save scanned documents in various formats. The most common formats include PDF and JPEG. PDF is ideal for retaining the original formatting and preserving the document’s integrity, while JPEG is suitable for sharing and viewing images of the scanned document.