
In today’s digital age, mobile phones have become an essential part of our lives, serving as our communication tool, personal assistant, and even our gateway to the online world. With the advent of smartphone technology, our devices have evolved into powerful mini-computers that allow us to do more than ever before. One popular feature that many smartphone users enjoy is the ability to set up mobile payment systems like Facebook Pay.
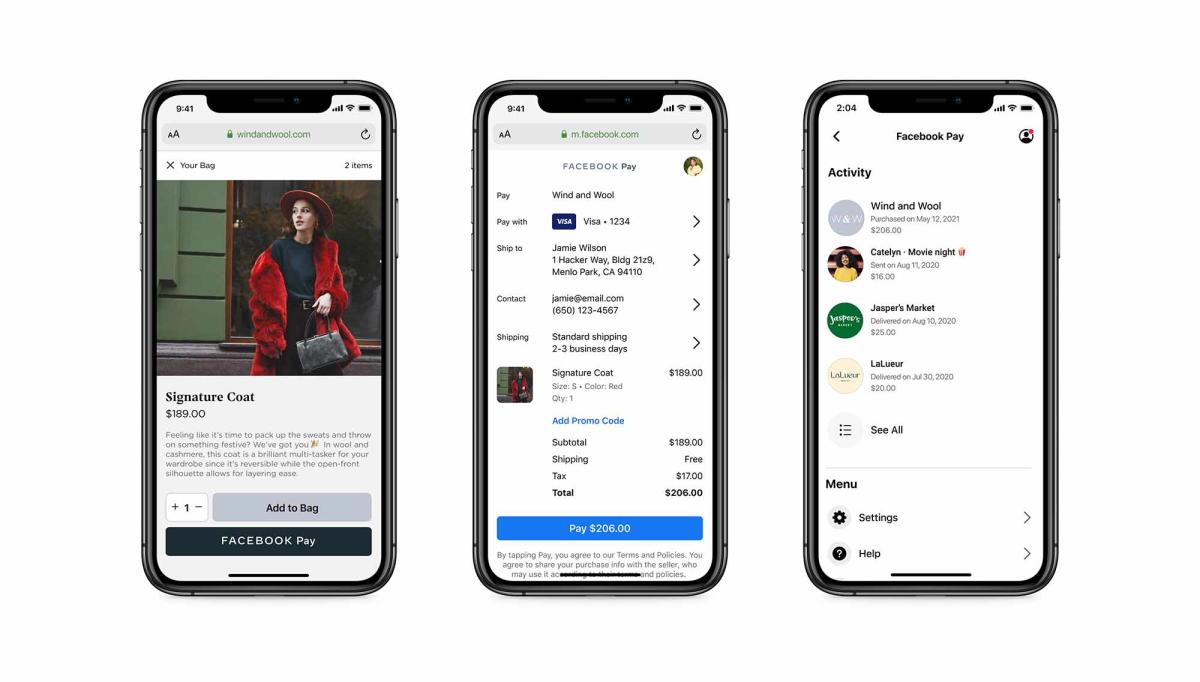
Facebook Pay is a convenient and secure way to make online payments right from your iPhone. Whether you want to send money to friends, make purchases, or donate to a cause, Facebook Pay provides a seamless experience. In this article, we will guide you through the process of setting up Facebook Pay on your iPhone, ensuring that you can take advantage of this innovative and user-friendly payment method. Let’s dive in and explore the steps to get started with Facebook Pay on your iPhone.
Inside This Article
- Step 1: Update Facebook App
- Step 2: Access Facebook Pay Settings
- Step 3: Add Payment Method
- Step 4: Set Up Facebook Pay Security
- Conclusion
- FAQs
Step 1: Update Facebook App
Before you can set up Facebook Pay on your iPhone, it is essential to ensure that you have the latest version of the Facebook app installed. Keeping the app updated on your device not only provides you with the latest features but also ensures compatibility for setting up and using Facebook Pay.
To update the Facebook app on your iPhone, follow these simple steps:
- Launch the App Store on your iPhone.
- Tap on the ‘Updates’ tab located at the bottom right corner of the screen.
- Scroll through the list of available updates and find the Facebook app.
- If you see an ‘Update’ button next to the Facebook app, tap on it to commence the update process. If you don’t see an ‘Update’ button but see an ‘Open’ button instead, it means that the app is already updated.
- Wait for the update to complete, and once done, the latest version of the Facebook app will be installed on your iPhone.
Once the Facebook app is updated, you can proceed to the next step of setting up Facebook Pay on your iPhone.
Step 2: Access Facebook Pay Settings
Once you have successfully logged into your Facebook account on your iPhone, you will need to navigate to the Facebook Pay settings in order to set it up. Here’s how:
1. Launch the Facebook app on your iPhone and tap on the “Menu” icon at the bottom right corner of the screen. It looks like three horizontal lines.
2. Scroll down the menu and select the “Settings & Privacy” option. This will expand a submenu.
3. Within the submenu, tap on the “Settings” option. This will open the main settings page for your Facebook account.
4. On the settings page, scroll down until you find the “Facebook Pay” section. Tap on it to access the Facebook Pay settings.
5. In the Facebook Pay settings, you can configure various options such as adding or removing payment methods, adjusting security settings, and managing transaction history.
6. Take some time to review the available settings and customize them according to your preferences. For example, you can enable features such as automatic payment requests, biometric authentication, or add an additional layer of security through a PIN or passcode.
7. Once you have configured the settings to your liking, you are all set to start using Facebook Pay on your iPhone. You can now conveniently make payments, send money, or make purchases using the Facebook app.
Remember, it’s important to keep your Facebook Pay settings updated and ensure that your payment methods and security settings are accurate and secure.
Step 3: Add Payment Method
Once you have enabled Facebook Pay on your iPhone, the next step is to add your payment methods to make secure and convenient transactions. Follow these simple steps to add a payment method to your Facebook Pay account:
- Open the Facebook app on your iPhone and tap on the menu icon in the bottom-right corner of the screen.
- Scroll down and select “Settings & Privacy” from the menu.
- In the “Settings & Privacy” section, tap on “Settings.”
- Scroll down and tap on “Facebook Pay.”
- Under the “Payment Methods” section, tap on “Add Payment Method.”
- You will be prompted to enter your payment information. You can choose to add a credit card, debit card, or PayPal account. Enter the required details, such as card number, expiration date, and CVV, or log in to your PayPal account.
- After entering the payment information, tap on “Save” or “Add” to add the payment method to your Facebook Pay account.
- Once added, you can select a default payment method by tapping on it and enabling the “Default Payment Method” option.
It’s important to note that Facebook Pay supports multiple payment methods, allowing you to link different cards or accounts for added flexibility. This way, you can switch between payment methods depending on your preference or the transaction’s requirements.
Furthermore, if you wish to remove a payment method from your Facebook Pay account, simply go back to the “Payment Methods” section in the Facebook Pay settings. Tap on the payment method you want to remove and select the “Remove” or “Delete” option.
By adding your payment methods to Facebook Pay on your iPhone, you can conveniently make payments for various Facebook services, such as in-app purchases, donations, and marketplace transactions. Rest assured, Facebook Pay prioritizes the security and privacy of your payment information, ensuring safe and protected transactions on the platform.
Step 4: Set Up Facebook Pay Security
Ensuring the security of your Facebook Pay on iPhone is of utmost importance. To set up the necessary security measures, follow these steps:
- Enable Two-Factor Authentication: Two-factor authentication adds an extra layer of security to your Facebook account. It requires you to verify your identity with your password and a unique code sent to your registered mobile device.
- Set Up a Strong Password: Choose a strong, unique password for your Facebook account. Avoid using common passwords or personal information that can be easily guessed.
- Review Your Privacy Settings: Take a moment to review and adjust your privacy settings on Facebook. Limit the visibility of your personal information and posts to ensure only trusted individuals can access them.
- Regularly Monitor Your Account Activity: Keep an eye on your Facebook Pay transactions and account activity. If you notice any suspicious or unauthorized charges, report them to Facebook immediately.
- Turn on Face ID or Touch ID: If your iPhone supports Face ID or Touch ID, you can enable these biometric authentication methods for added security. This ensures that only you can authorize transactions using Facebook Pay on your device.
- Be Aware of Phishing Scams: Stay vigilant against phishing scams that attempt to trick you into revealing your Facebook login credentials or personal information. Never click on suspicious links or provide sensitive information to unverified sources.
By implementing these security measures, you can safeguard your Facebook Pay on iPhone and enjoy worry-free transactions.
Conclusion
Setting up Facebook Pay on your iPhone is a simple and convenient process that allows you to make secure transactions within the Facebook ecosystem. With Facebook Pay, you can easily send and receive money, make purchases, and donate to causes right from your iPhone, all with just a few taps. Whether you want to split the bill with friends, buy a product from a Facebook Marketplace seller, or support a charitable organization, Facebook Pay provides a seamless and secure way to do so.
By following the steps outlined in this guide, you can quickly activate Facebook Pay on your iPhone and start using it in various Facebook apps and services. Remember to keep your payment methods and personal information up to date, and always ensure you are transacting on secure connections. Enjoy the convenience and peace of mind that Facebook Pay brings to your mobile transactions on your iPhone!
FAQs
1. Can I use Facebook Pay on my iPhone?
Yes, you can use Facebook Pay on your iPhone. It is supported on both iOS and Android devices, allowing you to make secure and convenient payments within the Facebook app.
2. Is Facebook Pay safe to use for online transactions?
Facebook Pay is designed with security in mind. It utilizes various measures to protect your payment information, such as encryption and monitoring for suspicious activity. However, it is important to practice good online security habits, such as using strong passwords and avoiding sharing sensitive information, to further enhance your protection.
3. Can I link multiple payment methods to my Facebook Pay account?
Yes, you can link multiple payment methods to your Facebook Pay account. This allows you to choose from different options when making a payment, such as using a credit card, debit card, or a linked bank account.
4. Can I use Facebook Pay for online shopping outside of the Facebook platform?
Currently, Facebook Pay is primarily integrated within the Facebook app for transactions on the platform. However, Facebook has plans to expand its availability to other apps and websites in the future, making it more versatile for online shopping outside of Facebook.
5. How do I set up Facebook Pay on my iPhone?
To set up Facebook Pay on your iPhone, follow these steps:
- Open the Facebook app on your iPhone.
- Go to the hamburger menu (three horizontal lines) in the bottom right corner of the screen.
- Scroll down and tap on “Settings & Privacy”.
- Tap on “Facebook Pay”.
- Follow the prompts to add a payment method, set a PIN, and review your transactions.
- You can then start using Facebook Pay for payments within the Facebook app.