
Are you eager to share your experiences, connect with friends, or engage with your audience in real-time? Going live on Facebook is a great way to do just that, and with the convenience of an iPhone, you can easily broadcast to your followers wherever you are. Whether you want to showcase an exciting event, host a Q&A session, or simply share a glimpse into your day, this step-by-step guide will walk you through the process of going live on Facebook using your iPhone. By following these simple instructions, you’ll be able to create engaging and interactive live videos that will captivate your audience and leave a lasting impression. So, grab your iPhone, get ready to stream, and let’s dive into the world of live streaming on Facebook.
Inside This Article
- Setting Up Facebook Live on iPhone
- Adjusting Live Video Settings
- Adding a Description for Your Live Video
- Choosing the Audience for Your Live Video
- Conclusion
- FAQs
Setting Up Facebook Live on iPhone
Facebook Live is a powerful feature that allows you to share live videos with your friends, family, or even a wider audience on the social media platform. If you’re wondering how to go live on Facebook using your iPhone, we’ve got you covered. Follow these simple steps to get started:
1. Open the Facebook app on your iPhone and log in to your account if you haven’t already.
2. Tap on the “What’s on your mind?” section at the top of your News Feed. This is where you usually compose a new post.
3. At the bottom of the screen, you will see various options like Photo/Video, Check-In, Feeling/Activity, and Live. Tap on the “Live” button to begin setting up your live video.
4. Before going live, you will be prompted to grant Facebook access to your camera and microphone. Tap on “Allow” to enable these permissions.
5. Once you’ve granted the necessary permissions, you will enter the Live Video setup screen. Here, you can customize the settings of your live video before starting the broadcast.
6. Choose whether you want your live video to be public, visible only to your friends, or limited to a specific group or event by tapping on the audience selector.
7. After selecting the audience, you can add a compelling description to your live video. The description will give viewers an idea of what your video is about and can attract more viewers to join.
8. If desired, you can also add relevant tags to your live video by tapping on the tag icon and entering keywords related to your video content. This can help your video appear in relevant searches on Facebook.
9. Once you have set up the audience and added a description and tags, you are ready to go live. Tap on the “Start Live Video” button to begin broadcasting your video to your selected audience.
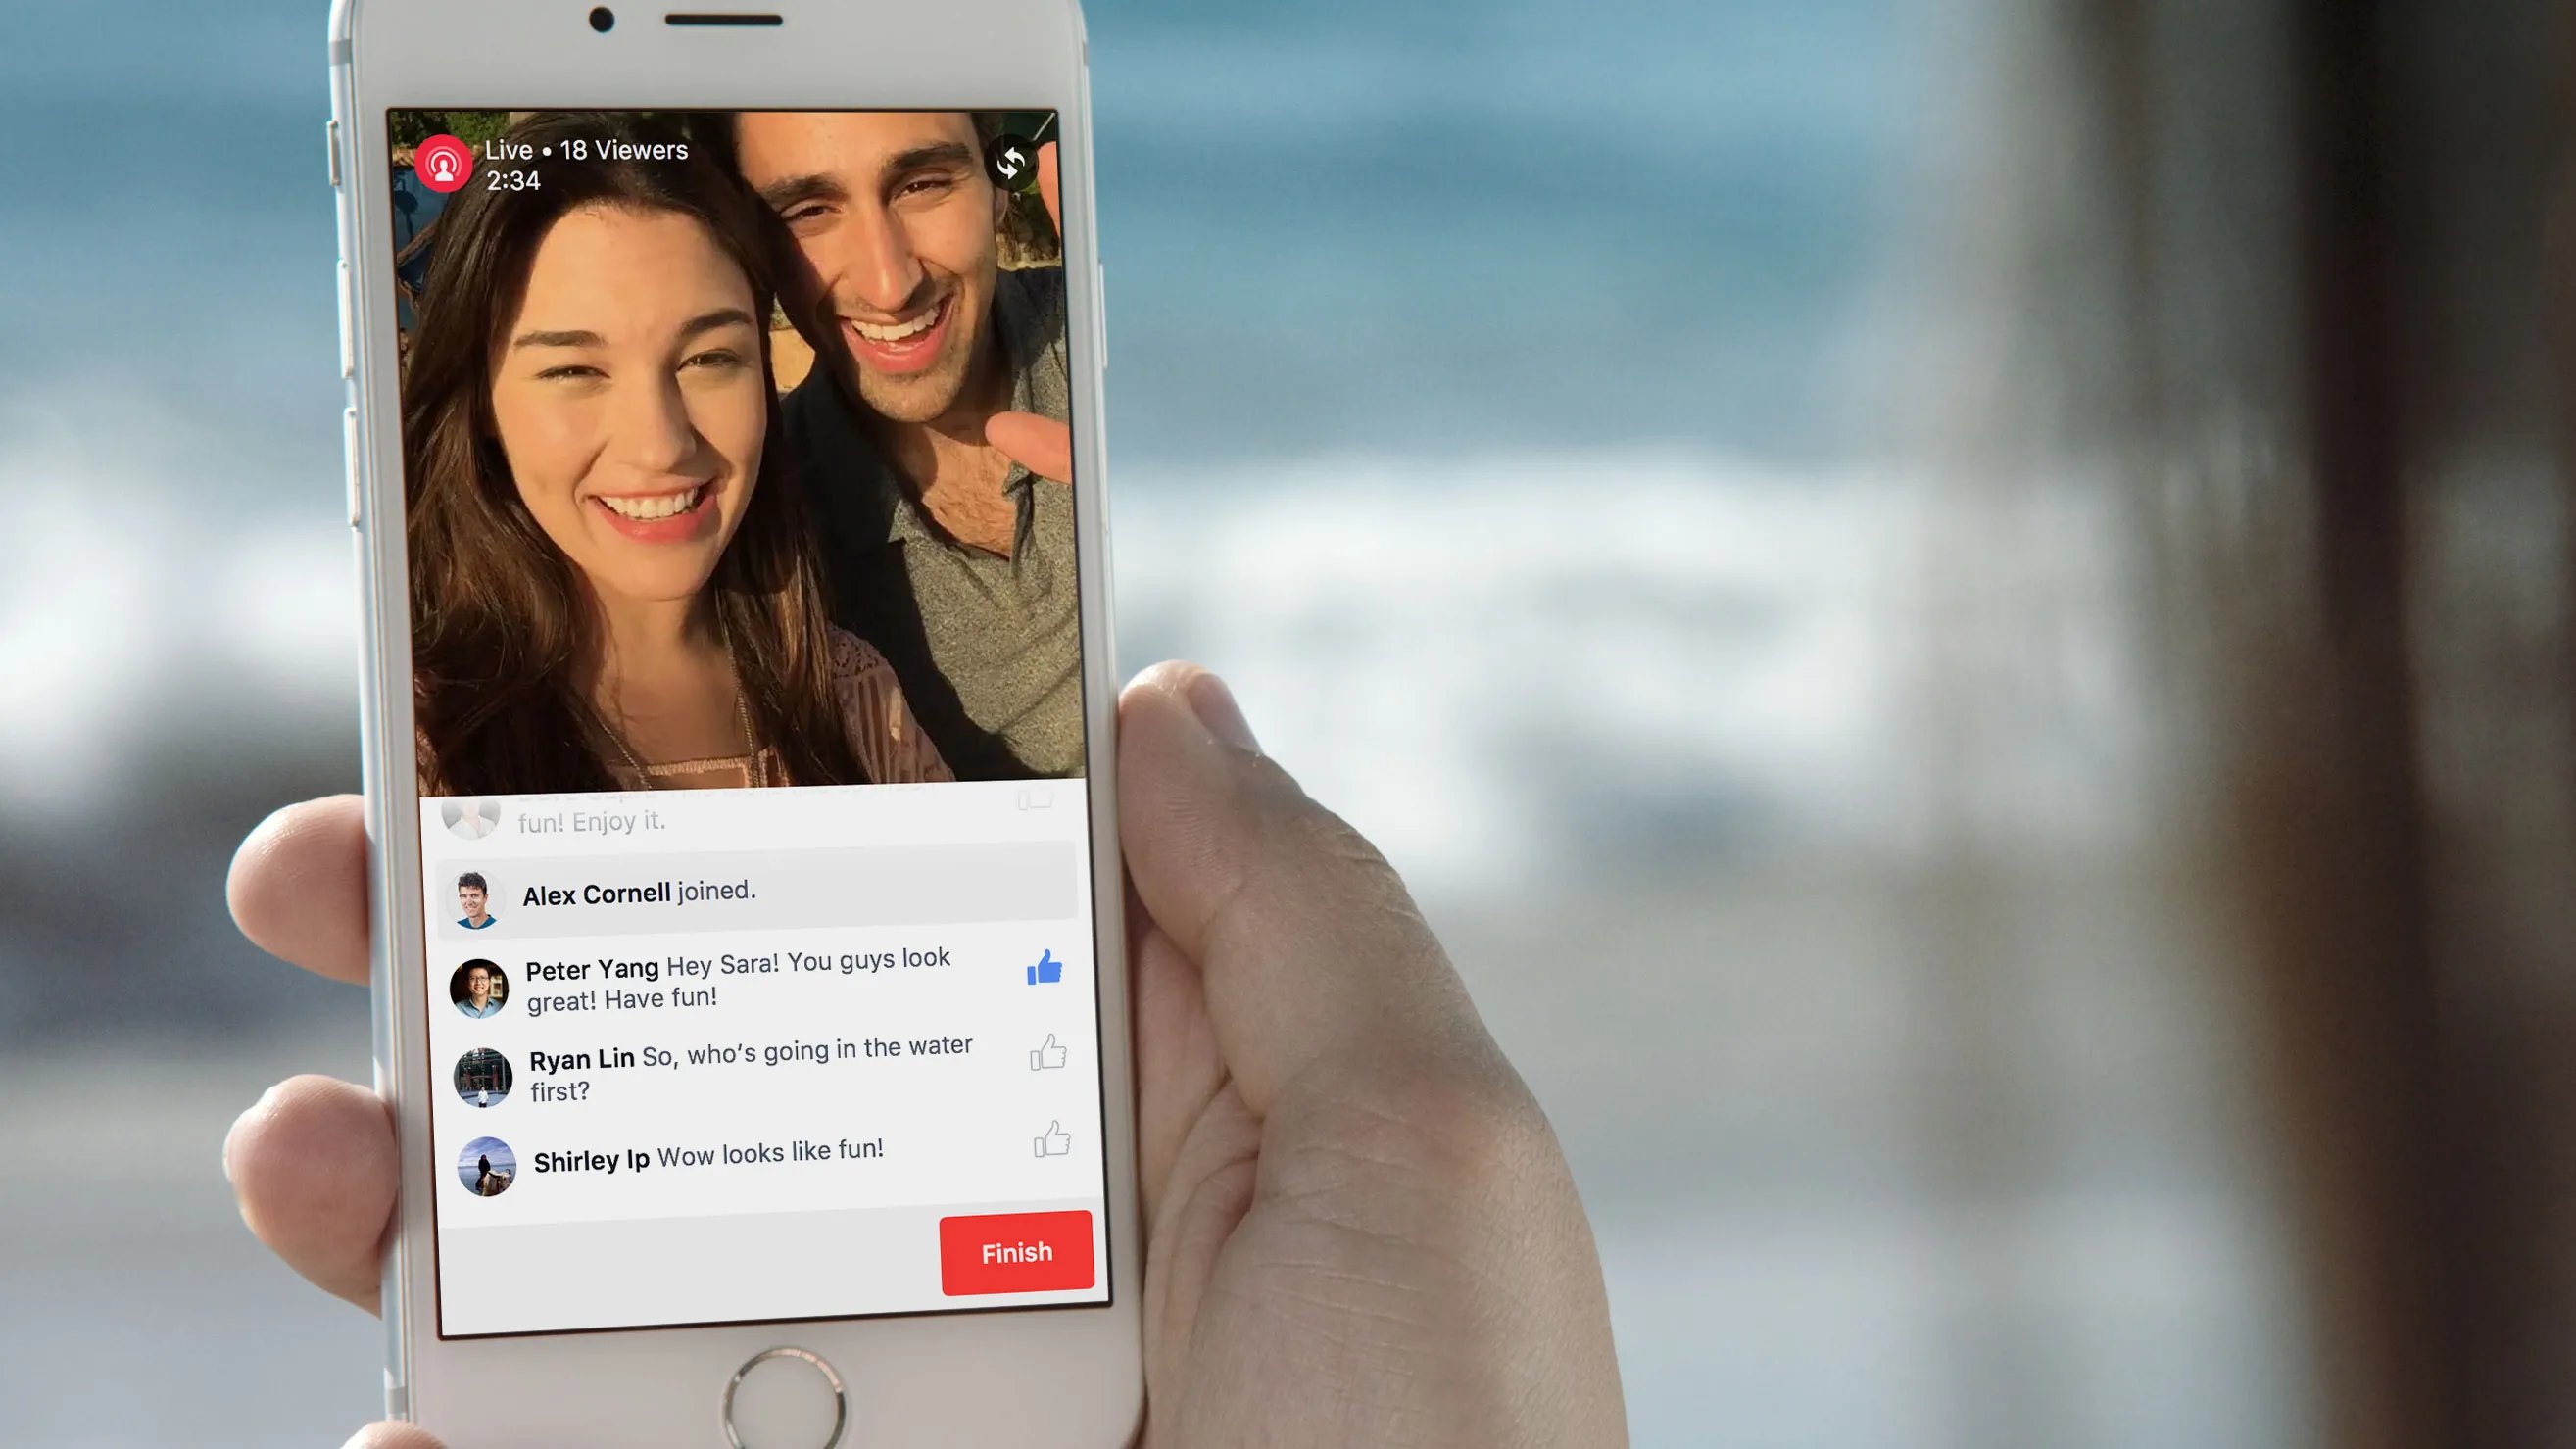
10. During the live broadcast, you can see the number of viewers, as well as receive comments and reactions from your audience. Interact with your viewers by responding to their comments in real-time.
11. When you’re ready to end the live video, simply tap on the “Finish” button. Facebook will give you the option to post the video on your timeline, save it to your camera roll, or delete it.
That’s it! Now you know how to set up Facebook Live on your iPhone. Whether you want to share important moments with friends and family or engage with a larger audience, going live on Facebook is a fantastic way to connect with others in real-time.
Adjusting Live Video Settings
Before going live on Facebook with your iPhone, it’s important to adjust the live video settings to ensure the best broadcasting experience. Here’s how you can do it:
1. Open the Facebook app on your iPhone and tap on the “Live” button on your status update box.
2. Once you’re on the live video screen, tap on the “Settings” button at the top right corner of the screen.
3. In the settings menu, you can adjust various options like video quality, orientation, and sound. Select the options that best suit your needs and preferences.
4. The video quality option allows you to choose between “Standard” and “HD” quality. Selecting HD will provide a higher resolution video but may require a stronger internet connection.
5. The orientation option allows you to choose between “Portrait” and “Landscape” mode. Select the orientation that suits the content you’re planning to broadcast.
6. The sound option allows you to toggle the microphone on or off. If you want to include audio in your live video, make sure the microphone is enabled.
7. Once you have made the desired adjustments, tap on the “Done” button at the top right corner of the screen to save your settings.
8. You’re now ready to go live on Facebook with your iPhone, with the video settings optimized for your live stream.
By adjusting the live video settings before going live, you can ensure the best possible quality and experience for your viewers. Take a moment to tweak these settings based on your preferences and the content you’re planning to share.
Adding a Description for Your Live Video
When going live on Facebook on your iPhone, it’s crucial to provide a clear and compelling description of your live video. This description serves as a preview for your audience and helps them understand what to expect from your broadcast. Here are some important tips and steps to add an engaging description for your live video:
1. Start by opening the Facebook app on your iPhone and tapping the “Live” button at the top of your news feed or timeline. This will take you to the live video interface.
2. Before you start broadcasting, take a moment to think about the purpose of your live video. What do you want to convey to your audience? What is the key message you want to deliver? Consider writing down a short and catchy description that encapsulates the essence of your live video.
3. Once you’re ready, tap on the text field at the top of the live video interface. This is where you can add your description. Make sure to keep it concise and attention-grabbing, as you have a limited number of characters to work with.
4. Utilize keywords related to your live video topic, as this will help potential viewers find your video when searching on Facebook or through search engines.
5. Consider adding emojis or special characters to spice up your description and make it visually appealing. However, use them sparingly and make sure they are relevant to your content.
6. Proofread your description before hitting the “Go Live” button. Check for any typos, grammatical errors, or unclear wording. A clear and error-free description will enhance the professionalism and credibility of your live video.
7. Keep in mind that your description should entice viewers to watch your live video. Highlight any unique or exciting aspects of your broadcast to generate curiosity and interest.
8. If you are promoting a product or service during your live video, subtly mention it in your description, but avoid being overly promotional. The focus should be on providing valuable content to your audience.
9. Finally, after adding your description, you can choose to customize your privacy settings and select the audience that can view your live video. This ensures that your content reaches the right people.
By following these steps and crafting an engaging description, you can increase the visibility and appeal of your live video on Facebook. Remember to think about your target audience and what they would find interesting and valuable. With a compelling description, you’ll be well on your way to creating a successful and engaging live video experience on your iPhone.
Choosing the Audience for Your Live Video
When going live on Facebook from your iPhone, you have the ability to choose the audience for your live video. This gives you control over who can see and engage with your content. Here are a few options for selecting your audience:
Public: Selecting the public option means that anyone on Facebook can view your live video. This is the broadest audience available and allows for maximum reach and engagement. Keep in mind, however, that making your video public means that it can be viewed by anyone, including those who are not your Facebook friends.
Friends: If you prefer to limit the audience for your live video to your Facebook friends only, you can choose the Friends option. This ensures that only those who are connected with you on Facebook can view your live stream. It’s a great choice if you want to share personal moments or have more control over who sees your content.
Specific Friends: For a more customized audience, you have the option to select specific friends to view your live video. This is useful if you want to share something with a select group of people, such as family members or close friends. Simply choose the Specific Friends option and manually select the friends you want to include.
Custom: The Custom option allows you to set specific audience restrictions for your live video. You can choose to include or exclude certain friends or create lists to determine who can see your content. This option gives you the most control over the visibility of your live video.
Only Me: If you want to do a test run or practice going live without an audience, you can select the Only Me option. This will ensure that your live video is visible only to you. It’s a great way to familiarize yourself with the live streaming process before sharing your content with others.
Remember: It’s important to think about your desired audience before going live on Facebook. Consider who you want to reach and the type of content you are sharing. By choosing the right audience setting, you can ensure that your live video reaches the intended viewers and maximizes engagement.
Conclusion
Going live on Facebook using your iPhone is a great way to engage with your friends, family, and followers in real-time. With just a few simple steps, you can start broadcasting live videos and sharing your experiences with the world. The Facebook app provides a user-friendly interface and a variety of features to enhance your live streaming experience.
Remember to optimize your settings, prepare your content, and ensure a stable internet connection before starting your live video. Interact with your viewers by responding to their comments and using the Live Reactions feature. Don’t forget to promote your live stream and take advantage of Facebook’s live video analytics to gain insights into your audience’s engagement.
So grab your iPhone, open the Facebook app, and start going live to connect, entertain, and share your moments with your friends and followers right from the palm of your hand. Happy streaming!
FAQs
1. Can I go live on Facebook using my iPhone?
Yes, you can definitely go live on Facebook using your iPhone. In fact, going live on Facebook using your iPhone is quite simple and can be done with just a few taps.
2. Do I need to download any special app to go live on Facebook from my iPhone?
No, you do not need to download any special app. Facebook has integrated the Live feature directly into its main app, making it easily accessible for iPhone users.
3. How do I start a live video on Facebook from my iPhone?
To start a live video on Facebook from your iPhone, follow these simple steps:
- Launch the Facebook app on your iPhone.
- Tap on the “What’s on your mind?” textbox at the top of your News Feed.
- Scroll down and tap on “Live Video”.
- Write a compelling description for your live video.
- Tap on “Start Live Video” to begin broadcasting.
4. Can I control who sees my live video on Facebook?
Yes, you have control over the audience for your live video on Facebook. Before you start the live video, you can choose who you want to share it with: friends, a specific group of friends, a specific Facebook Page, or the public.
5. Can I interact with viewers during a live video on Facebook?
Absolutely! One of the great features of going live on Facebook is the ability to interact with your viewers in real-time. You can read viewers’ comments, respond to them, and even address questions or suggestions during your live broadcast.