
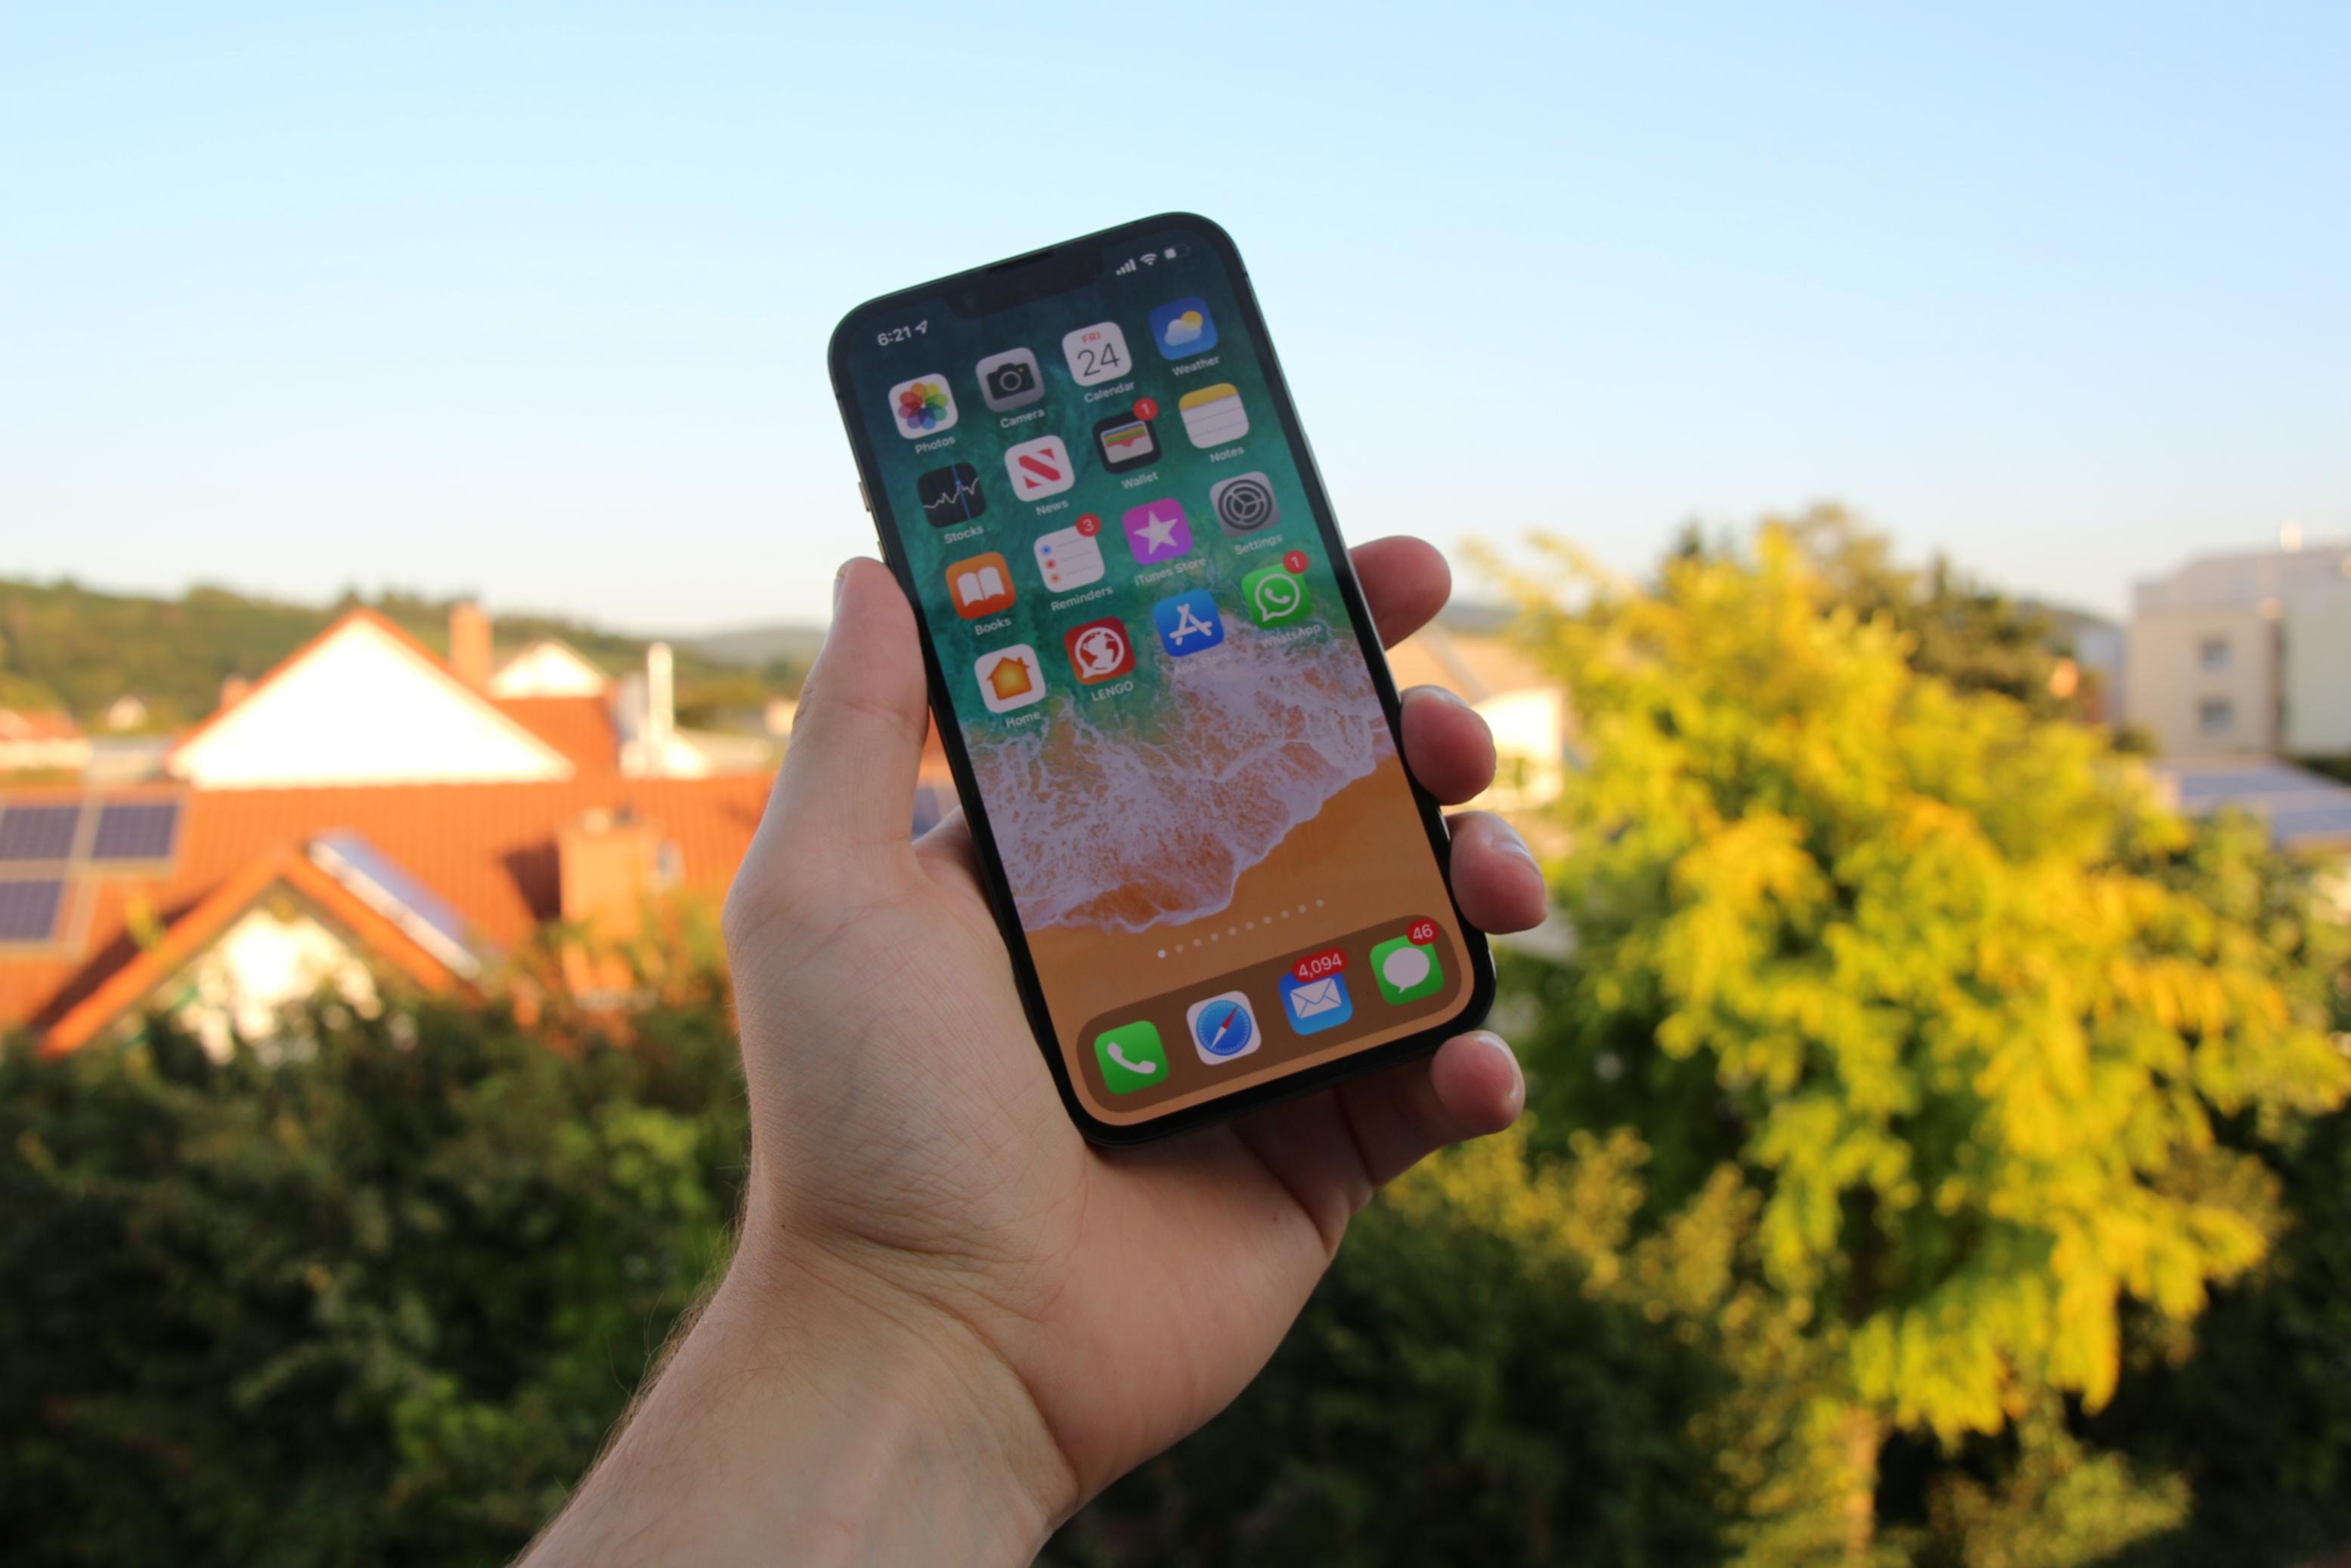
The iPhone 12 is a powerhouse of a device, packed with cutting-edge features and capabilities. Whether you’re a tech enthusiast, a casual user, or a digital nomad, the ability to take screenshots on your iPhone 12 can be incredibly useful. Capturing a screenshot allows you to save memorable moments, share important information, or troubleshoot technical issues. In this article, we will explore the various methods you can use to take a screenshot on your iPhone 12, from the traditional button combinations to the more innovative gesture-based options. So, if you’re ready to unlock the full potential of your iPhone 12 and capture screenshots with ease, read on to discover the step-by-step instructions, tips, and tricks that will make you a screenshot pro in no time!
Inside This Article
- Methods for taking a screenshot on iPhone 12
- Method 1: Using Physical Buttons
- Method 2: Using AssistiveTouch
- Method 3: Using Accessibility Shortcut
- Method 4: Using Third-Party Apps
- Conclusion
- FAQs
Methods for taking a screenshot on iPhone 12
Are you wondering how to capture a screenshot on your iPhone 12? Well, you’re in luck! Apple has made it incredibly easy to take screenshots on their devices, including the latest iPhone 12. Whether you want to capture a funny text message conversation, save a memorable social media post, or keep a record of important information, taking a screenshot is a handy feature. In this article, we will explore the different methods for taking a screenshot on your iPhone 12.
1. Using physical buttons: The most traditional method of capturing a screenshot on the iPhone 12 involves using the physical buttons on the device. Simply follow these steps:
- Locate the Power button (located on the right side) and the Volume Up button (located on the left side).
- Open the app or screen that you want to capture.
- Simultaneously, press and hold the Power button and the Volume Up button.
- Release the buttons when you see a flash on the screen and hear a camera shutter sound.
- You will see a thumbnail preview of the screenshot in the bottom left corner of the screen. Tap it to access the editing and sharing options.
2. Taking a screenshot with AssistiveTouch: If using the physical buttons proves to be a bit challenging, especially for those with dexterity issues, you can enable AssistiveTouch, an accessibility feature that allows you to perform actions with on-screen gestures. Here’s how to use AssistiveTouch to take a screenshot:
- Go to Settings on your iPhone 12.
- Tap on Accessibility, then select Touch.
- Under the Physical and Motor section, tap on AssistiveTouch.
- Toggle the switch to turn on AssistiveTouch.
- A virtual button will appear on your screen. Tap on it, then tap on Device.
- In the Device menu, tap on Screenshot to capture a screenshot.
- You can find the screenshot in your Photos app, just like with the physical button method.
3. Editing and sharing your screenshot: Once you’ve captured a screenshot on your iPhone 12, you can take advantage of the built-in editing and sharing options. When you tap on the screenshot thumbnail, you’ll see editing tools at the top of the screen. You can crop, rotate, annotate, or add text to the screenshot. After making your desired edits, you can tap Done to save it. From there, you can choose to share it via Messages, Mail, social media platforms, or save it to your device.
Now that you know the various methods for taking a screenshot on your iPhone 12, you can easily capture and save important or interesting moments. Whether you prefer using the physical buttons or taking advantage of AssistiveTouch, Apple has provided intuitive options to meet your needs. So go ahead, take those screenshots and share them with the world!
Method 1: Using Physical Buttons
Taking a screenshot on an iPhone 12 is quick and easy thanks to the device’s physical buttons. This method allows you to capture the current screen with just a few simple steps. Here’s how you can do it:
- First, navigate to the screen you want to capture. Whether it’s a funny text message, a social media post, or a high score in a game, make sure the content you want to screenshot is displayed on the screen.
- Next, locate the side button on your iPhone 12. This is the button located on the right-hand side of the device, near the top. The side button is used for various functions, including taking screenshots.
- Once you’ve located the side button, simultaneously press and hold it along with the volume up button. The volume up button is located on the left-hand side of the iPhone, just above the side button.
- As soon as you press and hold both buttons, you will see the screen briefly flash white, accompanied by a camera shutter sound. This indicates that the screenshot has been successfully captured.
- After taking the screenshot, it will appear as a thumbnail in the bottom left corner of the screen. You can tap on this thumbnail to instantly access the editing options, such as cropping, adding annotations, or using the markup tools.
- If you don’t want to edit the screenshot right away, you can simply swipe it away, and it will be saved to your Photos app automatically.
Using the physical buttons to take a screenshot on your iPhone 12 is not only convenient but also ensures that you can capture any screen at any time without needing to access additional settings or features.
Method 2: Using AssistiveTouch
If you find it difficult or inconvenient to use the physical buttons on your iPhone 12 to take a screenshot, you can also use the AssistiveTouch feature. AssistiveTouch is a built-in accessibility feature that allows you to perform various actions on your device using a virtual button.
- First, make sure that AssistiveTouch is enabled on your iPhone 12. To do this, go to “Settings”.
- In the Settings menu, tap on “Accessibility”.
- Under the Accessibility menu, select “Touch”.
- Then, tap on “AssistiveTouch”.
- To turn on AssistiveTouch, toggle the switch next to “AssistiveTouch”.
Once AssistiveTouch is enabled, you can follow these steps to take a screenshot:
- Open the screen or app that you want to capture.
- Tap on the AssistiveTouch button. The AssistiveTouch menu will appear on your screen.
- In the AssistiveTouch menu, tap on “Device”.
- From the Device menu, tap on “More”.
- Now, tap on “Screenshot”.
AssistiveTouch will automatically capture a screenshot of your iPhone 12’s screen. You will see a preview of the screenshot at the bottom left corner of your screen. You can tap on the preview to quickly access the screenshot.
Just like when using the physical buttons, you can edit and share the screenshot using the options that appear after capturing the screenshot.
Using AssistiveTouch to take a screenshot on iPhone 12 can be especially helpful for individuals with physical disabilities or those who find it challenging to press the physical buttons.
Remember to disable AssistiveTouch after you have taken the screenshot if you do not wish to use the feature for other purposes. You can turn off AssistiveTouch by following the same steps mentioned above and toggling the switch next to “AssistiveTouch” to the off position.
Method 3: Using Accessibility Shortcut
If you’re looking for an alternative way to take a screenshot on your iPhone 12, using the Accessibility Shortcut feature is another option you can consider. This method allows you to customize a shortcut gesture or button press to trigger the screenshot function.
Here’s how you can use the Accessibility Shortcut to capture screenshots on your iPhone 12:
- Open the “Settings” app on your iPhone 12.
- Scroll down and tap on “Accessibility”.
- Tap on “Accessibility Shortcut” near the top of the menu.
- In the list of options that appear, find and select “Screenshot”.
- Exit the Settings app and go to the screen or app that you want to capture.
- Activate the Accessibility Shortcut by triple-pressing the side button or the Home button, depending on the iPhone model you have.
- Your iPhone will capture a screenshot and save it to your Photos app.
By setting up the Accessibility Shortcut for screenshots, you can quickly and easily capture important moments or information on your iPhone 12 without having to press specific physical buttons.
Remember to enable the Accessibility Shortcut for screenshots in the Settings app to ensure this method is available to you at any time.
It’s worth noting that the Accessibility Shortcut allows for customizability, so if you find the triple-press gesture or button press inconvenient, you can change it to a different gesture or button combination that suits your preferences.
While the Accessibility Shortcut method may require initial setup, it can be a convenient and efficient way to take screenshots on your iPhone 12 in the long run.
Now that you are aware of three different methods to capture screenshots on your iPhone 12, you can choose the one that best fits your needs and preferences. Whether you prefer using physical buttons, AssistiveTouch, or the Accessibility Shortcut, these methods are all easy to use and can help you quickly save and share information or memories on your iPhone 12.
Method 4: Using Third-Party Apps
If you’re looking for even more control and functionality when capturing screenshots on your iPhone 12, using a third-party app can be a great option. There are numerous apps available on the App Store that offer advanced screenshot features and customization options. Here are a few popular options:
- Screenshot App: This app provides a simple and intuitive interface for capturing screenshots. It allows you to crop, annotate, and share your screenshots effortlessly. Additionally, it offers advanced features like scrolling screenshots and screen recording.
- Lightshot Screenshot Tool: Lightshot is a powerful screenshot tool that enables you to capture screenshots with ease. It offers a range of editing options, including annotations, highlighting, and blurring. The app also allows for quick sharing via email or social media.
- Snagit: Snagit is a feature-packed app that not only captures screenshots but also records screen activity. It offers powerful editing tools, such as resizing, cropping, and adding text or shapes. Snagit also integrates with cloud storage services for convenient sharing.
Before downloading a third-party app, ensure that it is compatible with your iPhone 12 and has positive user reviews. Take note of any in-app purchases or subscription fees, as some apps may offer additional features as premium options.
Once you’ve chosen and downloaded a third-party app, follow the app’s instructions to set it up and customize the screenshot features to your liking. These apps usually provide a user-friendly interface that makes taking and editing screenshots a breeze.
Keep in mind that using a third-party app may require some additional storage space on your device, so ensure that you have enough available space before installing the app.
Using a third-party app not only expands your screenshot capabilities but also allows for more flexibility and customization. Experiment with different apps and find the one that suits your needs and preferences the best.
Conclusion
In conclusion, the iPhone 12 offers a simple and straightforward method for capturing screenshots. By following these steps, users can easily capture and save important moments or share them with others.
The ability to take screenshots on the iPhone 12 opens up a world of possibilities. Whether you want to capture a beautiful photo, save an important conversation, or highlight a piece of information, screenshots are a valuable tool in today’s digital world.
With cutting-edge features, stunning design, and powerful capabilities, the iPhone 12 continues to be a top choice for smartphone users. Its intuitive user interface and convenient screenshot function make it easy for anyone to capture and share moments in an instant.
So, whether you’re an avid social media user, a professional needing to capture important information, or simply want to save memories, the iPhone 12’s screenshot feature is there to help you do it all. So go ahead, unleash your creativity, and start capturing those incredible moments with your iPhone 12.
FAQs
1. How do I take a screenshot on iPhone 12?
To take a screenshot on an iPhone 12, simultaneously press the side button (located on the right side of the device) and the volume up button (located on the left side). Release the buttons quickly, and you will see a thumbnail of the screenshot in the bottom-left corner of the screen. You can tap on the thumbnail to edit, share, or delete the screenshot.
2. Where are the screenshots saved on iPhone 12?
On an iPhone 12, screenshots are saved in the Photos app. To view the screenshots, go to the Photos app, tap “Albums” at the bottom of the screen, and then select the “Screenshots” album.
3. Can I take a screenshot of a specific area on my iPhone 12?
Yes, you can take a screenshot of a specific area on your iPhone 12 by using the “Markup” feature. After taking a screenshot, tap on the thumbnail that appears in the bottom-left corner of the screen. This will open the screenshot in the Markup editor, where you can crop, annotate, or highlight specific areas before saving or sharing.
4. How do I access the Markup editor after taking a screenshot?
To access the Markup editor after taking a screenshot on your iPhone 12, simply tap on the thumbnail that appears in the bottom-left corner of the screen. This will open the screenshot in the Markup editor, where you can make edits or annotations before saving or sharing.
5. Can I take screenshots on my iPhone 12 in different orientations?
Yes, you can take screenshots on your iPhone 12 in both portrait and landscape orientations. The method of pressing the side button and the volume up button simultaneously remains the same, regardless of the device’s orientation. The screenshot will be saved with the correct orientation, capturing the content exactly as it appears on your screen.