
As a proud owner of both an iPhone and a MacBook, one of the most common needs I encounter is transferring data from my iPhone to my MacBook. Whether it’s photos, videos, contacts, or documents, having a seamless and efficient way to transfer data is essential for productivity and peace of mind. In this article, I will guide you through the step-by-step process of transferring data from your iPhone to your MacBook. Whether you’re a seasoned Apple user or a newbie to the ecosystem, you’ll find the instructions easy to follow and the methods applicable to different iPhone and MacBook models. So, let’s dive in and explore the various ways to transfer data from your iPhone to your MacBook!
Inside This Article
- Method 1: Transfer using iCloud
- Method 2: Transfer using iTunes
- Method 3: Transfer using AirDrop
- Method 4: Transfer using a third-party app
- Conclusion
- FAQs
Method 1: Transfer using iCloud
When it comes to transferring data from your iPhone to your MacBook, using iCloud is a convenient and seamless option. iCloud provides a secure cloud storage service that allows you to sync and share your data across multiple devices. With iCloud, you can easily transfer photos, videos, contacts, calendars, and more from your iPhone to your MacBook with just a few simple steps.
To transfer data using iCloud, make sure you have an active iCloud account and that both your iPhone and MacBook are signed in with the same iCloud account. Follow the steps below to initiate the transfer:
- On your iPhone, go to “Settings” and tap on your name at the top of the screen.
- Tap on “iCloud” and ensure that the desired data you want to transfer is turned on for syncing.
- On your MacBook, open the “System Preferences” and click on “Apple ID.”
- Select “iCloud” from the sidebar and ensure the same data is selected for syncing.
- Wait for a moment as iCloud syncs the data between your devices.
- Once the synchronization is complete, the transferred data will be available on your MacBook.
It’s important to note that the transfer using iCloud requires a stable internet connection. Also, the speed of the transfer may depend on the size of the data and the speed of your internet connection. However, once the data is transferred, it will be easily accessible on your MacBook, allowing you to access and manage your files effortlessly.
Using iCloud to transfer data is a convenient option, especially if you constantly switch between your iPhone and MacBook. It ensures that your data is always up to date and readily available across all your devices, making it easier to stay organized and productive.
Method 2: Transfer using iTunes
If you’re looking to transfer data from your iPhone to your Macbook, one of the most reliable methods is by using iTunes. iTunes is a software developed by Apple that allows you to sync and manage your iOS devices. By following a few simple steps, you can easily transfer your iPhone data to your Macbook using iTunes.
The first step is to ensure that you have the latest version of iTunes installed on your Macbook. You can download the latest version from the Apple website or update it from the App Store. Once you have iTunes installed and updated, connect your iPhone to your Macbook using a USB cable.
When you connect your iPhone to your Macbook, iTunes should automatically launch. If it doesn’t, you can open it manually by searching for iTunes in your Applications folder or clicking on its icon in the Dock. Once iTunes is open, you should see your iPhone icon in the top-left corner of the iTunes window.
Click on the iPhone icon to access the summary page. Here, you will find an overview of your device’s storage, including the amount of data used and available. To transfer specific types of data, such as photos, videos, or music, click on the corresponding tab in the left sidebar.
If you want to transfer all your iPhone data to your Macbook, click on the “Back Up Now” button. This will create a backup of your iPhone data on your Macbook. You can choose to encrypt the backup by selecting the “Encrypt iPhone backup” checkbox. This will ensure that your sensitive data, such as passwords and health data, is also backed up.
Once the backup process is complete, you can disconnect your iPhone from your Macbook. The backup file will be stored on your Macbook and can be accessed anytime. To restore the data from the backup, connect your iPhone to your Macbook again and click on the “Restore Backup” button on the summary page in iTunes.
It’s important to note that restoring a backup will erase all the existing data on your iPhone and replace it with the data from the backup. So, make sure to back up any new data on your iPhone before proceeding with the restore process.
Method 3: Transfer using AirDrop
When it comes to transferring data between your iPhone and Macbook, AirDrop is an incredibly convenient option. AirDrop uses Bluetooth and Wi-Fi to establish a direct connection between your devices, allowing for seamless file transfer without the need for cables or additional software.
To transfer data from your iPhone to your Macbook using AirDrop, follow these steps:
- Make sure that Bluetooth and Wi-Fi are enabled on both your iPhone and Macbook.
- On your iPhone, open the Control Center by swiping up from the bottom of the screen (or from the top-right corner on iPhone X and newer models).
- Press and hold the network settings card in the top-left corner of the Control Center.
- In the expanded network settings card, tap on the AirDrop icon.
- Select “Contacts Only” or “Everyone” to choose who can see your device in AirDrop. You can also choose to turn off AirDrop visibility.
- On your Macbook, open the Finder window and navigate to the folder where you want to receive the transferred files.
- On your iPhone, select the files or photos you want to transfer. You can do this by going to the respective app (e.g., Photos app for photos) and selecting the desired files.
- Tap on the Share button (usually represented by a square with an arrow pointing upwards).
- In the Share menu, you will see a list of available AirDrop devices. Tap on your Macbook’s name to initiate the transfer.
- On your Macbook, a notification will appear asking if you want to accept the incoming AirDrop transfer. Click “Accept” to start receiving the files.
- Once the transfer is complete, you will find the transferred files in the designated folder on your Macbook.
It’s important to note that AirDrop requires the devices to be in close proximity and within range. Keep in mind that both devices need to have the AirDrop feature and be signed in with the same Apple ID for a successful transfer.
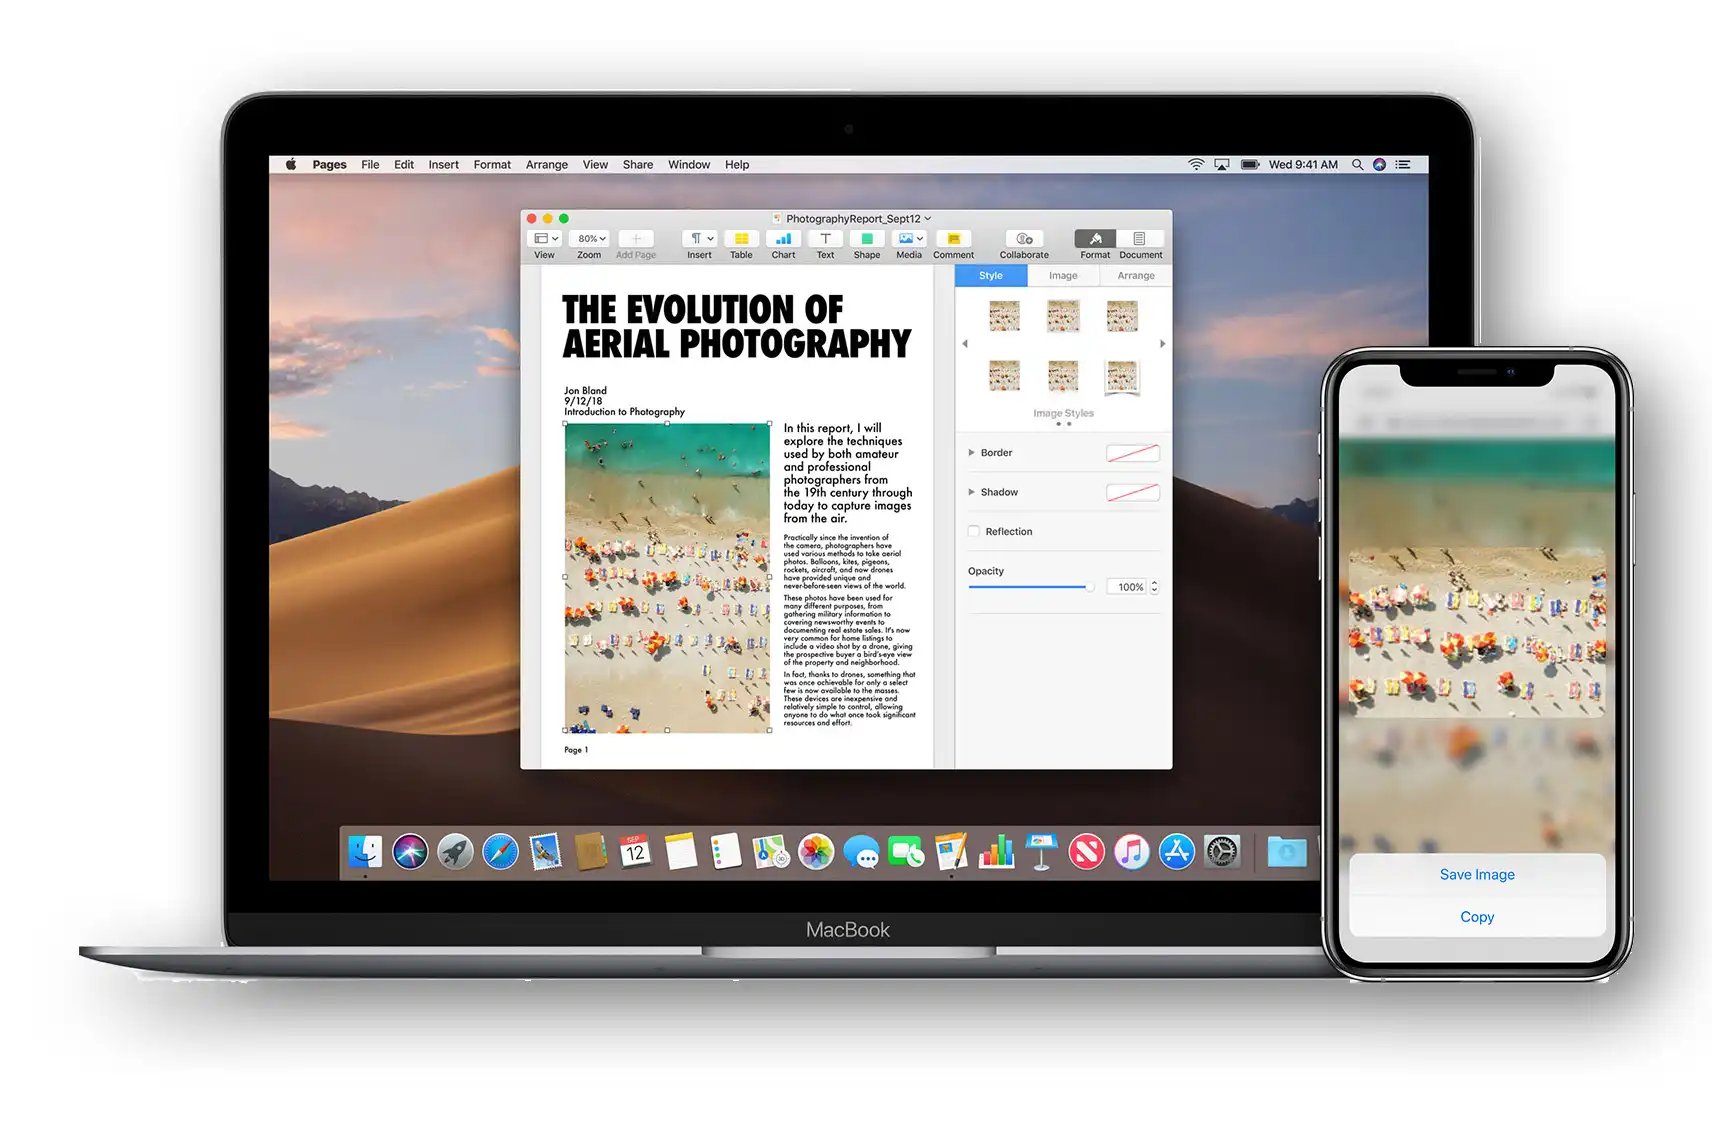
AirDrop supports the transfer of various types of files, including photos, videos, contacts, documents, and more. It provides a quick and efficient way to transfer data between your iPhone and Macbook with just a few simple steps.
So, next time you need to transfer files from your iPhone to your Macbook, give AirDrop a try. It’s a hassle-free method that can save you time and eliminate the need for cables or third-party apps.
Method 4: Transfer using a third-party app
While using cloud storage and built-in apps like iCloud and iTunes can be convenient for transferring data from your iPhone to your MacBook, sometimes you may prefer an alternative option. This is where third-party apps come into play. There are numerous apps available in the App Store that specialize in data transfer between iOS devices and MacBooks.
One popular third-party app for data transfer is “iMazing.” It offers a user-friendly interface and a variety of features to help you easily transfer your data from your iPhone to your MacBook. With iMazing, you can transfer photos, videos, music, contacts, messages, and more.
To transfer data using iMazing:
- First, download and install iMazing from the App Store onto your MacBook and iPhone.
- Connect your iPhone to your MacBook using a USB cable.
- Launch iMazing on both your iPhone and MacBook.
- In the iMazing app on your iPhone, select the data you want to transfer to your MacBook.
- Click on the “Transfer to Mac” option in iMazing on your iPhone.
- Follow the prompts to select the destination folder on your MacBook and begin the transfer process.
- Once the transfer is complete, you can disconnect your iPhone from your MacBook and access the transferred data on your MacBook.
Another popular third-party app for data transfer is “AnyTrans.” It offers a seamless and efficient way to transfer data between your iPhone and MacBook. AnyTrans supports various types of data, including photos, videos, music, contacts, messages, and more.
To transfer data using AnyTrans:
- Download and install AnyTrans from the App Store onto your MacBook.
- Connect your iPhone to your MacBook using a USB cable.
- Launch AnyTrans on your MacBook.
- Select the desired data type you want to transfer from your iPhone to your MacBook.
- Click on the “Transfer to Mac” option in AnyTrans.
- Choose the destination folder on your MacBook and click “Transfer” to start the transfer process.
- Once the transfer is finished, you can disconnect your iPhone from your MacBook and access the transferred data on your laptop.
Third-party apps like iMazing and AnyTrans provide alternative and convenient ways to transfer data from your iPhone to your MacBook. These apps offer additional features and functionalities that may better suit your specific needs compared to the built-in options.
Before using any third-party app, make sure to read reviews, check the app’s compatibility with your devices, and follow the installation instructions provided by the app developer. This will ensure a smooth and secure data transfer process.
Conclusion
In conclusion, transferring data from your iPhone to your MacBook is a straightforward process that can greatly enhance your productivity and convenience. Whether you need to transfer photos, videos, contacts, or documents, there are various methods available to suit your needs. The use of iCloud, iTunes, or third-party software ensures a seamless and secure transfer, allowing you to access and manage your data effortlessly on your MacBook. With the convenience of wireless transfers and the reliability of backup options, you can rest assured that your valuable information is safely stored and easily accessible. So, whether you’re taking pictures on your iPhone or working on files on your MacBook, transferring data between the two devices is simple and efficient. Say goodbye to the hassle of manually transferring files and embrace the convenience of technology to streamline your digital life.
FAQs
FAQ 1: How can I transfer data from my iPhone to my MacBook?
To transfer data from your iPhone to your MacBook, you have a few options. One of the easiest ways is to use the built-in iCloud sync feature. Simply enable iCloud on both your iPhone and MacBook, and make sure the desired data (such as contacts, calendars, and photos) is set to sync. Another method is to connect your iPhone to your MacBook using a USB cable and use the iTunes app to transfer the data. Additionally, you can use third-party software like iMazing or AnyTrans to selectively transfer data from your iPhone to your MacBook.
FAQ 2: What types of data can I transfer from my iPhone to my MacBook?
You can transfer various types of data from your iPhone to your MacBook. This includes contacts, calendars, photos, videos, music, messages, notes, and more. With the right tools and methods, you can easily transfer and sync these different types of data between your devices.
FAQ 3: Will transferring data from my iPhone to my MacBook delete the data from my iPhone?
No, transferring data from your iPhone to your MacBook typically does not delete the data from your iPhone. Most transfer methods allow you to create a copy of the data on your MacBook while keeping the original data intact on your iPhone. However, it’s always a good idea to backup your iPhone before performing any data transfers, just to be safe.
FAQ 4: Can I transfer apps from my iPhone to my MacBook?
Unfortunately, you cannot directly transfer apps from your iPhone to your MacBook. Apps are tied to the iOS operating system and cannot be installed on macOS. However, many apps have corresponding versions for macOS, which you can download from the Mac App Store. You can also use the iTunes app to manage and sync apps between your iPhone and MacBook.
FAQ 5: Are there any limitations or considerations when transferring data from iPhone to MacBook?
When transferring data from your iPhone to your MacBook, there are a few things to consider. Firstly, make sure both your iPhone and MacBook are running the latest software versions to ensure compatibility. It’s also important to have enough available storage space on your MacBook to accommodate the transferred data. Additionally, some file formats like HEIC (High-Efficiency Image Format) photos may require conversion or specialized software to be viewable on your MacBook.