
Are you looking to transfer your eSIM to another iPhone? Whether you’re upgrading your device or simply want to switch to a different iPhone, transferring your eSIM is a straightforward process that allows you to keep your existing cellular plan without any hassle. In this article, we will walk you through the step-by-step procedure to transfer your eSIM to another iPhone, saving you time and ensuring a seamless transition. Whether you’re a tech-savvy individual or a newbie in the world of mobile phones, this guide will provide you with the necessary information to make the eSIM transfer process smooth and effortless. So, let’s dive in and explore how you can transfer your eSIM to another iPhone in no time!
Inside This Article
- Section 1: Understanding eSIMs
- Section 2: Steps to Transfer eSIM to Another iPhone
- Section 3: Troubleshooting Tips
- Conclusion
- FAQs
Section 1: Understanding eSIMs
In today’s digital world, technology is constantly evolving. One of the latest advancements in the mobile phone industry is the introduction of eSIMs, or embedded SIM cards. Unlike traditional SIM cards that need to be physically inserted into a device, eSIMs are integrated directly into the phone’s hardware.
eSIMs bring several advantages to mobile phone users. Firstly, they eliminate the hassle of carrying multiple physical SIM cards, as one eSIM can store multiple profiles from different network carriers. This flexibility allows users to switch between providers easily, depending on factors like pricing or network coverage.
Another benefit of eSIMs is the convenience they offer. With no need to physically swap SIM cards, users can quickly activate a new profile or plan directly from their device. This is particularly useful for frequent travelers who often find themselves needing to switch to a local carrier in different countries.
Additionally, eSIMs also save space within the device. Without the need for a physical SIM card slot, manufacturers can design sleeker and more compact phones. This leads to more room for other features or a slimmer profile, ultimately enhancing the user experience.
It’s worth noting that while eSIMs provide numerous advantages, not all devices or carriers support this technology. Before considering a transfer to another iPhone or a new phone with eSIM capabilities, it’s important to check if your device and carrier are compatible.
In the following sections, we will explore the steps to transfer an eSIM to another iPhone. But first, let’s address a few common questions users have about eSIMs.
Section 2: Steps to Transfer eSIM to Another iPhone
Transferring an eSIM from one iPhone to another is a relatively simple process. Follow these step-by-step instructions to ensure a smooth transfer:
Step 1: Verify eSIM Compatibility
First and foremost, ensure that both iPhones are compatible with eSIM technology. Check the specifications of each device to confirm eSIM support. Most modern iPhones, such as the iPhone 11 or iPhone 12 series, have eSIM capabilities.
Step 2: Backup Data
Before initiating the transfer, it is crucial to backup all important data on the source iPhone. This includes contacts, photos, videos, apps, and any other valuable information. You can use iCloud or iTunes to create a backup.
Step 3: Remove Existing eSIM
Open the Settings app on the source iPhone and navigate to the “Cellular” or “Mobile Data” section. Look for the option to manage your eSIM profiles. Select the active eSIM and choose to remove it from the device.
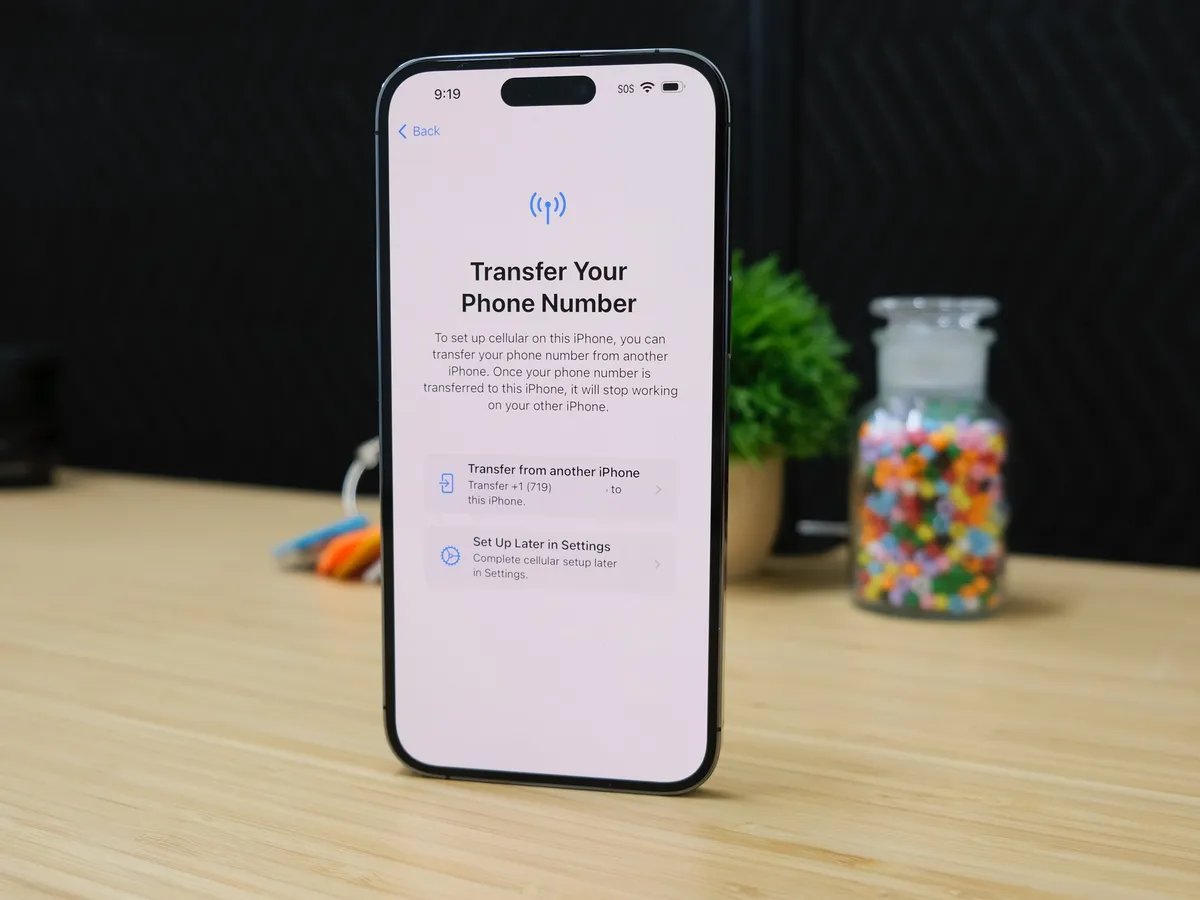
Step 4: Obtain QR Code or Manual Activation Key
On the iPhone that will be the recipient of the eSIM transfer, obtain the QR Code or manual activation key from your mobile carrier. This code or key is essential for activating the new eSIM on the device.
Step 5: Add New eSIM
On the recipient iPhone, go to the Settings app and navigate to the “Cellular” or “Mobile Data” section. Choose the option to add a new eSIM. Use the QR Code scanner or enter the manual activation key provided by your mobile carrier.
Step 6: Activate and Verify
Follow the on-screen instructions to activate the new eSIM on the recipient iPhone. Once the activation process is complete, ensure that the eSIM is properly recognized and configured by checking the settings.
Step 7: Test Connectivity
To ensure a successful transfer, test the connectivity of the new eSIM on the recipient iPhone. Make a phone call, send/receive text messages, and browse the internet to verify that everything is functioning properly.
Step 8: Delete Old eSIM Profile
Lastly, don’t forget to delete the old eSIM profile from the source iPhone. This will prevent any confusion and ensure that the correct eSIM is active on each device.
By following these simple steps, you can easily transfer an eSIM from one iPhone to another, ensuring uninterrupted mobile connectivity on your new device.
Section 3: Troubleshooting Tips
While transferring an eSIM to another iPhone is generally a smooth process, there may be some instances where you encounter difficulties. Here are some troubleshooting tips to help you overcome common issues:
1. Check Compatibility: Ensure that the eSIM is compatible with the iPhone you want to transfer it to. Different iPhone models support different eSIMs, so it’s crucial to verify compatibility before attempting the transfer.
2. Update Software: Outdated software on either the source or destination iPhone can cause compatibility issues during eSIM transfer. Make sure both devices are running on the latest version of iOS to avoid any potential conflicts.
3. Network Coverage: If you’re experiencing difficulties activating the eSIM, it could be due to poor network coverage. Ensure that you have a stable cellular connection to facilitate the eSIM transfer process.
4. Contact Service Provider: If you’re still encountering problems, reach out to your service provider for assistance. They can offer guidance specific to your eSIM transfer and troubleshoot any issues you may be facing.
5. Reset Network Settings: In some cases, resetting the network settings on your iPhone can resolve eSIM transfer issues. Go to Settings > General > Reset > Reset Network Settings. Keep in mind that this will remove all saved Wi-Fi passwords and Bluetooth connections.
6. Restart Devices: Sometimes a simple restart can solve connectivity issues. Try restarting both the source and destination iPhones, as well as any involved devices like routers or Wi-Fi hotspots.
7. Reset iPhone: If all else fails, you may need to consider resetting your iPhone to its factory settings. This should only be done as a last resort, as it erases all data on the device. Remember to back up your important data before proceeding with a reset.
By following these troubleshooting tips, you can overcome common obstacles that may arise when transferring an eSIM to another iPhone. Remember to keep calm and patient throughout the process, and don’t hesitate to seek assistance if needed. With a bit of troubleshooting, you’ll be able to successfully transfer your eSIM and enjoy the benefits of your new iPhone.
In conclusion, transferring an eSIM to another iPhone is a straightforward process that allows you to seamlessly switch devices without having to physically remove and insert a physical SIM card. With the increasing popularity of eSIM technology, it is convenient and efficient to transfer your eSIM from one iPhone to another.
By following the steps outlined in this guide, you can easily transfer your eSIM to a new iPhone and continue enjoying uninterrupted cellular connectivity. Whether you are upgrading to a newer iPhone model or simply switching to a different device, the ability to transfer your eSIM provides flexibility and ease of use.
Always remember to check with your mobile network provider to ensure that your current plan supports eSIM and is compatible with the new iPhone. With eSIM technology becoming more widely available, transferring your eSIM to another iPhone is a hassle-free way to stay connected and make the most out of your mobile experience.
FAQs
Q: Can I transfer an eSIM from one iPhone to another?
Yes, it is possible to transfer an eSIM from one iPhone to another. As long as both devices support eSIM technology and are compatible with your mobile carrier, you can easily transfer the eSIM profile from one device to another. This allows you to switch iPhones without the need to physically swap a physical SIM card.
Q: How do I transfer an eSIM to another iPhone?
To transfer an eSIM to another iPhone, follow these steps:
- On your current iPhone, go to the Settings app.
- Select “Cellular” and then “Cellular Plans.”
- Tap on the eSIM profile you want to transfer.
- Choose “Remove Cellular Plan” and confirm the removal.
- On the new iPhone, go to the Settings app.
- Select “Cellular” and then “Add Cellular Plan.”
- Scan the QR code or enter the activation code provided by your mobile carrier to add the eSIM profile to the new iPhone.
- Follow any additional prompts to complete the eSIM setup.
Q: Are there any limitations or restrictions when transferring an eSIM to another iPhone?
While transferring an eSIM to another iPhone is generally straightforward, there may be some limitations or restrictions to consider. Firstly, ensure that both devices are unlocked and compatible with your mobile carrier’s network. Additionally, you may need to contact your carrier to check if they support eSIM transfers and if any specific restrictions apply to your account or plan.
Q: Is there any cost associated with transferring an eSIM to another iPhone?
The transfer of an eSIM to another iPhone typically does not incur any additional charges. However, it is important to check with your mobile carrier as they may have their own policies or fees related to eSIM transfers. It is recommended to reach out to your carrier’s customer service or refer to their website for accurate and up-to-date information.
Q: Can I transfer an eSIM from an iPhone to another type of smartphone?
The eSIM technology is primarily supported by iPhones and a limited number of other smartphone models. Transferring an eSIM from an iPhone to another type of smartphone may not be possible due to compatibility issues. It is advisable to check with your mobile carrier and the smartphone manufacturer to confirm if eSIM transfers are supported between different devices.