
In today’s world, where taking photos has become an integral part of our lives, there’s nothing more frustrating than capturing a blurry image on your iPhone. Whether it’s due to motion blur, camera shake, or poor focus, blurry photos can diminish the quality of your cherished memories. But don’t worry! All hope is not lost. With the advancements in technology, it’s now possible to unblur photos directly on your iPhone and restore the sharpness and clarity you desire. In this article, we will delve into the various methods and tools you can use to unblur your photos on your iPhone, from built-in features to third-party apps. Say goodbye to blurry photos and get ready to showcase your photography skills with stunning clarity!
Inside This Article
- Overview
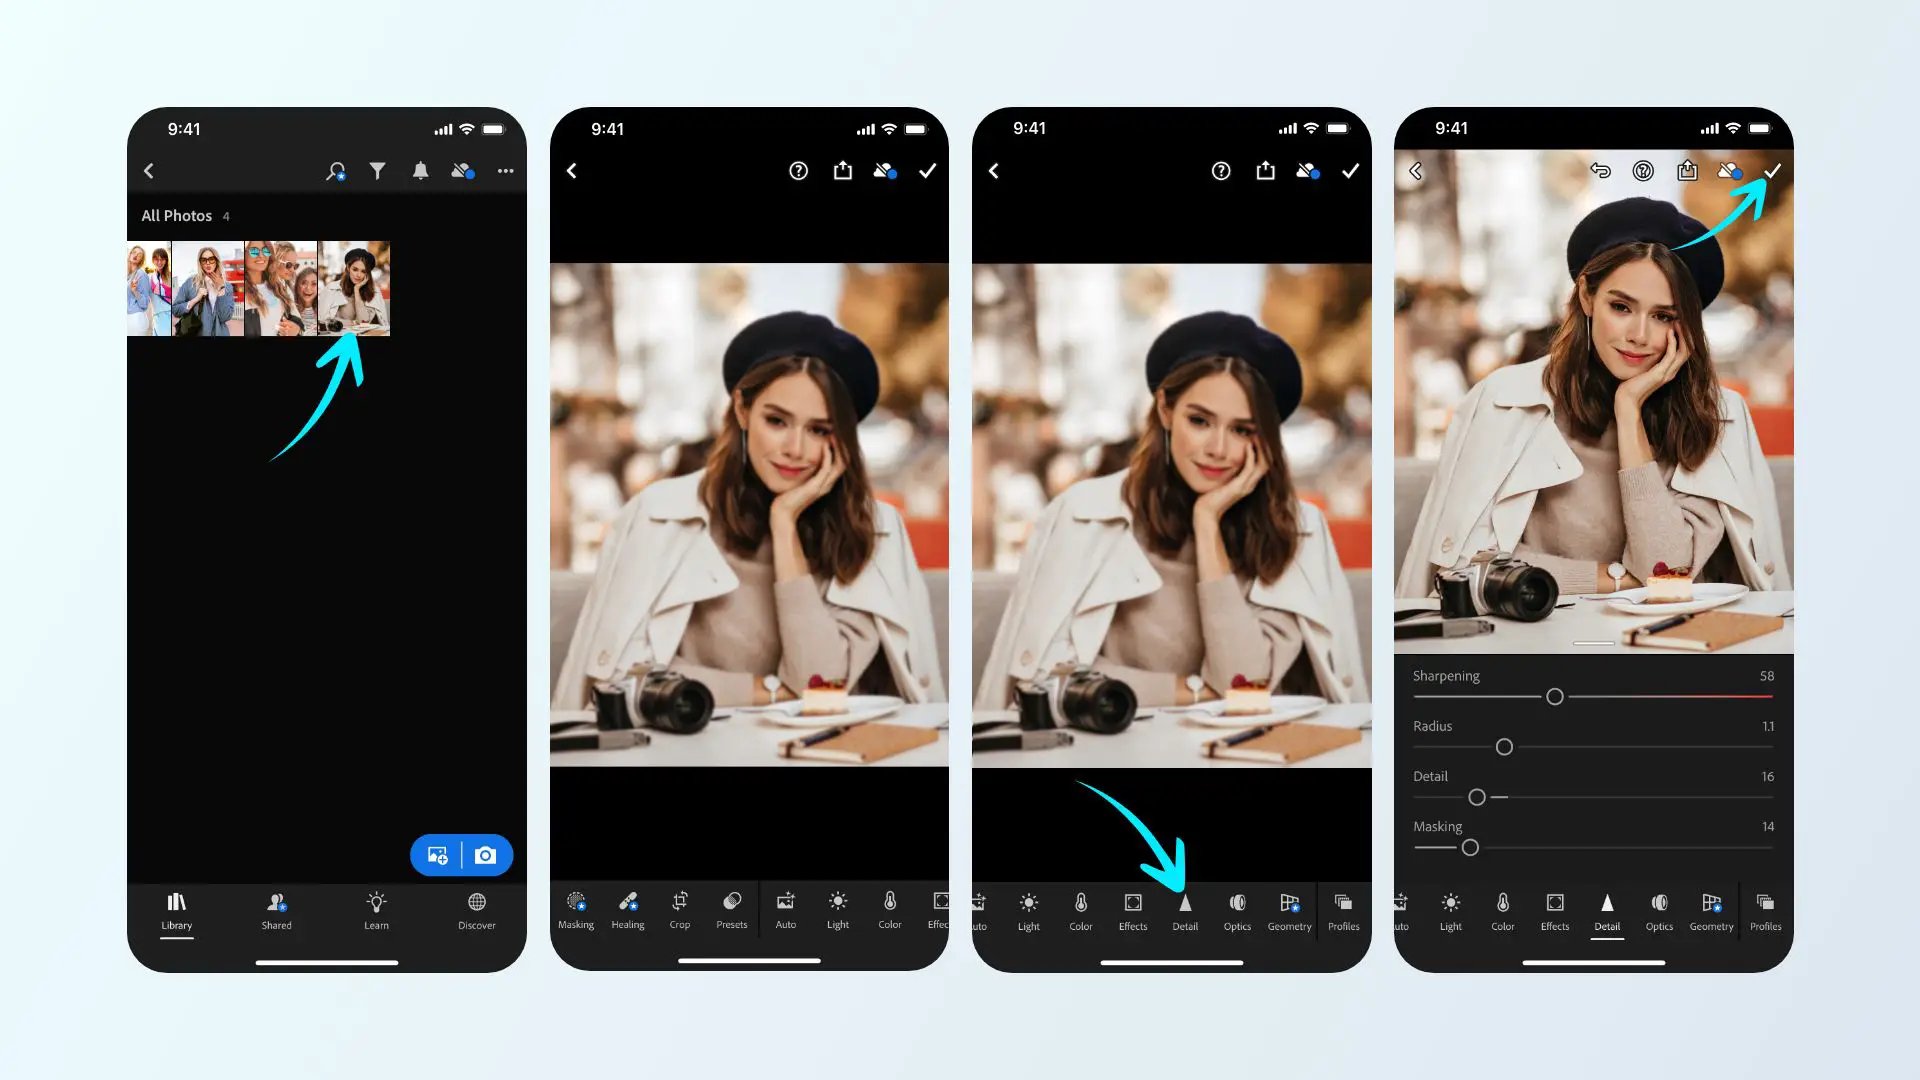
- Method 1: Using iPhone Apps
- Method 2: Adjusting Sharpness and Contrast
- Method 3: Using Third-Party Software
- Method 4: iCloud Photo Library
- Conclusion
- FAQs
Overview
Blurry photos can be quite frustrating, especially when they capture a special moment or an important detail. Fortunately, with the advanced camera technology found in iPhones, there are several methods you can use to unblur photos and enhance their clarity. Whether you want to fix a blurry selfie, a blurry landscape shot, or any other type of blurry photo, this article will guide you through the process of unblurring photos on your iPhone.
There are various techniques you can employ to unblur photos on your iPhone, ranging from using specialized third-party apps to utilizing the built-in editing tools and adjusting image settings. Each method offers its own advantages and may be suitable for different scenarios, so it is worth exploring multiple options to achieve the best possible results.
In the following sections, we will delve into three different methods you can use to unblur photos on your iPhone. These methods are easy to follow and do not require any advanced technical knowledge. Whether you are a photography enthusiast or just want to improve the quality of your blurry photos, these techniques will help you bring more clarity to your images.
Method 1: Using iPhone Apps
One of the easiest and most effective ways to unblur photos on your iPhone is by using dedicated photo editing apps. These apps offer powerful tools and features that can help enhance the clarity and sharpness of your blurred images. Here are some recommended apps to consider:
1. Snapseed: Snapseed is a popular and highly-rated photo editing app that offers a variety of tools to enhance your photos. It has a dedicated “Sharpen” tool that can reduce blurriness and bring out more details in your images.
2. Adobe Photoshop Express: Adobe Photoshop Express is another great app to consider. It provides various editing options, including a “Sharpen” tool that can help improve the overall sharpness and clarity of your photos.
3. VSCO: VSCO is not only known for its impressive collection of filters but also for its powerful editing tools. The app offers a “Sharpen” tool that can help you unblur your photos effectively.
4. AfterFocus: AfterFocus is a specialized app designed for creating depth-of-field effects. However, it also provides a “Sharpen” tool that can be used to reduce blurriness and improve the overall sharpness of your images.
5. Fotor Photo Editor: Fotor Photo Editor is a comprehensive editing app with a wide range of tools, including a “Sharpen” feature that can help unblur your photos and enhance their clarity.
To use these apps, simply download them from the App Store, open the app, and import the blurred photo you want to unblur. Locate the “Sharpen” or similar tool provided by the app and adjust the settings until you achieve the desired level of sharpness and clarity.
Remember, each app may have slight variations in terms of user interface and tool placement, so explore the app to familiarize yourself with its features. With these powerful photo editing apps, you can easily unblur your photos and make them look sharp and clear again.
Method 2: Adjusting Sharpness and Contrast
If you’re an iPhone user looking to unblur photos, another method you can try is adjusting the sharpness and contrast of the image. This method utilizes the built-in editing tools on your iPhone, making it a convenient option to enhance the clarity and quality of your blurry photos.
To get started, follow these steps:
- Open the Photos app on your iPhone and select the blurry photo you want to fix.
- Tap the “Edit” button located at the top-right corner of the screen.
- Once in editing mode, you’ll see various editing options at the bottom of the screen. Tap on the “Adjustments” icon, which looks like a dial.
- Adjust the “Sharpness” slider to increase the sharpness of the image. Drag it towards the right to make the photo sharper.
- Next, adjust the “Contrast” slider to enhance the contrast in the photo. Increasing the contrast will help distinguish between different elements, making the image appear clearer.
- Make sure to fine-tune the adjustments according to your preferences by trying different settings on the sliders.
- Once you’re satisfied with the changes, tap “Done” to save the edited photo.
By adjusting the sharpness and contrast of your blurry photo, you can significantly improve its clarity and bring out the details that were previously obscured. This method is quick, easy, and doesn’t require any additional apps or tools. However, keep in mind that the extent to which you can unblur a photo might vary depending on the severity of blurriness and the quality of the original image.
Remember to back up your original photo before making any edits, so you can always revert to the original version if needed. Additionally, it’s worth experimenting with different adjustments and settings to find the best result for each specific photo.
Now that you know how to adjust sharpness and contrast to unblur photos on your iPhone, you can take your blurry images and transform them into clear and crisp memories in just a few simple steps.
Method 3: Using Third-Party Software
If you’re looking to unblur photos on your iPhone, another effective method is to utilize third-party software specifically designed for image enhancement and restoration. These apps offer a wide range of powerful tools and algorithms that can help you regain clarity and sharpness in your blurry photos. Here are a few popular options to consider:
1. Adobe Photoshop Express: As one of the most popular photo editing apps available, Adobe Photoshop Express offers various features, including the ability to reduce blur and enhance image quality. With its intuitive interface and professional-grade editing tools, this app allows you to tweak and refine your photos with ease.
2. Snapseed: Developed by Google, Snapseed is a user-friendly photo editing app that provides precise controls for enhancing image sharpness and reducing blur. With its advanced algorithms and selective editing capabilities, you can effectively salvage blurred photos and bring out the details.
3. Focus Magic: If you’re looking for a dedicated solution for fixing blurry images, Focus Magic is a great choice. This software uses advanced forensic strength deconvolution technology to reverse the effects of motion blur, out-of-focus blur, and other types of blurriness. It is available as a desktop application but also offers a mobile version for iOS devices.
4. TouchRetouch: Sometimes, blurriness in photos can be caused by unwanted objects or elements. TouchRetouch is an app designed specifically for removing unwanted objects from photos. By using its intelligent algorithms, you can easily eliminate any distractions and restore the sharpness of your images.
When using third-party software for unblurring photos on your iPhone, it’s important to keep in mind that the effectiveness of these tools may vary depending on the severity of the blur and the quality of the original image. It’s also a good practice to experiment with different settings and tools to achieve the best results.
By taking advantage of these third-party software options, you can significantly improve the clarity and sharpness of your blurry photos on your iPhone.
Method 4: iCloud Photo Library
If you are an iPhone user, chances are you are already using iCloud to back up and sync your photos. But did you know that iCloud Photo Library can also help you with unblurring your photos? This method allows you to access and edit your pictures across all your devices seamlessly. Here’s how you can leverage iCloud Photo Library to unblur your photos on iPhone.
1. Open the “Settings” app on your iPhone and tap on your name at the top to access your iCloud settings.
2. Scroll down and tap on “Photos” to open the Photos settings.
3. Make sure the “iCloud Photos” toggle switch is turned on. This ensures that your photos are being stored in iCloud and are available across all your devices.
4. Open the “Photos” app on your iPhone and navigate to the blurred photo you want to unblur.
5. Tap on the photo to open it in full screen and then tap on the “Edit” button at the top right corner of the screen.
6. In the editing toolbar, you will see several options to enhance your photo. You can adjust brightness, contrast, and other settings to improve the clarity of the image and reduce blurriness.
7. Experiment with the different editing tools and adjustments until you achieve the desired result. Take your time to fine-tune the image and make it as sharp as possible.
8. Once you are satisfied with the edits, tap on “Done” to save the changes to your photo.
9. The edited photo will be automatically synced and saved to your iCloud Photo Library. You can now access the unblurred version of the photo on all your devices linked to your iCloud account.
By utilizing iCloud Photo Library, you can conveniently edit and unblur your photos across multiple devices. This method ensures that your photos remain synced and accessible, allowing you to seamlessly enhance their quality on your iPhone.
Technology has made it incredibly easy to capture high-quality photos on our smartphones. However, blurriness can sometimes sneak into our precious moments, leaving us frustrated and disappointed. Fortunately, with the help of various editing tools and apps, unblurring photos on your iPhone is now within reach.
In this article, we explored different methods to unblur photos on iPhone. We discussed utilizing built-in features such as the “Sharpen” tool in the Photos app, as well as downloading third-party apps like Snapseed or Adobe Photoshop Express. We also explained how to use manual editing tools like the “Detail” feature in Lightroom Mobile and the “Clarity” option in Pixlr.
Remember, each method has its pros and cons, and the results may vary depending on the blurriness of the photo and the editing skills of the user. Therefore, it’s essential to experiment and find the method that works best for you.
Now, armed with the knowledge and tools to unblur your iPhone photos, you can rescue those precious memories and share them with confidence. So don’t let blurriness hold you back – go ahead and bring your photos back into focus!
FAQs
Here are some frequently asked questions about unblurring photos on iPhone:
- Can I unblur photos on my iPhone?
- Which photo editing apps can I use to unblur photos on iPhone?
- How do I unblur a photo using photo editing apps?
- Are there any other methods to unblur photos on iPhone?
- Can I prevent photos from getting blurred in the first place?
Yes, you can unblur photos on your iPhone using various photo editing apps available on the App Store. These apps provide tools and features to help you sharpen and enhance blurry images.
There are several popular photo editing apps that you can use to unblur photos on your iPhone, such as Adobe Photoshop Express, Snapseed, VSCO, and Enlight. These apps offer a range of editing tools, including sharpening and noise reduction filters, to help you deblur your photos.
To unblur a photo using photo editing apps, you usually have to follow these steps:
1. Open the app and import the blurry photo.
2. Look for the sharpening or clarity tool in the app’s editing tools.
3. Adjust the settings to increase the sharpness or clarity of the photo.
4. Apply the changes and save the unblurred photo.
Yes, apart from using photo editing apps, you can also try using third-party software or online tools specifically designed for photo deblurring. These tools use advanced algorithms to analyze and enhance blurry images, helping you achieve better results.
While it’s not always possible to prevent photos from getting blurred, there are some steps you can take to minimize blur:
1. Keep your hands steady while taking photos.
2. Use a tripod or stabilize your phone against a solid surface.
3. Avoid using digital zoom, as it can lead to blurry images.
4. Make sure your camera lens is clean.
5. Use burst mode or continuous shooting to increase the chances of capturing a sharp image.
6. Adjust your phone’s camera settings to increase the shutter speed, if possible.