
So, you’ve got a brand new phone and you’re eager to transfer all your precious photos from your iPhone. But how do you go about it? Don’t worry, we’ve got you covered! In this article, we will guide you through the process of transferring photos from your iPhone to your new phone with ease and convenience. Whether you’re moving to an Android device or another iPhone model, we will provide you with step-by-step instructions to ensure a seamless transition. Say goodbye to the hassle of manually transferring each photo and hello to a quick and efficient method to preserve your memories. Let’s dive in and discover how to transfer photos from your iPhone to your new phone!
Inside This Article
- Method 1: Using iCloud Photo Library
- Method 2: Using iTunes
- Method 3: Using Google Photos
- Method 4: Using Third-Party Apps
- Conclusion
- FAQs
Method 1: Using iCloud Photo Library
If you are looking for a convenient way to transfer photos from your old iPhone to a new phone, using iCloud Photo Library can be a great option. iCloud Photo Library is a cloud-based service offered by Apple that allows you to store, access, and sync your photos across all your Apple devices.
Here’s how you can transfer your photos using iCloud Photo Library:
- Make sure iCloud Photo Library is enabled on your old iPhone. You can check this by going to Settings, then tapping on your Apple ID at the top of the screen. From there, navigate to iCloud > Photos and ensure that the “iCloud Photo Library” toggle is turned on.
- On your new phone, sign in with the same Apple ID that you used on your old iPhone. This will ensure that your photos are synced between the devices.
- If you have a stable Wi-Fi connection, your photos should start syncing automatically. However, if they don’t, you can manually initiate the syncing process by going to Settings, tapping on your Apple ID, navigating to iCloud > Photos, and turning on the “iCloud Photo Library” toggle.
- Once the syncing process is complete, you should see all your photos available in the Photos app on your new phone.
Please note that iCloud Photo Library allows you to store up to 5GB of photos for free. If you have more than 5GB of photos, you might need to purchase additional iCloud storage. You can do this by going to Settings, tapping on your Apple ID, navigating to iCloud > Manage Storage, and selecting the “Change Storage Plan” option.
Using iCloud Photo Library not only transfers your photos to your new phone but also ensures that they are backed up securely in the cloud. This means you can access your photos from any Apple device with your Apple ID. It’s a convenient and reliable way to transfer and store your precious memories.
Method 2: Using iTunes
If you prefer a more traditional method of transferring photos from your iPhone to a new phone, using iTunes is an excellent option. iTunes allows you to sync your photos between your devices seamlessly. Follow these steps to transfer your photos:
- Connect your iPhone to your computer using a USB cable and open iTunes.
- Select your iPhone in iTunes by clicking on the device icon in the upper left corner of the iTunes window.
- Click on the “Photos” tab in the left sidebar.
- Check the box next to “Sync Photos” and choose either “Photos” or a specific album from the drop-down menu. If you want to transfer all your photos, select “All photos and albums.”
- Click the “Apply” or “Sync” button in the lower right corner of the iTunes window to start the photo transfer process.
- Once the sync is complete, disconnect your iPhone from the computer and connect your new phone.
- Select your new phone in iTunes and follow the same steps to enable photo syncing.
- After syncing, your photos will be transferred from your iPhone to your new phone.
Using iTunes gives you the advantage of transferring not only your photos but also syncing other content, such as music, videos, and apps, between your devices. However, keep in mind that iTunes only supports the transfer of media files, so if you have non-media files like contacts or messages, you’ll need to use alternative methods.
It’s important to note that using iTunes may require you to have enough storage space on your computer to accommodate the photos from your iPhone. Additionally, if you’re using a new phone that’s not compatible with iTunes, you may need to explore other methods of transferring your photos.
Now that you know how to transfer photos from your iPhone to a new phone using iTunes, you can easily carry your precious memories with you wherever you go.
Method 3: Using Google Photos
If you’re looking for a convenient and easy way to transfer photos from your iPhone to a new phone, using Google Photos can be a great option. Google Photos is a free app that allows you to back up and access your photos from any device with an internet connection. Here’s how you can transfer your photos using Google Photos:
1. Install Google Photos: Start by downloading and installing the Google Photos app from the App Store on your iPhone.
2. Sign in to Your Google Account: Open the Google Photos app and sign in with your Google account. If you don’t have one, you’ll need to create a Google account first.
3. Enable Back Up & Sync: Once you’re signed in, go to the app’s settings and enable the “Back up & sync” option. This will ensure that your photos are automatically backed up to your Google account.
4. Start Photo Backup: Go back to the app’s main interface and tap on the “Photos” tab. Google Photos will now start backing up your iPhone photos to your Google account. The time it takes to complete the backup will depend on the number and size of your photos.
5. Access Photos on Your New Phone: After the backup is complete, you can set up your new phone and download the Google Photos app. Sign in with the same Google account and enable the “Back up & sync” option. Your photos will be available for you to access and download on your new device.
6. Download Photos to Your New Phone: Once you’ve signed in to Google Photos on your new phone, you can view and download your backed-up photos by tapping on the “Photos” tab. From there, you can select the photos you want to download and save them to your new device’s gallery or camera roll.
7. Delete Photos from iPhone: After successfully transferring your photos to your new phone, you can free up space on your iPhone by deleting the backed-up photos. Open the Google Photos app on your iPhone, tap on the photo, and select the “Delete from device” option. This will remove the photo from your iPhone while keeping it backed up on Google Photos.
Using Google Photos is a simple and efficient way to transfer your photos from your iPhone to a new phone. It allows you to access your photos from any device with a Google account, ensuring that your memories are always safe and accessible.
Method 4: Using Third-Party Apps
If you’re looking for a more flexible and user-friendly way to transfer photos from your iPhone to a new phone, using third-party apps is a great option. These apps offer additional features and functionalities that can simplify the photo transfer process.
One popular app for transferring photos is Google Photos. This app allows you to back up all your photos to the cloud and access them from any device. To transfer your iPhone photos to a new phone using Google Photos, follow these steps:
- Download and install the Google Photos app on your iPhone.
- Launch the app and sign in with your Google account.
- Tap on the three horizontal lines in the top left corner to open the menu.
- Select “Settings” from the menu.
- Tap on “Back up & sync” and toggle the switch to enable it.
- Wait for the app to upload all your photos to the cloud.
- Install the Google Photos app on your new phone and sign in with the same Google account.
- Once signed in, you’ll find all your photos synced and ready to access on your new device.
Another popular third-party app for transferring photos is Dropbox. Dropbox allows you to store your photos in the cloud and easily share them with others. Here’s how to use Dropbox to transfer photos:
- Download and install the Dropbox app on your iPhone.
- Open the app and sign in or create a new account.
- Create a new folder in your Dropbox account to store your photos.
- Import the photos you want to transfer into the newly created folder.
- Install the Dropbox app on your new phone and sign in with the same Dropbox account.
- Navigate to the folder where you stored your photos and download them to your new device.
There are also other third-party apps available in the App Store that offer similar functionality for transferring photos between devices. Some popular options include OneDrive, Amazon Photos, and Adobe Creative Cloud. These apps provide seamless photo transfer options and can be a convenient solution when moving photos from your iPhone to a new phone.
Before using any third-party app to transfer your photos, make sure to read reviews, check the app’s compatibility with your devices, and consider any additional features or limitations it may have.
Overall, using third-party apps for transferring photos from your iPhone to a new phone offers greater flexibility and additional features compared to traditional methods. Explore different apps and find the one that suits your needs best.
Conclusion
In conclusion, transferring photos from an iPhone to a new phone is a simple and straightforward process. Whether you are switching to another iPhone or migrating to an Android device, there are various methods available to ensure that your cherished memories are safely transferred.
Using iCloud or Google Photos provides convenient options for syncing and accessing your photos across multiple devices. Additionally, using a computer and iTunes or Finder allows for a seamless transfer of photos without relying on cloud services.
Remember to consider the storage capacity of your new phone and the file formats supported to ensure compatibility. It is also a good idea to back up your photos before initiating the transfer to prevent any potential data loss.
With the methods outlined in this article, you can confidently transfer your photos from your iPhone to your new phone, allowing you to carry your precious memories with you wherever you go.
FAQs
1. How can I transfer photos from my iPhone to a new phone?
To transfer photos from your iPhone to a new phone, you have several options. You can use iCloud, iTunes, or third-party apps like Google Photos or Dropbox. Simply follow the steps provided by the chosen method to back up and transfer your photos.
2. Can I transfer photos directly from one iPhone to another?
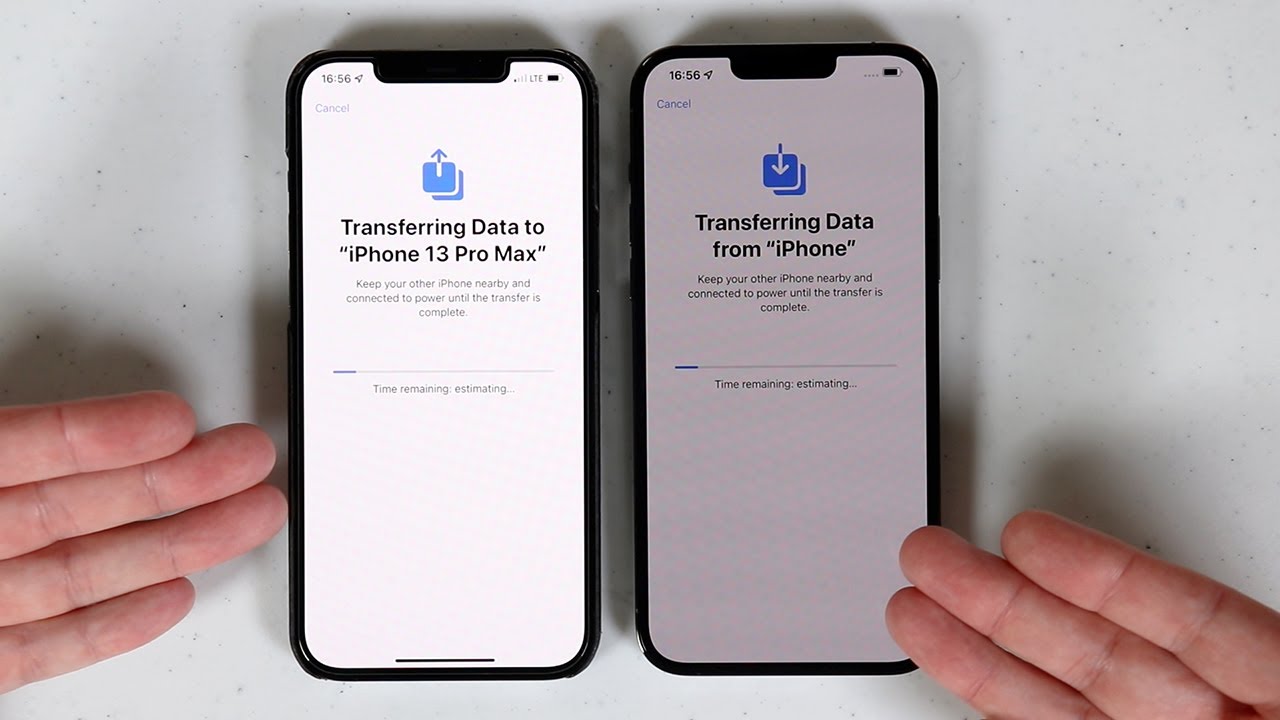
Yes, you can transfer photos directly from one iPhone to another using the Quick Start feature. Make sure both iPhones are running on iOS 11 or later, and place them close to each other. Follow the on-screen instructions to establish a connection and select the option to transfer data, including photos, from your old iPhone to the new one.
3. What if I don’t have an iCloud account?
If you don’t have an iCloud account, you can still transfer photos from your iPhone to a new phone using other methods. Connect your iPhone to your computer and use iTunes to back up your photos. Alternatively, you can use a third-party app or transfer your photos manually by connecting your iPhone to your new phone with a USB cable.
4. Will transferring photos from my iPhone to a new phone delete them from my old device?
No, transferring photos from your iPhone to a new phone will not delete them from your old device. The transfer process creates a copy of the photos on the new phone while leaving the original photos intact on your iPhone. However, it is always a good practice to back up your photos before performing any transfers to avoid any potential data loss.
5. Are there any limitations on the number of photos I can transfer?
The number of photos you can transfer from your iPhone to a new phone depends on the available storage capacity on the new device. If the new phone has enough space to accommodate all your photos, you can transfer them all. However, if the new phone’s storage is limited, you may need to select specific photos or albums to transfer. Consider using cloud storage or external storage options if you want to keep all your photos accessible without filling up the new phone’s storage.