
Blurring makes for good photography aesthetics. But not always. Such is the case when shooting a photo and finding the unwanted blurs later on when it’s too late. So instead of deleting the photos, why not learn how to unblur an image? That saves you the effort of re-shooting an image and the risk of not getting the same composition.
This article will give you a comprehensive guide on how to unblur an image using some apps available for download on the App Store and Play Store. Our team at Cellular News tested these guides so rest assured you’ve come to the right place.
Best Apps for Unblurring Images
Today’s photo editing apps for Android and iOS have become more robust and powerful. From retouching to applying presets, these apps have you covered. Here are our top five best apps for unblurring images.
1. VSCO
VSCO is a highly-regarded photo editing app because of its robust features, which include a range of pre-installed presets and in-app standard editing tools that will allow you to make changes to contrast, brightness, and saturation among others. The recent version of VSCO has introduced the ability to edit videos as well and apply its signature presets for better aesthetics. While the free version offers the basics you need for post-production editing, the premium version offers extended features.
Is VSCO a Good Editing App?
VSCO has become a household name to present pop culture since 2019. App features have also landed on articles in The New York Times and Business Insider. This is mainly because of the robust editing experience one gets when using the app.
More recently, VSCO has rolled out a premium membership to VSCO users for $19.99 per year. The premium version offers access to over 200 presets in the VSCO gallery. In contrast, the free version only comes with 10 free presets. Moreover, premium members also get inside access to photography and post-production editing tutorials. On top of this, there’s also access to more editing tools like HSL, borders, and video editing.
All things considered, VSCO is our top best app for unblurring images in this mini-list.
Also read: What Is VSCO: Step-By-Step Photo Editing Guide
How to Unblur an Image with VSCO
Below is a step-by-step guide on how to unblur an image using VSCO.
- Import the image you wish to unblur into VSCO.
- Turn to Studio view and select the slider icon.
- Next, at the bottom of the screen, tap the upward arrow. This will enable the tools options for editing.
- From the tools, select the Sharpen tool and adjust the sharpness of the image until you’re satisfied.
2. Snapseed
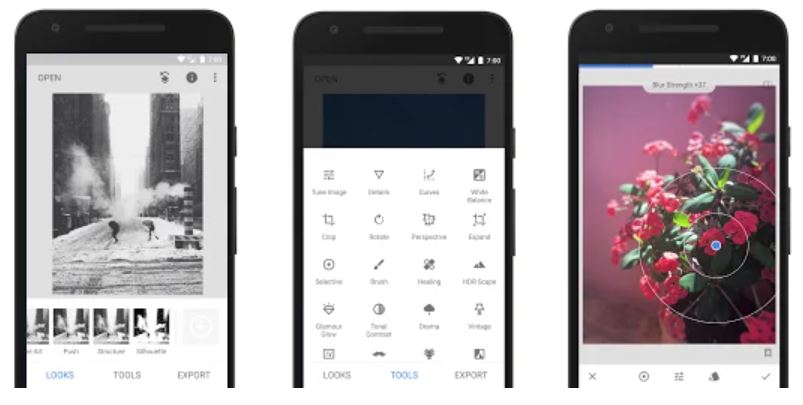
Snapseed is one of the most versatile photo editing apps on the App Store and Play Store. With a few taps, the app will do its magic in photo editing. What’s more, is that Snapseed is 100% free! Meaning, there’s no limit in terms of the tools you can access, the number of photos you can edit, and the creative freedom you can apply. Honestly, the sky’s the limit when using Snapseed and its tools like crop, white balance, healing, perspective, tune image, and many others. However, it might take time to master all the editing tools inside this app.
Also read: Snapseed Tutorial: An Easy Guide to Edit Photos on Your Phone
Is Snapseed Good?
Snapseed is a decent photo editor. It’s fairly easy to use; its uncomplicated user interface is what makes this app attractive in contrast to other mobile photo editors. Perhaps, what makes this app powerful are the results one can achieve when using its tools. Except for the Perspective tool, the other tools in this free app for both Android and iOS devices yield favorable editing results.
How to Unblur an Image with Snapseed
So if you have blurry images needing some fixing, here’s how to use Snapseed for the job:
- Import the image to Snapseed.
- On the option band below the screen, tap Tools.
- Next, select Details.
- To sharpen the image, tap the tune icon in the lower center of the screen
- Select Sharpening. Swipe right to adjust the details on the image to your liking
- Tap the checkmark in the lower-right corner of the screen once done.
- Tap Export to save the image.
3. Lightroom
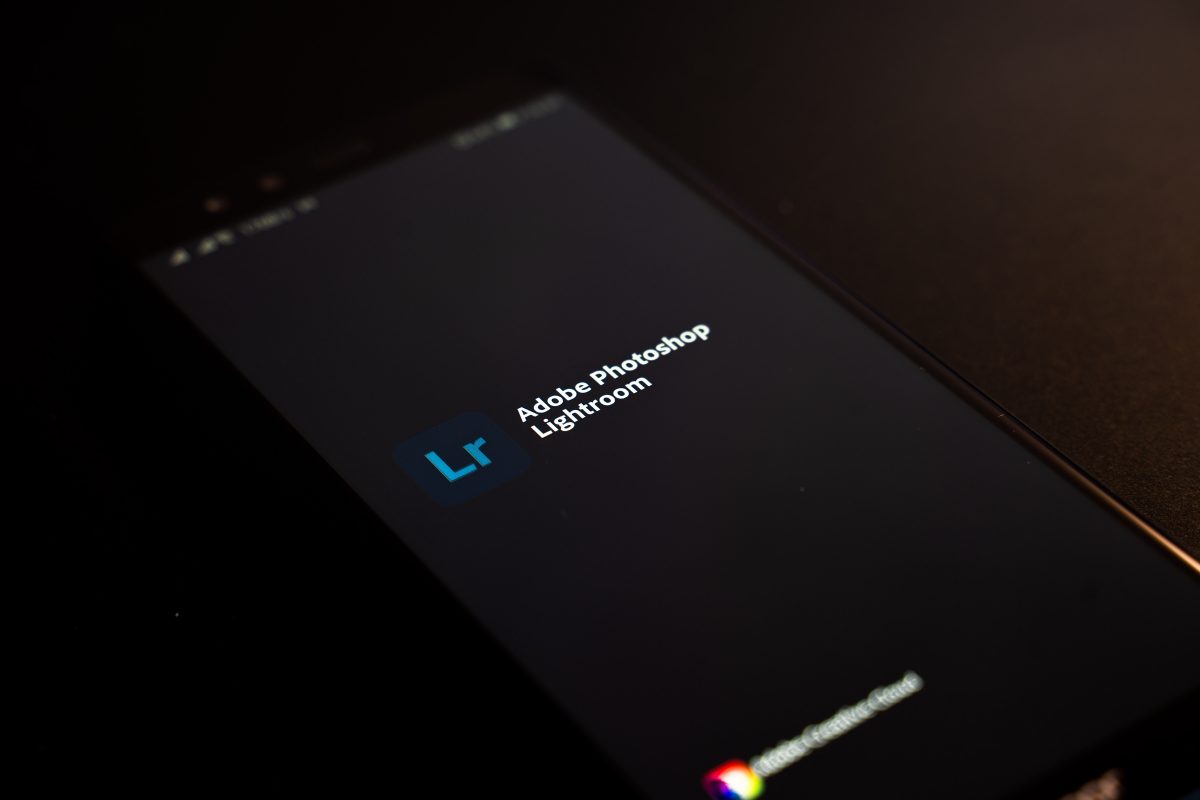
Contrary to popular belief, Adobe Lightroom is the best app to use for post-production editing on images (and more recently, videos). This app is suitable for lighting and composition editing. Its tools consist of adjusting brightness, tone curves, contrast, image geometry, and others. All the tools you need to make the image pop. It has free and premium versions for mobile with the latter offering more features that will give any editor more creative freedom on image manipulation. The premium version consists of tools like premium presets, healing brush, selective adjustments, and others.
Adobe Lightroom is part of the Adobe Creative Cloud family, which can be purchased for $9.99 per month. However, the mobile app version offers paid plan subscriptions. It ranges from Premium Monthly 100GB for $4.99 to Premium Monthly 100GB for $19.99.
Is Lightroom Good?
Lightroom is a top-tier post-production editing app. Its tools are incomparable with the other apps we have listed in this article. Adobe has a good reputation when it comes to producing digital art pieces so it’s no wonder all its products are capable of producing results that are top-tier as well. Of course, that depends on the one using the app. Nonetheless, any editor would not need to look for more when using Adobe Lightroom.
How to Unblur an Image with Lightroom
With Lightroom, you can say goodbye to blurry images. Here’s how to do it.
- Import or open the photo into your Lightroom app.
- From the tools option band at the bottom of the screen, swipe right and tap Details.
- Adjust the Sharpening band to your liking or until the blurriness is lessened.
Download Adobe Lightroom for Android
Download Adobe Lightroom for iOS
4. Instagram
The Instagram app is one of the best places to go when you want to post what’s happening in your life through image thumbnails. And in the process, Instagram also offers in-app standard post-production tools before adding a post. Similar to other photo editors, Instagram offers tools like adjusting brightness, image geometry, contrast, details, and presets. Instagram is 100% free so there’s no worry about accessing tools or being restricted to just several presets to use.
Is Instagram Good for Editing?
Instagram does not get any better than other apps. However, its photo editing feature is very basic compared to the first three we have listed. While it does produce decent results, there are apps out there that would produce more favorable results. Nonetheless, it is a good alternative if you just want basic editing such as blurring an image before posting it on your feed.
How to Unblur an Image with Instagram
You might know it but we can fix blurry images on Instagram. Here’s how to unblur an image in the app.
- Tap the + button on the lower middle center of the screen.
- Next, choose the blurry image from your camera roll or gallery.
- Tap Next on the upper right-hand corner of the screen.
- On the lower part of the screen, tap Edit.
- Swipe right and tap Sharpen.
- Adjust the band to decrease blurriness on the image. Tap Done.
Download Instagram for Android
5. Afterlight
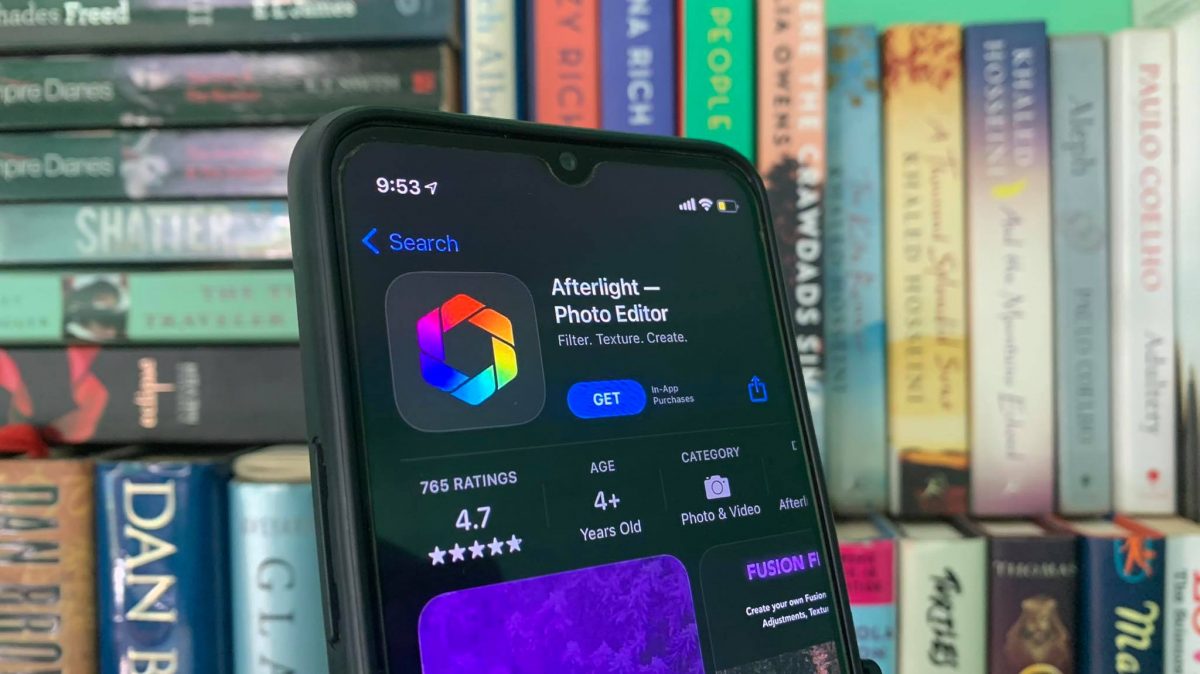
Afterlight is another decent photo editor for mobile. It doesn’t require much photo editing skills and knowledge. It is packed with the basic photo editing tools and presets that anyone can take advantage of. However, if you wish to gain access to more features and tools, you can purchase each item for $0.99. But even without the in-app purchases, this app is a killer through and through. Of course, you can also go for the paid premium version of the app for $2.99 monthly.
Additionally, what we like about this app is that it is a decent Lightroom alternative app given its powerful tools in adjusting photo lighting composition and its presets.
Is Afterlight Good?
Afterlight is a little intimidating but not as much as Lightroom. It is a photo editor that is jam-packed with tools for post-production editing. There have been reports of glitches in the app but nothing that developers can’t fix. It’s a little off-putting if we factor in the fact the best of this app has to be purchased. Nonetheless, it is one of those apps that you will love because it has everything that you need.
How to Unblur an Image with Afterlight
Afterlight has two features you can use to unblur an image: Sharpen and Clarify. Combining these two will result in a satisfyingly clear and crisp photo. Here’s how to do it.
- Load the image into Afterlight
- Locate the Sharpen tool on the tools on the bottom of the screen.
- Adjust the band to your liking.
- Next, swipe right (or left) to locate the Clarify tool.
- Similar to adjusting the sharpness of the image, adjust the Clarify band to your liking.
The Clarify tool is a premium version tool and is perfect for blurring an image. It also reduces image noise for optimal editing.
Download Afterlight for Android
Bonus Material on How to Unblur an Image
Before we end this article, here’s a bonus section to further improve your editing skills using a mobile photo editor. Aside from adjusting the sharpness of the image to remove blurriness on an image, there are other elements that you can play with to achieve an image free of blurriness.
- Clarity. Some apps have the Clarity tool included in the free version; others have it in the paid premium version. Basically, Clarity removes large and unnecessary noises on the image.
- Contrast. Using the Contrast tool will add depth of shadow to your image and add strength to the edges of the photo where light and dark points meet.
- Exposure. Adjusting the image’s Exposure will result in more realistic photo editing. It will also balance the lightness with blackness points after adjusting the contrast.
Mastering these tools — Sharpen, Clarity, Contrast, and Exposure — makes the basics of how to unblur an image. It might take a while and a lot of practice to get the proper formula but once you do, there’s no stopping you from producing stunning images.