
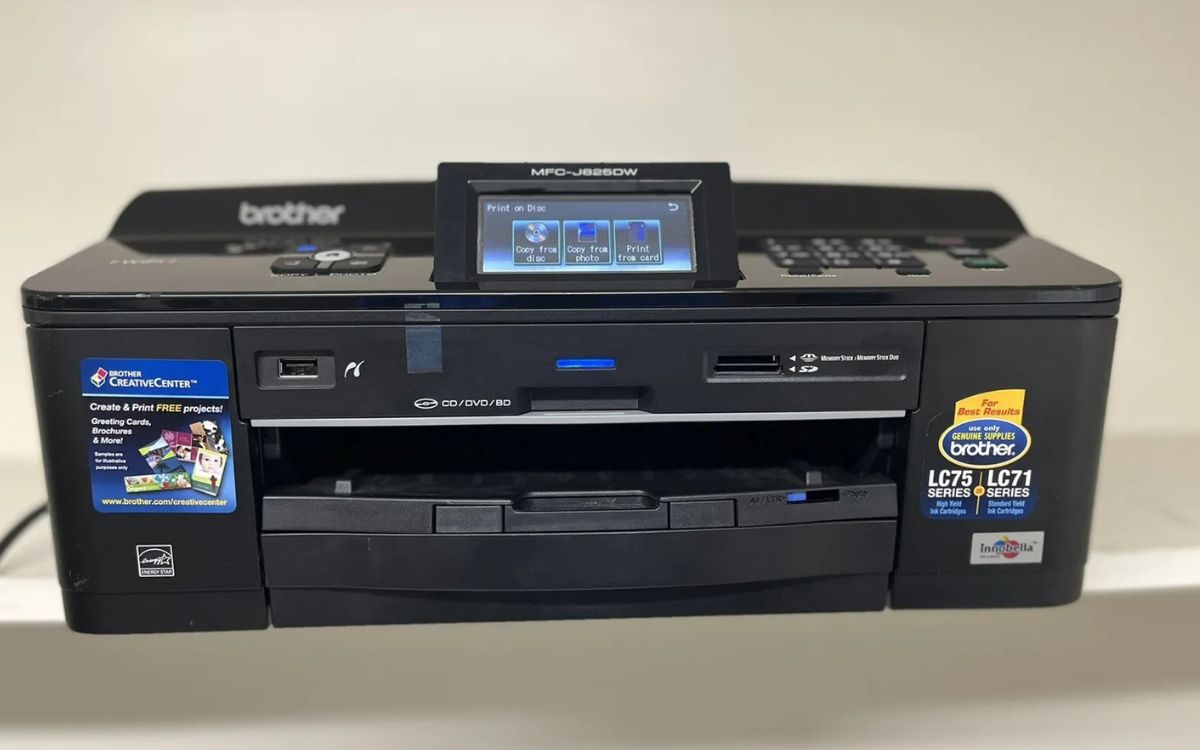
If you’re looking to add a Brother printer to your wireless network, you’ve come to the right place. Adding your printer to a wireless network allows you to conveniently print from any device connected to the network, without the hassle of cables or cords. Brother printers are known for their reliability and advanced features, making them a popular choice among users. In this article, we will guide you through the process of adding your Brother printer to a wireless network step by step. Whether you’re a novice or tech-savvy, we’ve got you covered. So, let’s dive in and get your Brother printer connected to your wireless network in no time!
Inside This Article
- Connecting the Brother Printer to the Wireless Network
- Configuring the Wireless Settings on the Brother Printer
- Connecting the Brother Printer to the Wireless Network using WPS (Wi-Fi Protected Setup)
- Troubleshooting Common Issues when Adding a Brother Printer to a Wireless Network
- Conclusion
- FAQs
Connecting the Brother Printer to the Wireless Network
Adding your Brother printer to a wireless network allows you to print documents and photos from any device connected to the same network. With a few simple steps, you’ll be able to set up your printer wirelessly and enjoy the convenience it offers.
The first step is to ensure that your Brother printer is compatible with wireless connectivity. Check the printer’s specifications or user manual to confirm this. If your printer doesn’t have built-in wireless capabilities, you may need to purchase and install a wireless network adapter.
Once you’ve confirmed the compatibility, make sure that your printer is turned on and connected to a power source. Locate the control panel on your printer and access the network settings. Depending on the model, this may be through the LCD screen or physical buttons.
In the network settings, you’ll find an option to connect to a wireless network. Choose this option and select the network you want to connect to from the available list. If the network you want doesn’t appear, make sure that your printer is within range of the Wi-Fi signal and check for any obstructions.
After selecting the network, you may need to enter the network’s password or passphrase. Use the printer’s control panel or the on-screen keyboard to type in the security information. Make sure to enter it correctly, as a single incorrect character can prevent a successful connection.
Once you’ve entered the network password, the printer will attempt to connect to the wireless network. This may take a few moments, so be patient. Once the connection is established, the printer will display a confirmation message.
To verify that your printer is connected to the wireless network, you can print a network configuration page. This page will display important network information, including the printer’s IP address and the network status. Refer to your printer’s user manual to learn how to print a network configuration page.
With your Brother printer successfully connected to the wireless network, you can now enjoy the convenience of printing wirelessly from any device on the same network. Whether you’re printing documents for work or capturing cherished moments in photos, the wireless connection eliminates the need for cables and allows for seamless printing.
Configuring the Wireless Settings on the Brother Printer
Configuring the wireless settings on your Brother printer is essential to ensure a seamless connection to your wireless network. Whether you are setting up a new printer or reconfiguring an existing one, following the proper steps will help you establish a stable and reliable wireless connection.
The first step in configuring the wireless settings is to access the printer’s built-in menu. On most Brother printers, you can do this by pressing the Menu button on the control panel. Use the navigation keys to select the Network option and then choose the Wireless Network menu.
Once you are in the Wireless Network menu, you will see various options to configure the wireless settings. Look for the option that allows you to set the SSID (network name). Select it and enter the exact name of your wireless network. Remember to input the SSID accurately to prevent any connectivity issues.
After entering the SSID, navigate to the security settings. Here, you can choose the appropriate security protocol for your wireless network, such as WEP, WPA, or WPA2. Select the option that matches the security settings of your network and enter the corresponding security key or password when prompted.
Once you have entered the correct security settings, save the changes and exit the menu. Your Brother printer will now attempt to connect to the wireless network using the configured settings. It may take a few moments for the printer to establish a connection, so be patient.
To verify if the wireless settings have been properly configured, you can print a network configuration page from the printer. This page will display information about the printer’s network connectivity, including the SSID, IP address, and wireless signal strength.
If the network configuration page shows that the printer is successfully connected to the wireless network, congratulations! You have successfully configured the wireless settings on your Brother printer. You can now start printing wirelessly from your computer or mobile device.
If you encounter any issues during the configuration process, double-check that you have entered the correct SSID and security key. Additionally, ensure that your wireless network is functioning correctly and that other devices can connect to it without any problems.
If problems persist, you may need to consult the Brother printer manual or contact their support team for further assistance. They will be able to provide specific troubleshooting steps based on the model of your printer and the nature of the issue you are facing.
Connecting the Brother Printer to the Wireless Network using WPS (Wi-Fi Protected Setup)
Connecting your Brother printer to a wireless network has never been easier thanks to the convenience of Wi-Fi Protected Setup (WPS). This method allows you to quickly and securely connect your printer to your wireless network without the need for complicated network settings.
To begin the process, make sure your Brother printer and wireless router both support WPS functionality. Most modern Brother printers and routers have this feature, but it’s always a good idea to check the user manual or the manufacturer’s website for compatibility.
Once you’ve confirmed that both your printer and router support WPS, follow these steps to connect your Brother printer to the wireless network:
- Ensure that your printer is turned on and within range of your wireless router.
- On your Brother printer, locate and press the WPS button. This button is usually labeled with the WPS icon.
- Within 2 minutes of pressing the WPS button on the printer, go to your wireless router and locate the WPS button. It may be labeled as WPS or have the WPS icon as well.
- Press the WPS button on your wireless router within the 2-minute window.
- Wait for the printer and the router to establish a connection. This can take a few minutes.
- Once the connection is established, your Brother printer will be successfully connected to the wireless network using WPS.
It’s important to note that the exact steps may vary slightly depending on your specific Brother printer model and wireless router brand. It’s always a good idea to consult the user manual or the manufacturer’s website for detailed instructions tailored to your devices.
By using the WPS method, you can save time and effort by easily connecting your Brother printer to your wireless network in just a few simple steps. Enjoy the convenience and flexibility of printing wirelessly from any device connected to your network.
Troubleshooting Common Issues when Adding a Brother Printer to a Wireless Network
Adding a Brother printer to a wireless network can sometimes be a challenging task. However, with a few troubleshooting techniques, you can overcome common issues and successfully connect your Brother printer to your wireless network. Here are some troubleshooting tips to help you out:
- Check the Wireless Connection: Ensure that your wireless network is functioning properly. Check if other devices can connect to the network without any issues. Make sure your printer is in range of the wireless network and that the Wi-Fi signal is strong.
- Restart the Printer: Sometimes, a simple restart can fix connectivity problems. Turn off your Brother printer, wait for a few seconds, and then turn it back on. This can help refresh the printer’s connection to the network.
- Verify the Wi-Fi Settings: Double-check the Wi-Fi settings on your Brother printer. Make sure that the SSID (network name) and password are entered correctly. Any small mistake can prevent the printer from connecting to the network.
- Reset Network Settings: If you are still experiencing issues, try resetting the network settings on your Brother printer. Refer to the printer’s user manual for specific instructions on how to perform a network reset. After resetting the settings, try connecting the printer to the wireless network again.
- Check Firewall and Anti-Virus Settings: Sometimes, firewall or anti-virus settings can interfere with the printer’s connection to the network. Temporarily disable any firewall or anti-virus software on your computer and try connecting the printer again. If the connection is successful, you may need to add the printer to the firewall’s exceptions list.
- Update Printer Firmware: Outdated firmware can also cause connectivity issues. Visit the Brother website and check if there are any firmware updates available for your printer model. Download and install the latest firmware to ensure compatibility with your wireless network.
- Use the WPS (Wi-Fi Protected Setup) Method: If your Brother printer supports WPS, you can use this convenient method to connect it to the wireless network. Press the WPS button on your router and then press the WPS button on the printer. The two devices will automatically establish a connection.
- Contact Brother Support: If you have tried all the troubleshooting steps and are still unable to connect your Brother printer to the wireless network, it may be time to seek assistance from Brother support. They have a dedicated team to help you resolve any issues you may encounter during the setup process.
By following these troubleshooting tips, you can overcome common issues and successfully add your Brother printer to a wireless network. Remember to double-check the Wi-Fi settings, update the printer firmware, and seek support if needed. Once connected, you can enjoy the convenience of wirelessly printing from any device on your network.
Conclusion
Adding a Brother printer to a wireless network can seem daunting at first, but with the step-by-step instructions and troubleshooting tips provided in this article, it can be a smooth process. By following the correct setup procedure and ensuring that the printer and the wireless network are compatible, you can enjoy the convenience of printing wirelessly from any device in your home or office.
Remember to check for any firmware updates for your printer and keep your wireless network password handy during the setup process. If you encounter any issues, refer to the Brother printer manual or visit their support website for further assistance.
By successfully connecting your Brother printer to a wireless network, you’ll eliminate the hassle of cables and gain the freedom to print from anywhere within range. So, why wait? Get your Brother printer connected today and enjoy the convenience of wireless printing.
FAQs
1. What are the benefits of adding a Brother printer to a wireless network?
Adding a Brother printer to a wireless network offers several advantages. It allows you to print wirelessly from any device connected to the network, such as laptops, smartphones, and tablets. This eliminates the need for cumbersome USB connections and provides convenience and flexibility in printing.
2. How do I find the wireless network name (SSID) and password for my Brother printer?
To find the wireless network name and password for your Brother printer, you can check the documentation that came with the printer or look for a sticker on the printer itself. The sticker usually contains the SSID and password information. If you still can’t find it, you can log into your wireless router’s administration interface and retrieve the information from there.
3. What if my Brother printer is not connecting to the wireless network?
If your Brother printer is not connecting to the wireless network, there are a few troubleshooting steps you can try. First, ensure that your printer and wireless router are in close proximity and that the printer’s wireless feature is turned on. You can also try restarting both the printer and your router. If the problem persists, you may need to reset the printer’s network settings and set up the wireless connection again.
4. Can I connect multiple devices to my Brother printer on a wireless network?
Yes, you can connect multiple devices to your Brother printer on a wireless network. Once the printer is connected to the wireless network, any device connected to the same network can send print jobs to the printer. This allows for easy sharing and printing from various devices without the need for physical connections.
5. Is it possible to connect a Brother printer to a wireless network without a computer?
Yes, it is possible to connect a Brother printer to a wireless network without a computer. Many Brother printers have built-in Wi-Fi capabilities and can be connected directly to the wireless network without the need for a computer. You can follow the printer’s user manual or the instructions provided by Brother to set up the wireless connection.