
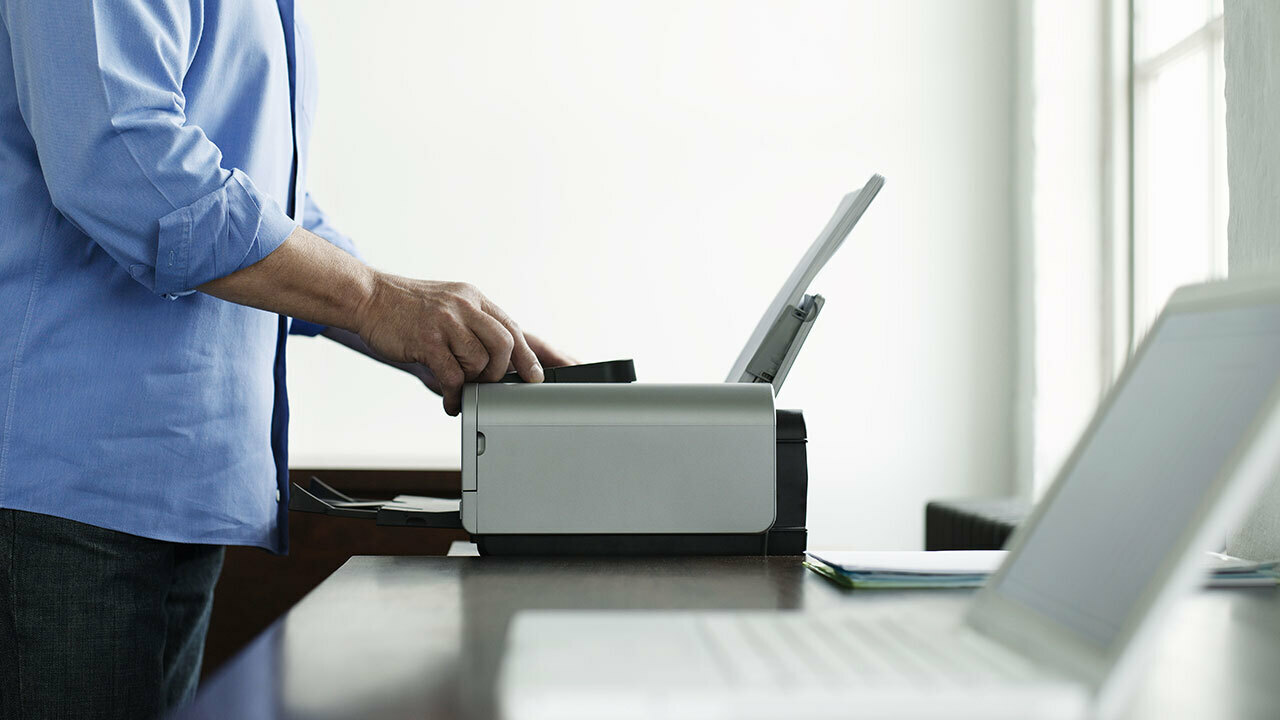
Setting up a Brother printer on a wireless network can greatly enhance convenience and productivity. With wireless connectivity, you can print documents and photos from any device within range, without the need for cables or direct connection. Whether you have a Brother inkjet or laser printer, the process of connecting it to a wireless network is relatively straightforward.
In this article, we will guide you through the step-by-step instructions to set up your Brother printer on a wireless network. From preparing your printer for wireless connection to configuring the network settings, we’ll cover everything you need to know to get your printer up and running wirelessly. So, let’s dive in and unlock the seamless printing experience that a wireless network provides!
Inside This Article
- Steps to Set Up a Brother Printer on a Wireless Network
- Troubleshooting Common Issues
- Conclusion
- FAQs
Steps to Set Up a Brother Printer on a Wireless Network
Setting up a Brother Printer on a wireless network can greatly enhance your printing experience and provide the convenience of printing from anywhere in your home or office. Here are the steps to follow for a successful setup:
- Check the Compatibility: Before getting started, ensure that your Brother Printer is compatible with wireless connectivity. Most modern Brother Printers support wireless printing, but it’s always a good idea to double-check your printer’s specifications or consult the user manual.
- Connect to the Power Source: Plug in your Brother Printer and turn it on. Make sure that it is properly connected to a power source and that the power switch is set to the “On” position.
- Access the Control Panel: Locate the control panel on your Brother Printer. It is usually located on the front of the printer and consists of a touchscreen or a series of buttons and navigation keys.
- Navigate to the Network Settings: Use the control panel to navigate to the “Network” or “Settings” menu. The exact location may vary depending on your printer model. Look for an option related to wireless or network settings.
- Select Wireless Setup Wizard: Within the network settings menu, locate and select the option for “Wireless Setup Wizard” or “Wi-Fi Setup.” This will initiate the setup process for connecting your printer to the wireless network.
- Search for Available Networks: The printer will scan for available wireless networks in the vicinity. Once the scan is complete, a list of networks will be displayed on the printer’s screen. Select your wireless network from the list.
- Enter the Network Password: If your wireless network is password-protected, you will be prompted to enter the network password. Use the keypad or on-screen keyboard on the printer’s control panel to enter the password correctly. Make sure to enter the password accurately to avoid any connectivity issues.
- Confirm the Connection: After entering the network password, the printer will attempt to establish a connection to the wireless network. Wait for a few moments as the printer connects to the network and obtains an IP address.
- Print a Test Page: Once the connection is established, it is recommended to print a test page from the printer to ensure that it is functioning properly. This will also provide confirmation that the printer is successfully connected to the wireless network.
- Install the Printer Software: To ensure full functionality and access to all features, it is advisable to install the specific Brother Printer software on your computer or mobile device. You can download the software from the official Brother website or use the installation CD that came with the printer.
- Complete the Setup: Follow the on-screen instructions provided by the Brother Printer software to complete the setup process. This may involve selecting the printer from the list of available devices and configuring any additional settings or preferences.
Once you have successfully completed these steps, your Brother Printer will be connected to the wireless network, allowing you to print wirelessly from any device on the network. Enjoy the convenience and flexibility that wireless printing offers!
Troubleshooting Common Issues
Setting up a Brother printer on a wireless network is usually a straightforward process. However, like any technology, you may encounter some common issues along the way. Here are some troubleshooting tips to help you overcome these challenges:
1. Connection Problems: If you are unable to connect your Brother printer to the wireless network, double-check that your printer and router are both turned on and properly set up. Ensure that you have entered the correct network name (SSID) and password. If issues persist, try restarting your printer and router, and then attempt the connection again.
2. Signal Strength: Weak Wi-Fi signal can cause printing problems, resulting in slow or interrupted communication between your printer and the wireless network. To improve signal strength, you can try moving your printer closer to the router, removing any obstructions, or consider using a Wi-Fi signal booster.
3. Driver Issues: Outdated or incompatible printer drivers can also cause issues during the setup process. Make sure you have the latest drivers installed on your computer by visiting the Brother website and downloading the appropriate software for your printer model.
4. Firewall and Antivirus Software: Sometimes, firewall or antivirus settings can interfere with the printer’s connection to the network. Temporarily disable these security programs and attempt the setup process again. Remember to re-enable them once the setup is complete.
5. Network Configuration: Double-check your network settings to ensure that the wireless network is configured properly. Make sure that the printer and your devices are connected to the same network and that they have compatible IP addresses and subnet masks.
6. Printer Firmware: Occasionally, outdated printer firmware can cause compatibility issues with the wireless network. Visit the Brother website and check for any available firmware updates for your printer model. Follow the instructions provided to update the firmware and resolve any compatibility issues.
7. Paper Jams and Print Quality: If you are experiencing paper jams or poor print quality, these issues may not be related to the wireless setup. Check the paper tray for any obstructions, ensure that you are using the correct type and size of paper, and perform any necessary maintenance tasks, such as cleaning the print heads or replacing ink cartridges.
If you continue to experience difficulties setting up your Brother printer on a wireless network, consider consulting the user manual or contacting Brother’s customer support for further assistance. They can provide specific troubleshooting steps tailored to your printer model and address any other technical issues you may encounter.
Conclusion
In conclusion, setting up a Brother printer on a wireless network can seem like a daunting task at first, but with the right knowledge and instructions, it becomes a straightforward process. By following the steps outlined in this guide, you can ensure a smooth and successful installation.
Wireless printing offers convenience and flexibility, allowing you to print from any device connected to the same network. Whether you are using a smartphone, tablet, or computer, having a Brother printer connected wirelessly enables you to print your documents and photos effortlessly.
Remember to carefully read the printer’s manual and consult the Brother support website for any specific guidance related to your printer model. And don’t hesitate to reach out to the Brother customer support team if you encounter any difficulties along the way.
With your Brother printer now connected to your wireless network, you can enjoy the convenience of wireless printing and make your printing tasks a breeze.
FAQs
Q: What is a wireless network?
A: A wireless network is a type of computer network that allows devices to connect and communicate without the need for physical cables or wires. Instead, it uses radio waves or infrared signals to transmit data between devices.
Q: Why should I connect my Brother printer to a wireless network?
A: Connecting your Brother printer to a wireless network offers several advantages. Firstly, it allows you to print from any device connected to the same network, such as laptops, smartphones, and tablets. Additionally, a wireless connection eliminates the need for running cables, providing more flexibility and convenience in printer placement. It also enables printing from anywhere within range, without the need to physically connect to the printer.
Q: How do I check if my Brother printer is compatible with a wireless network?
A: Most Brother printers today come with built-in support for wireless connectivity. However, if you are unsure, you can check the printer’s specifications on the manufacturer’s website or consult the printer’s user manual. Look for features like “Wi-Fi” or “wireless network connectivity” to confirm its compatibility.
Q: What are the steps to set up a Brother printer on a wireless network?
A: The steps to set up a Brother printer on a wireless network may vary slightly depending on the model and the printer’s control panel design. However, the general steps involve:
- Ensure the printer and the wireless router are turned on.
- On the printer’s control panel, navigate to the “Network” or “Settings” menu.
- Select the “Wireless Setup Wizard” or “Wi-Fi Setup” option.
- Choose your wireless network name (SSID) from the available options.
- Enter your network password or security key if prompted.
- Confirm the settings and allow the printer to connect to the network.
- Once connected, print a test page to verify the wireless connection.
Q: What should I do if I encounter any issues during the wireless setup process?
A: If you encounter any issues during the wireless setup process, here are some troubleshooting tips you can try:
- Ensure your wireless router is turned on and working properly.
- Make sure your printer is within range of the router signal and there are no physical obstructions.
- Double-check that you are entering the correct network name (SSID) and password.
- If your printer has a display panel, check for any error messages or prompts that may provide insight into the issue.
- Restart both your printer and wireless router to refresh the connections.
- If the problem persists, consult the printer’s user manual or contact Brother’s technical support for further assistance.