
Are you struggling to connect your Wi-Fi printer to your Android device? Look no further, as we have got you covered! In this comprehensive guide, we’ll walk you through the steps to easily connect your Wi-Fi printer to your Android smartphone or tablet. With the increasing dependency on mobile devices for productivity and convenience, it’s essential to have a seamless wireless printing experience. Whether you need to print documents, photos, or other files, connecting your Wi-Fi printer to your Android device can bring convenience and efficiency to your workflow. So, let’s dive in and get your Wi-Fi printer connected to your Android device in no time!
Inside This Article
- Overview of Wi-Fi Printer Connectivity
- Step 1: Ensure Printer Compatibility
- Step 2: Set Up Wi-Fi Connection on Android Device
- Step 3: Add Wi-Fi Printer on Android Device
- Troubleshooting Tips and Common Issues
- Conclusion
- FAQs
Overview of Wi-Fi Printer Connectivity
Wi-Fi printer connectivity has revolutionized the way we print documents and photos. It eliminates the need for cumbersome cables and allows seamless printing from various devices, including smartphones and tablets. By connecting your Android device to a Wi-Fi printer, you can effortlessly print documents, photos, and even web pages with just a few taps.
Wi-Fi printers use wireless technology to establish a connection with your Android device. This means you can print from anywhere within the Wi-Fi range, without the need for physical proximity to the printer. Whether you’re in your living room, office, or even a different floor, as long as your Android device and the printer are connected to the same Wi-Fi network, you’ll have the convenience of printing at your fingertips.
With Wi-Fi printer connectivity, you can enjoy the benefits of printing wirelessly, saving time and effort. No more searching for cables or transferring files to a computer before printing. Simply connect your Android device to the Wi-Fi printer, select the item you want to print, and press the print button. It’s that simple!
Furthermore, Wi-Fi printer connectivity offers flexibility and convenience. You can print directly from your favorite apps and services, such as Google Docs, Dropbox, or even social media platforms. This means you can print important documents, memorable photos, or interesting articles from various sources without the need for a computer.
Setting up Wi-Fi printer connectivity on your Android device is relatively straightforward, but it does require a few steps. In the next sections, we will guide you through the process, ensuring a seamless connection between your Android device and the Wi-Fi printer.
Step 1: Ensure Printer Compatibility
Before attempting to connect your Wi-Fi printer to your Android device, it’s crucial to ensure that your printer is compatible with wireless connectivity. Not all printers support Wi-Fi connectivity, so it’s essential to check the printer’s specifications or user manual to confirm if it has wireless capabilities.
If your printer is an older model and doesn’t have built-in Wi-Fi, you may still be able to connect it to your Android device using a wireless print server. A wireless print server is a small device that connects to your printer’s USB port and allows it to be accessed over a Wi-Fi network.
Additionally, make sure that your Android device supports wireless printing. Most Android devices have native support for printing over Wi-Fi, but it’s always a good idea to check the device’s settings or user manual to confirm.
By confirming the compatibility of both your printer and Android device, you can ensure a smooth and successful Wi-Fi printer connection.
Step 2: Set Up Wi-Fi Connection on Android Device
In order to connect your Wi-Fi printer to your Android device, you’ll first need to set up a Wi-Fi connection on your Android device. Follow these steps to get your Android device connected to a Wi-Fi network:
1. Open the Settings app on your Android device.
2. Look for the Wi-Fi option and tap on it. This will bring up a list of available Wi-Fi networks.
3. Select the Wi-Fi network you want to connect to. If your home Wi-Fi network is not listed, make sure that your Wi-Fi router is turned on and the network is broadcasting its SSID. You may also need to move closer to the router if you’re out of range.
4. If the Wi-Fi network you’re connecting to is password-protected, you’ll be prompted to enter the network password. Type in the password and tap “Connect”.
5. Wait for your Android device to connect to the Wi-Fi network. Once connected, you’ll see a Wi-Fi icon in the status bar at the top of the screen.
6. Test your Wi-Fi connection by opening a web browser or any app that requires an internet connection. If you’re able to browse the internet or access online content, then your Android device is successfully connected to the Wi-Fi network.
By following these steps, you can ensure that your Android device is connected to a Wi-Fi network, which is an important prerequisite for connecting your Wi-Fi printer.
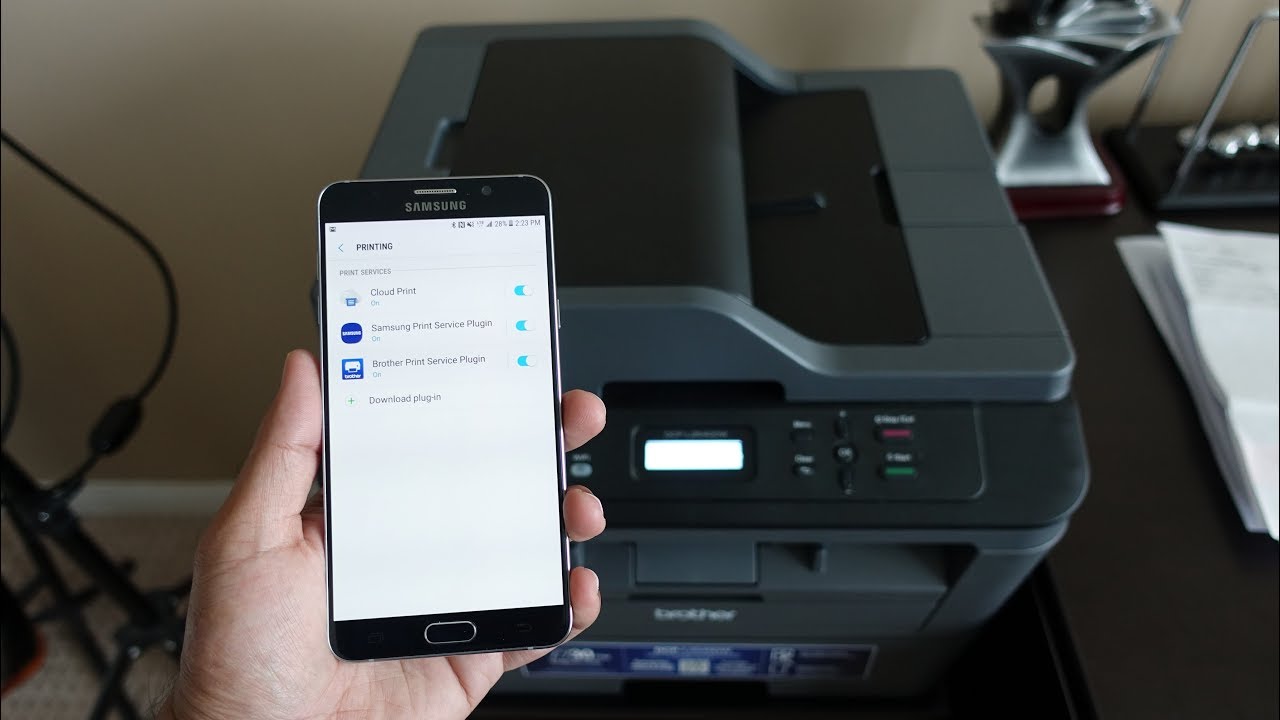
Step 3: Add Wi-Fi Printer on Android Device
Once you have set up the Wi-Fi connection on your Android device, the next step is to add your Wi-Fi printer. Adding your printer will enable your Android device to communicate with the printer and send print jobs wirelessly.
Here are the steps to add a Wi-Fi printer on your Android device:
- Open the “Settings” app on your Android device.
- Scroll down and tap on “Connected devices” or “Connections”, depending on your device.
- Tap on “Printers” or “Printing”.
- Tap on the option to add a new printer. The wording may vary depending on your device.
- Your Android device will start scanning for available printers. Wait for the scan to complete.
- Once the scan is complete, tap on your Wi-Fi printer from the list of available printers.
- Follow the on-screen instructions to complete the printer setup. You may need to enter the printer’s Wi-Fi password if prompted.
After completing these steps, your Wi-Fi printer should be successfully added to your Android device. You can now print documents, photos, and other files wirelessly from your Android device.
If you encounter any issues during the process, refer to the troubleshooting tips section for possible solutions to common problems.
Troubleshooting Tips and Common Issues
While connecting a Wi-Fi printer to your Android device is generally a straightforward process, you may encounter some common issues along the way. Here are some troubleshooting tips to help you overcome these challenges:
- Ensure Wi-Fi compatibility: Make sure that both your Android device and the Wi-Fi printer support the same Wi-Fi standard. If they are using different standards, such as 802.11b/g/n/ac, they may not be able to connect to each other.
- Check Wi-Fi network connection: Verify that your Android device is connected to the same Wi-Fi network as the printer. If they are on different networks, they won’t be able to communicate with each other.
- Restart devices: Sometimes, a simple restart can resolve connectivity issues. Turn off both your Android device and the Wi-Fi printer, then turn them back on after a few seconds.
- Update firmware and software: Ensure that both your Android device and the Wi-Fi printer have the latest firmware and software updates installed. Outdated software can cause compatibility issues and hinder the connection process.
- Double-check printer settings: Verify that the Wi-Fi printer’s settings are correctly configured. Ensure that the Wi-Fi network is activated, and the printer is ready to connect to a new device.
- Reinstall printer software: If you have already added the Wi-Fi printer on your Android device but are still experiencing connection problems, try removing the printer and reinstalling the software. This can refresh the connection and fix any potential software glitches.
- Check network security settings: If your Wi-Fi network has advanced security settings, such as a firewall or MAC address filtering, make sure that the necessary permissions are granted to the Android device and the Wi-Fi printer. Adjust the settings as needed to allow the connection.
- Reset network settings: As a last resort, you can reset the network settings on both your Android device and the Wi-Fi printer. This will clear out any network-related configurations and allow you to start fresh with the setup process.
By following these troubleshooting tips, you should be able to overcome common issues and successfully connect your Wi-Fi printer to your Android device. If you’re still experiencing difficulties, consult the user manual or contact the manufacturer for further assistance.
Conclusion
In conclusion, connecting a Wi-Fi printer to an Android device is a simple process that allows you to wirelessly print documents and photos. By following the steps outlined in this article, you can quickly set up your printer and start enjoying the convenience of wireless printing. Remember to ensure that your printer is compatible with Android devices and that both devices are on the same Wi-Fi network. Additionally, consider downloading the relevant printing app from the Google Play Store to enhance your printing experience.
With a Wi-Fi printer and your Android device, you no longer have to deal with the hassle of connecting cables or transferring files. Printing from your smartphone or tablet has never been easier. So, whether you need to print a document for work or a photo for a personal project, take advantage of the wireless capabilities provided by Wi-Fi printers and transform the way you print.
FAQs
Q: Can I connect any Wi-Fi printer to my Android device?
A: In most cases, yes. As long as your Wi-Fi printer supports wireless connectivity, you should be able to connect it to your Android device. However, it is always a good idea to check the printer’s specifications or consult the user manual to ensure compatibility.
Q: How do I know if my Android device supports Wi-Fi printing?
A: To check if your Android device supports Wi-Fi printing, go to the settings menu and look for the printing options. If you find a “Print” or “Printing” option, it indicates that your device has built-in support for Wi-Fi printing. If this option is not available, you can still download printing apps from the Google Play Store that can enable Wi-Fi printing functionality.
Q: What apps do I need to connect my Android device to a Wi-Fi printer?
A: There are several printing apps available on the Google Play Store that can help you connect your Android device to a Wi-Fi printer. Some popular ones include HP Smart, Epson iPrint, Canon PRINT, and Brother iPrint&Scan. These apps provide easy setup and compatibility with various Wi-Fi printers.
Q: How do I connect my Android device to a Wi-Fi printer?
A: The steps to connect your Android device to a Wi-Fi printer may vary slightly depending on the printer model and the printing app you are using. However, the general process involves installing the printing app on your Android device, launching the app, and following the on-screen instructions to connect and configure the printer. Make sure your Android device and the printer are connected to the same Wi-Fi network for a seamless connection.
Q: Can I print from any app on my Android device?
A: Yes, once your Android device is connected to a Wi-Fi printer, you should be able to print from any app that has printing functionality. Most printing apps integrate with the Android system, allowing you to print documents, photos, emails, web pages, and more directly from the app or the sharing menu.