
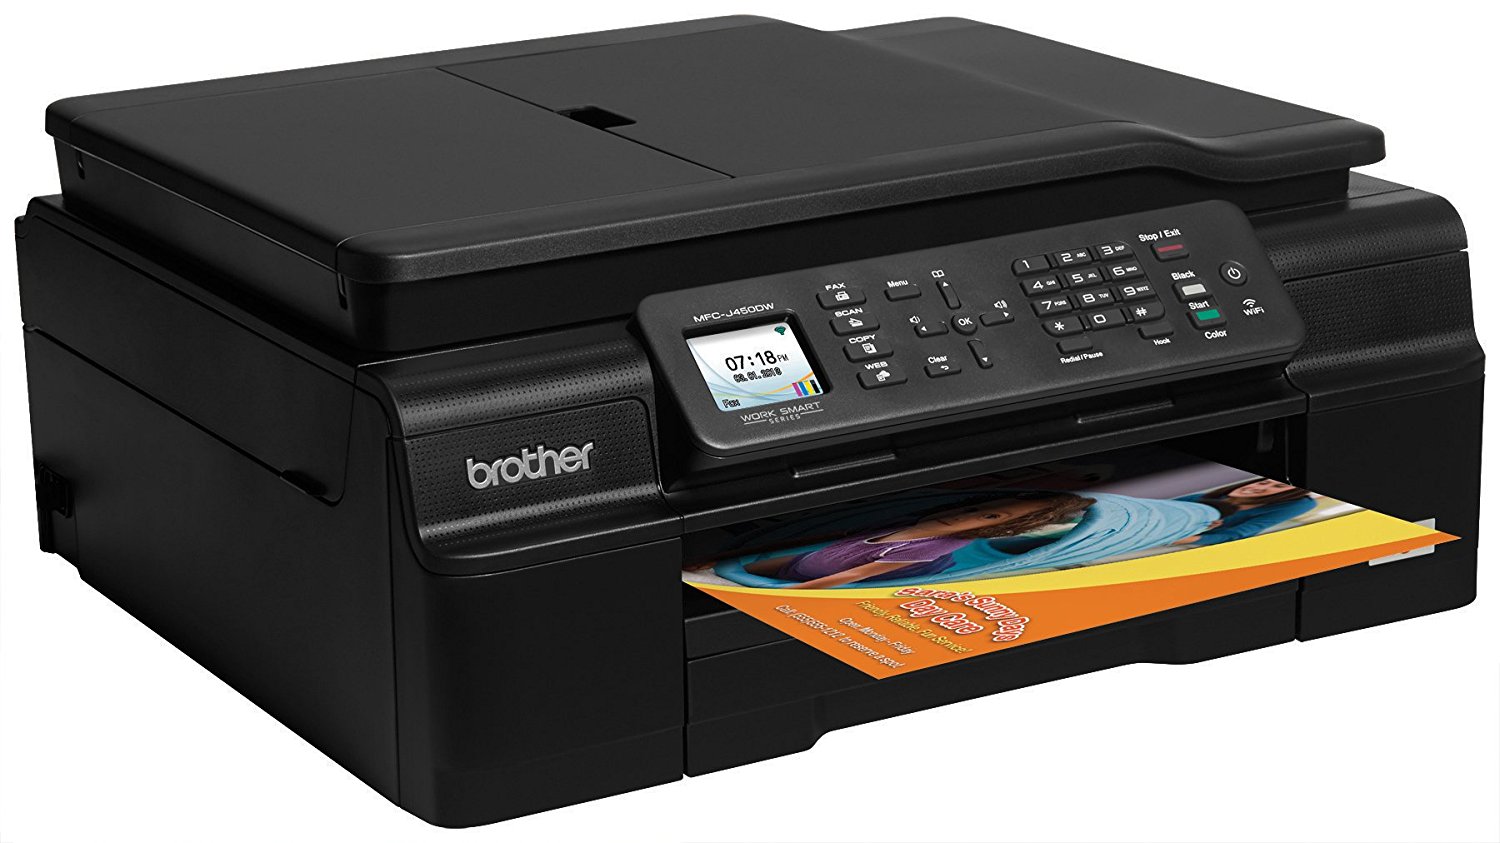
Welcome to the ultimate guide on how to set up your Brother wireless printer. Setting up a wireless printer can be a complex task, but with the right guidance, it becomes much easier. Brother is a trusted name in the printer industry, and their wireless printers offer convenience and flexibility for both home and office use.
In this comprehensive article, we will walk you through the step-by-step process of setting up your Brother wireless printer. From connecting the printer to your Wi-Fi network to installing the necessary drivers on your computer, we’ve got you covered. Whether you’re a tech-savvy individual or a complete novice, this guide will ensure that you can effortlessly set up your Brother wireless printer and start enjoying wireless printing convenience in no time.
Inside This Article
- Connecting the Printer to the Power Source
- Installing the Printer Drivers and Software
- Connecting the Printer to a Wireless Network
- Testing the Wireless Printing Functionality
- Conclusion
- FAQs
Connecting the Printer to the Power Source
When setting up your Brother wireless printer, the first step is to connect it to a power source. This ensures that the printer has the necessary power to function properly and carry out printing tasks. To connect the printer to the power source, follow these steps:
- Locate the power cord that came with your Brother printer.
- Insert one end of the power cord into the power port located at the back of the printer.
- Plug the other end of the power cord into a power outlet or surge protector.
- Ensure that the power outlet or surge protector is turned on.
- Press the power button on the printer to turn it on. You should see the printer’s LCD screen light up or indicators flashing, indicating that it has power.
Once the printer is connected to the power source and powered on, you can proceed to the next steps of installing the printer drivers and software.
Installing the Printer Drivers and Software
Once you have connected your Brother wireless printer to a power source and successfully established a connection to your wireless network, the next step is to install the printer drivers and software. These essential components allow your computer to communicate with the printer and send print requests.
Brother provides intuitive and user-friendly installation methods for their printers. Follow these steps to install the printer drivers and software:
- Locate the driver and software CD that came with your Brother printer. If you don’t have the CD, you can download the drivers and software from the Brother website.
- Insert the CD into your computer’s CD-ROM drive or open the downloaded driver file. The installation process should automatically begin. If it doesn’t, locate the setup file and double-click on it to initiate the installation.
- Follow the on-screen instructions to complete the installation process. Make sure to carefully read each prompt and select the appropriate options.
- When prompted, choose the wireless connection option to ensure that the printer is connected correctly to your wireless network.
- After the installation is complete, restart your computer to ensure that all the changes take effect.
It’s important to note that in some cases, the latest drivers and software may not be available on the CD that comes with the printer. In such instances, it’s recommended to visit the Brother website and download the latest versions specifically designed for your printer model.
By installing the latest drivers and software, you not only ensure smooth communication between your computer and the printer but also gain access to any additional features and improvements that Brother may have released since the printer’s purchase.
With the drivers and software successfully installed, you are now ready to fully utilize the capabilities of your Brother wireless printer. You can now proceed to connect the printer to your computer and start printing wirelessly.
Connecting the Printer to a Wireless Network
Setting up a wireless connection for your Brother printer is a convenient way to print from any device on the same network without the hassle of cables. Here’s a step-by-step guide to help you easily connect your printer to a wireless network.
1. Before you begin, make sure your wireless network is up and running. Check that your router is functioning properly and that you have the network name (SSID) and password handy.
2. Turn on your Brother printer and navigate to the printer’s control panel. Look for the “Menu” button and press it to access the printer’s settings.
3. Use the arrow keys on the control panel to navigate to the “Network” or “Network Settings” option. Once you find it, press the “OK” button to enter the network settings menu.
4. Select the “Wireless” or “WLAN” option from the network settings menu.
5. The printer will now search for available wireless networks. Once the list of networks is displayed on the control panel, use the arrow keys to select your network and press the “OK” button.
6. If your network is password protected, enter the password using the printer’s number keypad. You can use the arrow keys to navigate between characters and the “OK” button to confirm each character.
7. After entering the password, press the “OK” button to confirm and connect to the wireless network. The printer will attempt to establish a connection with the network.
8. Once the connection is successful, the printer’s control panel will display a message indicating that it is connected to the wireless network. You can now proceed with printing wirelessly from any device on the same network.
By following these simple steps, you can easily connect your Brother printer to a wireless network. Enjoy the convenience and flexibility of wireless printing from any device in your home or office.
Testing the Wireless Printing Functionality
Once you have successfully set up your Brother wireless printer and connected it to a wireless network, it is important to ensure that the wireless printing functionality is working as expected. Here are a few steps you can follow to test the wireless printing functionality:
-
Check the printer’s connection status: Make sure that the printer is connected to the same wireless network as your computer or mobile device. You can do this by accessing the printer’s network settings or using the printer’s control panel. Ensure that the Wi-Fi indicator light on the printer is lit, indicating a successful connection.
-
Verify printer availability: Ensure that the printer is turned on and ready to print. Check for any error messages or paper jams that may interrupt the printing process. Also, ensure that there is sufficient ink or toner in the printer’s cartridges.
-
Send a test print: Open a document or image on your computer or mobile device and select the “Print” option. Choose the Brother wireless printer as the printing device. Adjust any necessary print settings such as paper size, orientation, and print quality. Click “Print” to send the print job to the printer.
-
Monitor the print queue: After sending the print job, keep an eye on the print queue. You can do this by accessing the “Printers and Scanners” settings on your computer or checking the printing status on your mobile device. Ensure that the print job appears in the queue and is marked as “Printing” or “In progress”.
-
Check the print output: Once the print job is completed, check the output to ensure that it printed correctly and meets your expectations. Verify that the text or images are clear and legible, and there are no smudges or smears on the printed paper.
-
Test from multiple devices: To further test the wireless printing functionality, try printing from different devices connected to the same wireless network. This will help verify that the printer is accessible and compatible with various devices.
-
Troubleshoot any issues: If you encounter any issues during the testing process, refer to the printer’s user manual or the Brother support website for troubleshooting steps. Common issues may include connectivity problems, print quality issues, or software compatibility.
By following these steps, you can ensure that the wireless printing functionality of your Brother printer is working smoothly and efficiently. Enjoy the convenience of printing wirelessly from any device in your home or office.
Conclusion
In conclusion, setting up a Brother wireless printer is a straightforward process that can greatly simplify your printing needs. By following the steps outlined in this article, you will be able to connect your printer to your wireless network and start printing wirelessly in no time. Brother printers offer a wide range of features and functionalities, making them a popular choice for both home and office use.
Remember to carefully read the user manual and refer to the manufacturer’s website for any specific instructions related to your printer model. Troubleshoot any issues that arise by checking your network settings, updating drivers, or contacting Brother’s customer support for assistance.
With a Brothers wireless printer, you can enjoy the convenience and flexibility of printing from anywhere within your network range. Say goodbye to messy cables and enjoy the seamless printing experience that wireless technology has to offer.
FAQs
1. Can I set up a Brother wireless printer without a CD?
Yes, you can set up a Brother wireless printer without using a CD. Most Brother printers come with built-in Wi-Fi capabilities, allowing you to connect them to your wireless network without the need for a CD. You can use the Brother printer’s control panel or software downloaded from the official Brother website to complete the setup process.
2. How do I connect my Brother wireless printer to Wi-Fi?
To connect your Brother wireless printer to Wi-Fi, follow these steps:
– Ensure that your wireless network is set up and functioning properly.
– Press the Menu button on your Brother printer’s control panel.
– Use the navigation arrows to scroll through the menu and locate the Network or WLAN option.
– Select the Network or WLAN option, and then choose the Setup Wizard.
– Follow the on-screen instructions to select your wireless network and enter the password.
– Once the connection is established, your Brother printer will be connected to Wi-Fi.
3. What should I do if my Brother wireless printer is not connecting to Wi-Fi?
If your Brother wireless printer is not connecting to Wi-Fi, try the following troubleshooting steps:
– Make sure that your wireless network is working properly and that other devices can connect to it.
– Restart both your Brother printer and your wireless router.
– Ensure that your Brother printer is within range of the Wi-Fi signal.
– Try resetting the network settings on your Brother printer and setting up the Wi-Fi connection again.
– If the issue persists, consult the Brother support website or contact their customer support for further assistance.
4. Can I print from my smartphone or tablet to a Brother wireless printer?
Yes, you can print from your smartphone or tablet to a Brother wireless printer. Brother provides mobile printing solutions that allow you to connect your mobile devices to their printers. You can use the Brother iPrint&Scan app, available for both iOS and Android, to print directly from your mobile device. Additionally, most newer Brother printers support popular mobile printing standards such as AirPrint and Google Cloud Print.
5. How do I update the firmware on my Brother wireless printer?
To update the firmware on your Brother wireless printer, follow these steps:
– Visit the official Brother website and navigate to the Support page.
– Enter your printer model number to access the product support page.
– Look for the Firmware section, and download the latest firmware file for your printer.
– Connect your computer to the same Wi-Fi network as your Brother printer.
– Access the printer’s web-based management interface by entering its IP address into a web browser.
– Navigate to the Firmware Update section and follow the on-screen instructions to update the firmware.
– Once the update is complete, restart your Brother printer to apply the changes.