
In today’s digital age, having a wireless printer at home or in the office has become essential for seamless printing and document management. HP wireless printers offer the convenience of printing without the hassle of connecting cables, making them a popular choice among users. Whether you want to print documents from your laptop, tablet, or smartphone, connecting to an HP wireless printer is a relatively simple process. In this article, we will guide you through the necessary steps to connect to an HP wireless printer, ensuring smooth printing and enhanced productivity. Whether you are a tech-savvy individual or a novice, this guide will provide you with the knowledge and confidence to connect to your HP wireless printer effortlessly.
Inside This Article
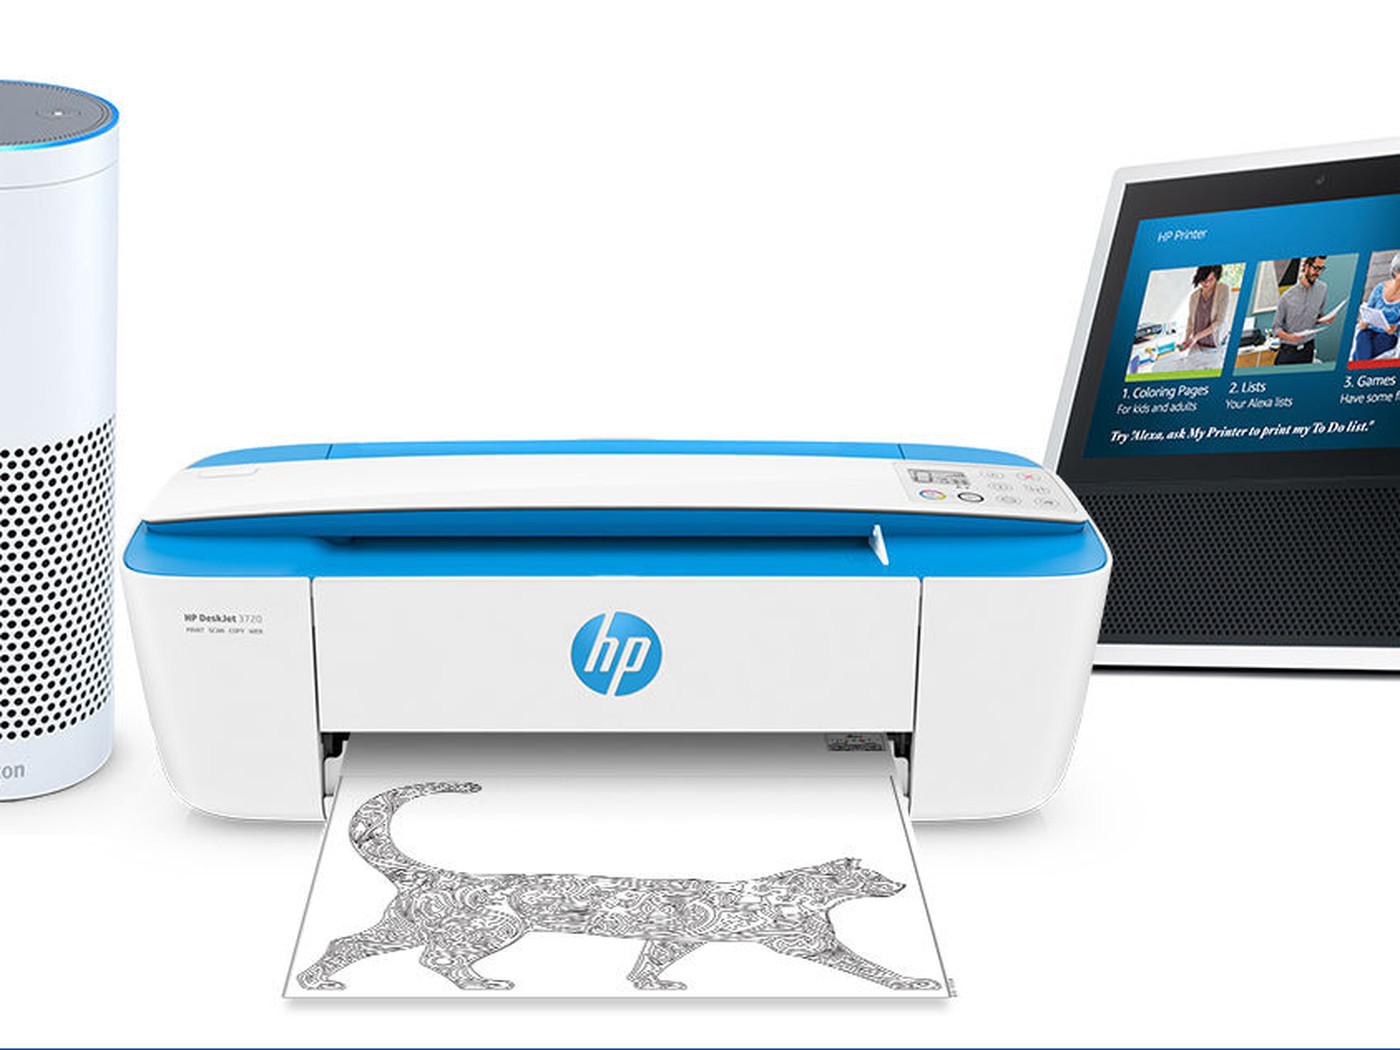
- Overview of HP Wireless Printers
- Step 1: Check Compatibility and System Requirements
- Step 2: Connect Printer to Wi-Fi Network
- Step 3: Install Printer Drivers and Software
- Step 4: Test Connection and Troubleshooting
- Conclusion
- FAQs
Overview of HP Wireless Printers
HP wireless printers have revolutionized the way we print documents and photos. No longer do we need to worry about messy cables or being confined to a specific location. With a wireless printer, printing can be done from any device connected to the same Wi-Fi network. HP offers a range of wireless printers designed to cater to different needs and budgets. Whether you’re a student, a small business owner, or a home user, there’s an HP wireless printer that’s perfect for you.
One of the key advantages of HP wireless printers is the convenience they offer. You can print from your smartphone, tablet, or computer without the need for any physical connections. This means you can print documents and photos on the go, even if you’re not near the printer. It’s a seamless and hassle-free way to print, whether you’re at home, in the office, or on the road.
Setting up an HP wireless printer is remarkably straightforward. You’ll need to ensure that your printer is compatible with your device and Wi-Fi network. Most HP wireless printers are compatible with both Windows and macOS operating systems. Additionally, HP provides detailed step-by-step instructions and videos to guide you through the setup process, making it easy even for those who are not tech-savvy.
Once your HP wireless printer is connected to your Wi-Fi network, you will need to install the necessary printer drivers and software on your device. This enables your device to communicate with the printer and sends print commands wirelessly. HP provides driver downloads and software updates on their official website, ensuring you have the latest features and functionality.
Testing the connection between your device and HP wireless printer is an important step. This allows you to ensure that everything is functioning properly and that you can print without any issues. In case you encounter any problems, HP provides troubleshooting guides and customer support to assist you in resolving any connectivity or printing-related issues that you may face.
Step 1: Check Compatibility and System Requirements
Before connecting your HP wireless printer, it is essential to check its compatibility with your devices and ensure that the necessary system requirements are met. This step will help you avoid any compatibility issues and ensure a smooth setup process.
Here are some important aspects to consider:
- Device Compatibility: Check if your computer, laptop, or mobile device is compatible with the HP wireless printer. Most HP printers are compatible with popular operating systems like Windows, macOS, iOS, and Android. Make sure your device meets the minimum requirements specified by HP.
- Network Compatibility: Verify that your wireless printer supports the same Wi-Fi network as your devices. It should be compatible with the type of Wi-Fi network you have, such as 2.4 GHz or 5 GHz. Also, ensure that your Wi-Fi network is stable and properly configured.
- Internet Connection: An active internet connection is typically required for certain features and functionalities of HP wireless printers, such as accessing cloud-based printing services. Verify that your internet connection is stable and reliable.
- System Requirements: Take note of the minimum system requirements specified by HP for installing printer drivers and software. Check if your computer or mobile device meets these requirements, including the operating system version, available storage space, and RAM.
- Printer Firmware: Ensure that your HP wireless printer has the latest firmware installed. Firmware updates often include improvements, bug fixes, and enhanced compatibility with various devices.
By performing these compatibility and system requirement checks, you can ensure a seamless and hassle-free setup process for your HP wireless printer. It will minimize the chances of encountering any issues and enable you to enjoy all the features and functionalities of your printer.
Step 2: Connect Printer to Wi-Fi Network
Connecting your HP wireless printer to a Wi-Fi network is essential for seamless printing from any device in your home or office. Follow these simple steps to connect your printer to Wi-Fi:
1. Prepare your printer: Make sure your HP wireless printer is turned on and properly set up. Check the printer’s display panel or control panel for any prompts or messages regarding network setup.
2. Access the printer’s settings: Locate the settings menu on your printer. This can typically be accessed through the touchscreen display or by using the buttons on the printer’s control panel. Look for an option related to network or wireless settings.
3. Select the Wi-Fi network: In the printer’s settings menu, navigate to the Wi-Fi or network options. Select the option to “Connect to Wi-Fi” or “Wireless Setup.” The printer will automatically scan for available Wi-Fi networks in the vicinity.
4. Choose the network and enter credentials: Select your Wi-Fi network from the list of available options. If required, enter the password or network credentials to connect the printer. Keep in mind that the password is case-sensitive, so ensure you enter it correctly.
5. Wait for connection confirmation: After entering the network credentials, wait for the printer to establish a connection with the Wi-Fi network. This may take a few moments, so be patient. Once the connection is successful, you will see a confirmation message on the printer’s display panel.
6. Test the connection: To ensure that your printer is connected to the Wi-Fi network, print a test page or document from your computer or mobile device. If the printer responds and prints the test page, it means the connection was successful.
7. Troubleshooting: If you encounter any issues during the connection process, refer to the printer’s user manual or the manufacturer’s website for troubleshooting steps. Common issues include incorrect network settings, weak Wi-Fi signal, or outdated printer firmware.
By following these steps, you can easily connect your HP wireless printer to a Wi-Fi network. Enjoy the convenience of wireless printing and the ability to print documents from various devices throughout your home or office.
Step 3: Install Printer Drivers and Software
After successfully connecting your HP wireless printer to your Wi-Fi network, the next step is to install the necessary printer drivers and software on your computer. These drivers and software help your computer communicate with the printer and enable you to access all the features and functionalities it offers. Here’s how you can easily install the printer drivers and software:
1. Identify the Model Number: Before proceeding, make sure you know the model number of your HP wireless printer. This information is usually located on the front or top of the printer. Knowing the model number will help you find the correct drivers and software for your specific printer model.
2. Visit the HP Support Website: Open your preferred web browser and navigate to the official HP support website. Enter the model number of your printer in the search bar to access the specific drivers and software for your printer model.
3. Download the Drivers and Software: On the HP support page for your printer model, you will find a list of available drivers and software. Select the operating system of your computer and click on the download button next to the driver package that suits your needs. Save the file to your computer.
4. Run the Installer: Once the download is complete, locate the file on your computer and double-click on it to run the installer. Follow the on-screen prompts to install the printer drivers and software. Make sure to read and accept the license agreement if prompted.
5. Connect the Printer: During the installation process, you may be prompted to connect your printer to your computer. Follow the instructions provided to establish a connection between the printer and your computer. This step is crucial for successful communication between the devices.
6. Complete the Installation: Once the installation is complete, the printer drivers and software will be ready to use. Restart your computer if prompted to ensure all changes take effect. You can now start printing documents wirelessly using your HP printer.
It’s important to note that if you encounter any issues during the installation process or face compatibility problems, it may be necessary to contact HP customer support for assistance. They can provide further guidance and troubleshooting steps to resolve any problems you may have.
By following these steps, you can easily install the printer drivers and software for your HP wireless printer. This will enable you to enjoy hassle-free printing and access all the features and functionalities of your printer.
Step 4: Test Connection and Troubleshooting
Once you have successfully connected your HP wireless printer to your Wi-Fi network and installed the necessary drivers and software, it’s time to test the connection and address any potential issues that may arise. Follow these steps to ensure your printer is ready to use:
- Print a test page: Start by sending a print command from your computer or device to the HP wireless printer. This will help verify if the connection is stable and the printer is functioning properly. If the test page prints successfully, it’s a good indication that everything is set up correctly. If not, proceed to the next step.
- Check Wi-Fi signal strength: Poor Wi-Fi signal strength can affect the communication between your device and the printer. Make sure the printer is within range of your Wi-Fi router and that there are no physical obstructions blocking the signal. You can also try relocating the printer closer to the router to improve the signal strength.
- Restart your devices: Sometimes, a simple restart can resolve connectivity issues. Restart your computer, Wi-Fi router, and HP wireless printer. Once all devices are back online, attempt to print another test page to see if the issue has been resolved.
- Update printer firmware: Outdated firmware can cause compatibility issues and hinder the printer’s performance. Visit the HP support website and check for any available firmware updates for your specific printer model. Follow the instructions provided to download and install the updates, then test the printer again.
- Check ink and paper levels: If the test page is not printing properly, verify that your printer has enough ink and paper. Low levels can result in poor print quality or no output at all. Replace any empty ink cartridges and load paper into the appropriate tray before attempting to print again.
- Reinstall printer drivers: If none of the above steps resolve the issue, it may be necessary to uninstall and reinstall the printer drivers. Go to your computer’s “Control Panel” or “Settings” and locate the “Printers” or “Devices and Printers” section. Remove the existing printer and then install it again using the provided drivers and software. Test the connection once the installation is complete.
If you have followed these troubleshooting steps and are still experiencing difficulties with your HP wireless printer, it may be helpful to consult the HP support website or contact their customer support for further assistance. They can provide specific troubleshooting steps for your printer model and help resolve any persistent issues.
In conclusion, connecting to an HP wireless printer is a simple and convenient way to print your documents and photos. By following the step-by-step instructions provided by HP, you can seamlessly set up and establish a connection between your device and the printer. Whether you’re using a computer, smartphone, or tablet, you’ll be able to print wirelessly without the hassle of cables and wires.
With the ability to connect multiple devices to the printer, you can easily print from anywhere in your home or office. The wireless printing feature saves you time and allows for a more flexible workflow. Additionally, HP’s innovative technology ensures high-quality prints and efficient performance.
By implementing these wireless printing solutions, you can enhance your productivity and streamline your printing experience. Say goodbye to the inconvenience of connecting cables and hello to the convenience of wireless printing with an HP printer!
FAQs
1. How do I connect my HP wireless printer to my computer?
To connect your HP wireless printer to your computer, follow these steps:
- Make sure your printer is turned on and connected to a power source.
- Press the wireless button on your printer to activate the wireless feature.
- On your computer, go to the Wi-Fi settings and select the network name of your printer.
- Enter the password if prompted.
- Once connected, your computer will install the necessary drivers and your printer will be ready to use.
2. What if I can’t find my printer’s network name on my computer?
If you’re unable to find your printer’s network name on your computer, try the following:
- Ensure that your printer is within range of your Wi-Fi router.
- Check if your printer’s wireless feature is turned on.
- Restart your printer and computer.
- If you still don’t see the network name, consult your printer’s manual or contact HP support for further assistance.
3. Do I need any special software to connect my HP wireless printer?
In most cases, you don’t need any special software to connect your HP wireless printer. However, if your printer model requires specific software for wireless connectivity, it may come with a setup disc or have downloadable software available on the HP website. Check your printer’s documentation for more information.
4. Can I connect my HP wireless printer to multiple devices?
Yes, you can connect your HP wireless printer to multiple devices, such as computers, smartphones, and tablets. Each device will need to go through the initial setup process to connect to the printer’s wireless network. Keep in mind that some printer models may have limitations on the number of simultaneous connections or require additional settings for multiple device connectivity.
5. What if my HP wireless printer is not connecting to my Wi-Fi network?
If your HP wireless printer is not connecting to your Wi-Fi network, try the following troubleshooting steps:
- Restart your printer and Wi-Fi router.
- Ensure that your printer and router are within range of each other.
- Double-check that your Wi-Fi network name and password are entered correctly on the printer.
- Update your printer’s firmware and software to the latest versions.
- If the issue persists, consult the printer’s manual or reach out to HP support for further assistance.