
In today’s fast-paced world, wireless cameras have revolutionized the way we capture and monitor our surroundings. Whether it’s for home security, surveillance, or even capturing breathtaking moments in nature, wireless cameras have become an essential tool. But how exactly do you connect a wireless camera? In this article, we will guide you through the step-by-step process of connecting a wireless camera, ensuring that you can start using it seamlessly and effortlessly. From understanding the various types of wireless cameras available, to setting up the necessary equipment, we will cover all the essential information you need to make the most out of your wireless camera. So, if you’re ready to discover how to connect a wireless camera and unlock its incredible potential, let’s get started!
Inside This Article
- Overview
- Step 1: Checking camera compatibility
- Step 2: Setting up the camera
- Step 3: Connecting the camera to the network
- Step 4: Configuring camera settings
- Troubleshooting common connectivity issues
- Conclusion
- FAQs
Overview
Connecting a wireless camera can provide you with a convenient and flexible way to monitor your surroundings. Whether you want to keep an eye on your home, office, or any other space, wireless cameras offer the freedom to set them up without the need for messy wires. In this article, we will guide you through the steps to successfully connect a wireless camera to ensure you have a seamless surveillance experience.
Before we jump into the technical details, it’s important to have a basic understanding of how wireless cameras work. These cameras utilize Wi-Fi technology to transmit video and audio signals wirelessly. They connect to your local network, either through a Wi-Fi router or directly to a Wi-Fi-enabled device, such as a smartphone or computer. Once connected, you can access the camera’s live feed remotely through a compatible app or software, giving you peace of mind wherever you are.
Now that you have a general idea of what a wireless camera is and how it functions, let’s move on to the step-by-step process of connecting one.
Step 1: Checking camera compatibility
Before you begin setting up your wireless camera, it is crucial to ensure that it is compatible with your network. Here are a few steps to help you check the compatibility:
1. Review the camera specifications: Start by carefully examining the camera’s specifications provided by the manufacturer. Look for information about the camera’s compatibility with various network standards, such as Wi-Fi protocols (e.g., 802.11ac or 802.11n) and frequency bands (e.g., 2.4GHz or 5GHz).
2. Check your home network: Determine the type of network you have at home. Most wireless cameras are designed to work with standard Wi-Fi networks. However, if you have a specialized network setup, such as a business-grade Wi-Fi or a mesh network, you may need to check if the camera supports these configurations.
3. Consider power requirements: Some wireless cameras require external power sources, while others are battery-powered. Make sure the camera’s power requirements align with your available power sources or battery capacity.
4. Look for mobile app compatibility: Many wireless cameras are managed through a dedicated mobile app. Check if the camera’s mobile app is compatible with your smartphone’s operating system, whether it’s iOS or Android.
By thoroughly checking the camera’s compatibility, you can ensure a smooth setup process and avoid any disappointments or setbacks along the way. Once you have confirmed the compatibility, you can proceed to the next step of setting up your wireless camera.
Step 2: Setting up the camera
Setting up your wireless camera is an essential step in ensuring optimal performance and functionality. Follow these steps to successfully set up your camera:
1. Choose the ideal location: Select a suitable location for your camera where it has a clear view of the area you want to monitor. Consider factors like Wi-Fi signal strength and power source availability.
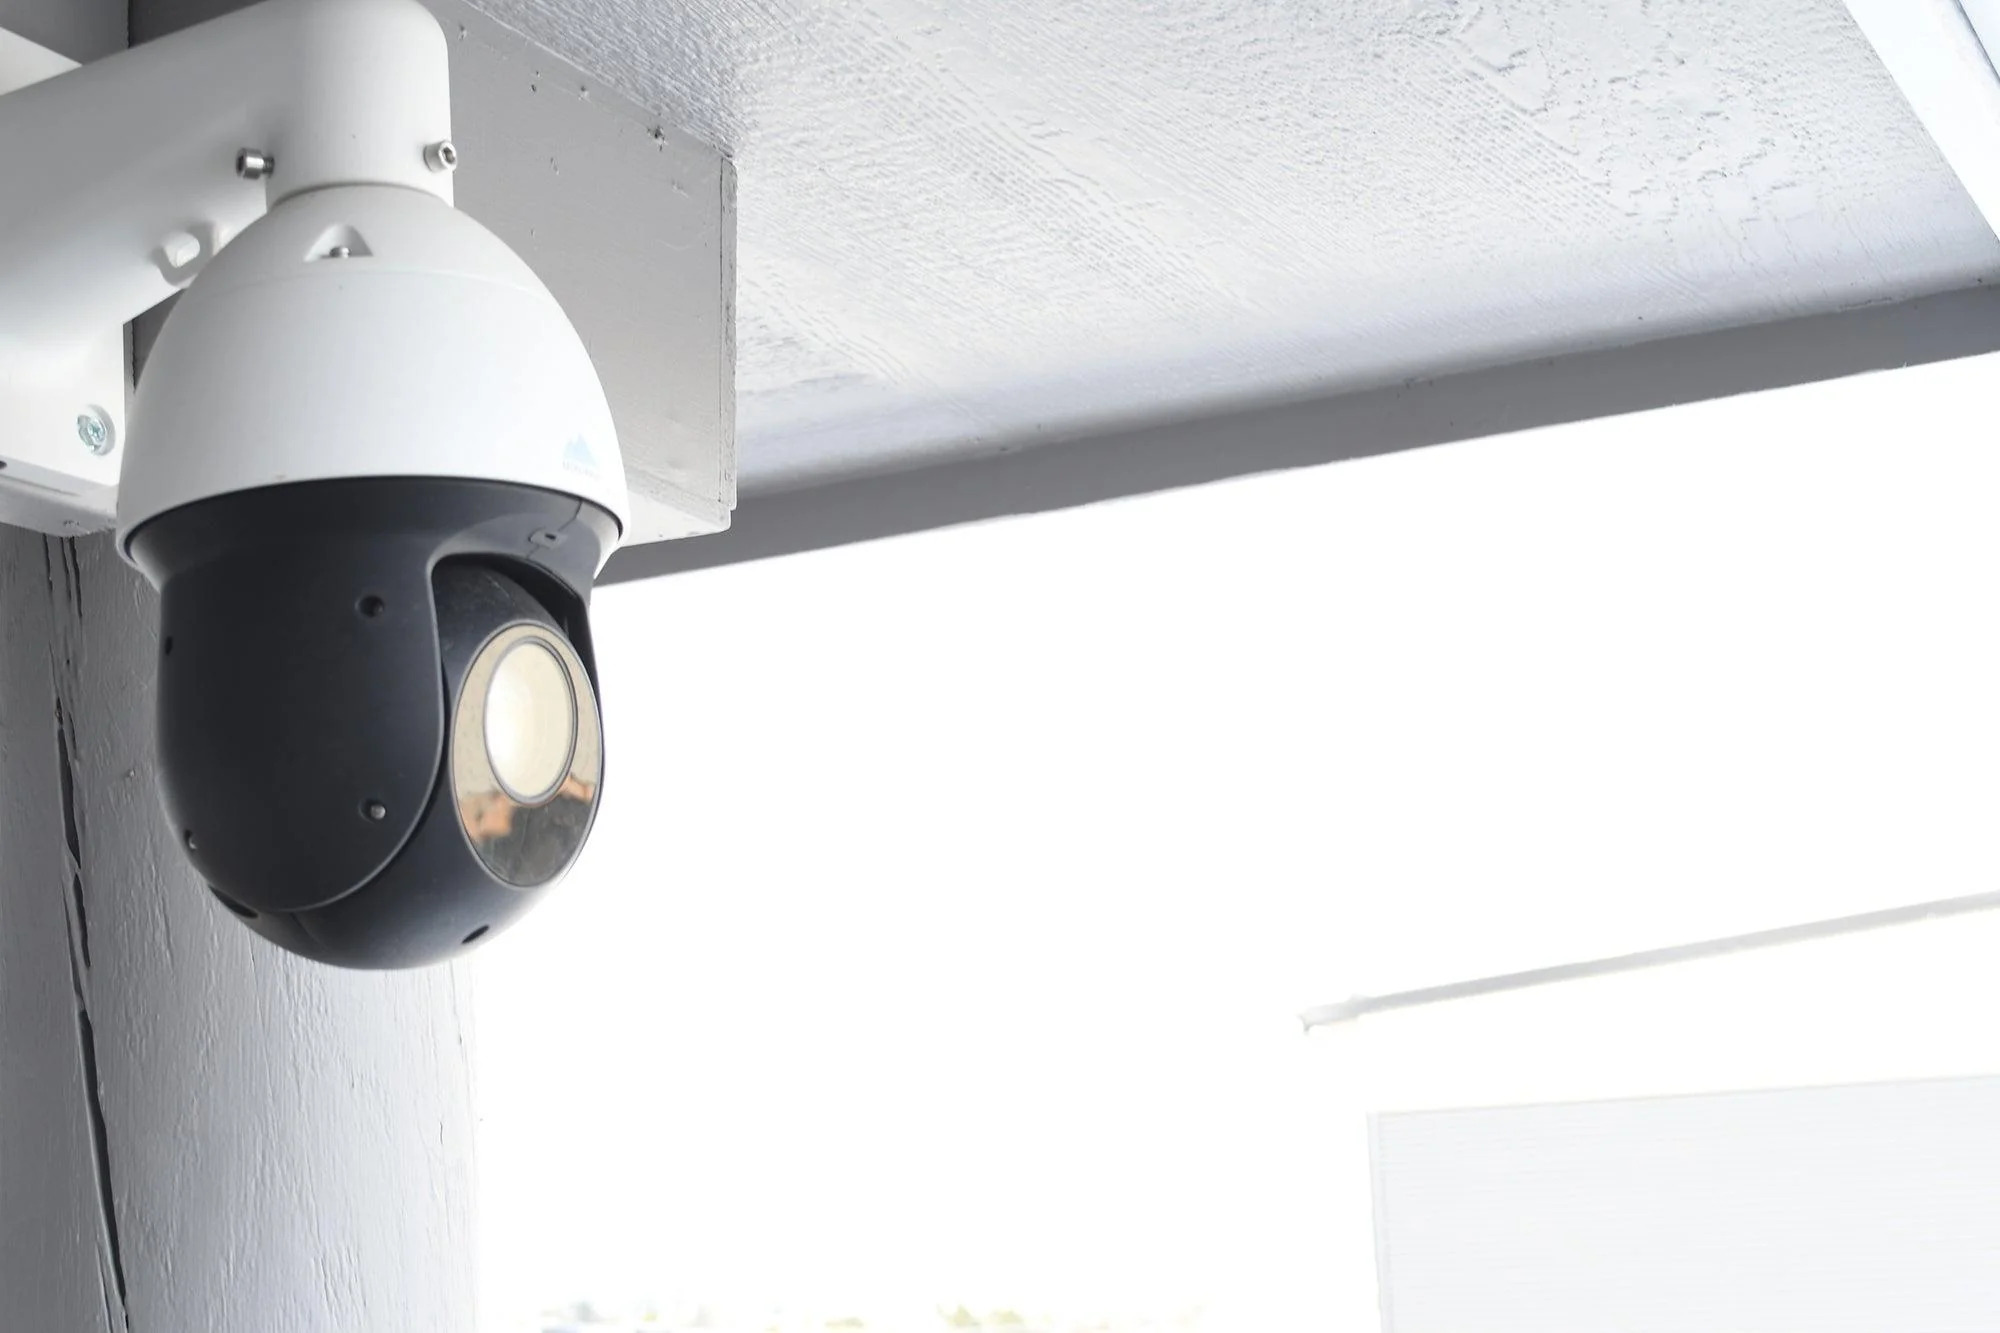
2. Mount the camera: Depending on the type of camera you have, use the included mounting brackets or adhesive pads to securely attach it to a wall, ceiling, or any other surface. Make sure it is stable and positioned correctly.
3. Power on the camera: Connect the camera to a power source using the provided power adapter or batteries. Ensure that the camera is receiving power and that the LED lights indicate it is turned on.
4. Install the camera software: Most wireless cameras come with companion mobile apps or software. Download the respective app or software onto your mobile device or computer and follow the instructions for installation.
5. Connect to the camera’s Wi-Fi network: In the camera settings or app, locate the Wi-Fi network associated with the camera. Connect your mobile device or computer to this network to establish a direct connection with the camera.
6. Access the camera’s settings: Once connected to the camera’s Wi-Fi network, open the companion app or software. You will be prompted to enter the camera’s unique identification details, usually provided in the camera’s packaging or user manual.
7. Customize camera settings: Now that you have access to the camera’s settings, you can customize features such as video resolution, motion detection sensitivity, and recording preferences. Take the time to adjust these settings according to your needs.
8. Test the camera: Ensure that the camera is functioning properly by performing a test. Use the live view feature in the app or software to see the camera’s perspective and confirm that the video feed is clear and stable.
9. Secure your camera: Set up appropriate security measures to protect your camera from unauthorized access. Change the default login credentials, enable two-factor authentication if available, and ensure your Wi-Fi network is properly secured with a strong password.
By following these steps, you can easily set up your wireless camera for optimal performance and peace of mind knowing that your property is under surveillance.
Step 3: Connecting the camera to the network
Now that you have confirmed the compatibility of your wireless camera and set it up, the next step is to connect it to your network. Follow these simple steps to establish a seamless connection:
1. First, you need to locate the Wi-Fi settings on your camera. This can usually be found in the camera’s menu or settings option. Look for a section that allows you to connect to a network.
2. Once you have accessed the Wi-Fi settings, you will likely see a list of available networks. Select your network from the list. You may be prompted to enter your network password, so make sure to have it handy.
3. After selecting your network and entering the password, the camera will initiate the connection process. This may take a few moments, so be patient. Once the camera successfully connects to the network, you will see a confirmation message on the camera’s display or interface.
4. To ensure a stable and reliable connection, it is recommended to place the camera within a reasonable range of your Wi-Fi router. This will help minimize interference and signal dropouts.
5. After the initial connection is established, it is important to test the camera’s network connectivity. You can do this by accessing the camera’s live feed on a smartphone, tablet, or computer connected to the same Wi-Fi network. Open the camera’s corresponding mobile app or web interface and check if you can view the live video streaming.
6. In some cases, you may need to assign a specific IP address to the camera for proper network configuration. Consult the camera’s manual or manufacturer’s website for instructions on how to set up a static IP address if required.
Connecting your wireless camera to the network is a crucial step in ensuring its functionality and accessibility. By following these steps, you can establish a reliable connection and easily access the camera’s live feed from anywhere within your Wi-Fi network coverage area.
Step 4: Configuring camera settings
Once you have successfully connected your wireless camera to the network, the next step is to configure its settings. Configuring the camera settings is essential to ensure optimal performance and functionality. Here are the steps to follow:
1. Access the camera’s settings interface: To configure the camera, you will need to access its settings interface. This can typically be done by entering the camera’s IP address into a web browser. Consult the camera’s user manual or documentation for detailed instructions on accessing the settings interface.
2. Set up user accounts and passwords: To enhance security and control access to your camera’s feed, it is recommended to set up user accounts and passwords. Create a strong password and assign different access levels to each user account, depending on their roles and permissions.
3. Customize video and image settings: Tailor the camera’s video and image settings to your specific preferences. Adjust parameters such as resolution, frame rate, brightness, contrast, and color saturation. Experiment with different settings to achieve the desired image quality and clarity.
4. Enable motion detection and alerts: Most wireless cameras offer motion detection capabilities. By enabling this feature, the camera can detect movement in its field of view and trigger alerts, such as push notifications or email notifications. Configure the sensitivity level and specify the areas of the frame where motion should be detected.
5. Set up recording options: Determine how you want the camera to handle recordings. You can choose to store footage locally on the camera’s microSD card or opt for cloud storage. Configure the recording schedule and duration to ensure that the camera captures footage based on your specific needs.
6. Configure network settings: Depending on your network setup, you may need to configure additional network settings for the camera to function properly. This can include assigning a static IP address, adjusting DNS settings, or setting up port forwarding if you want to access the camera remotely.
7. Test and fine-tune settings: Once you have configured the camera settings, it is crucial to test and fine-tune them. Verify that the video feed is clear and stable, and that motion detection and alerts are working as expected. Make any necessary adjustments to the settings to achieve optimal performance.
Remember to save your changes after configuring the camera settings to ensure that they are applied. It is also a good practice to regularly check and update the camera’s firmware to benefit from the latest features and security enhancements.
By properly configuring your wireless camera settings, you can maximize its capabilities and achieve the desired surveillance experience.
Troubleshooting common connectivity issues
While connecting a wireless camera to your network can be a convenient way to enhance your home security, you may encounter some connectivity issues along the way. In this section, we will discuss some common problems and provide troubleshooting tips to help you overcome them.
1. Weak Wi-Fi signal: One of the most common connectivity issues is a weak Wi-Fi signal. If your camera is unable to maintain a stable connection, try moving it closer to your router or investing in a Wi-Fi extender to improve signal strength. Also, ensure that there are no physical obstructions, such as walls or furniture, blocking the signal.
2. Incorrect Wi-Fi password: Double-check that you have entered the correct Wi-Fi password during the setup process. A wrong password will prevent the camera from connecting to your network. If you’re unsure about the password, refer to your router’s documentation or contact your service provider for assistance.
3. IP address conflict: Sometimes, multiple devices on the network can have the same IP address, causing a conflict and preventing the camera from connecting. To resolve this, access your router’s settings and assign a unique IP address to the camera or enable DHCP (Dynamic Host Configuration Protocol) to automatically assign IP addresses to devices on your network.
4. Firewall or antivirus software: Your camera’s connection may be blocked by firewall or antivirus software on your computer or router. Temporarily disable these security measures and check if the camera can connect. If it does, adjust the settings of your firewall or antivirus software to allow the camera’s access.
5. Firmware or software updates: Check if there are any firmware or software updates available for your camera. Updating the camera’s firmware can resolve any bugs or compatibility issues that may be causing connectivity problems.
6. Network interference: Other devices or appliances in your home, such as cordless phones or baby monitors, can interfere with the camera’s signal. Try to relocate the camera away from potential sources of interference or switch to a different Wi-Fi channel to minimize interference.
7. Network bandwidth limitations: If you have multiple devices connected to your network and are experiencing connectivity issues, it could be due to network bandwidth limitations. Consider upgrading your internet plan to increase the available bandwidth or limit the number of devices connected simultaneously.
8. Resetting the camera: If all else fails and the camera still cannot connect, try resetting the camera to its factory default settings. Consult the camera’s user manual or manufacturer’s website for instructions on how to perform a reset.
By following these troubleshooting tips, you can overcome common connectivity issues and enjoy a seamless connection with your wireless camera. Remember to refer to the camera’s user manual or contact customer support for further assistance if needed.
Conclusion
Connecting a wireless camera is a convenient and efficient way to enhance your security and monitor your surroundings. With the advancements in technology, wireless cameras have become more user-friendly and accessible to everyone. By following the step-by-step process outlined in this article, you can easily connect your wireless camera and start enjoying the benefits it offers.
Remember to carefully choose the location for your camera to ensure optimal coverage and minimize any potential interference. Additionally, make sure to select a secure Wi-Fi network and regularly update the firmware of your camera to enhance its performance and protect it from vulnerabilities.
Whether you are looking to monitor your home, office, or any other space, a wireless camera provides an effective solution. By implementing the tips and guidelines outlined in this article, you can set up your wireless camera with ease and peace of mind, knowing that you have taken the necessary steps to secure your space.
FAQs
1. How do I connect a wireless camera?
Connecting a wireless camera typically involves a few simple steps. First, ensure that the camera is powered on and within range of your Wi-Fi network. Then, open the camera’s settings menu and navigate to the Wi-Fi or network settings. Find your network in the available networks list and enter the network password if prompted. Once connected, the camera should be able to transmit video wirelessly to your device or a designated receiver.
2. What are the benefits of using wireless cameras?
Wireless cameras offer several advantages over traditional wired security cameras. They allow for easy installation without the need for complex wiring, saving time and effort. Wireless cameras are also highly flexible, granting you the freedom to place them in various locations within the Wi-Fi range. Additionally, they can be accessed remotely, enabling you to view live footage and receive notifications on your mobile device.
3. Can I use a wireless camera outdoors?
Yes, many wireless cameras are designed for outdoor use and come equipped with weatherproof housing. However, it’s important to choose a camera designed specifically for outdoor use to ensure durability and protection against the elements. Look for cameras with an IP65 or higher rating, which indicates resistance to dust and water.
4. Do wireless cameras require an internet connection?
Yes, wireless cameras require an internet connection for remote viewing and accessing advanced features. However, they can still function as standalone cameras without an internet connection, allowing you to access the footage locally. Keep in mind that without an internet connection, you won’t be able to access the camera remotely or receive notifications on your mobile device.
5. Can I connect multiple wireless cameras to one system?
Yes, you can connect multiple wireless cameras to create a comprehensive security system. Most wireless cameras are designed to work in conjunction with a central hub or network video recorder (NVR). The hub acts as a centralized control station, allowing you to manage and view multiple camera feeds from one interface. Make sure to check the compatibility and capacity of the hub or NVR to ensure it can support the number of cameras you intend to connect.