
Are you struggling to connect your wireless router to DSL? Fret not! In this article, we will guide you through the process step by step. A DSL connection provides reliable and fast internet access, and connecting your wireless router to it allows you to utilize the internet on multiple devices wirelessly.
Setting up a wireless router with DSL may seem daunting, especially if you are not well-versed in networking. However, with the right knowledge and guidance, the process becomes much simpler. Whether you are a beginner or just need a refresher, this article will walk you through the necessary steps to connect your wireless router to DSL.
So, if you’re ready to enjoy uninterrupted internet access on all your devices, let’s dive into the step-by-step process of connecting your wireless router to DSL!
Inside This Article
- # How to Connect a Wireless Router to DSL
- Overview- Understanding the basics of setting up a wireless router with DSL.
- Step 1: Gather the Necessary Equipment
- Step 2: Connect the DSL Modem to the Wireless Router- Connecting the DSL modem to the wireless router using an Ethernet cable.
- Step 3: Configure the Wireless Router
- Step 4: Test the Connection
- Conclusion
- FAQs
# How to Connect a Wireless Router to DSL
Connecting a wireless router to DSL is a straightforward process that allows you to enjoy wireless connectivity throughout your home or office. By following a few simple steps, you can create a secure and reliable network that will enable you to connect multiple devices, such as laptops, smartphones, and tablets, to the internet without the need for cumbersome cables.
To help you get started, here is a step-by-step guide on how to connect a wireless router to DSL:
- Gather the necessary equipment: Before you begin, make sure you have all the required equipment. This includes a DSL modem provided by your internet service provider (ISP), a wireless router, and Ethernet cables.
- Power on the DSL modem and wireless router: Connect the power adapter to both the DSL modem and the wireless router. Ensure they are properly plugged in and turned on.
- Connect the DSL modem to the wireless router: Use an Ethernet cable to connect the DSL modem to the WAN port (usually labeled) on the wireless router. This establishes a connection between the modem and the router.
- Configure the wireless router settings: Open a web browser on a computer connected to the router, and enter the default IP address (such as 192.168.1.1) in the address bar. This will take you to the router’s configuration page. Follow the manufacturer’s instructions to set up a username and password, configure the wireless network name (SSID), and choose a security protocol (such as WPA2-PSK) to protect your network.
- Connect your devices to the wireless network: Once the wireless router is properly configured, you can connect your devices to the wireless network. On your device, search for available Wi-Fi networks, and select the network name (SSID) you specified during the router setup. Enter the network password if prompted, and you should be connected to the internet.
These steps should help you successfully connect a wireless router to DSL. However, if you encounter any issues, here are some common troubleshooting tips:
- Ensure that all cables are securely connected and properly seated in their respective ports.
- Restart both the DSL modem and the wireless router to reset any potential connectivity issues.
- Check that the DSL modem is synced with the internet service and that the DSL light on the modem is solid.
- Verify that all the necessary settings in the router configuration page are correctly entered.
Overview- Understanding the basics of setting up a wireless router with DSL.
Setting up a wireless router with DSL is a straightforward process that allows you to enjoy the benefits of a high-speed internet connection and a wireless network in your home or office. By connecting your DSL modem to a wireless router, you can share the internet connection with multiple devices such as smartphones, laptops, and smart home devices.
Before diving into the setup process, it’s important to have a basic understanding of DSL and wireless routers. DSL stands for Digital Subscriber Line and is a technology that uses existing telephone lines to provide internet access. On the other hand, a wireless router is a device that allows wireless communication between devices and connects them to the internet.
The setup process involves connecting the DSL modem to the wireless router and configuring the router settings. Once set up, you can connect your devices to the wireless network and enjoy seamless internet connectivity.
Now, let’s take a look at the step-by-step process of setting up a wireless router with DSL.
Step 1: Gather the Necessary Equipment
Before you begin setting up your wireless router with DSL, it’s essential to gather all the necessary equipment. By ensuring you have everything you need, you can proceed with the setup process smoothly. Here are the key components required for connecting a wireless router to DSL:
- DSL modem: The DSL modem is an essential device that connects your internet service provider’s (ISP) DSL signal to your home network. It receives the DSL signal over the phone line and converts it into a format that your devices can understand.
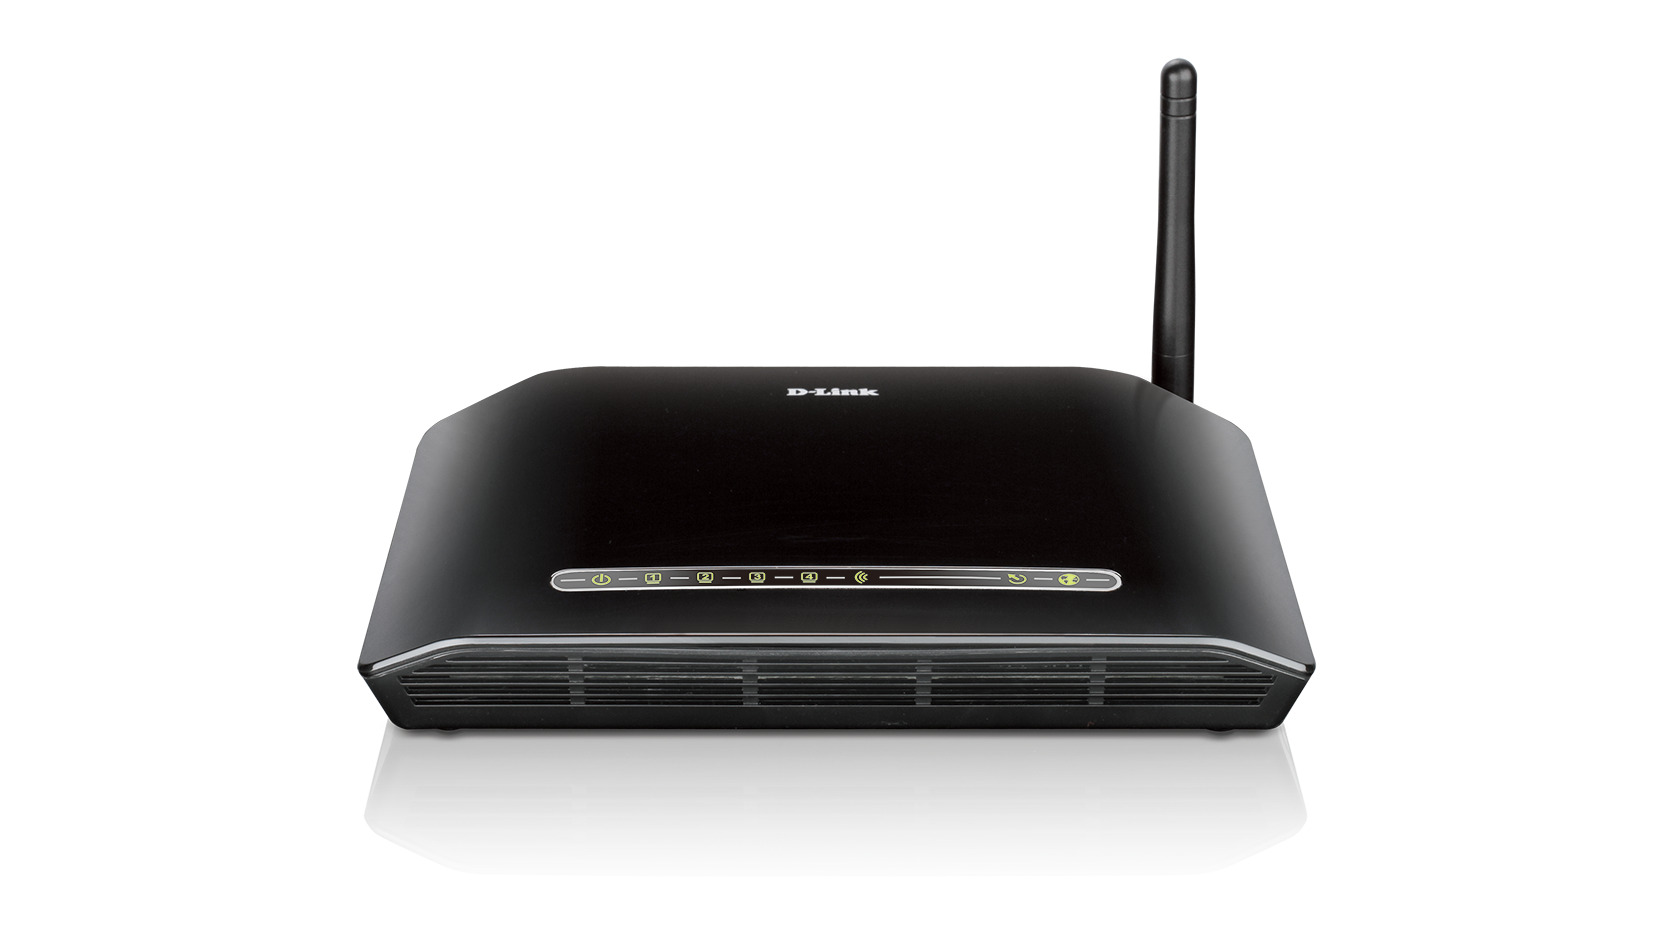
- Wireless router: A wireless router allows you to create a wireless network in your home or office. It acts as a central hub that connects your devices to the internet and allows them to communicate with each other wirelessly.
- Ethernet cables: You will need Ethernet cables to establish a wired connection between the DSL modem and the wireless router. These cables transmit the internet signal from the modem to the router, ensuring a stable and reliable connection.
Having the DSL modem, wireless router, and Ethernet cables ready before you start the setup process will save you time and make the installation process much more convenient. Make sure to check that all the equipment is in good working condition and that you have the necessary cables to connect them.
Step 2: Connect the DSL Modem to the Wireless Router- Connecting the DSL modem to the wireless router using an Ethernet cable.
Once you have gathered all the necessary equipment, it’s time to connect your DSL modem to the wireless router. This connection is crucial as it allows the router to receive the internet signal from the modem and distribute it wirelessly to your devices.
To establish this connection, you will need an Ethernet cable. This cable is typically provided with your DSL modem or wireless router when you purchase them. If you don’t have an Ethernet cable, you can easily purchase one at a local electronics store or online.
Here’s a step-by-step guide on how to connect the DSL modem to the wireless router using an Ethernet cable:
- Power off both the DSL modem and wireless router, and make sure they are unplugged from the power source.
- Locate the Ethernet port on the back of the DSL modem. It is usually labeled as “LAN” or “Ethernet”.
- Take one end of the Ethernet cable and insert it into the Ethernet port on the DSL modem.
- Connect the other end of the Ethernet cable to the Ethernet port on the wireless router. This port is typically labeled as “WAN” or “Internet”.
- Once the cable connection is secure, power on the DSL modem and wait for it to establish a connection with your internet service provider.
- Next, power on the wireless router and wait for it to boot up. The router will automatically detect the internet connection from the modem.
By following these steps, you have successfully connected your DSL modem to the wireless router using an Ethernet cable. The two devices will now work together to provide wireless internet connectivity to your devices, such as smartphones, tablets, and laptops.
It’s worth mentioning that some routers may have additional setup steps, such as configuring the wireless network name (SSID) and password. Refer to your router’s user manual or online documentation for specific instructions on how to access and configure the router’s settings.
Now that you have completed the second step, you can move on to configuring the wireless router settings in the next step.
Step 3: Configure the Wireless Router
After successfully connecting your DSL modem to the wireless router, it’s time to configure the router settings. This will allow you to customize your wireless network and ensure its security and accessibility.
The first step in configuration is accessing the router’s administration settings through a web browser. To do this, open a browser and enter the router’s default IP address in the address bar. The IP address can usually be found in the router’s manual or on the bottom of the device. Once entered, hit enter and you will be redirected to the router’s login page.
Upon reaching the login page, you will be prompted to enter a username and password for the router. It is important to set a unique and strong combination of credentials to prevent unauthorized access. With your chosen username and password, click on the login or submit button to access the router’s admin interface.
Once logged in, you will have access to a wide range of settings that you can configure according to your preferences. One of the key settings to configure is the wireless network settings. In this section, you can choose the appropriate wireless network name, also known as the SSID (Service Set Identifier). It is recommended to choose a name that is easily identifiable and unique to your network.
Next, you will need to select a security mode for your wireless network. It is crucial to choose a strong security mode to protect your network from unauthorized access. The recommended security mode is WPA2-PSK (AES), as it provides the highest level of security. Once selected, you will need to set a strong password for your network. A strong password should be a combination of alphanumeric characters, uppercase and lowercase letters, and special characters.
After configuring these settings, make sure to save the changes and apply them. Your wireless router is now properly configured and ready for use. Remember to keep your username and password for future access to the router’s admin interface.
Step 4: Test the Connection
Once you have successfully connected your wireless router to the DSL modem, it’s time to test the connection and ensure that everything is working as expected. This step involves verifying the successful connection between the wireless router and DSL modem, as well as checking if internet connectivity is established.
To verify the connection, start by checking the lights on both the DSL modem and the wireless router. Typically, there will be indicator lights that show the status of the connection. Look for lights that indicate the DSL link or connection, as well as the Wi-Fi or wireless connectivity on the router. If these lights are solid or blinking consistently, it means that the connection is established.
Next, test the internet connectivity by connecting a device, such as a laptop or smartphone, to the wireless network. Make sure that the device is connected to the correct network name (SSID) and enter the network password, if prompted. Once connected, open a web browser and try accessing a website to check if you have internet access. If the website loads successfully, it means that the internet connectivity is established.
Note: It’s important to note that additional troubleshooting steps may be required if any issues arise during the setup process. If you encounter any difficulties in establishing the connection or accessing the internet, consult the user manual or contact the technical support of the wireless router or DSL modem manufacturer for further assistance.
Connecting a wireless router to DSL can seem like a daunting task, but with the right steps, it’s actually quite simple. By following this guide, you can set up your wireless router and enjoy high-speed internet connectivity throughout your home or office.
Remember, it’s important to choose a wireless router that is compatible with DSL technology. Additionally, ensure that you have all the necessary information, such as your DSL username and password, before starting the setup process.
Once you have your router and information ready, start by connecting your DSL modem to the router’s WAN or internet port. Then, configure the router’s settings by accessing the admin panel through a web browser. Finally, connect your devices to the wireless network and enjoy seamless internet access.
With a properly connected wireless router, you can enjoy the convenience of wireless internet throughout your space, allowing you to stay connected and productive at all times. If you encounter any issues during the setup process, consult the router’s user manual or reach out to the manufacturer’s support for assistance.
FAQs
1. What is a wireless router?
A wireless router is a networking device that allows you to connect multiple devices to your internet service provider (ISP) and create a wireless network within your home or office. It acts as a central hub, providing wireless connectivity to devices such as smartphones, laptops, tablets, and smart devices.
2. How does a wireless router work?
A wireless router acts as a bridge between your modem and your connected devices. It receives the internet signal from your ISP through the modem and then wirelessly transmits that signal to devices within range. It uses wireless technology, such as Wi-Fi, to establish a connection between the router and the devices.
3. Can I connect a wireless router to DSL internet?
Yes, absolutely! Most modern wireless routers are compatible with DSL internet connections. You can connect your DSL modem to the wireless router using an Ethernet cable, and the router will then distribute the internet connection wirelessly to your devices.
4. How do I connect a wireless router to DSL?
To connect a wireless router to DSL internet, follow these steps:
1. Connect your DSL modem to the DSL port on the wireless router using an Ethernet cable.
2. Power on both the modem and the wireless router.
3. Open a web browser on your computer and enter the router’s IP address (usually written on the router itself or provided by the manufacturer).
4. Enter the router’s username and password (also usually provided with the router or set during the initial setup).
5. Follow the router’s setup wizard to configure your wireless network, including setting a network name (SSID) and password.
6. Save the settings and test the internet connection on your devices.
5. Why is my wireless router not connecting to DSL?
There could be several reasons why your wireless router is not connecting to DSL:
– Ensure that your DSL modem is properly connected to the router’s WAN or DSL port.
– Check if the DSL modem is receiving a stable internet signal from your ISP.
– Make sure that you have entered the correct settings, such as the router’s IP address, username, and password.
– Verify that you have followed the correct steps to configure the router’s wireless network settings.
– Restart both the modem and the router to refresh the connection.
If you are still experiencing issues, consult the router’s user manual or contact the manufacturer’s support for further assistance.