
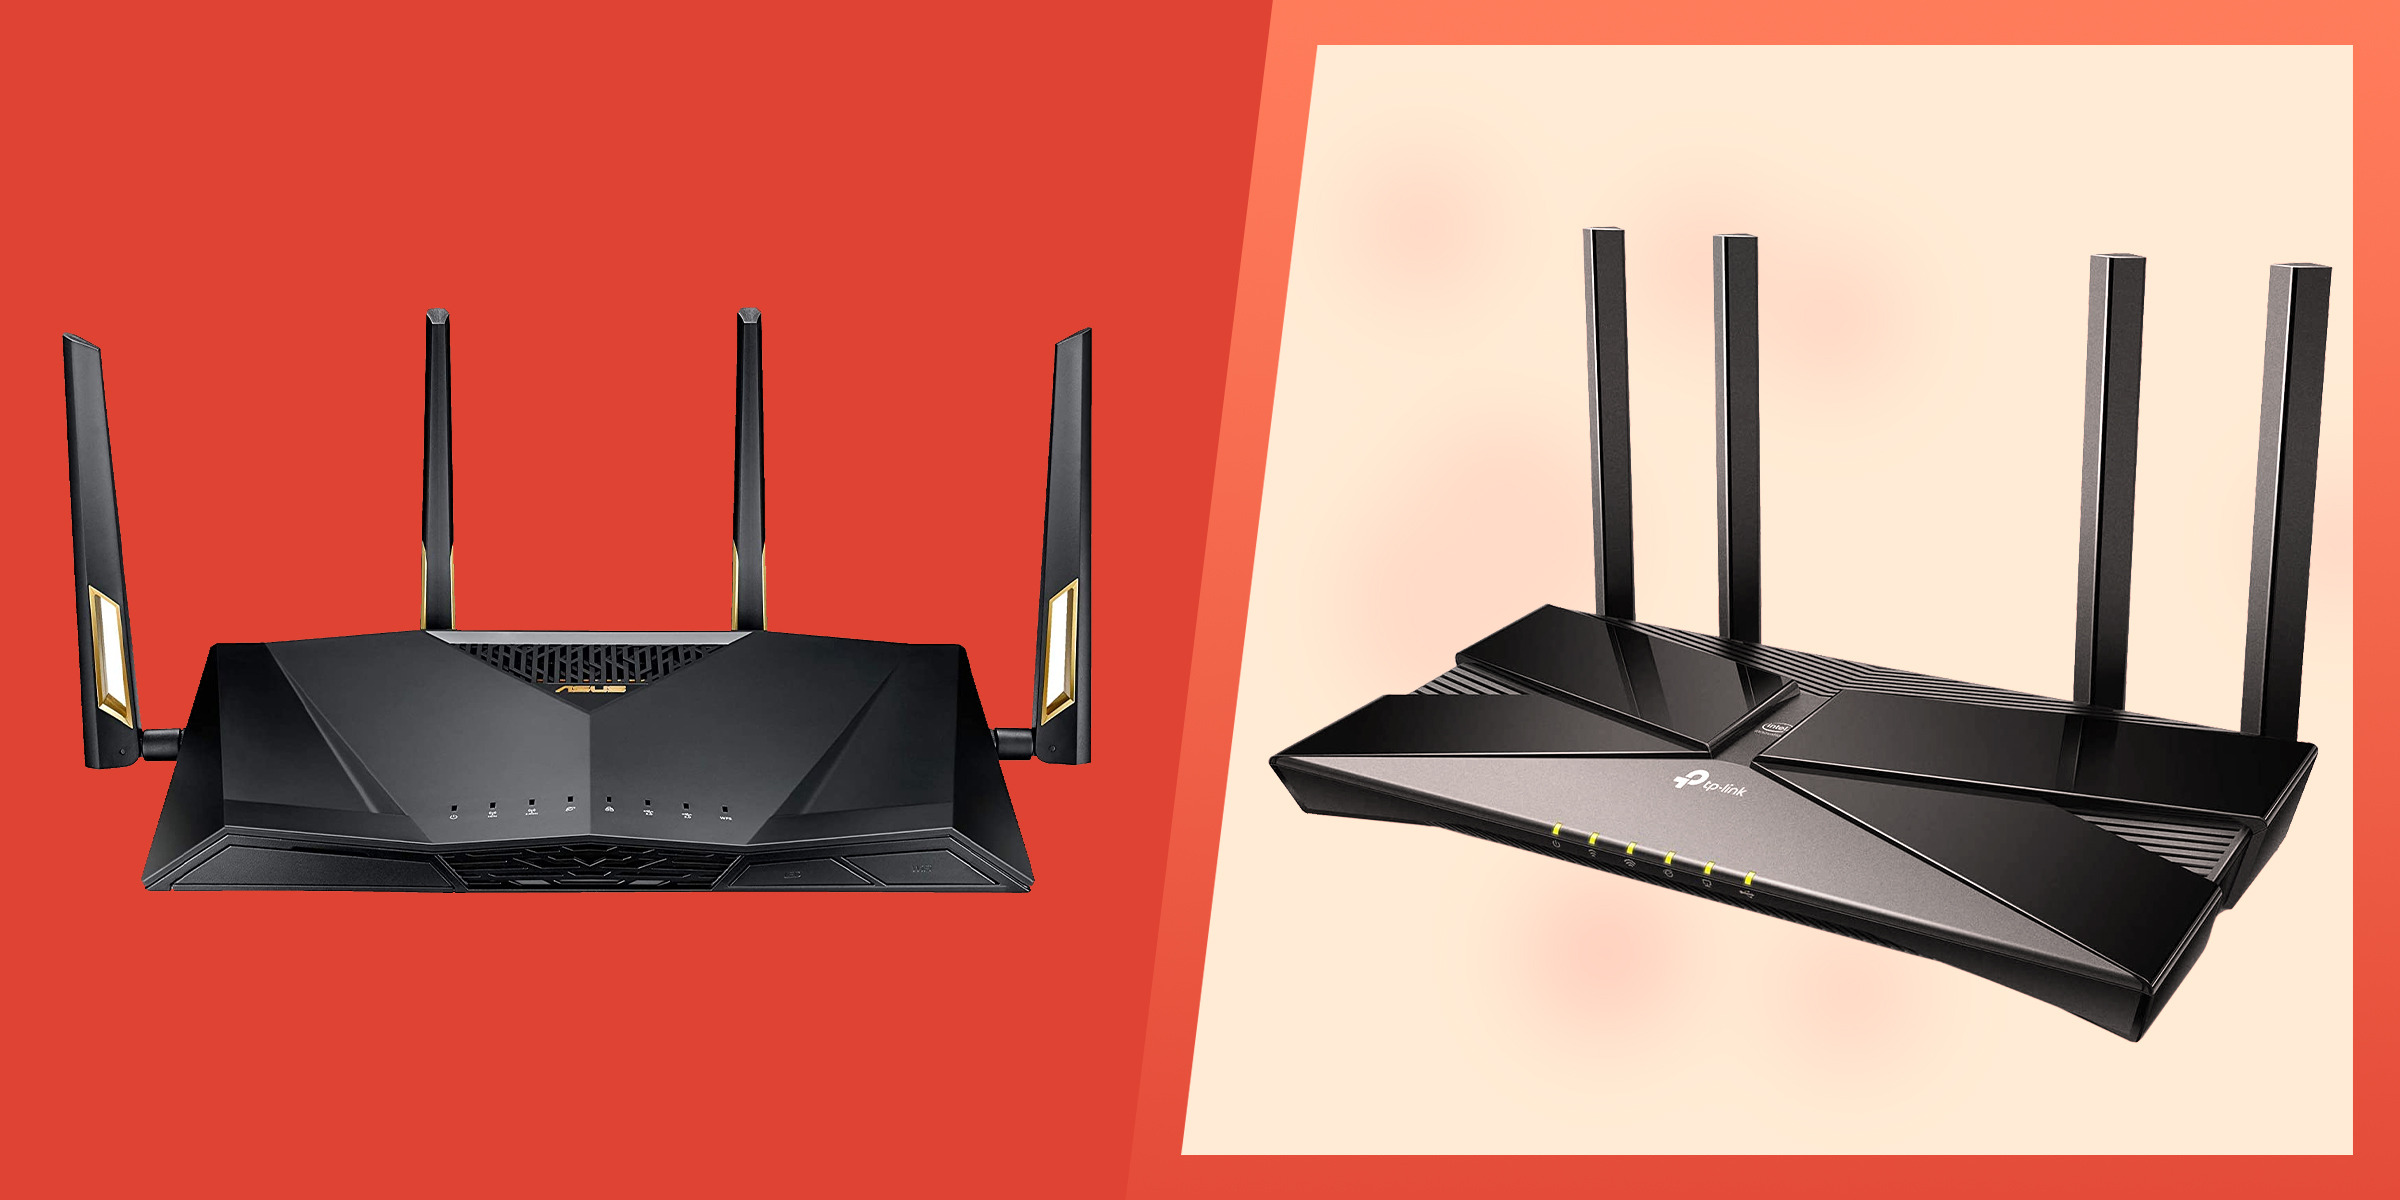
Are you tired of having weak Wi-Fi signals in certain areas of your home or office? It can be frustrating when you can’t get a reliable connection in the far corners of your space. But there’s a solution – pairing two wireless routers! By combining the power of two routers, you can extend the Wi-Fi coverage and eliminate those dead spots. But how exactly do you pair two wireless routers? In this article, we will guide you through the process of setting up and configuring two routers to work together. Whether you’re a tech-savvy individual or a beginner in networking, we’ve got you covered with easy-to-follow steps. So grab your routers and let’s get started on boosting your internet connectivity!
Inside This Article
- Step 1: Determine your network setup
- Step 2: Connect the primary router
- Step 3: Connect the secondary router
- Step 4: Configure the secondary router
- Step 5: Test the connection
- Troubleshooting tips
- Conclusion
- FAQs
Step 1: Determine your network setup
Before you can successfully pair two wireless routers, it’s crucial to assess your existing network setup. This step will help you understand your current network infrastructure and determine the most effective way to connect the routers.
Here are a few factors to consider when evaluating your network setup:
- Internet connection type: Determine whether you have a DSL, cable, or fiber optic internet connection. This information will impact the type of modem you have and how you connect your routers.
- ISP requirements: Check if your Internet Service Provider (ISP) has any specific guidelines or restrictions for connecting multiple routers. Some ISPs may require you to use a specific setup or provide additional equipment.
- Router capabilities: Take a look at the specifications of your existing router. Note its wireless protocols (such as 802.11ac or 802.11n) and the number of LAN ports available. This will help you determine the best way to configure the secondary router.
- Network coverage: Assess the coverage and signal strength of your current router. Identify any areas in your home or office that experience weak or no signal. This will help you determine where to place the secondary router for optimal coverage.
- IP address range: Check the IP address range used by your primary router. This will help you avoid IP conflicts when configuring the secondary router.
By understanding your network setup thoroughly, you’ll be better equipped to plan and execute the process of pairing two wireless routers. Proceeding without this knowledge may result in connectivity issues or inefficient network performance.
Step 2: Connect the primary router
After determining your network setup in Step 1, it’s time to connect the primary router. This is an important step as the primary router will serve as the main hub for your wireless network.
First, locate the primary router. It is usually the router that is directly connected to your modem. Make sure it is powered on and ready for setup.
Next, connect one end of an Ethernet cable to the LAN port of your modem and the other end to the WAN port of your primary router. The WAN port is usually labeled specifically for connecting to the modem.
Once the cable is securely connected, check the LED indicators on the router. Look for the WAN LED, which should light up to indicate a successful connection to the modem.
Now, power on the primary router if it wasn’t already powered on. Give it a few moments to boot up and establish a connection with the modem.
Using a device like a computer or smartphone, connect to the primary router’s wireless network. This is usually done by selecting the network name (SSID) of the router from the available networks list and entering the password, if required.
If you prefer a wired connection, you can also connect to the primary router using an Ethernet cable. Simply plug one end into a LAN port on the primary router and the other end into the Ethernet port of your device.
Once connected, open a web browser and enter the router’s IP address into the address bar. The default IP address can usually be found in the router’s manual or on the manufacturer’s website. This will allow you to access the router’s web interface and configure its settings.
When prompted, enter the administrator username and password. These credentials are typically found on a sticker on the router or in the router’s manual.
With access to the router’s settings, you can now configure various options such as the network name (SSID), wireless password, and security settings. It is recommended to choose a strong password and enable WPA2 encryption for secure wireless access.
Once you have made the desired changes, remember to save the settings and wait for the router to restart. This may take a few minutes.
Congratulations! You have successfully connected the primary router. It will now act as the main access point for your wireless network, allowing devices to connect and communicate.
Step 3: Connect the secondary router
Now that you have the primary router set up and running, it’s time to connect the secondary router to your network. By pairing two wireless routers, you can extend your Wi-Fi coverage and ensure a strong and stable connection throughout your home or office.
Here are the steps to connect the secondary router:
1. Determine the placement: Choose the optimal location for the secondary router. Ideally, it should be placed in an area where the Wi-Fi signal from the primary router is weak or non-existent. This will ensure that the secondary router can effectively extend the coverage of your network.
2. Power off the secondary router: Before connecting any cables, make sure the secondary router is turned off. This will prevent any interference or conflicts during the setup process.
3. Connect the Ethernet cable: Take an Ethernet cable and plug one end into the LAN (Local Area Network) port of the primary router. Then, connect the other end of the cable to the WAN (Wide Area Network) port of the secondary router. This will establish a physical connection between the two routers.
4. Power on the secondary router: Once the Ethernet cable is properly connected, power on the secondary router. Allow it a few moments to fully boot up and establish a connection with the primary router.
5. Check the network status: On your device, open the Wi-Fi settings and look for the network name (SSID) of the secondary router. If the network is visible and has a strong signal, then the secondary router is successfully connected to the primary router.
6. Configure wireless settings: By default, the secondary router may have the same network name and password as the primary router. However, to avoid any potential conflicts, it’s best to change these settings. Access the router’s web interface using its IP address and navigate to the wireless settings. Here, you can modify the network name, password, and security settings to your preference.
7. Test the connection: Finally, test the connection by connecting to the secondary router’s network on your device. Check if you have a stable and reliable internet connection. You can also test the range by moving around your house or office to ensure the Wi-Fi signal is strong and consistent.
Following these steps will allow you to successfully connect a secondary router to extend the coverage of your Wi-Fi network. With multiple routers working together, you can enjoy a seamless internet experience in every corner of your home or office.
Step 4: Configure the secondary router
Once you have successfully connected the secondary router to the primary router, the next step is to configure the settings of the secondary router. This will allow it to work in conjunction with the primary router and extend your wireless network coverage.
To begin, access the settings interface of the secondary router. This is typically done by entering the IP address of the router into a web browser. You can find the default IP address in the router’s manual or by searching for the specific model online.
After accessing the settings interface, you will need to set up the wireless network name (SSID) and password for the secondary router. Make sure to choose a unique SSID that differs from the primary router’s network name to avoid confusion. Additionally, select a strong password to secure your network and prevent unauthorized access.
Once you have configured the wireless network settings, you may also have the option to adjust other advanced settings on the secondary router. This can include features such as port forwarding, parental controls, or guest network setup. It is recommended to review the available settings and customize them according to your needs.
Another important configuration step is to make sure that the secondary router is operating in “AP mode” or “Access Point mode.” This mode allows the secondary router to act as an extension of the primary router’s network, rather than creating a separate network. Enabling AP mode ensures seamless connectivity and prevents any conflicts between the two routers.
Once you have made the necessary changes and configurations on the secondary router, save the settings and restart the device if required. This will apply the changes and make the secondary router ready to function as a wireless network extender.
Remember, the exact steps and options for configuring the secondary router may vary depending on the router model and manufacturer. It is always recommended to refer to the user manual or documentation provided with your router for specific instructions.
Step 5: Test the connection
After completing the configuration of both routers, it is crucial to test the connection to ensure everything is working properly. Here are a few steps to help you test the connection:
1. Connect a device, such as a smartphone or laptop, to the Wi-Fi network of the primary router. Make sure you have a stable internet connection.
2. Move to an area where the Wi-Fi signal from the primary router starts to weaken.
3. Connect the same device to the Wi-Fi network of the secondary router. The device should seamlessly switch from the primary router’s network to the secondary router’s network.
4. Once connected to the secondary router, test the internet speed and see if there are any delays or disruptions. Open a few websites or stream videos to check for any buffering or lag.
5. If the internet speed and connection quality remain consistent, it indicates that the secondary router is successfully paired with the primary router.
6. Repeat the process with multiple devices to ensure the connection is stable across all devices.
If you experience any issues during the testing process, refer to the troubleshooting tips section or consult with your internet service provider for further assistance.
Troubleshooting tips
Even with a step-by-step guide, there may be instances where you encounter issues while trying to pair two wireless routers. Don’t worry, troubleshooting common problems can help you resolve these issues and get your routers working together seamlessly. Here are some helpful troubleshooting tips:
- Check the physical connections: Ensure that all cables are securely plugged into their respective ports. Make sure your routers are receiving power and that Ethernet cables are properly connected.
- Verify the router settings: Double-check that you have properly configured the primary and secondary router settings. Check the IP addresses, subnet masks, and gateway settings to ensure they are correctly entered.
- Confirm SSID and password: Make sure that the SSID (network name) and Wi-Fi password are the same on both routers. Incompatible or mismatched SSID and password can hinder the communication between the routers.
- Disable DHCP: If you are using the secondary router as an access point, make sure to disable the DHCP (Dynamic Host Configuration Protocol) on the secondary router. This can prevent conflicts in IP addresses and ensure smooth communication between devices on your network.
- Update firmware: Check for firmware updates for both your primary and secondary routers. Outdated firmware can cause compatibility issues and hinder the proper functioning of the routers. Visit the manufacturer’s website for any available updates and follow their instructions to update the firmware.
- Restart routers: Sometimes, a simple reboot can resolve connectivity issues. Try restarting both the primary and secondary routers to refresh their settings. Make sure to power off both routers for a few seconds before turning them back on.
- Position routers properly: Ensure that the routers are placed in optimal locations. Avoid obstructions and interference from other electronic devices to maintain a strong and stable wireless connection.
- Reset routers: As a last resort, you can perform a factory reset on both routers. This will restore them to their default settings. Keep in mind that this will erase any custom configurations you have made, so be sure to backup any important settings before resetting.
By following these troubleshooting tips, you can overcome common issues and successfully pair two wireless routers to extend your network coverage and enhance your internet connectivity. If you continue to experience problems, it may be helpful to consult the manufacturer’s support documentation or contact technical support for further assistance.
Conclusion
In conclusion, learning how to pair two wireless routers can greatly enhance your home or office network setup. By extending your Wi-Fi coverage and improving network speed, you can enjoy uninterrupted internet access and seamless connectivity in every corner of your space.
Throughout this article, we discussed the step-by-step process of pairing two wireless routers. We covered important aspects such as checking compatibility, configuring IP settings, and ensuring proper placement for optimal signal strength.
Remember, pairing two wireless routers requires careful attention to detail and following the manufacturer’s instructions. By utilizing these techniques, you can create a robust and efficient network that caters to your specific needs.
Whether you want to eliminate Wi-Fi dead zones or create a separate network for specific devices, pairing two wireless routers is a valuable skill to have. So, don’t hesitate to explore this method and transform your internet experience.
FAQs
1. Can I pair two wireless routers to extend my network coverage?
Yes, you can pair two wireless routers to extend your network coverage. This is commonly known as creating a mesh network. By setting up the routers in this way, you can improve your Wi-Fi signal strength and coverage throughout your home or office.
2. What do I need to set up a mesh network with two wireless routers?
To set up a mesh network with two wireless routers, you will need two compatible routers that support mesh networking. Additionally, you will need a stable internet connection, Ethernet cables, and a device, such as a computer or smartphone, to configure the routers.
3. How do I pair two wireless routers to create a mesh network?
To pair two wireless routers and create a mesh network, follow these general steps:
1. Connect the first router to your modem using an Ethernet cable.
2. Power on both the modem and the first router.
3. Connect your device to the first router via Wi-Fi or Ethernet.
4. Access the router’s configuration page using a web browser.
5. Configure the first router as the primary router, providing necessary network settings and security options.
6. Repeat steps 1-5 for the second router, but this time, select the option to set it up as a mesh node.
7. Once both routers are configured, they will automatically connect and create a mesh network.
4. Can I use routers from different brands to create a mesh network?
In most cases, routers from different brands cannot be paired to create a mesh network. Mesh networking typically requires routers that are designed specifically for mesh connectivity and support the same mesh protocol, such as Wi-Fi Alliance’s EasyMesh or a manufacturer’s proprietary mesh system.
5. How can I maximize the performance of my mesh network with two wireless routers?
To maximize the performance of your mesh network with two wireless routers, you can follow these tips:
– Make sure your routers are placed strategically to provide the best coverage.
– Update the firmware on both routers to ensure they have the latest features and bug fixes.
– Optimize the Wi-Fi channel settings to minimize interference from other devices.
– Consider using wired connections between the routers and any devices that require a stable and high-speed connection.
– Regularly monitor and manage your network settings to ensure optimal performance.
By implementing these measures, you can ensure that your mesh network operates at its best.