
Are you ready to level up your home network? One essential step is connecting a wireless router to your cable modem. This simple process allows you to enjoy the convenience and flexibility of a wireless internet connection throughout your home. However, if you’re unfamiliar with the technicalities of setting up a wireless router, it can seem daunting. That’s where we come in! In this article, we will guide you through the process of hooking up a wireless router to a cable modem, providing step-by-step instructions and troubleshooting tips. By the end, you’ll be equipped with the knowledge and confidence to create a powerful and reliable home network, empowering you to connect multiple devices without the hassle of messy cables. Let’s dive in and get started!
Inside This Article
- Equipment Needed
- Step 1: Connect the Modem
- Step 2: Set Up the Wireless Router
- Step 3: Configure Wireless Settings
- Step 4: Connect Devices to the Network
- Troubleshooting Tips
- Conclusion
- FAQs
Equipment Needed
Before you begin setting up your wireless router with a cable modem, it’s important to make sure you have all the necessary equipment. Here’s a list of items you’ll need:
- Wireless Router: Choose a router that fits your needs and supports the latest wireless standards, such as Wi-Fi 5 or Wi-Fi 6. Make sure it has Ethernet ports for connecting to the modem and devices.
- Cable Modem: Check with your internet service provider (ISP) to ensure compatibility. Some ISPs offer modems with built-in Wi-Fi routers, in which case, you won’t need a separate wireless router.
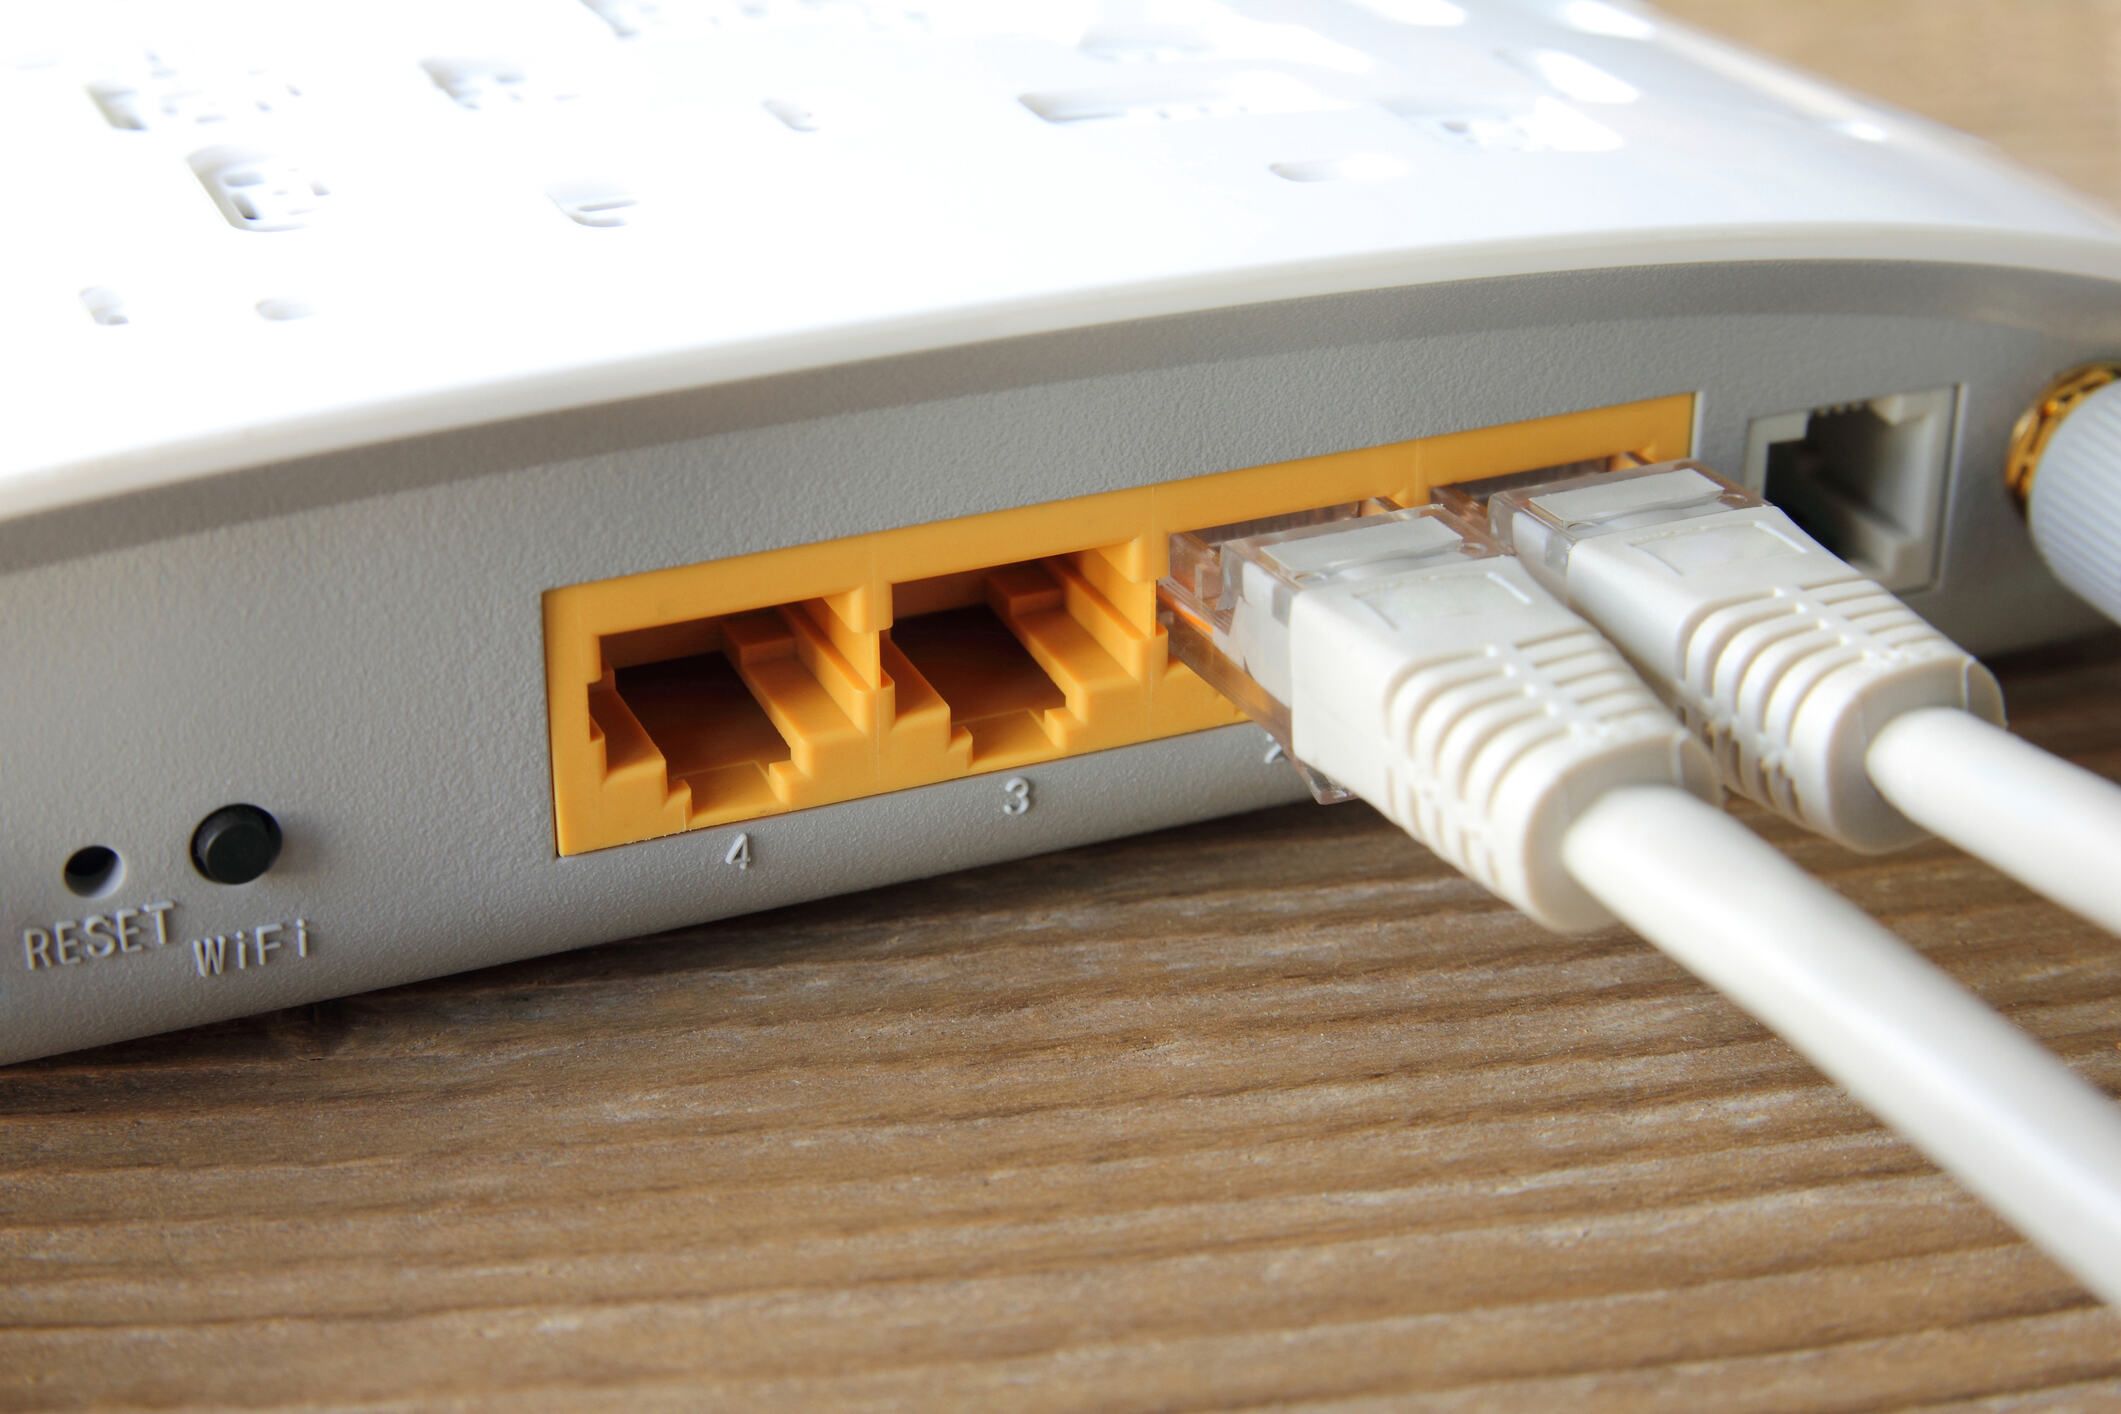
- Ethernet Cables: You’ll need at least one Ethernet cable to connect the modem and router. If you plan to connect devices directly to the router, you’ll need additional Ethernet cables.
- Power Cables: Ensure you have power cables for both the modem and router, as they require a power source to function.
- Device with a Web Browser: Use a computer, laptop, or smartphone with a web browser to access the router’s configuration settings.
Once you have gathered all the necessary equipment, you’re ready to move on to the next steps in setting up your wireless router with a cable modem.
Step 1: Connect the Modem
When setting up a wireless router with a cable modem, the first step is to connect the modem to your internet service provider (ISP). This ensures that you have a stable and reliable internet connection before proceeding with the rest of the setup.
To connect the modem, follow these simple steps:
- Locate the cable outlet in your home where your internet connection is provided. This is usually found in a central area, such as a living room or home office.
- Take one end of the coaxial cable, which is typically included with your modem, and connect it to the cable outlet.
- Take the other end of the coaxial cable and connect it to the coaxial input on the back of the modem. This is usually labeled as “Cable In” or something similar.
- Once the coaxial cable is securely connected to the modem, plug the power cord into an electrical outlet and connect the other end to the power input on the back of the modem.
- Power on the modem by flipping the power switch, if available, or simply plugging it in. Wait for the modem to establish a connection with your ISP. This can take a few minutes.
- Once the modem is connected to your ISP, it will typically display indicator lights to show its status. Consult the modem’s user manual or manufacturer’s website for specific instructions on interpreting these lights.
By following these steps, you will successfully connect your cable modem to your internet service provider. With a stable and working internet connection, you can now proceed to the next step of setting up your wireless router.
Step 2: Set Up the Wireless Router
Once you have successfully connected your cable modem to the router, it’s time to set up the wireless router. This step is crucial in order to create a wireless network that can be accessed by your devices. Follow these simple steps to get your wireless router up and running:
1. Start by locating the router’s IP address. This is usually found on a label at the bottom of the router or mentioned in the user manual. Type the IP address into your web browser’s address bar and press enter.
2. You will be prompted to enter a username and password. This information can also be found on the router’s label or in the user manual. Enter the credentials and click on the login button to access the router’s configuration page.
3. Once you are logged in, you will see a dashboard with various options. Look for the “Wireless” or “Wi-Fi” settings tab and click on it to proceed.
4. In the wireless settings, you will find options to set the network name (SSID) and password. Choose a unique and easily recognizable name for your network, as the SSID will be visible to anyone within range of your router. Set a strong password to ensure the security of your network.
5. You may have additional options to customize your wireless network settings, such as selecting the wireless channel or enabling guest networks. Take some time to explore these options and adjust them according to your preferences.
6. Once you have made the necessary changes, click on the “Apply” or “Save” button to save the settings. Your router will then reboot with the new configurations.
7. After the router reboots, the wireless network should be up and running. You can now try connecting your devices to the network using the SSID and password you set earlier.
By following these steps, you can easily set up your wireless router and enjoy a reliable and secure wireless network in your home or office. Remember to keep your router’s firmware updated regularly to ensure optimal performance and security.
Step 3: Configure Wireless Settings
Configuring the wireless settings on your wireless router is a crucial step in the setup process. This allows you to customize your network name (SSID) and set a secure Wi-Fi password. Follow these steps to configure your wireless settings:
1. Open a web browser on a computer or mobile device that is connected to the router.
2. Enter the default IP address of your router in the browser’s address bar. This is usually mentioned in the router’s documentation or on the back of the router itself. Common default IP addresses include 192.168.0.1 or 192.168.1.1.
3. You will be prompted to enter the router’s username and password. These credentials can also be found in the router’s documentation or on the router itself. If you have changed the default login details, use the updated credentials.
4. Once logged in, you will be presented with the router’s web-based configuration interface. Look for a section related to wireless settings or Wi-Fi setup.
5. In the wireless settings section, you will see options to customize your network name (SSID). This is the name that will appear when devices search for available Wi-Fi networks. Choose a unique and easily identifiable name.
6. Set a strong Wi-Fi password. It is crucial to secure your network to prevent unauthorized access. Create a password that is at least eight characters long and includes a combination of letters, numbers, and special characters. Avoid using common or easily guessable passwords.
7. Some routers offer additional advanced settings such as wireless channel selection, transmission power adjustment, and QoS (Quality of Service) options. These settings can optimize your wireless network performance based on your specific needs. Explore these options if desired.
8. Once you have made the desired changes to your wireless settings, save the configuration. This may require clicking a “Save” or “Apply” button within the router’s interface.
9. Wait for the wireless router to apply the new settings and reboot if necessary. Once the reboot is complete, your wireless network will be available with the configured SSID and password.
10. Now, reconnect your devices to the Wi-Fi network using the new network name (SSID) and password. Ensure that all devices are successfully connected and able to access the internet.
By following these steps, you can configure the wireless settings on your wireless router and ensure a secure and personalized Wi-Fi network for your home or office.
Step 4: Connect Devices to the Network
Now that your wireless router is set up and configured, it’s time to connect your devices to the network. Whether it’s a smartphone, tablet, laptop, or smart TV, the process is relatively straightforward.
1. On your device, navigate to the Wi-Fi settings. This can usually be found in the settings menu or by clicking on the Wi-Fi icon in the system tray.
2. Look for the name of your wireless network, also known as the SSID. It should be the same as the network name you configured during the router setup process.
3. Click or tap on the network name to connect. You may be prompted to enter the network password, so make sure to enter it correctly.
4. Once connected, your device will obtain an IP address from the router, allowing it to communicate with the internet. You should see the Wi-Fi icon change to indicate a successful connection.
5. Repeat this process for all the devices you want to connect to the network. You can connect multiple devices simultaneously.
6. If you encounter any issues connecting your devices, try restarting both the router and the device. This can sometimes resolve connectivity issues.
7. Additionally, make sure you are within the range of the wireless router. The farther you are from the router, the weaker the signal will be, which can affect connectivity.
8. Keep in mind that some devices may have additional security features, such as MAC address filtering, that require you to enter the device’s unique identifier into the router’s settings. Refer to your device’s documentation for instructions on finding the MAC address.
By following these steps, you can easily connect your devices to the wireless network created by your router.
Troubleshooting Tips
Setting up a wireless router to a cable modem can sometimes encounter technical issues. Here are some troubleshooting tips to help you resolve common problems:
1. Check the physical connections: Ensure that all cables are properly connected. Make sure that the cable from the modem is securely plugged into the WAN port of the router, and that the power cables are firmly in place.
2. Restart the devices: Sometimes, a simple restart can fix connectivity issues. Try powering off both the modem and the router, wait for a minute, and then power them back up. This can help reset the network settings.
3. Check the modem and router lights: The lights on your devices can provide important information about their status. Consult the user manual for your specific models to understand what each light represents and whether it indicates any issues.
4. Verify the internet connection: Connect a device directly to the modem using an Ethernet cable and check if you have internet access. If you do, it indicates that the problem might be with the router settings. If you don’t have internet access, contact your internet service provider (ISP) for assistance.
5. Reset the router to factory settings: If you’re still encountering issues, you can try resetting the router to its default settings. This will erase any custom configurations and allow you to start fresh. Refer to the user manual for instructions on how to perform a factory reset.
6. Check the wireless network settings: Ensure that the wireless network settings on your router are correctly configured. Double-check the SSID (network name) and password, as they need to match the settings of the devices trying to connect.
7. Update the router firmware: Outdated firmware can cause performance issues. Check the manufacturer’s website for firmware updates for your router model. Follow the instructions provided to update the firmware, usually through the router’s web interface.
8. Disable conflicting devices: Other electronic devices in your surroundings, such as cordless phones or microwave ovens, can interfere with the wireless signal. Move these devices away from the router or consider changing the wireless channel to prevent interference.
9. Seek professional assistance: If you’ve exhausted all troubleshooting steps and are still unable to resolve the issue, it may be best to seek help from a professional technician or contact the router manufacturer’s support.
Remember: Troubleshooting can sometimes be a trial-and-error process, and it’s important to have patience. With these tips, you should be well-equipped to tackle most common issues encountered when setting up a wireless router to a cable modem.
Conclusion
In conclusion, hooking up a wireless router to a cable modem is a simple yet important step in setting up your home network. By following the steps outlined in this article, you can enjoy seamless connectivity and the freedom to connect multiple devices to the internet wirelessly.
Remember, it’s crucial to choose a reliable router that suits your needs and provides optimal performance. Ensure that you have the necessary cables and follow the manufacturer’s instructions for installation.
With a properly connected router and cable modem, you can enjoy fast and secure internet access throughout your home. Now, you can effortlessly stream videos, play online games, and connect all your smart devices without any hassle.
So, take the plunge and set up your wireless router to your cable modem. Say goodbye to tangled cables, limited connectivity, and enjoy the convenience of a wireless home network!
FAQs
1. Can I connect a wireless router to a cable modem?
Yes, you can connect a wireless router to a cable modem. The cable modem acts as the connection to your internet service provider (ISP), and the wireless router allows you to create a wireless network in your home or office. By connecting the wireless router to the cable modem, you can enjoy wireless internet access on your devices.
2. How do I connect a wireless router to a cable modem?
The process of connecting a wireless router to a cable modem is relatively straightforward. First, ensure that your cable modem is connected to the ISP’s network and working properly. Then, connect an Ethernet cable from the cable modem’s Ethernet port to the wireless router’s WAN (Internet) port. Power on both devices and wait for them to initialize. Finally, connect your devices to the wireless network created by the router, using the network name (SSID) and password provided.
3. Do I need any additional equipment to connect a wireless router to a cable modem?
Generally, you do not need any additional equipment to connect a wireless router to a cable modem. However, it is important to ensure that the wireless router you choose is compatible with your cable modem and supports the same internet connection type (e.g., cable, DSL). Additionally, make sure you have Ethernet cables available to connect the cable modem to the router and to connect devices to the router if needed.
4. What should I do if the wireless router and cable modem are not working together?
If you are experiencing issues with the wireless router and cable modem not working together, there are a few troubleshooting steps you can try. First, power cycle both devices by turning them off, waiting for a few seconds, and then turning them back on. If the problem persists, check the cable connections between the modem and router to ensure they are securely connected. You can also try resetting the router to its factory settings and reconfiguring it. If all else fails, contact your ISP or the manufacturer of the devices for further assistance.
5. Can I use a wireless router with a DSL modem?
Yes, you can use a wireless router with a DSL modem. The process of connecting a wireless router to a DSL modem is similar to connecting it to a cable modem. However, it is important to ensure that the wireless router is compatible with your specific DSL modem. Additionally, you may need to configure the router with the appropriate DSL login credentials provided by your ISP to establish the internet connection.